
Does your house have two floors, and you were wondering if you can have two thermostats that can both control the centralized AC? Wonder no more, for we have researched this question and have the answer for you right here.
It is possible to have two or more thermostats controlling a single central air conditioning unit or HVAC. When more than one thermostat is installed, each thermostat creates a zone.
Multiple thermostats controlling a single centralized air conditioning unit can be made to maintain your desired temperature within their specific zones. Does it sound complicated? Then allow us to uncomplicate it in the succeeding sections. Read on!
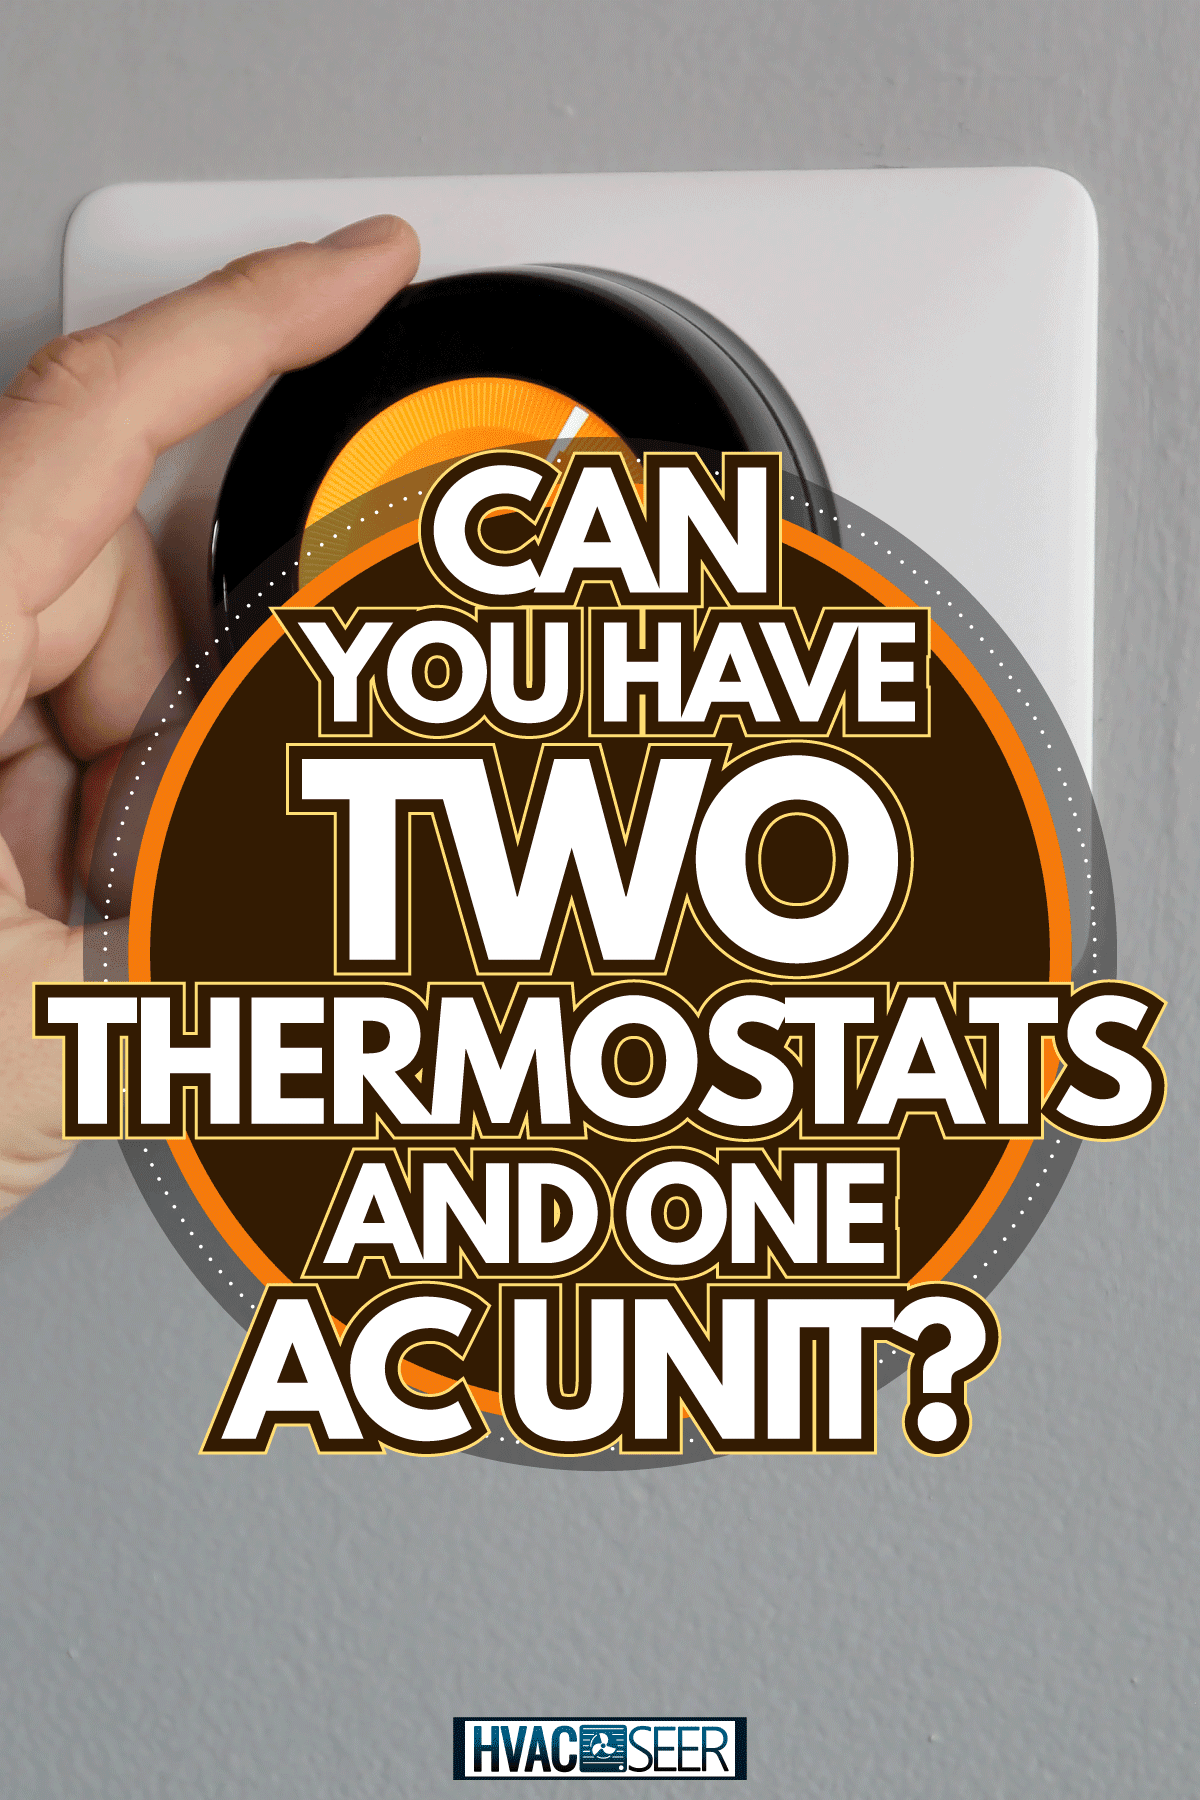
Can you have two thermostats and one AC unit?
A large enough house will definitely have areas that are cooler or warmer than others. And if the house is large enough, the indoor movement of air will not be enough to distribute warm or cool air evenly.
Additionally, thermostats can only detect the temperature from within a specific area around it. This is where multiple thermostats can help.
Installing multiple thermostats around areas in the house that can have different temperatures creates heating and cooling zones. The thermostat installed in that zone becomes the one in charge of regulating the temperature based on what you set on that specific thermostat.
These thermostats work independently of the other thermostats in the house.
It doesn’t even have to be a large house to experience uneven cooling or heating. A house with multiple floors will have different temperatures per floor.
How to install multiple thermostats?
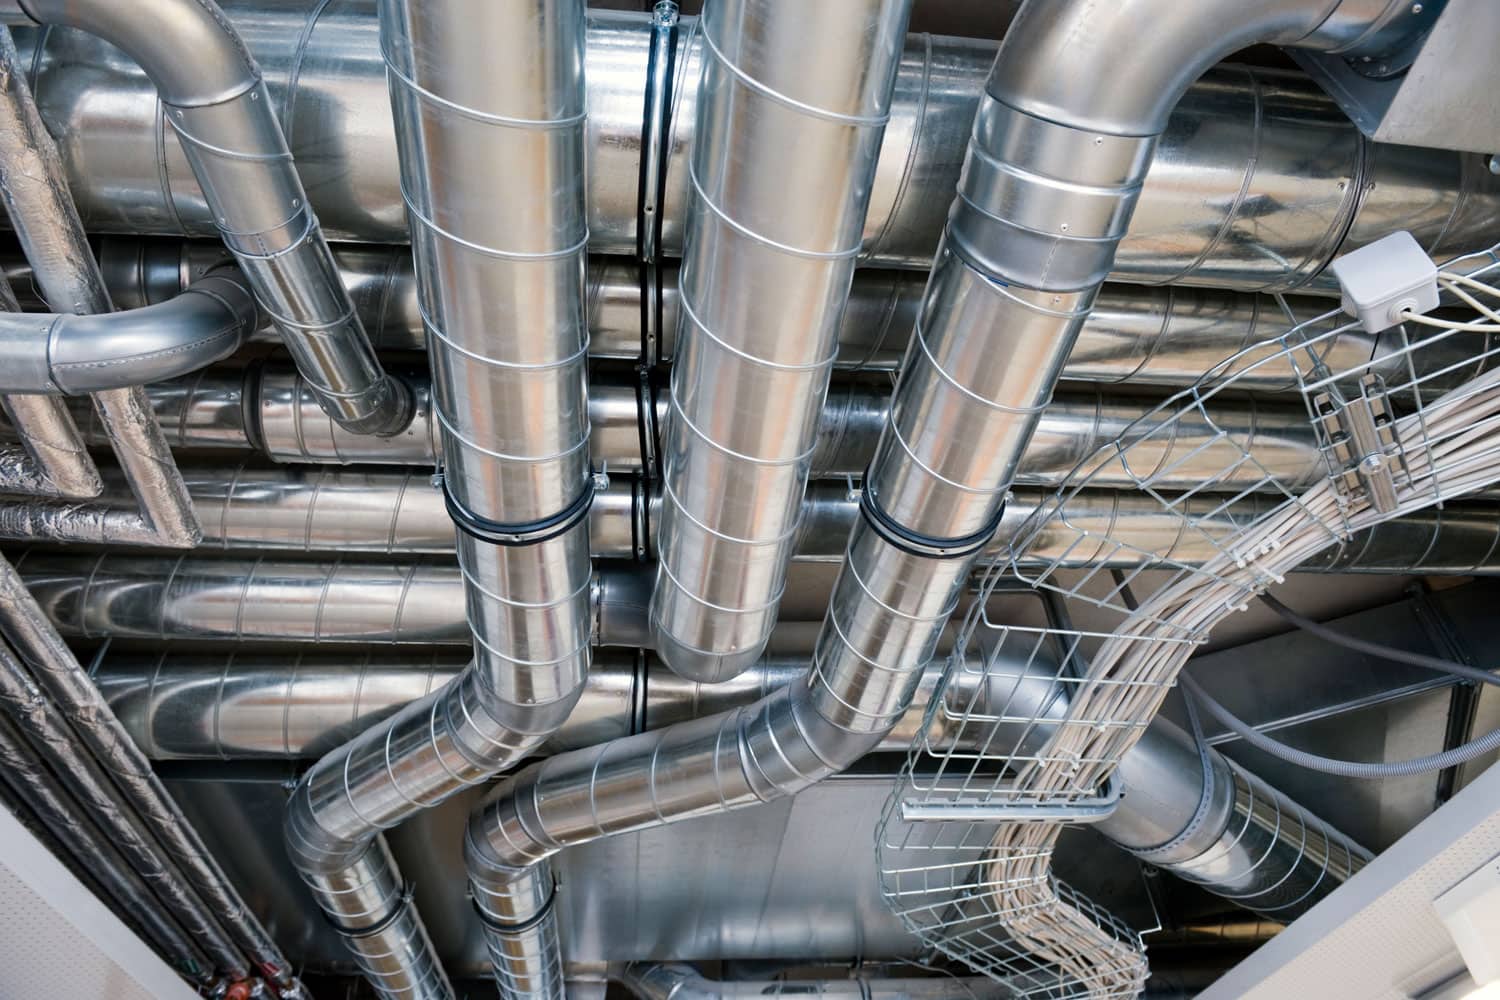
Multiple thermostats controlling their own zones become more effective using a zone damper, also known as a duct damper. This is a device that helps reroute cold or warm air by closing one channel in your ductwork and opening another channel where cold or warm air is needed.
Thus, in the sections below, we will first talk about the installation of a zone damper. Once we’re done with that, we will proceed with the installation of multiple thermostats.
How to install zone dampers?
Here are the steps to install a damper into your HVAC system.
Preparations
- Draw a simple layout of your house. It doesn’t need to be accurate. You just need to see the rooms and which zones where you plan to install independent thermostats.
- Draw a superimposed diagram of the duct system in your house. You can use a different color pen so that you can easily distinguish the lines that represent the walls and rooms of your house and the lines that represent the ducts.
- Identify the different rooms that receive heating and/or cooling from the air ducts. Mark these rooms with a marker.
- Mark the areas where you plan to install separate thermostats. Study the path of the air ducts and look for the part of the duct where it branches out, going to the two areas where the thermostats will be. If you plan to install more than two thermostats, identify where the ducts branch out to go to the areas or zones where a thermostat will be in charge.
- Measure the perimeter of the ducts. Verify if the ducts have the same measurement where they branch out.
- Purchase zone dampers that have the same measurement as the ducts where they will be installed.
Installation
- Cut a hole in the duct with tin snippers. The hole should be big enough to fit a damper. Keep in mind that some dampers are drop-in while there are models that are slide-in types. Identifying what type of damper you have is important so you'd know what type of cut you need to make in the ducts.
- Secure the damper in place with screws.
- Seal the connection with silicone caulk.
- Repeat steps 1 to 3 for each damper that you need to install.
Wiring the damper and zone control box
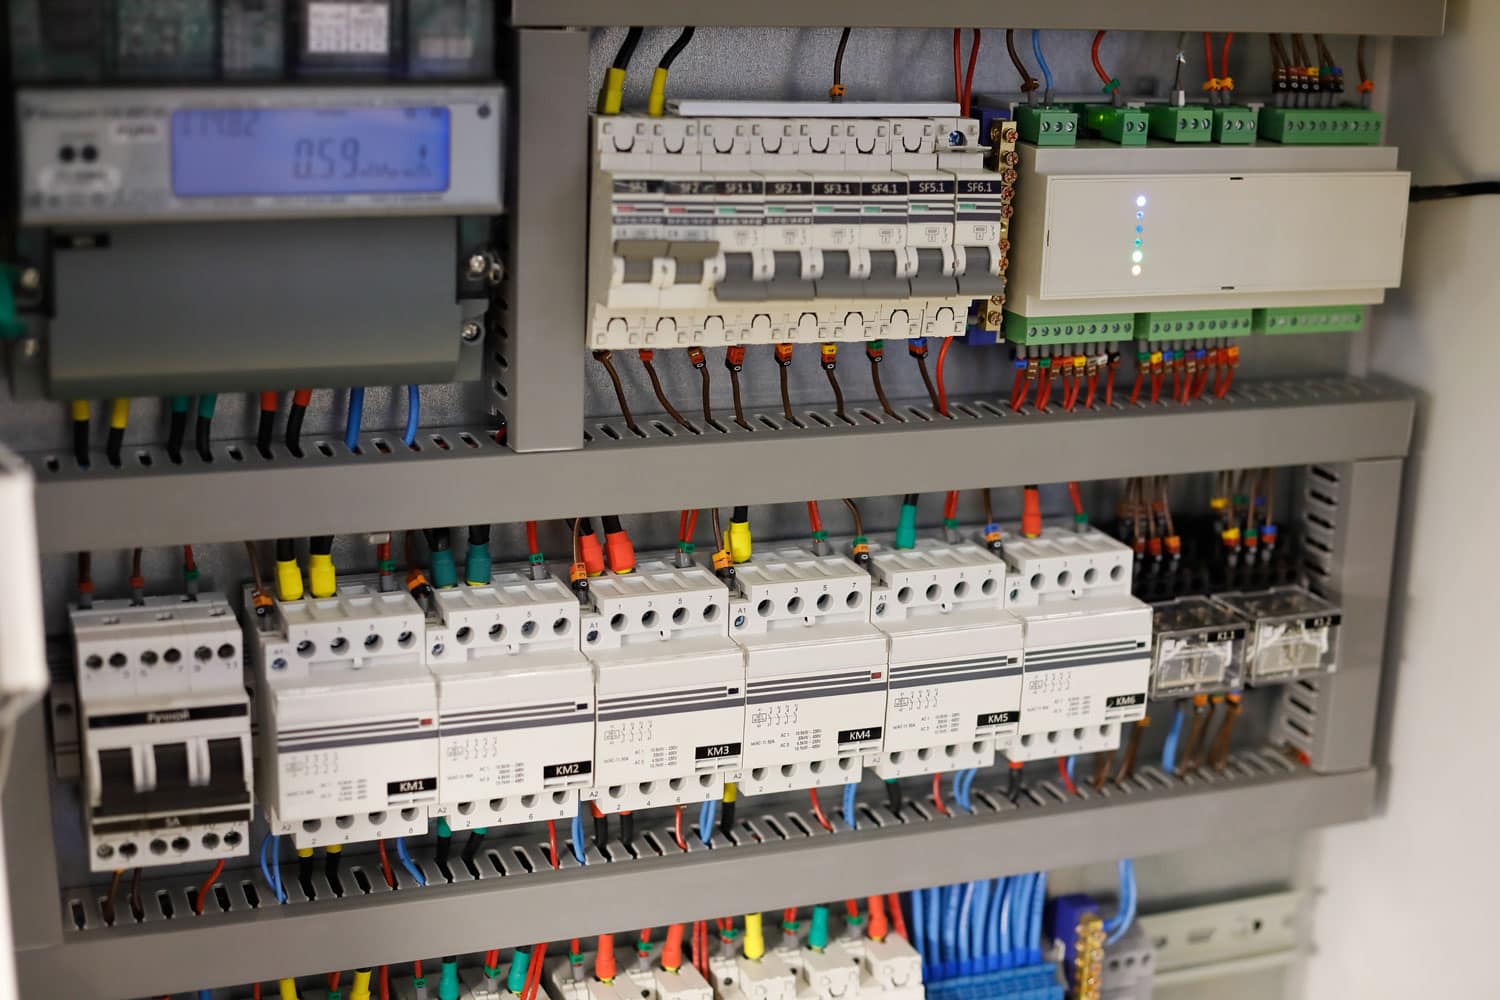
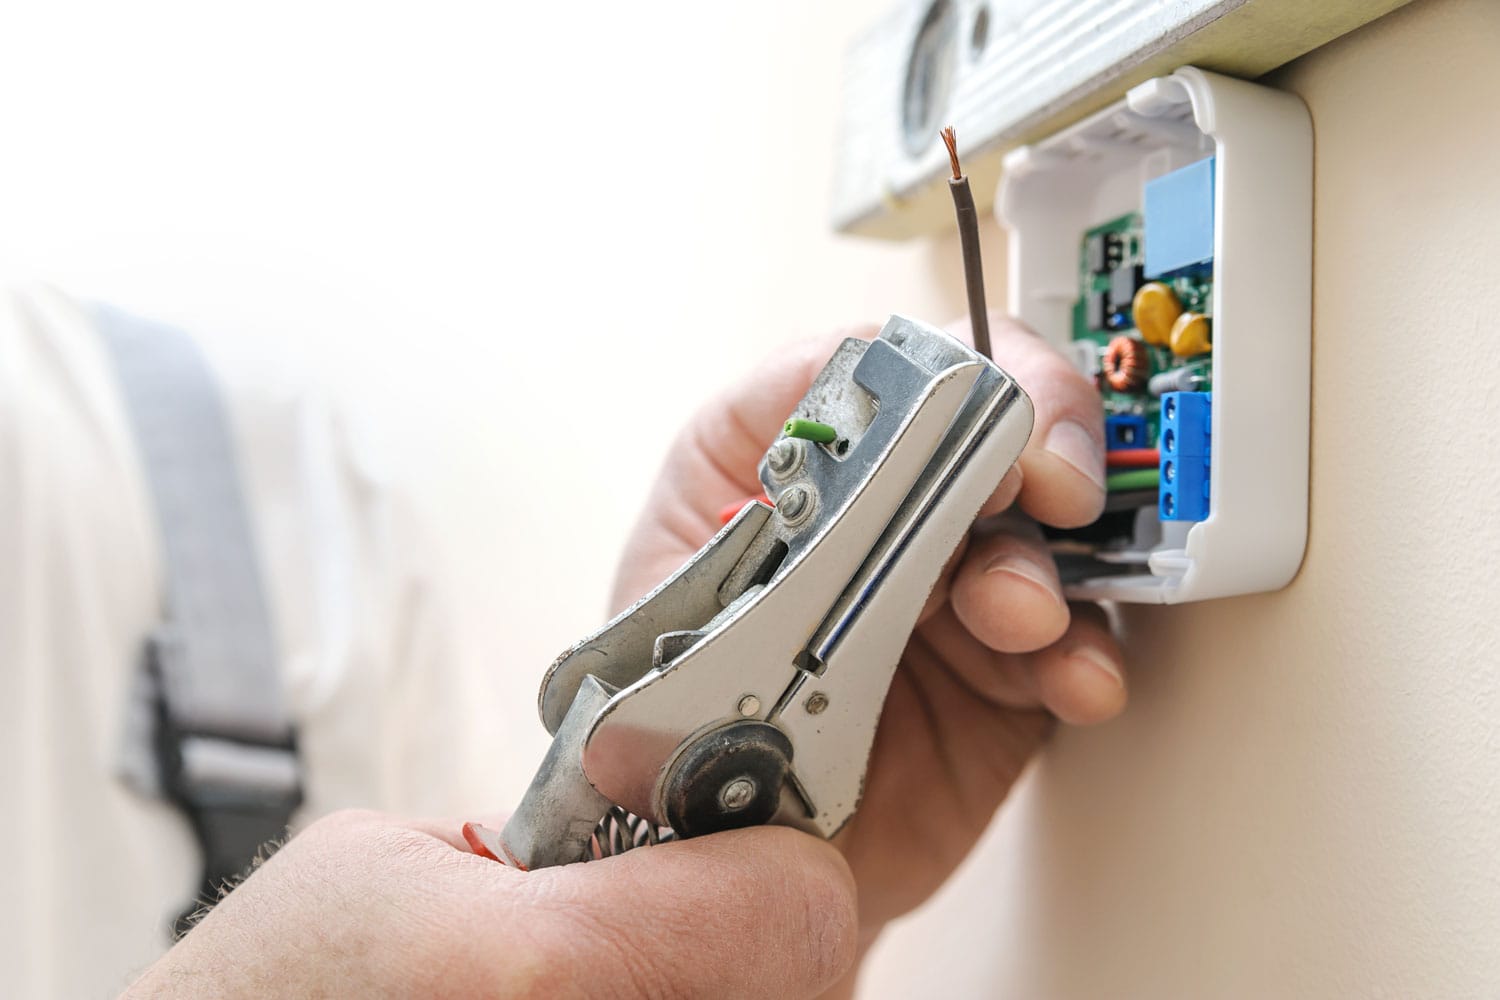
- Dampers need either two or three wires. Strip the 18-gauge multi-strand thermostat wire and connect them to the damper wire connectors. Tighten the wire locks with a screwdriver, making sure that the wires will not come loose.
- Strip the opposite end of the wire and connect them to the zone control box. A zone control box usually controls two dampers. The wire from each damper goes to its own connector in the box labeled ‘Damper 1’ and ‘Damper 2.’ Each one will have two screws to connect and tighten the wire connections. Tighten the connections and make sure that they will not come loose. If you’re installing more than one thermostat and more than two dampers, buy a zone control box that can control all your dampers and thermostats. It will have wiring connectors for each of the dampers that you will install.
- Mount the zone control box near the HVAC. It doesn’t have to be right beside it. It can be on a nearby air duct or wall.
- Strip and connect an 18-gauge 4-conductor wire to the zone control box that is marked ‘Equipment’ following the connection code below:
-
- White to ‘W’
- Red to ‘R’
- Green to ‘G’
- Yellow to ‘Y’
- Strip the opposite end of the wire and connect it to the control board of the HVAC. Follow the color code above.
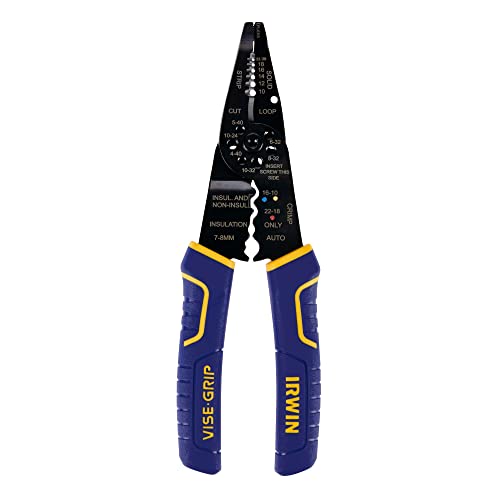
The IRWIN wire cutter and wire stripping tool is available on Amazon. Check it out from this link.
Check out a demonstration of this installation by Retrofit Zone on YouTube:
How to install the thermostats?
Now that we have installed the dampers and the zone control box and we’ve completed connecting them to the HVAC, we can proceed to the installation of the thermostats.
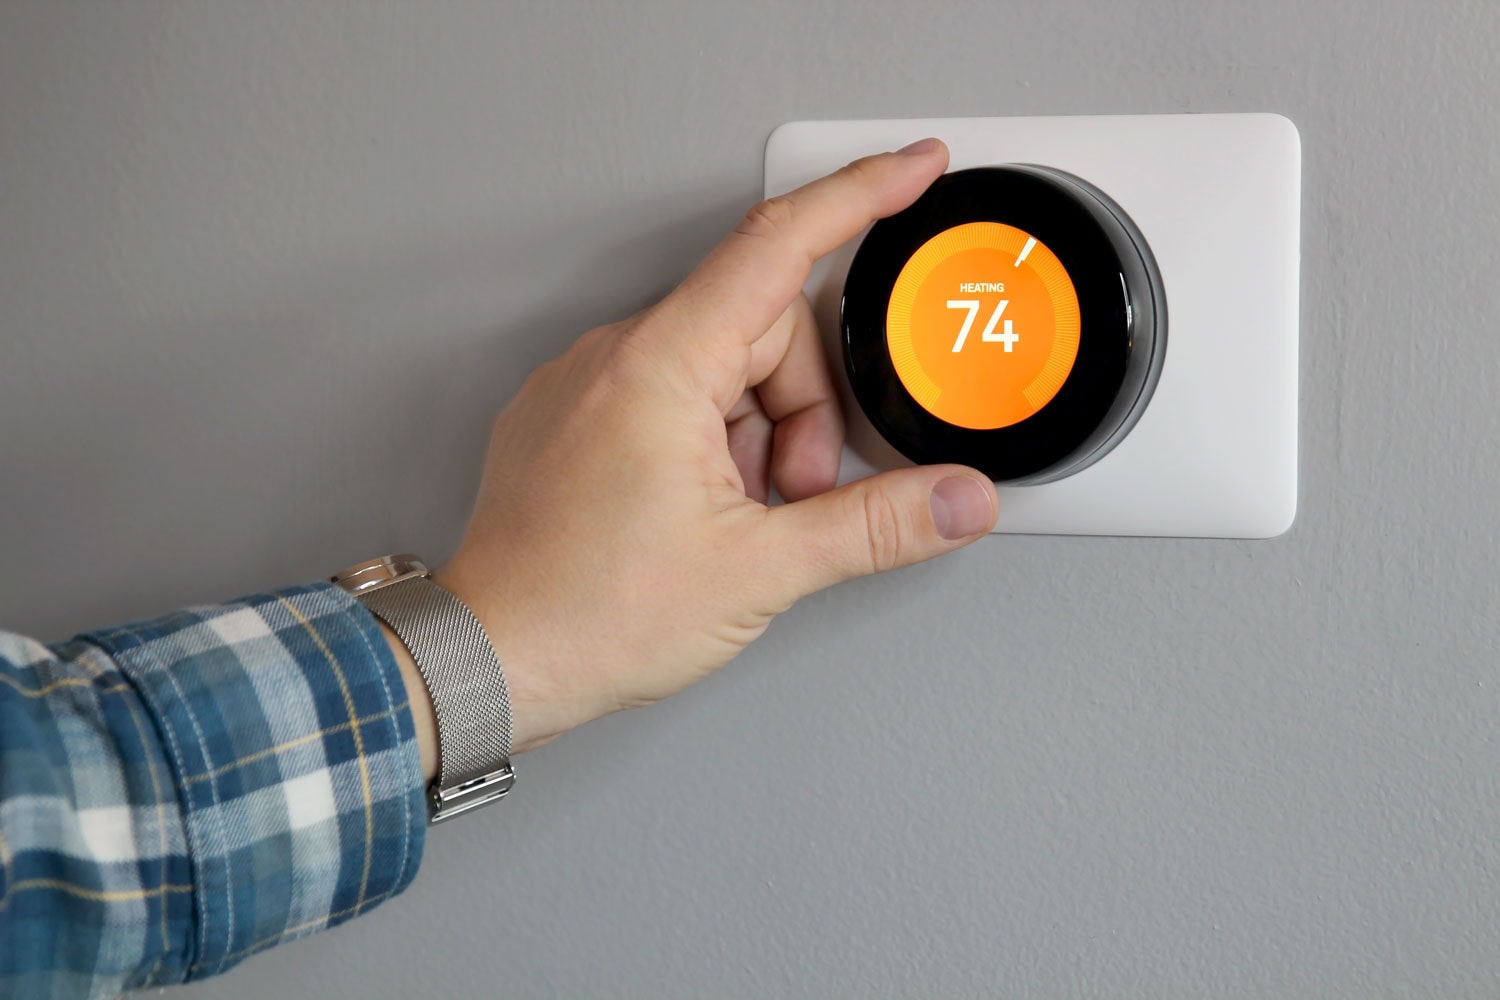
- Install a thermostat in each of your planned zones. Follow the instructions included with the thermostat to properly install the thermostats.
- Run a wire from the thermostats going to the zone control box. Strip and connect the wires from the first thermostat where it is labeled ‘Zone 1 thermostat’ on the zone control box. Follow the color code above to connect the wires.
- Repeat the same step for the second thermostat and connect it to the zone control box where it is labeled ‘Zone 2 thermostat.’
- Keep repeating the same step to install all the other thermostats, connecting them to the appropriate wire connectors on the zone control box, and following the color code above.
- Test the thermostats to verify that the wiring connections are working.

The Honeywell TrueZONE zone control box is available on Amazon. Check it out from this link.
Are Nest thermostats compatible with a zoned system?
The Google Nest thermostat is compatible with a zoned home. It can be installed with other non-Nest thermostats, and it will still work.
There are wiring configurations with some damper systems that could require the installation of a power connecter to the Nest thermostat to be compatible.
Is it possible to replace only one thermostat with a Nest thermostat in a zone system?
Replacing one thermostat with a Nest thermostat or replacing all thermostats with a Nest thermostat will still work the same way. If only one thermostat is replaced with a Nest thermostat, the rest of the non-Nest thermostats will function the same way they did before.
How to get more out of a single Nest replacement in a zone system?
When replacing a thermostat with a Nest thermostat, replace the one in your main living area. If that is not the broken thermostat, you will have to move it to where the broken thermostat was installed.
Installing a Nest thermostat in your main living area will allow the Nest thermostat to learn your temperature preferences better. Additionally, it will be able to better tell if there are people at home and adjust the HVAC accordingly to save energy.
Do Nest thermostats use the same information?
No, they do not. Multiple Nest thermostats in a zone system learn independently from the other Nest thermostats.
Each Nest thermostat is in charge of the zone where it is installed. They learn your preferences and usage patterns when you are in that zone. Nest thermostats do not share data.
The Nest thermostat in the kitchen could start to warm that area 30 minutes before you wake up so that it’ll be warm enough when you prepare breakfast. The Nest thermostat upstairs could turn down the heating at a time when it knows that everyone is downstairs already.
Your phone tells the Nest thermostats if you’re home or not. If you’re not home, the Nest thermostats will switch to Eco mode in all zones to save energy.
Conclusion
Multiple thermostats controlling a single HVAC system make it possible to cool and warm your house more evenly. Using a smart thermostat for your zoning system allows you to save energy and get even cooling and heating at the same time.
If you enjoyed reading this article, why not check out the two articles below?