
Foil insulation helps reflect heat to reduce excess warmth entering the premises. But you might not like the bare look of this insulating material. So now you’re wondering if it’s possible to paint foil insulation. If you can paint it, how can you do it properly? We researched for your convenience, and here’s what we found.
You can use water-based paint like acrylic or tempera paint to color foil insulation. Take note that any insulation painting project should have safety precautions in place. For instance, wear respirators to ensure you’re not breathing harmful paint fumes for extended periods. After the preparations, proceed with the next steps:
1. Use sandpaper to smooth the edges of each foil insulation board. 2. Apply self-etching primer. 3. Use a paintbrush or roller to coat the insulating material. 4. Apply one or two more coats. 5. Let the fresh paint on the foil boards dry.
It might look like a reasonably straightforward task to paint foil insulation. But missing a few details can lead to disastrous results. Keep reading as we talk about the steps to paint foil insulation in greater detail. We’ll also tackle additional information about using the correct paint on this type of insulation.
![A covering thermal insulation in the room of the country house, Can You Paint Foil Insulation [And How To]](https://hvacseer.com/wp-content/uploads/2022/01/Can-You-Paint-Foil-Insulation..png)
What Kind Of Paint Will Stick To Aluminum Foil?
Acrylic or tempera paint can stick on aluminum foil. Other water-based paints may also work on foil.
Take note that DIY enthusiasts would need a significant amount of paint to cover fairly large surfaces, such as foil insulation. Additionally, primer is necessary to make the paint stick. Otherwise, directly applying acrylic or tempera paint on aluminum foil may result in issues like dripping or bubbling.

Check out these acrylic paint bottles on Amazon.
How To Paint Foil Insulation?

Before proceeding with this task, ensure that you’re about to use the correct paint. Avoid using oil- or solvent-based paints because these selections contain chemicals that may damage the foil insulation.
Moreover, make sure that you're wearing proper safety equipment. For instance, you should wear a respirator as inhaling paint for extended periods can put you at risk of contracting health issues like headache, dizziness, nausea, and respiratory problems.
Finally, clean the foil insulation boards before attempting to paint them. Painting dirty surfaces can result in uneven surfaces.
After completing the necessary preparations, proceed with the rest of this project:
What You’ll Need
- Paintbrush or roller
- Acrylic paint
- Cloth or rag
- Sandpaper
- Water-based self-etching primer
Step-by-Step Guide
- Smooth the edges of each foil insulation board with sandpaper.
- Clean the dust off the boards with a damp cloth or rag and let it dry.
- Apply the self-etching primer with a roller on the board. It may take several hours before the primer dries and cures.
- Once the primer is dry, dip your paintbrush or roller in your preferred paint container. Then, apply two or three light coats on the material. Ensure that you give ample time for the paint to dry before applying each subsequent coat.
You can also use an airbrush or spray gun to help promote even coating for your foil insulation paint project. Keep in mind that these tools may speed up or slow down the process, depending on the size of the nozzle’s opening.
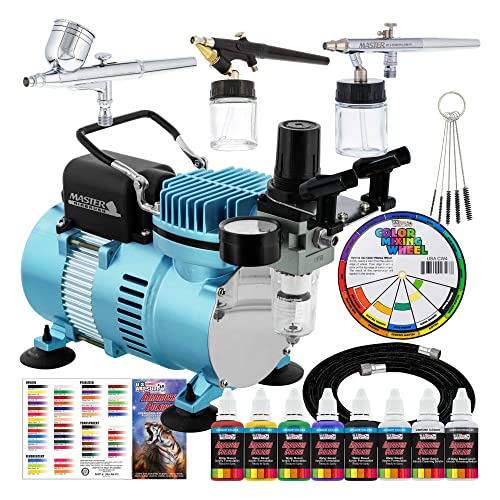
Check out this airbrush kit on Amazon.
Can Foil-Faced Insulation Be Left Exposed?
It’s not ideal to leave faced insulation exposed, particularly for foil. Exposing foil-faced insulation can become a fire hazard. Also, individuals staying inside rooms with exposed foil-faced insulation will be at risk of skin and respiratory issues.
Find out more about this topic by reading our post about leaving exposed insulation in a basement.
How To Cover Exposed Insulation?
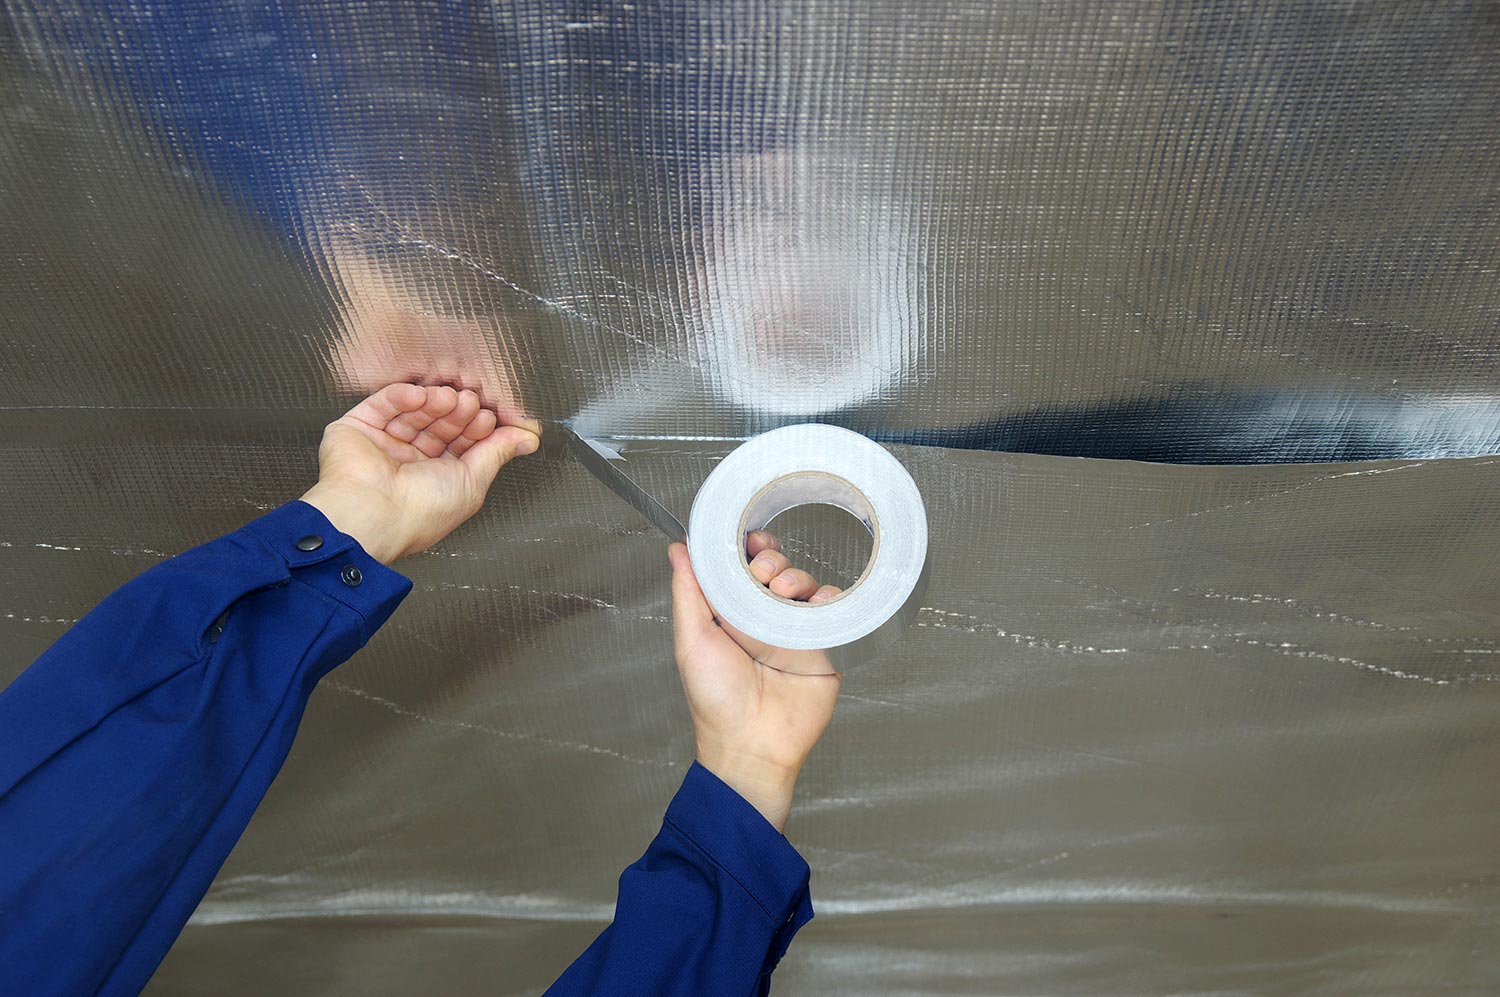
Installing a vapor barrier will cover the exposed insulation. As its name implies, this extra material can help reduce moisture seeping through the insulating materials like foil. In turn, you can protect your home from potential moisture-related hazards like mold and mildew.
Covering exposed insulation is a fairly direct job. DIY beginners may not find this operation to take a significant amount of time and effort.
However, gathering the proper measurements is important to cut the vapor barrier to the correct size. Cutting the material too small won’t be enough to cover the insulation boards. On the other hand, the barrier won’t fit the insulation properly if it’s too large.
After acquiring the proper measurements, you can proceed with the rest of this operation:
What You’ll Need
- Utility knife
- Staple gun
- Staples
Step-by-Step Guide
- Roll the plastic vapor barrier over the exposed insulation.
- Secure the barrier using the staple gun but ensure that each staple is about six inches apart.
- Cut the excess material with the utility knife.
- Apply another layer of vapor barrier above the first sheet. Repeat steps 1 to 3 for this new layer.
Once you complete these steps, do a final check by running your hands over the regions where the two vapor barrier sheets meet. Make sure that no gap is present. Otherwise, this shielding may possess reduced vapor-resisting properties.
If you encounter some gaps, remove some of the staples while pressing the two sheets with your hand. Then, flatten the layers properly before securing them again with your staple gun.
Aside from covering foil insulation with a vapor barrier, you might also find it interesting to learn about how to cover other insulating materials. If so, read our post on cellulose insulation and vapor barriers for more details about this matter.

Check out this vapor barrier on Amazon.
Which Side Of Foil Insulation Faces Out?
Some construction community members advise foil insulation installers to face the material on the inside. Plus, the insulating agent needs to overlook the air gap for it to block radiant heat. Then, this airspace needs to have proper sealing, such as a moisture barrier, to help reduce and prevent unwanted condensation.
Does Radiant Barrier Paint Really Work?
Radiant barrier paint generally works but only at about 15% to 40% reflectivity. Furthermore, different factors can affect the efficacy of this paint, including the product’s brand and coverage. Also, the installer’s expertise can adversely or positively affect radiant barrier paint results.
It’s advisable to let professional painters apply this paint on surfaces like foil insulation. Radiant barrier paint is noxious, which requires safety equipment like masks and respirators. So, applying this paint isn’t an ideal DIY project.

Check out this radiant barrier paint on Amazon.
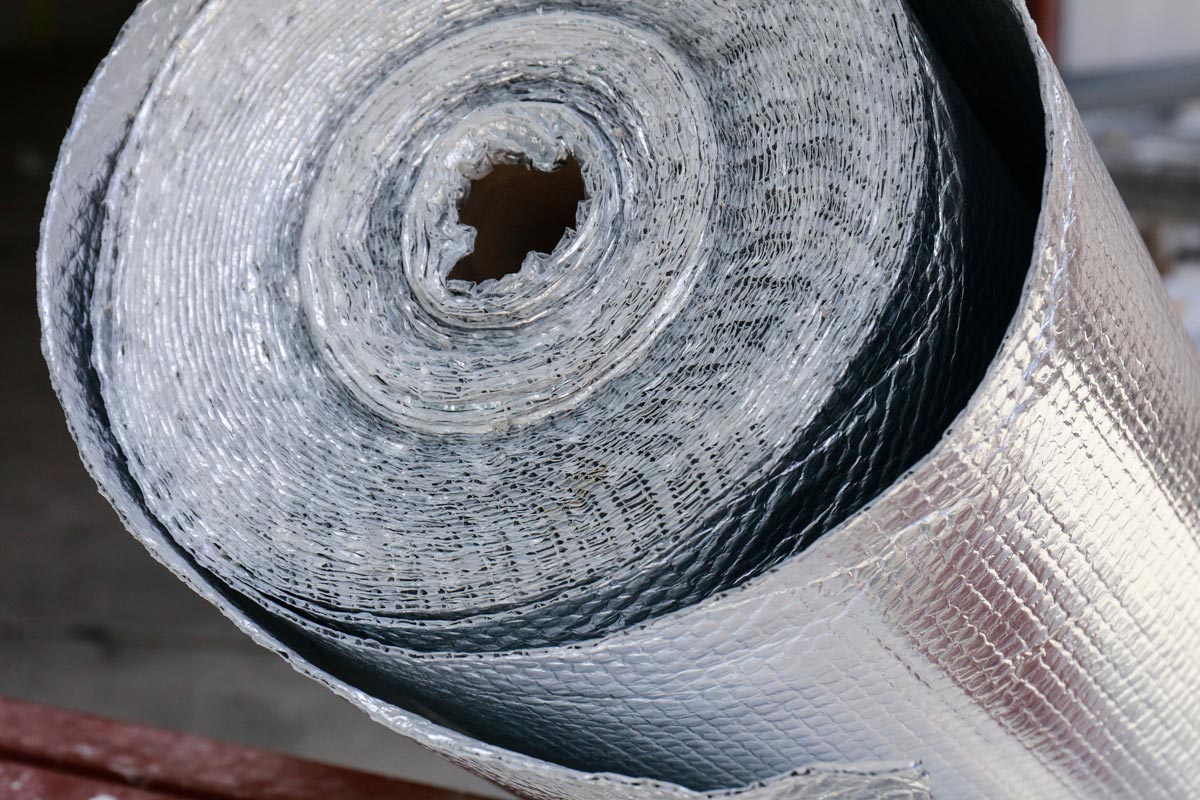
Is Aluminum Foil Good For Insulation?
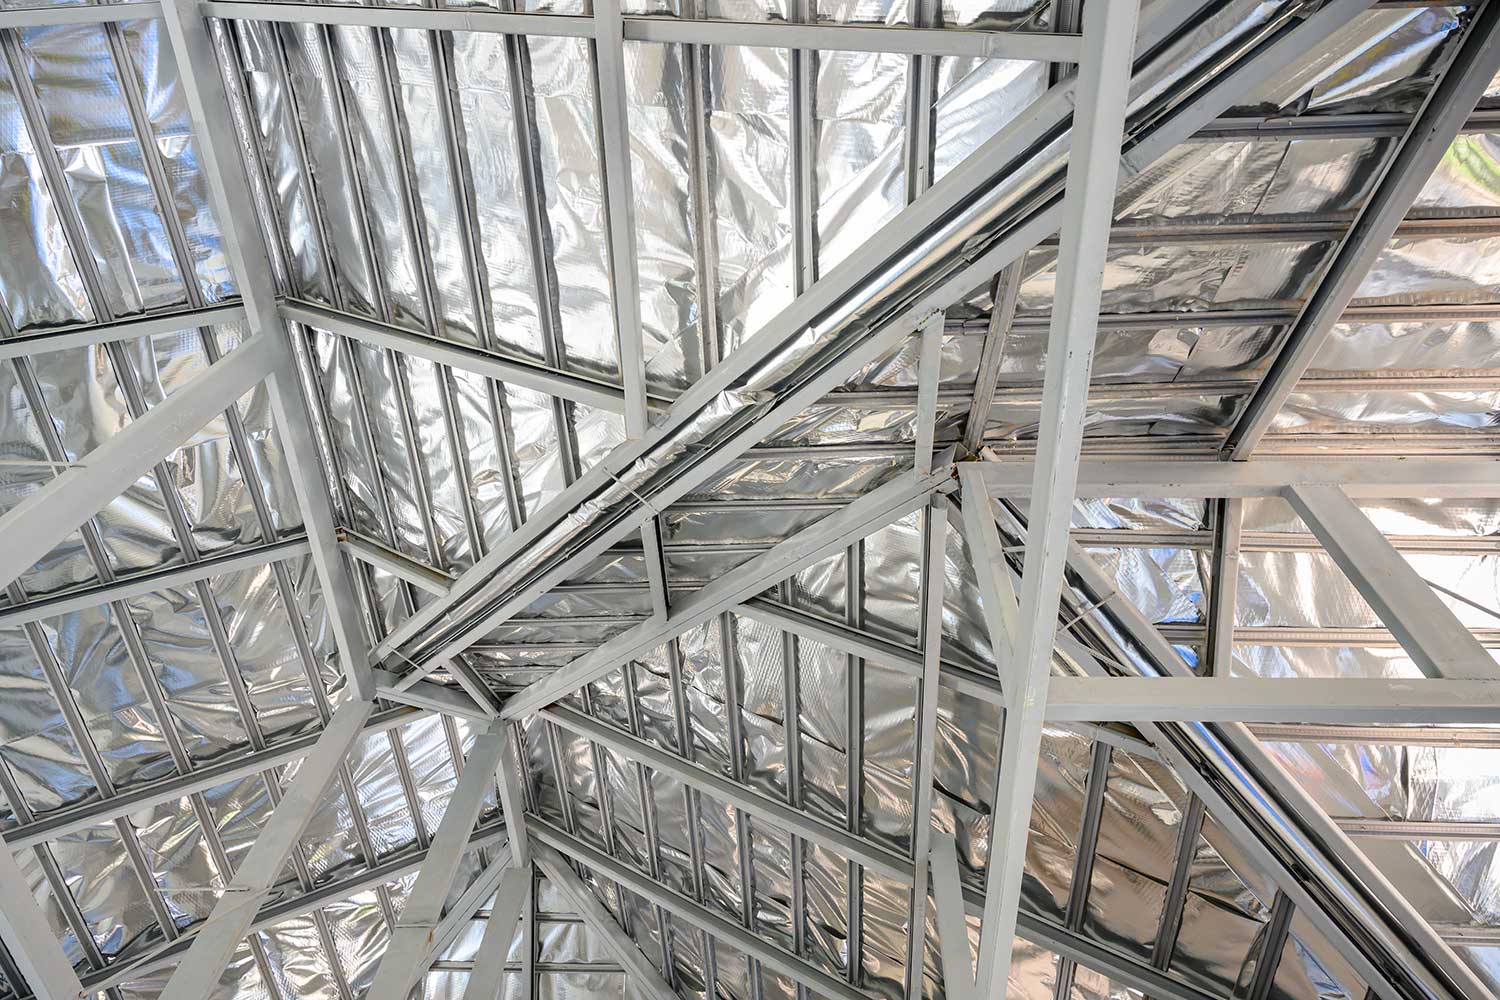
Aluminum foil can be an efficient insulating material if installed properly. This option typically reflects heat, promoting comfortable indoor temperatures during summer. Aluminum foil can also be ideal for attic roof insulation to help prevent a significant amount of heat from entire the house.
Plus, this material has a melting point of 1,220 degrees Fahrenheit. In comparison, the average temperature of a hot summer day is 87 degrees Fahrenheit. Therefore, homeowners shouldn’t worry about their aluminum foil insulation melting from the heat of the summer sun.
Adding an extra layer like cardboard or foam on top of the foil may enhance the heat-resisting properties of the setup.
How Do You Install Foil Insulation On Walls?
Before you install foil insulation in walls, you need to prepare airspace between the insulating material and the exterior surface. Without this gap, the foil will capture a significant amount of outside heat and disperse it to the room, rendering the insulation practically useless.
Jamming foam strips between the foil insulation and the wall creates this airspace.
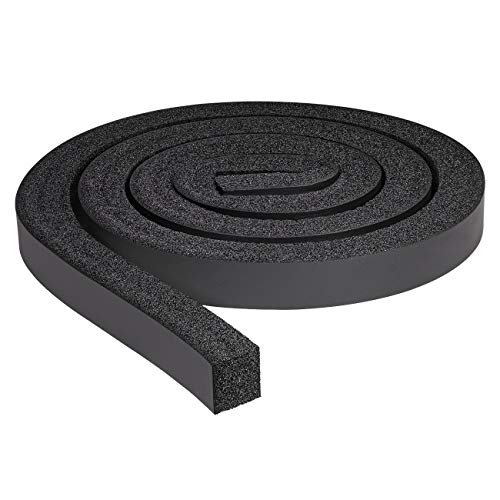
Check out these foam strips on Amazon.
Once you have this area, you can continue with the installation project:
- Cut the foil insulation to the correct size.
- Staple the foil against the foam strips and the adjacent joists.
At this point, you can continue adding extra insulation to the setup. That way, you can protect the premises from heat- and cold-related problems.
For example, add batt insulation on top of the foil layer to the foil sheet. Then, attach a blue board to give the insulation assembly an extra R-value. This setup will also promote thermal bypass to give your wall additional warmth and cold resistance.
Watch the video below to learn more about accomplishing this foil insulation setup for your walls:
Final Words
Acrylic, tempera, and other water-based paints should work on foil insulation. Still, proper paint application is important to ensure the color sticks on the insulating material. Those that don’t exercise proper preparations might be at risk of completing the project with unsatisfactory results.