
Tile has a lot of outstanding benefits, like cost effectiveness, ease of maintenance, aesthetics, and durability. Drylok is a popular waterproofing material for house interiors.
If you have a Drylok installed on your floor but wonder if you can put tile over it, then wonder no more. Here are the results of our research into this issue.
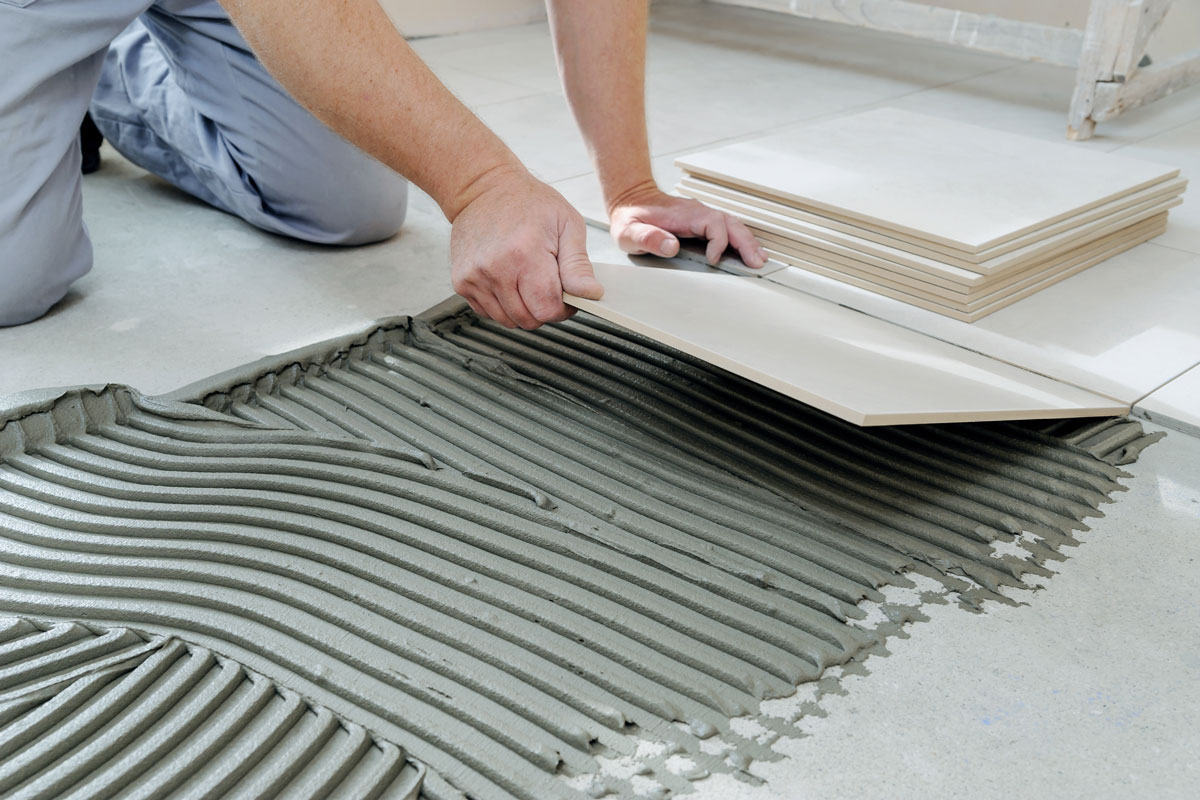
Yes, you can tile over Drylok. By using Drylok before installing the tile, the floor will become waterproof, allowing the tile to adhere to the surface.
Additionally, it lengthens the tile's lifespan because waterproofing will prevent moisture from damaging them.
Proper planning and installation are needed to get the finest result of tile installation over Drylok. Continue reading to know more about Dryloks and how you can put tiles over them.
In this post, we will also answer some frequently asked questions. So, let's get right into it!
Can You Tile Over Drylok?
When it comes to waterproofing, Drylok is one of the most popular choices. This is because they prevent moisture from coming into the walls or floorings.
On the other hand, tiles are durable, very easy to maintain, and a good barrier against water damage because they perform exceptionally well in environments with high humidity and moisture. They are also aesthetically appealing, which makes most homeowners install them in their homes.
To achieve the best result for your tile installation, it is recommended to waterproof the area first. You can use Drylok to do this. Tiling over Drylok can reduce the water that comes in, which can cause damage to the tile.
Additionally, waterproofing is crucial, particularly in areas like the bathroom and shower that are frequently damp.
Waterproofing before tiling will prevent moisture from coming into the substrate, prolonging the lifespan of your tiles, and costing you less in the long run.
Should You Use Drylok On Basement Walls And Floors?
Moisture leaks in the house are often associated with insects, molds, and bacteria. It can even damage things inside the house.
To prevent moisture from passing through your walls and floors, you can use Drylok in your basement.
It is known to keep moisture out, which is essential for the things inside the house. However, if you want to fully waterproof the basement, you should Drylock both the walls and floors.
How To Drylok Basement Walls?
Nobody wants a leaky basement, so here are some simple steps on how to waterproof your basement walls:
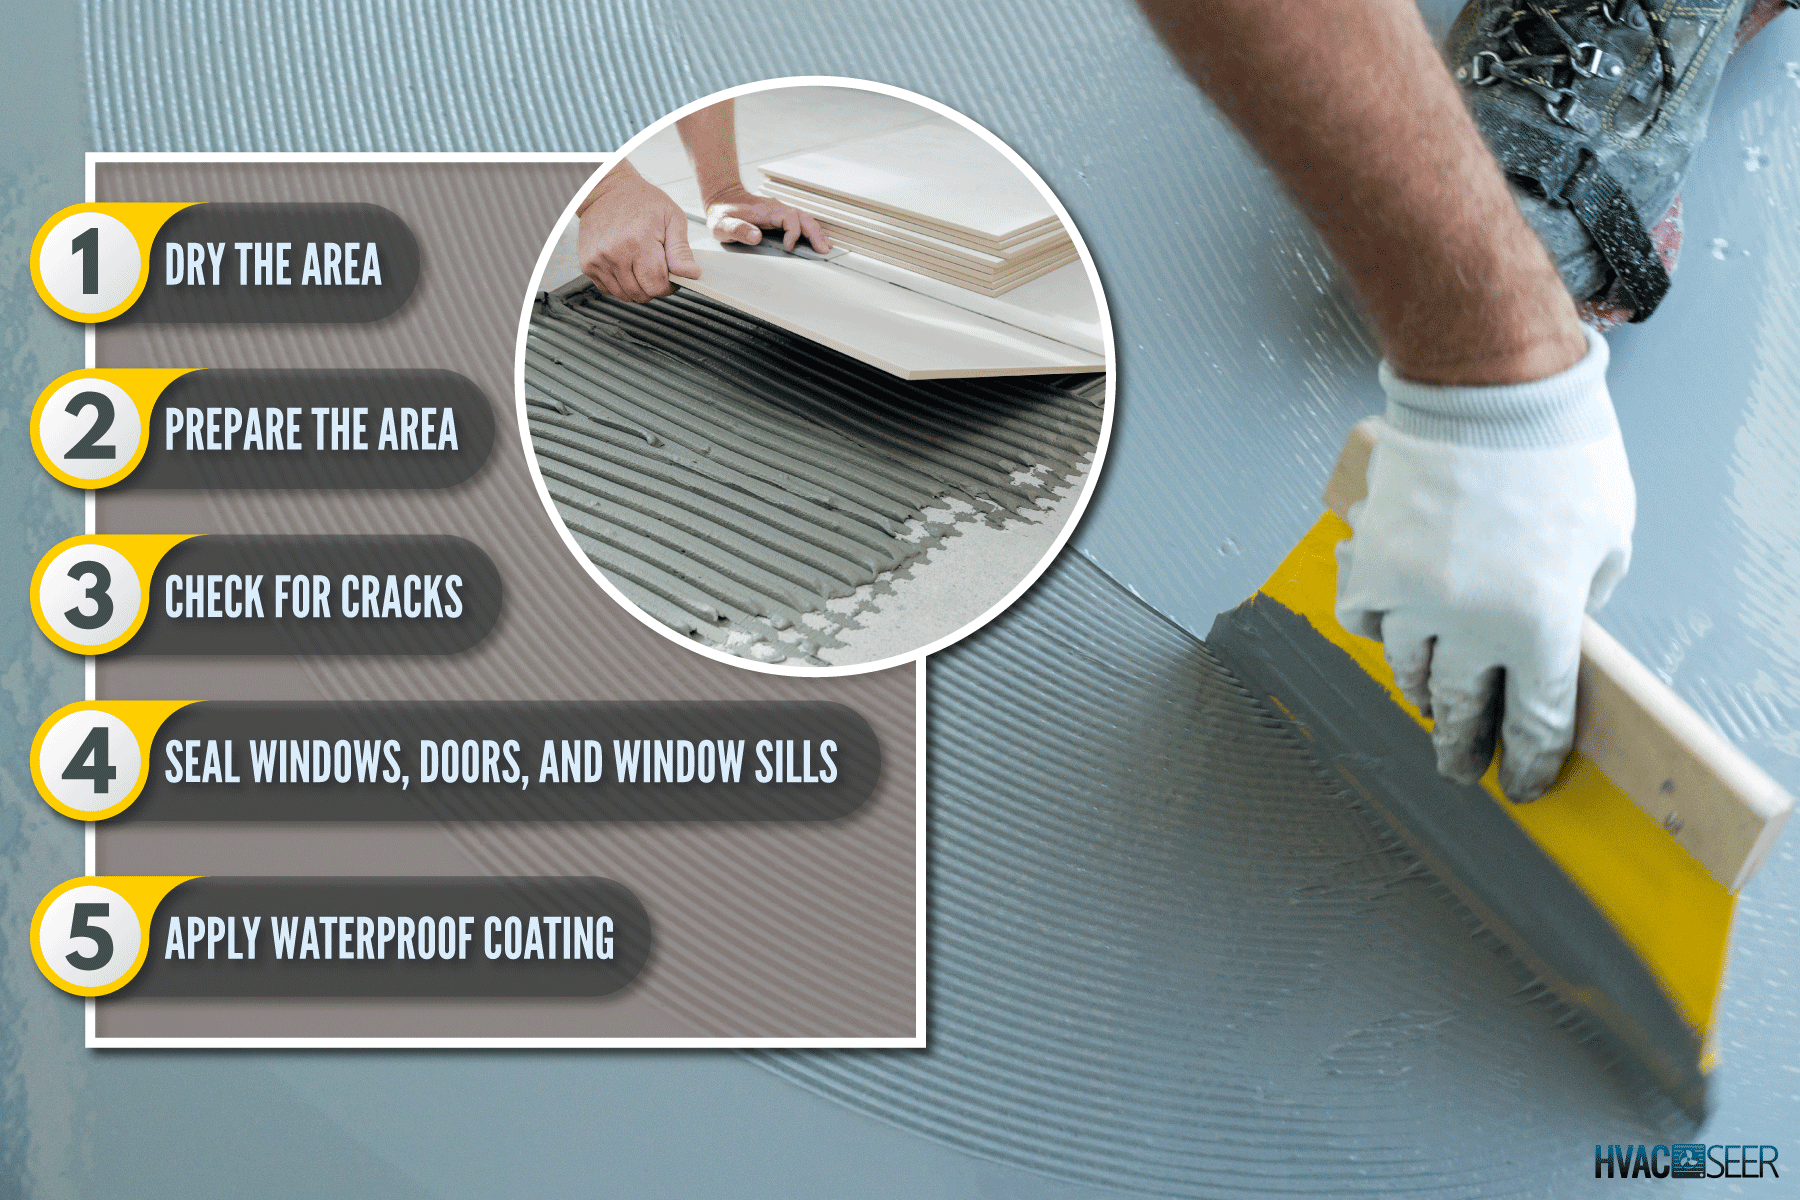
1. Dry The Area
If you want to waterproof your basement, remove all standing water and ensure the walls are completely dry. This is to make sure that the wall will quickly absorb the waterproofing material.
2. Prepare The Area
After you ensure that the area you're working on is completely dry, area preparation will be the next step. When cleaning, remove all the old paint or wallpaper. You can use a wire brush or sandpaper to remove all unwanted materials on the wall surface.
Click here to see this long-handled brush on Amazon.
3. Check For Cracks
The next step is to check for cracks in the walls. Once identified, you can start filling up the small holes and cracks with hydraulic cement or use other crack fillers. This will help prevent moisture from coming to the surface.

Click here to see this Drylok hydraulic cement on Amazon.
4. Seal Windows, Doors, And Window Sills
It is vital to seal the areas where water commonly enters, such as the windows, window sills, and doors.
You must seal them properly using caulk or expanding foam to prevent water from entering. Waterproofing the walls will be useless if these areas are not sealed.
Check out this article, "What Is The Best Sealant For Basement Walls? [3 Great Options Explored]," to know more about the best sealant that's perfect for your use.
Click here to see this caulk and seal on Amazon.
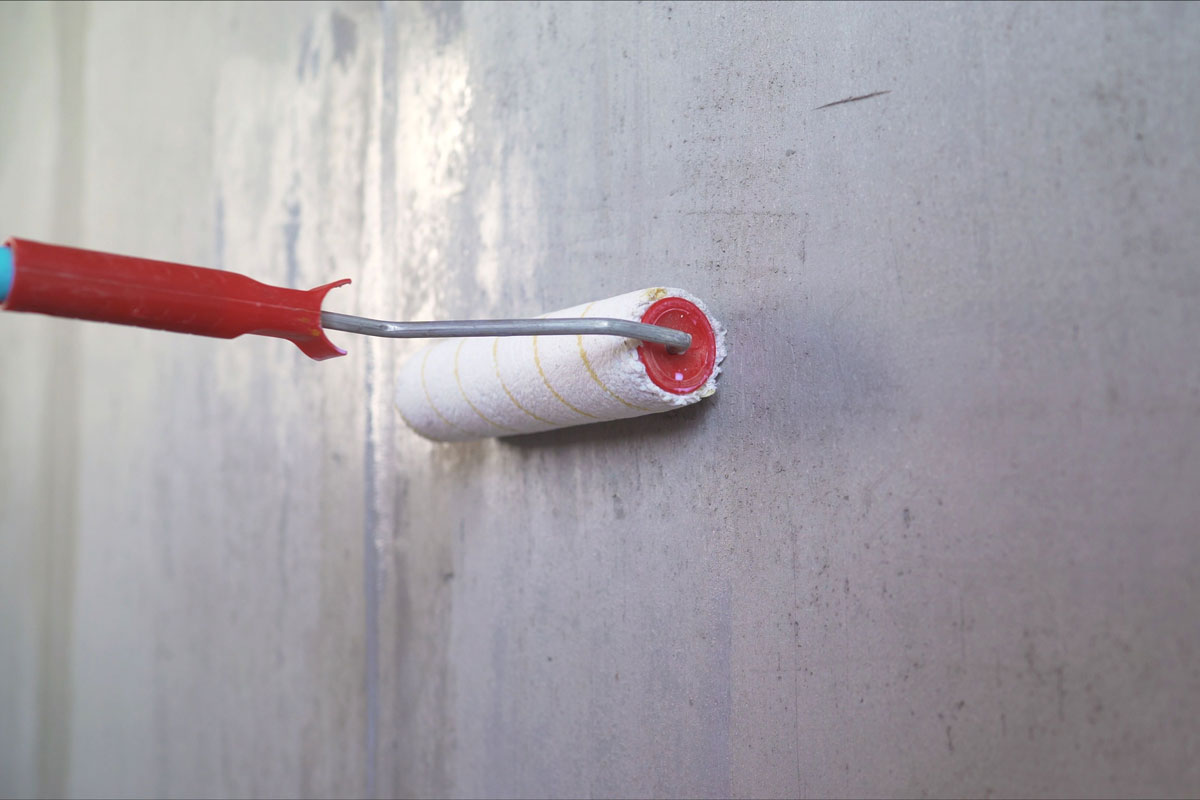
5. Apply Waterproof Coating
Once everything is settled and checked, you can now start applying waterproof coating on the walls. Make sure there is enough waterproofing paint to complete the process so there will be no marks on the wall.
Also, when painting, see to it that the temperature is 55 degrees Fahrenheit.
Do not try to thin the paint, just stir it thoroughly. Carefully apply the first coat by pushing the roller or brush into the wall, ensuring that all the little holes are filled in. Wait for at least two to three hours before applying the second coat.
You can check out "How To Apply Drylok [A Detailed Guide For Beginners]" for more information on correctly applying Drylok to your walls.
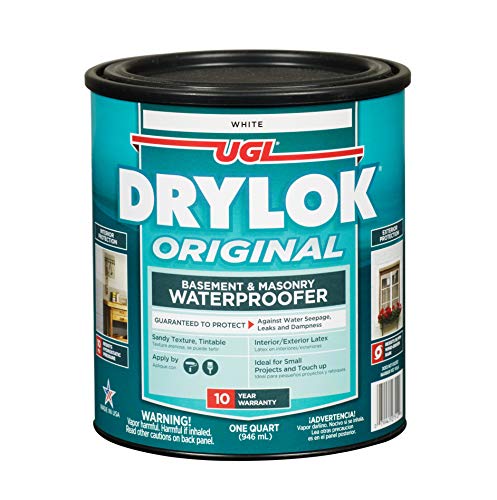
Click here to see this Drylok waterproofer on Amazon.
Can You Waterproof An Existing Tile?
Moisture can damage walls and floors, which is why waterproofing is very important. So, an important question is if you can waterproof an existing tile.
Suppose you're one of the many homeowners without the knowledge of the benefits of waterproofing before installing tiles. In that case, you're probably observing your walls and floors having mold or moisture coming out from them.
If you have existing tiles, fully waterproofing will not be possible unless you replace them and put on waterproofing materials. However, you can seal cracks using sealant to at least lessen the leaks where water and moisture can penetrate.
Why Is Drylok Turning Yellow?
If you've already used Drylok as a waterproofing material for your house and notice that the walls suddenly turned yellowish, they may be a problem. The main issue here is there might still be water leaking on the surface of the walls.
This is why proper installation is needed. You can call a professional to do the waterproofing for you to prevent future problems.
How Long Will Drylok Last?
Drylok is a perfect waterproofing material. However, like any other waterproofing material, there is a limit on its performance.
Drylok commonly lasts 7-15 years, depending on how well they're maintained. They may start to crack and peel off, which can result in poorer performance of the waterproofing.
How Much To Drylok A Basement?
A waterproofing project is no joke. They need to be taken seriously and completed in detail so you will not be spending money due to future problems that arise by doing it yourself. Call a professional when doing this project.
The cost to Drylok your basement depends on different factors such as the room size and labor cost. However, generally speaking, the national average for waterproofing a basement will cost around $3,000-$7,000.
Moreover, when you're only filling in cracks on the walls, it can only cost you $1,000. But if you want a high-end waterproofing service that will take care of the cracks, the drains, and the sump pumps, you should expect a higher cost of at least $10,000.
The cost still depends on the factors mentioned above, which are different depending on location. Consult a professional for an estimate for waterproofing your home.
Do You Need To Prime Waterproofing Before Tiling?

Although the primer is an essential part of tiling installation, it is not recommended to use it when you already have a waterproofing substrate. This is because the waterproofed area will not absorb the primer.
In Conclusion
If you're looking for a way to waterproof your walls and floors, Drylok is a good choice. However, if your concern is to put tiles over your existing Drylok so it will look appealing, then you can do so.
Putting tile over Drylok can be beneficial when waterproofing the house. They are good partners in preventing water and moisture from coming in, which is one of the causes of property damage. Drylok can also increase the lifespan of your tile since it serves as a barrier to water damage to your tile.
Lastly, call for a professional when waterproofing your home since it needs full attention to every detail. This is also to help you avoid future problems that may lead you to spend more money.