You turned on your Trane heat pump, but it warns you it’s on soft lockout. Why is the appliance giving you this warning? We researched this concern for your convenience, and here’s the answer we found.
Your Trane heat pump might be on soft lockout because it has a faulty temperature regulator or a bad compressor. Otherwise, some of its connections might be loose or need replacement.
Take note that troubleshooting your Trane heat pump can help you find the source of the soft lockout concern. Then, you can use the appropriate methods to fix the main cause of the issue. So keep reading as we discuss these reasons for the Trane heat pump soft lockout in greater detail.
Reasons Why A Trane Heat Pump Is On Soft Lockout
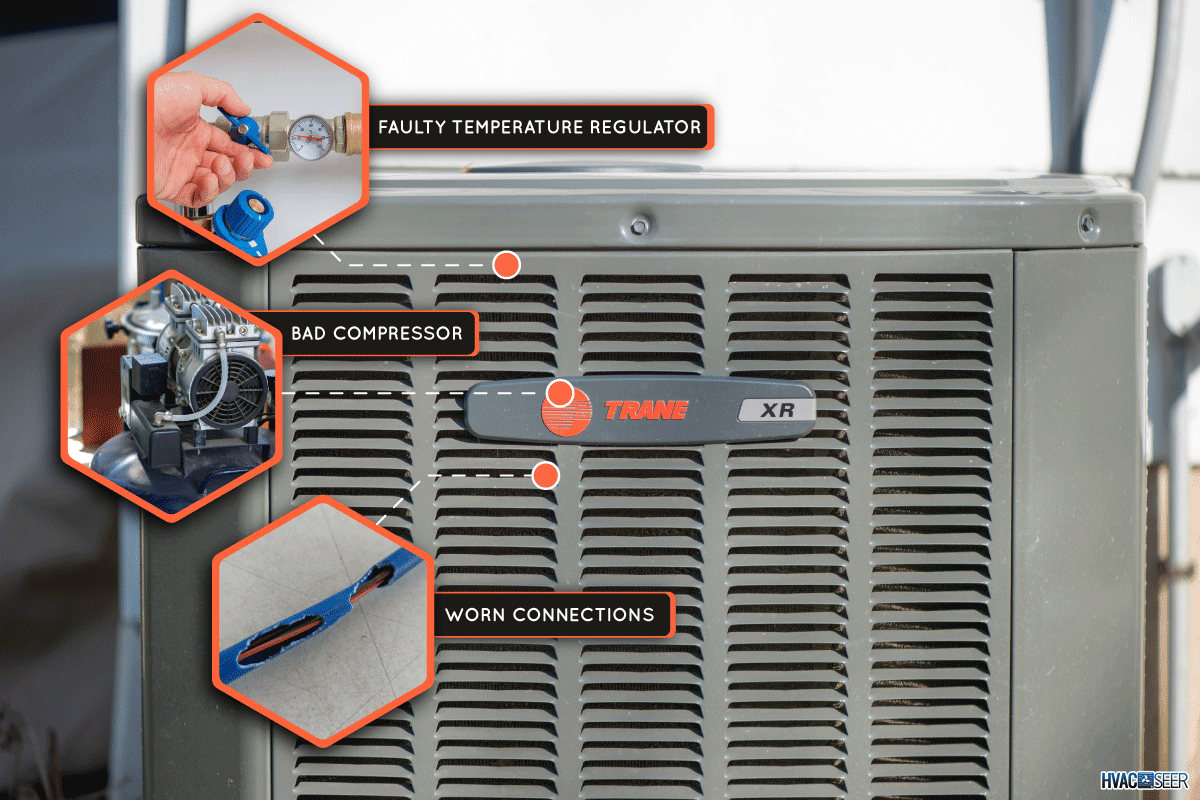
Often, a Trane heat pump will show a soft lockout warning to its users because of three possible culprits. These potential suspects are:
Faulty Temperature Regulator
Heat pumps, particularly those from Trane, often have temperature regulators. These components let the appliance produce the proper temperature output based on manual or automatic settings.
For example, the regulator will set the heat pump to produce sufficient heat during winter. On the other hand, it allows the heat pump to deliver cold air during the hot season.
If the regulator fails, it might not read temperature measurements correctly, leading to a soft lockout. Also, this malfunction may result in the Trane heat pump going into a hard lockout if you don’t replace the faulty unit.
Bad Compressor
The typical heat pump compressor is responsible for circulating refrigerant around the appliance. As with other heat pumps on the market, Trane’s models generally have compressors with the same function.
So, a Trane heat pump with a bad compressor may reduce overall performance, leading to a soft lockout and attempting to use the heat pump. At the same time, it still has this warning, which may result in further issues and more expensive repair fees than expected.
Also, your heat pump may encounter a hard lockout or have another serious issue if it fails to function. Check out our post on what you should do if your heat pump compressor isn’t turning on to learn the solution to this predicament.
Worn Connections
Connections within the Trane heat pump may become worn over time, such as hoses and wires. Cracks, gaps, holes, and loose connections can lead to the appliance malfunctioning, leading to the soft lockout warning. Reconnecting or replacing these parts may restore the heat pump’s average performance.
How Do You Replace A TXV In A Trane Heat Pump?
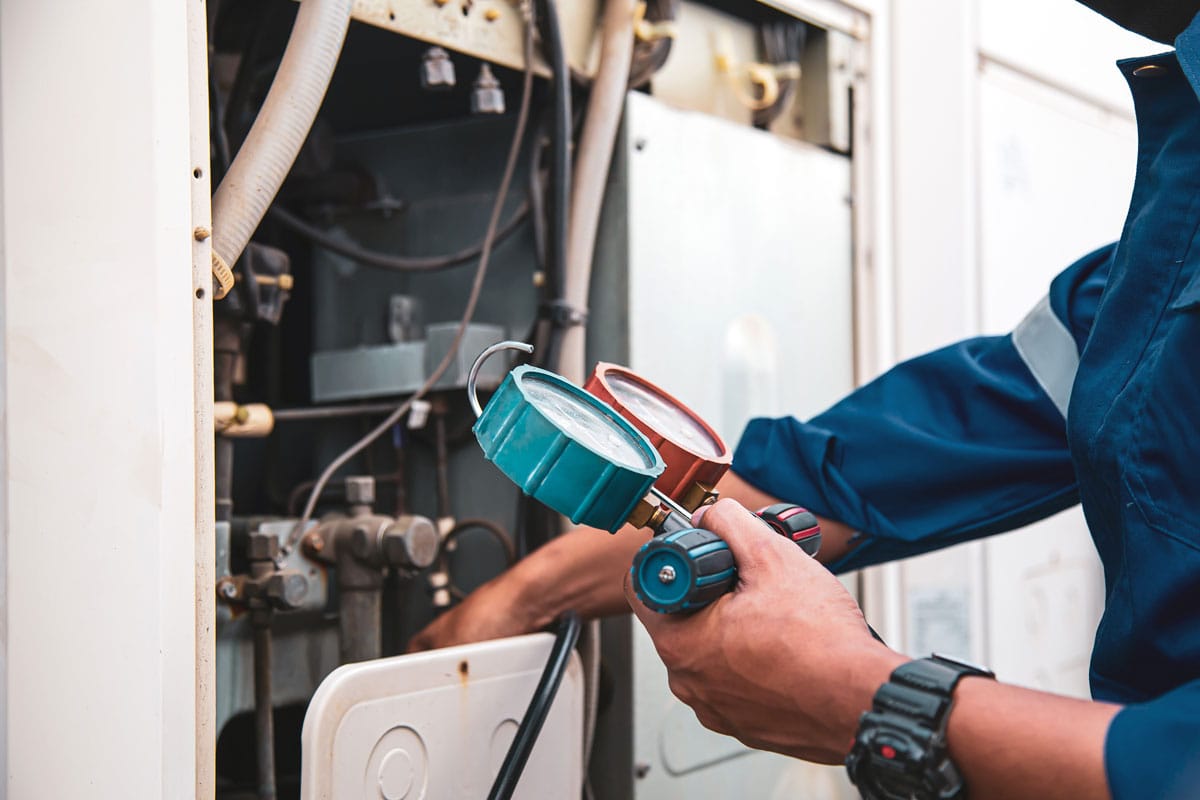
Warning: Replacing a TXV in a heat pump is often a job meant for professional HVAC technicians. Don’t attempt this task if you lack the confidence, know-how, and skill to complete this operation without making significant mistakes.
A thermal expansion valve (TXV) helps manage the amount of refrigerant released within a heat pump. Specific Trane heat pump models have this component, supplying users with sufficient cold or heat when needed.
If this valve becomes terrible, replacing it might be the best choice instead of applying temporary fixes. So take note of the following steps as you proceed with this project:
What You’ll Need
- Refrigerant recovery cylinder
- Refrigerant recharge kit
- Scale
- Nitrogen purge kit
- Bolt cutters
- Industrial soldering machine
- Heat-blocking putty
- Wet cloth or rag
Step-by-Step Guide
Step #1: Flush The Refrigerant
Remove the leftover refrigerant from the Trane heat pump by following these steps:
- Place the recovery cylinder next to the heat pump and take note of its capacity.
- Attach the hose from the low-side gauge hose of the manifold to the heat pump’s suction connection.
- Connect the king valve and the high-side gauge line.
- Attach the gauge assembly’s center hose to the refrigerant container.
- Open the connection slightly to bleed air in the lines.
- Place the recovery cylinder on the refrigerant scale for you to check its progress.
- Start the refrigerant flushing system and fill the container up to 80% of its capacity.
- Close the lines and remove the assembly for now.
Step #2: Apply A Nitrogen Sweep
Sweeping the Trane heat pump with nitrogen allows the system to displace air and water vapor before it condenses. That way, the risks of further harming the unit while you remove the old TXV and install the new unit won’t be significant.
A nitrogen sweep typically follows these steps:
- Attach the nitrogen purge kit to the Trane heat pump according to the manufacturer’s instructions.
- Set the vacuum to pump normally.
- Apply low heat to the evaporator, condenser, and compressor with a heat pump.
- Inject nitrogen from the purge kit into the heat pump and allow it to run for about 10 minutes.
- Vacuum the system again for another 30 minutes.
- Repeat steps 2 to 4 until the purge is complete.
Step #3: Remove The Old TXV
Unscrew the old TXV from the Trane heat pump. If you can’t unscrew it normally, you may need to cut the lines with bolt cutters.
Step #4: Install The New TXV
Place the new TXV in the exact location as the old unit. Then, apply heat-blocking putty to a wet cloth or rag. Place the damp material on the line above the TXV assembly.
Next, secure the pipes using a soldering machine to apply heat to the metal material at the lines’ connecting points. Make sure to give the metal lines a minute to cool down if you need to do multiple passes with the soldering machine.
Step #5: Recharge The Heat Pump
Reconnect the refrigerant recharging assembly to the Trane heat pump. Recharge the appliance with the appropriate amount of refrigerant. Once complete, turn on the heat pump to test if the soft lockout problem persists. VRV.
Check out this replacement Trane TXV on Amazon.
You can also check the video below for a visual representation of the steps mentioned above:
Also, watch this clip if you want to know more about how a TXV works:
How To Reset Trane Heat Pump Unit?
Resetting a Trane heat pump may also remove its soft lockout status. You can complete this task by going through the following procedure:
Step-by-Step Guide
- Turn off the connected thermostat.
- Turn the toggle switch at the top of the heat pump to the off position.
- Let the appliance sit while deactivated for at least 30 seconds.
- Turn the toggle switch at the top of the heat pump to the on position.
- Restore power to the heat pump through the thermostat.
- Check if the soft lockout warning or other issues persist.
You can also watch the video below if you need a visual guide to the steps mentioned in this section:
How Many Years Does A Trane Heat Pump Last?
Trane heat pumps generally last about 15 to 20 years with proper care and maintenance. Keep in mind that the longevity of a heat pump can vary based on different factors, regardless of the brand and model used. For instance, the lifespan of a heat pump may reduce if it frequently becomes exposed to harsh weather.
Watch the video below if you find it interesting to learn about how to inspect a Trane heat pump for possible and existing issues:
How Much Does It Cost To Replace A Trane Compressor?
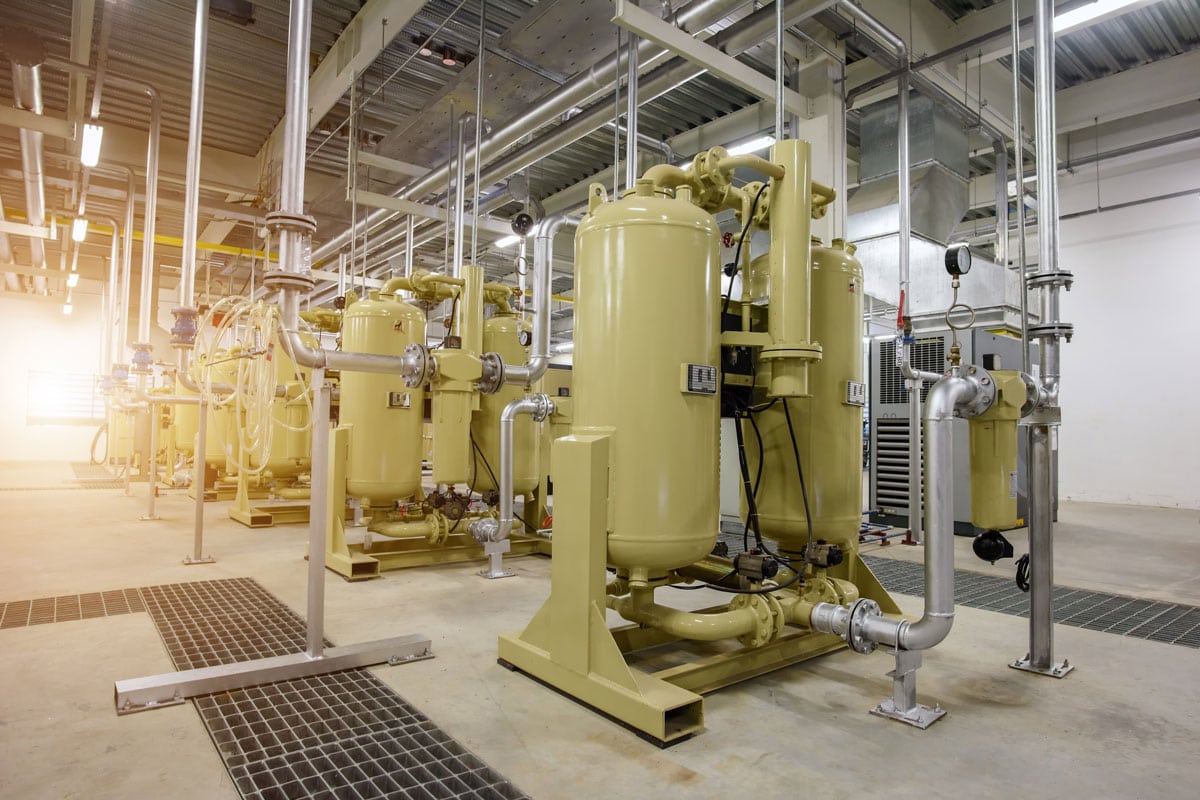
Prepare to spend around $600 to $1,200 to replace a Trane compressor, provided the unit is still under warranty. Otherwise, you may need to pay about $1,300 to $2,500 for the replacement. This price range may already include the professional labor required to complete the replacement procedure.
On the other hand, you may also want to replace the entire appliance. If so, you may need to spend approximately $3,300 to $5,900 for the new unit.
At this point, you might also be looking at specific brands to replace your old heat pump. You can read our posts comparing heat pumps among Ducane, Trane, and Carrier. Check out that post to help in finalizing your purchasing decision.
Final Thoughts
Fixing the leading cause of your Trane heat pump encountering a soft lockout often starts by troubleshooting the appliance. Remember, this problem often comes from the compressor, temperature regulator, or the machine's connections. Also, refrain from attempting to use standard DIY techniques to repair the heat pump to avoid bringing further harm to the unit.

