
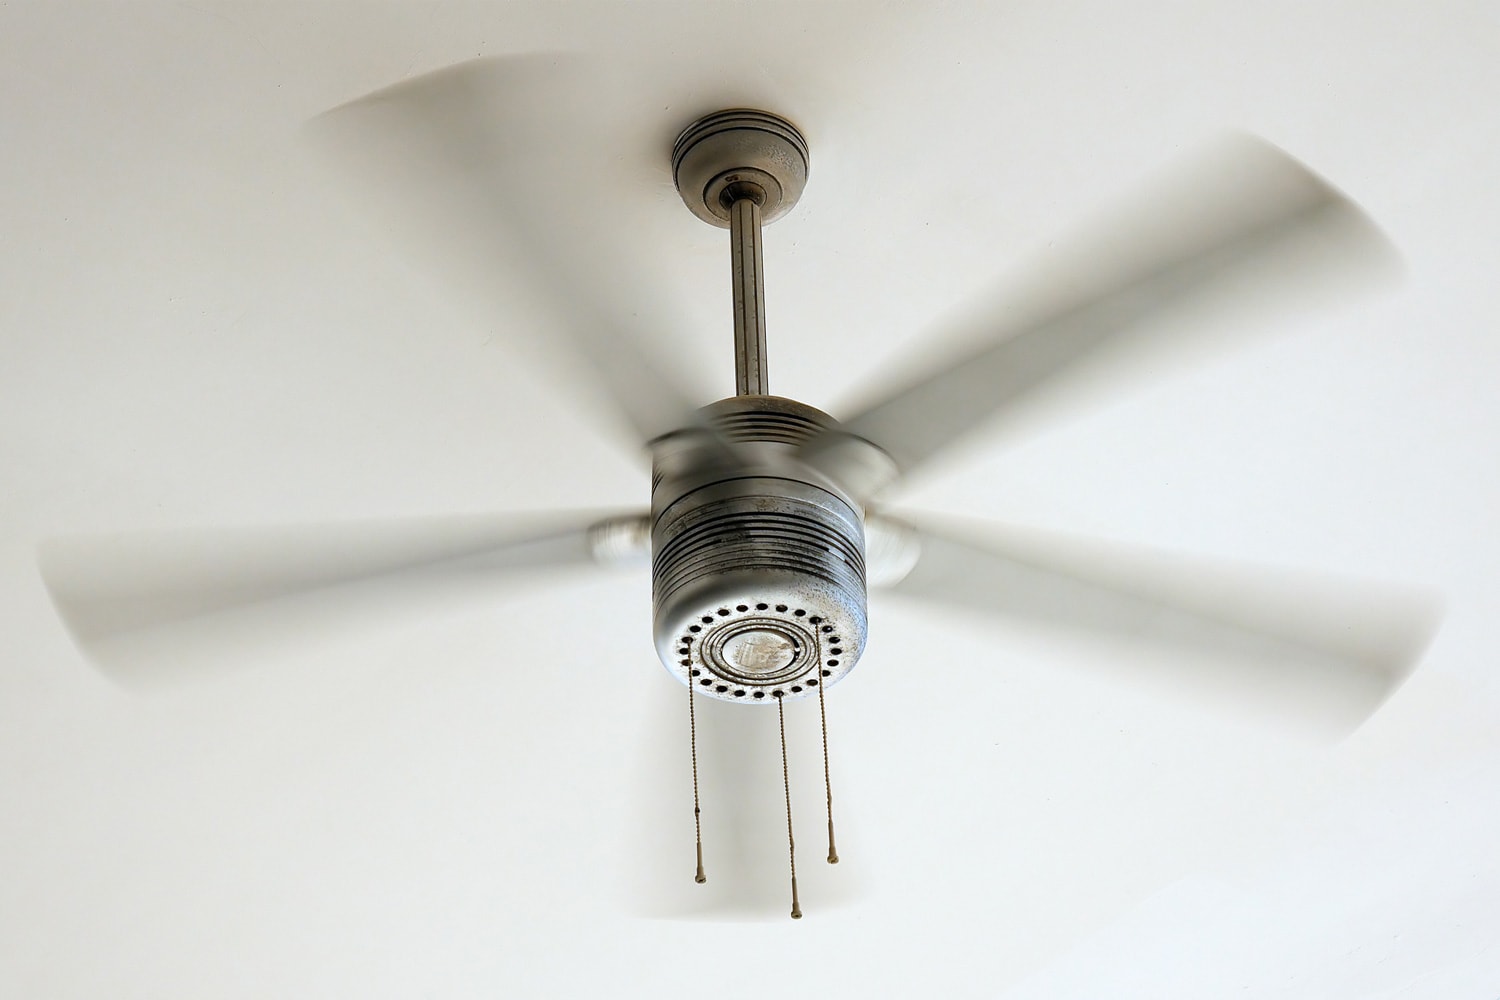
Ceiling fans are a cost-effective way to make a room feel like it's cool. It's much cheaper to run than an air conditioner. However, there are times when the fan will start to act out of the ordinary. Maybe it won't spin anymore. If you're wondering what could be wrong, let's go over the details.
As with any electrical equipment, you'll have to determine the cause by troubleshooting. The ceiling fan has a few components that could prevent spinning if one of them malfunctions. To narrow down the issue, you'll need to follow these simple steps:
- Test the blades.
- Inspect the ball bearings.
- Check the fan capacitor.
Once you find the culprit, it's time to decide what you'll need to do. Some will have simple solutions like ordering and installing a replacement part.
Other problems might require you to replace the whole ceiling fan. If you want to go over the issues thoroughly, keep reading ahead.
Troubleshooting the Ceiling Fan
Before starting the troubleshooting, you need to rule out the obvious cases. If the ceiling fan is not spinning, check to see if the whole thing doesn't work. Try to turn on the ceiling lights.
If they turn on, you have an isolated case on your hands. However, if the lights do not work, there's a power problem. You will have to inspect the switch and circuit breaker.
Thus, you will have to identify what's preventing the ceiling fan from receiving power. If you're not comfortable doing electrical work, you can hire an electrician to check out the problem.
In any case, if the ceiling fan lights still work, we'll have to continue troubleshooting. It can still be a problem relating to power. But, it can also be a mechanical issue that anyone can fix. Let's go over the areas you'll want to check out.
Test the Blades
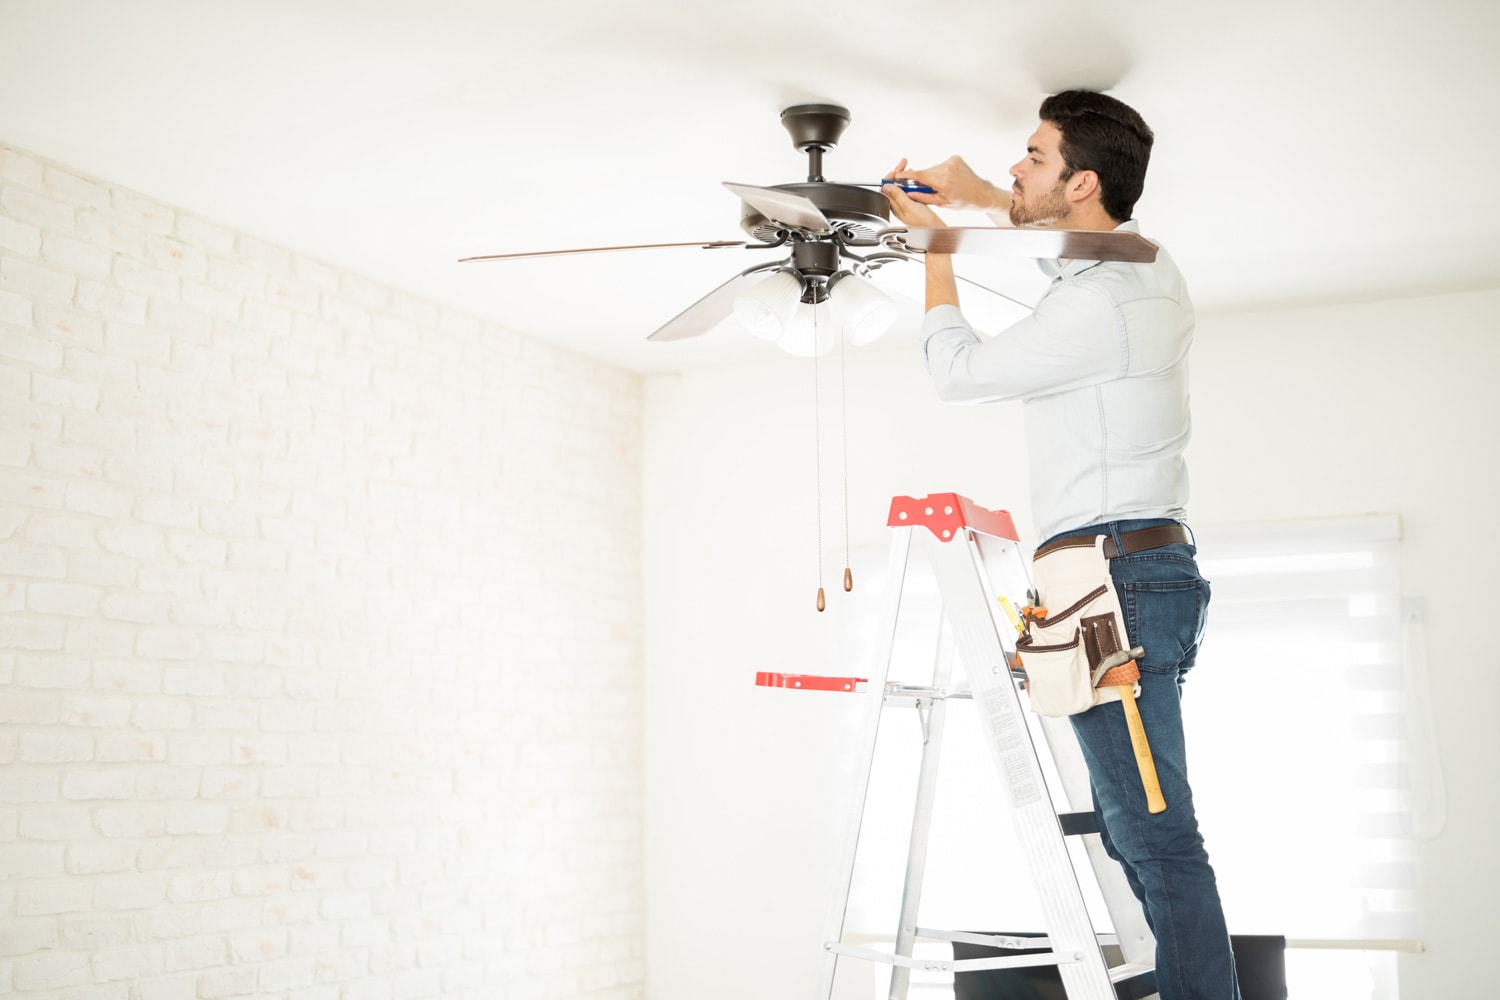
You'll want to start by testing the blades. We're starting with this area because it requires less work. Disassembling the fan won't be necessary unless you determine there's something wrong with the mechanical side of the ceiling fan.
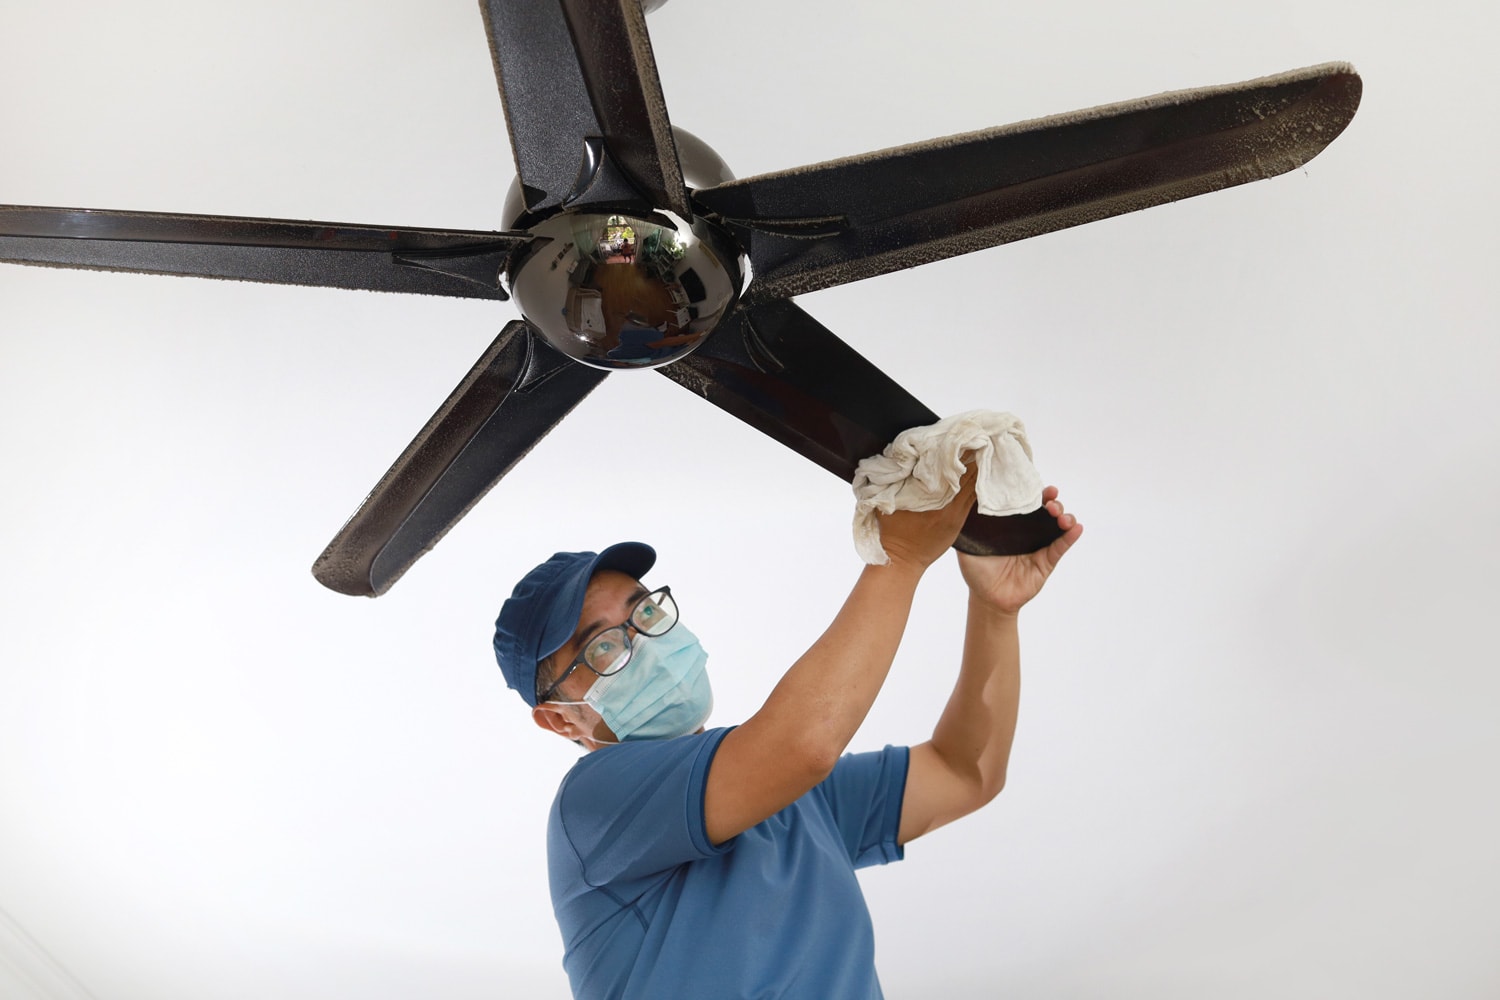
Look at the condition of the blades. If there's a lot of dust buildup, it can interfere with the blade's performance. Sometimes all you need to do to get the ceiling fan spinning again is clean the debris.
However, dust buildup alone shouldn't be able to stop the blades from spinning. If dust was the culprit, there are more problems up ahead. So, the next component we'll have to check is the fan bearings.
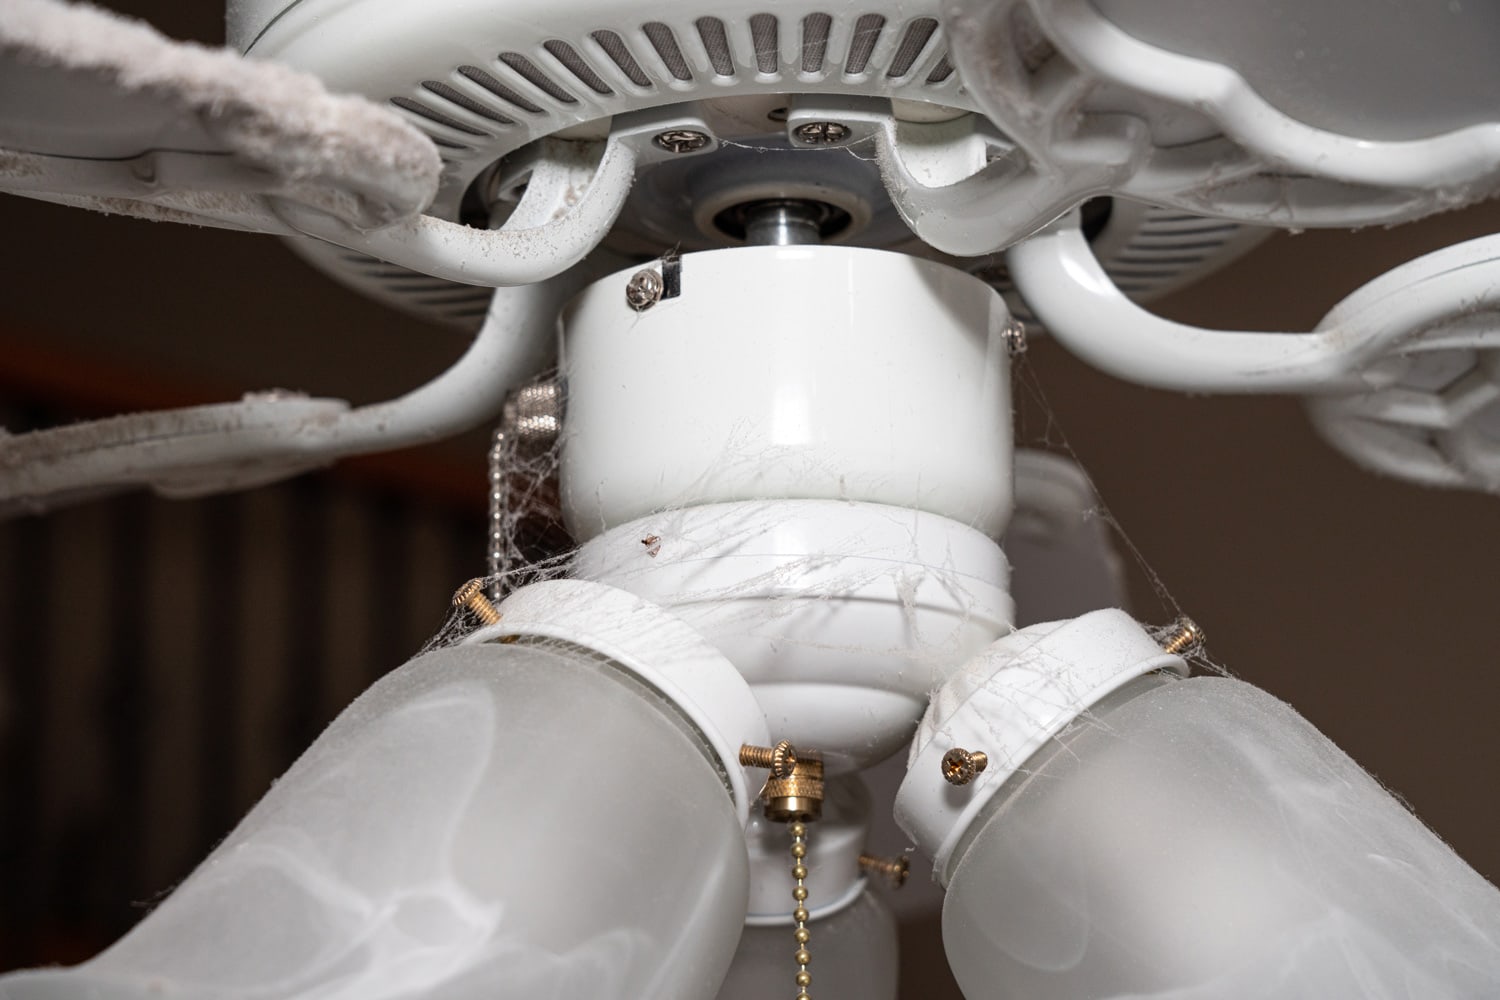
Inspect the Ball Bearings
In general, ceiling fans use ball bearings to support, guide, and reduce friction in the motor. This component can be enclosed or open depending on the ceiling fan model.
Modern ceiling fans won't usually have a problem in this area because they are self-lubricating.
However, dirt buildup over time and general wear and tear can impact the performance of this part. You'll know it's reaching the end when the ceiling fan starts making strange noises.
Squeaking, grinding, or clicking sounds will usually occur when the ball bearings don't have enough oil or too much dirt is in the compartment.
So, if you haven't addressed the noise problem, there was probably a decrease in performance over time until the blades could no longer spin.
The fix is as simple as cleaning the area and lubricating the ball bearings. If you'd like to know how to do that, check out our post:
Do Ceiling Fans Need To Be Oiled?
Check the Fan Capacitor
When the ball bearing is not the culprit of your problems, it's time to look at the electrical side of things again. However, this time we'll be checking the fan capacitor. Again, we can use our sense of hearing to determine what's going on.
Try turning on the ceiling fan. If you hear a hum as the blades stay put, it's one of the few signs of a bad capacitor. The other indicators are:
- Fan won't spin unless started by hand.
- Blades spin slowly or not at all on different speed settings.
- Certain speeds do not work.
Now that we're familiar with the signs, it's time to check the capacitor itself. You can find the capacitor in a black box. The black box is located inside the switch housing of the fan.
Once you find it, it won't take long to determine if you need to replace it. When a capacitor no longer works, the casing will likely be burnt or melted. So, you'll have to install a replacement.
Replacing the Capacitor
When you identify the capacitor as the culprit, you'll need to order a replacement from the manufacturer. Otherwise, bring the defective capacitor to a fan dealer or electrical supply outlet to see if they have replacements available.
Once you have the new capacitor, you'll need to following tools:
- Wire stripper
- Wire nuts
- Electrical tape
- Pick or pointed tool
Depending on the ceiling fan model, you might be replacing a 3-in-1 capacitor or a starting capacitor. We'll cover the 3-in-1 first to avoid confusion.
3-in-1 Capacitor
Before you start, turn off the power at the breaker. From here, you will need to disassemble the ceiling fan to gain access to the capacitor. If you want to avoid working overhead, take the ceiling fan down and leave it on a stand.
Now, begin by releasing the grommet that is holding the speed switch. You can do this by twisting it counterclockwise. The speed switch should be free to move around.
There will be a few wires that go into the openings of the switch. They are held there by a flap. You can release them by inserting a pick into the slots to press down on the flap. Then, pull the wire to free it.
Cutting Wires And Installing the New Capacitor
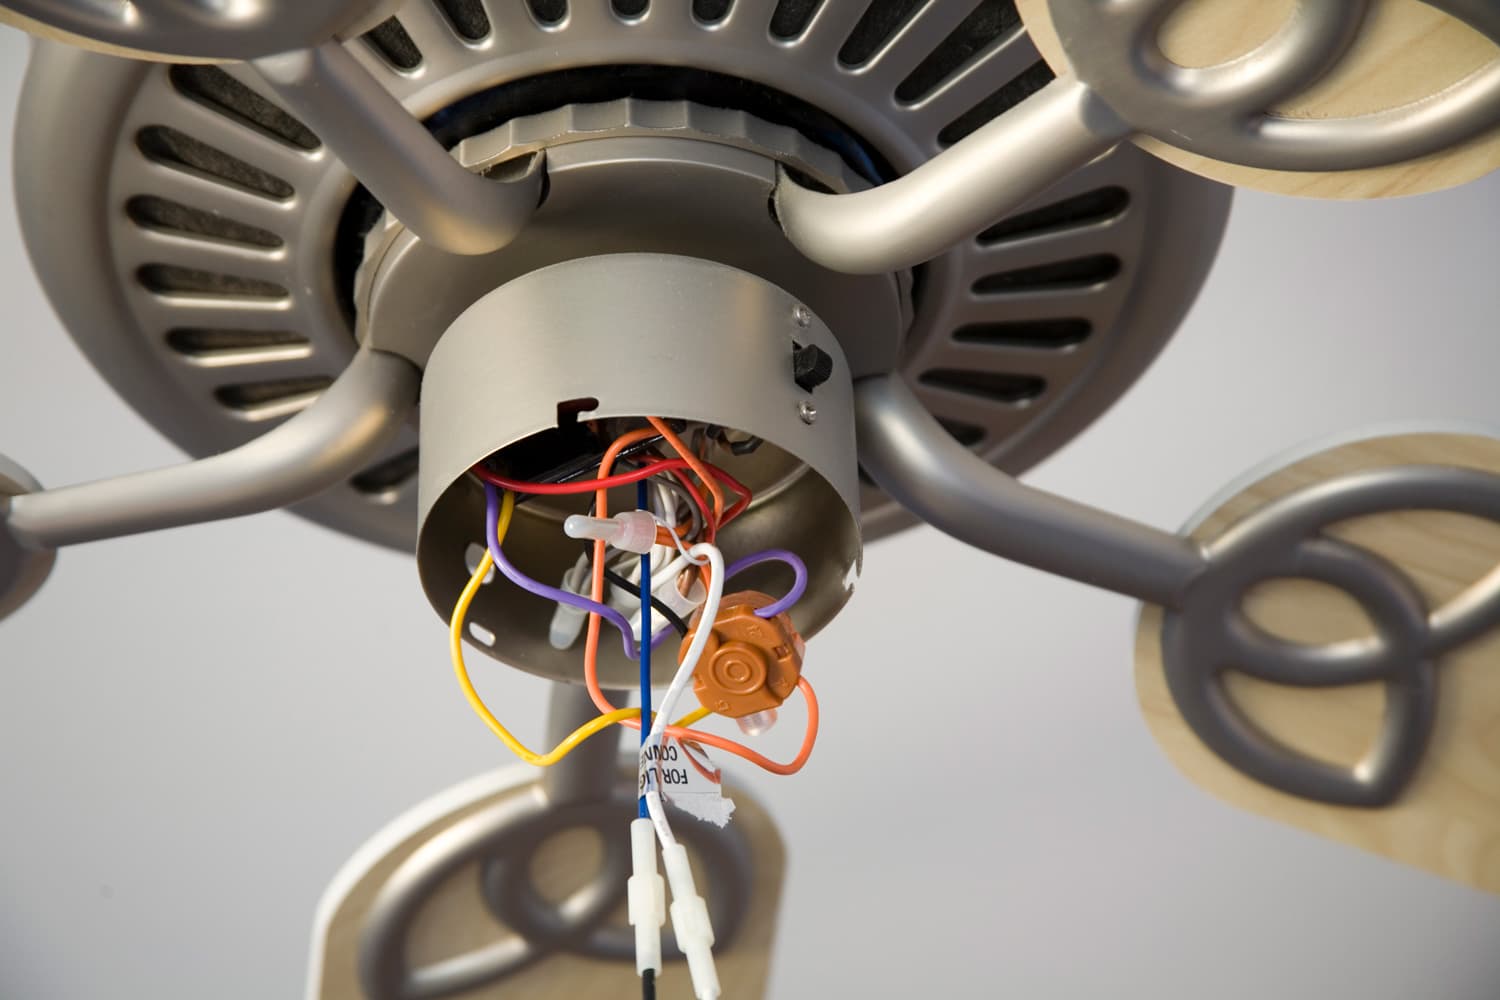
After releasing the wires from the switch, you'll need a wire stripper to cut the red and grey ones. Once you snip them, remove the defective capacitor. Take the wire stripper and strip the red and grey wires.
Then, combine the red wire from the capacitor and the motor together. Do the same with the grey ones. Secure the connection with a wire nut. Finally, wrap a bit of electrical tape around the wire nut.
It's time to insert the remaining capacitor wires into the switch. The color code is as follows:
- The purple wire goes into the number three slot.
- Insert the brown one into the number two slot.
- The grey wire goes into the remaining slot.
Lightly tug at them to ensure they're secured into the switch. Finally, you can reassemble the fan. Place the speed switch inside the switch housing and secure it with the grommet.
Tuck the wires and the capacitor into the switch housing. Place the ceiling fan back onto the ceiling. The ceiling fan should be able to spin again!
Starter Capacitor
Replacing a starter capacitor will generally follow the same procedure. The location of the capacitor can vary. It can be present in the light kit, switch housing, or on top of the motor assembly.
Of course, you'll need to disassemble the fan to access it. Remove any housing that's hiding the capacitor. You might also have to unplug a 4-pin connector if there is any.
The capacitor will be held in place with a single screw. Use a screwdriver to release it. Use your wire stripper to cut the red wire and the white one.
Strip the red and white wires from the ceiling fan and combine them with the capacitor's red and white wires. Remember to secure the connection with a wire nut and electrical tape.
Screw the new capacitor into place. Tuck the wires into the housing and assemble the fan back together. The fan should work as good as new!
For visual guidance, here's a YouTube video to help:
What Is the Average Life of a Ceiling Fan?
It might surprise you. But, ceiling fans generally don't give you many problems. Even without adequate care, they can last a long while.
Nevertheless, the average lifespan of a ceiling fan seems to be around ten years. Sometimes they can last even longer! Twenty to thirty years of use is not too uncommon.
Is It OK to Leave a Ceiling Fan Running All Day?
With how cheap it can be to run a ceiling fan, you might get the idea of letting it run all day. Is that a good idea? Manufacturers would seem to think so!
Most brands will produce ceiling fans that can run 24/7. So, if you're feeling guilty about leaving it on, don't be! Still, the only problem you'll run into is a slight increase in energy bills.
Is it worth the cost? That's up to you to decide. Though, most people would seem to think so.
Can A Ceiling Fan Wear Out?
If energy costs aren't your primary concern, maybe you're worried the ceiling fan's components will wear out.
The mechanical parts of the ceiling fan can't avoid the unavoidable. Even if they're designed to run 24/7, they will suffer wear and tear over time.
In addition, HVAC technicians suggest that frequent usage shortens the lifespan of a ceiling fan. Therefore, a ceiling fan can wear out. You can ensure it lasts longer by turning it off when you're not in the room.
In Closing
When the ceiling fan stops working, it's time to take out the toolbox. Why wait for a technician to look at it when you can do most of the troubleshooting yourself? We hope you found the information above helpful!
Before you go, here are other articles that might interest you:
How To Install A Ceiling Fan Without Existing Wiring
Can You Replace Ceiling Fan Blades With Longer Ones? [And How To]