
A Carrier furnace has many settings that determine the system's operation and are made possible through DIP switches. You might be wondering how to set DIP switches on the Carrier furnace. We have researched this thoroughly and will walk you through the steps in this article.
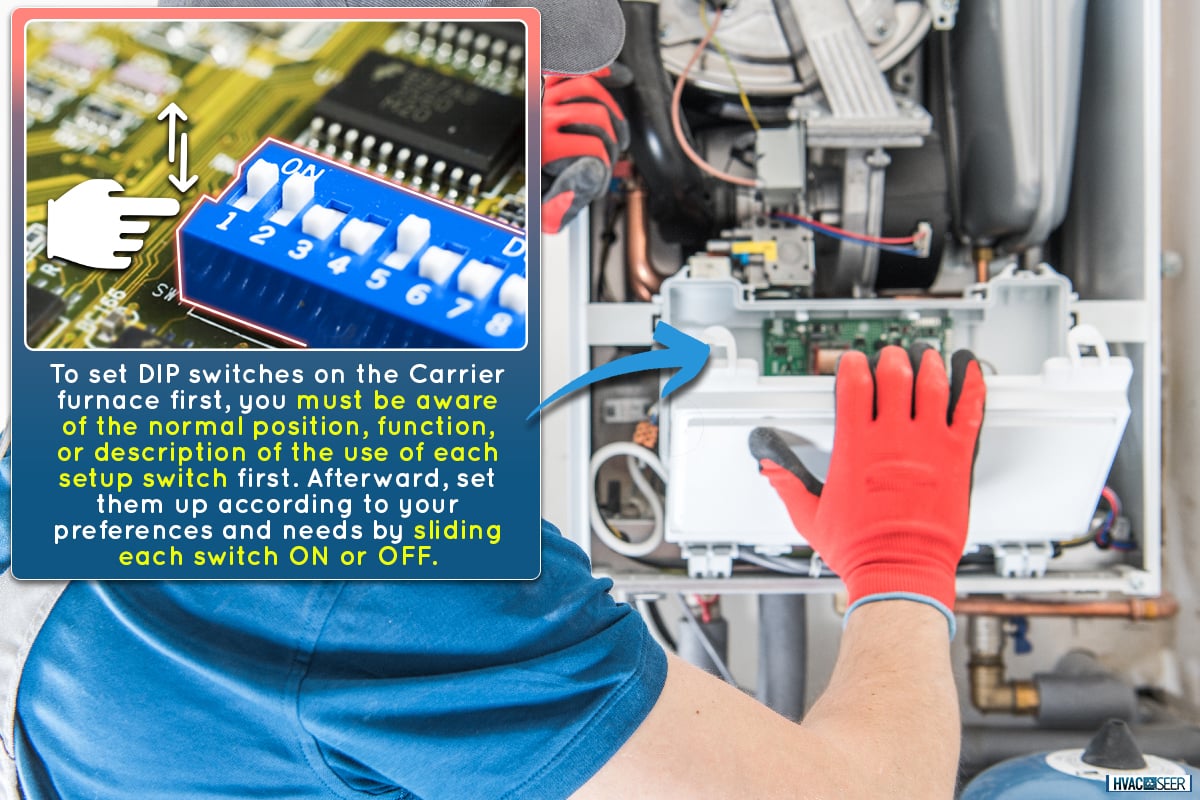
To set DIP switches on the Carrier furnace, you must be aware of the normal position, and the function or description of the use of each setup switch first. Afterward, set them up according to your preferences and needs by sliding each switch ON or OFF.
Setting DIP switches on the Carrier furnace is a simple task. However, it can be a hassle if you don't know how to. Keep reading as we lay out more details and why you need to set them on your Carrier furnace.
What Is A DIP Switch?
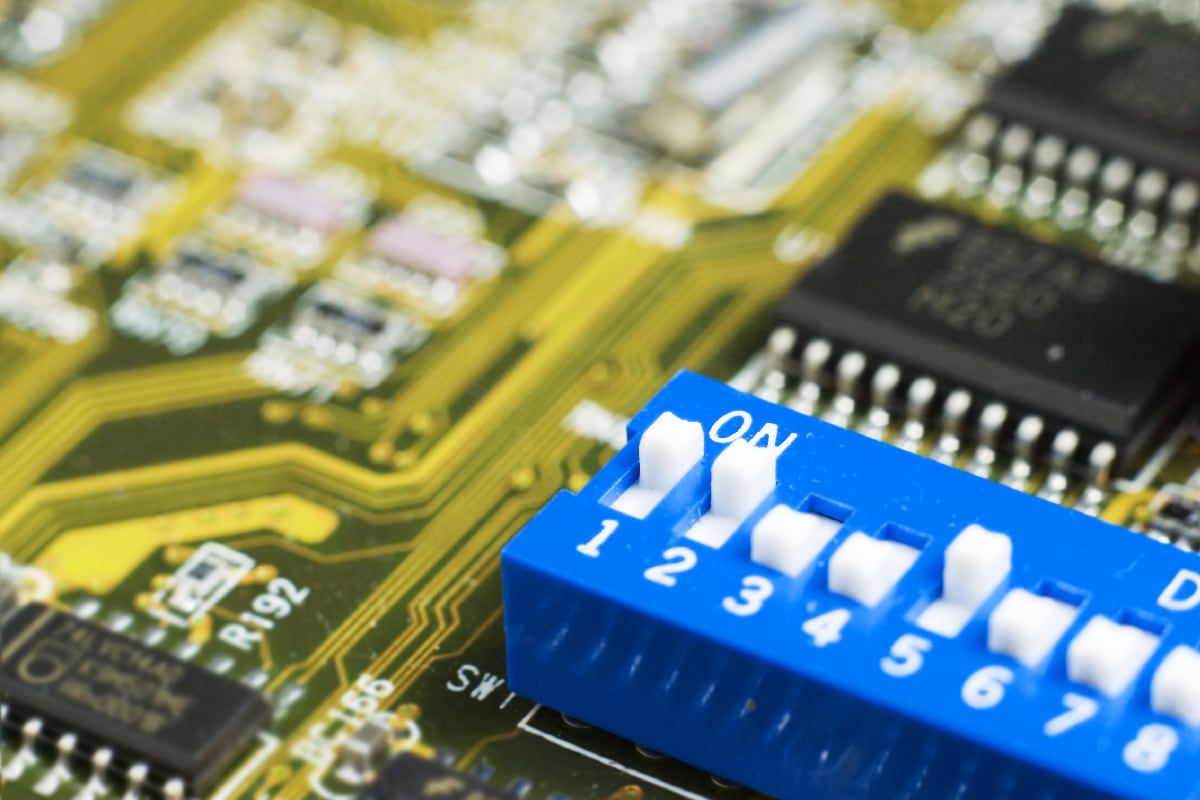
A DIP or dual in-line package switch is a mechanical or electrical switch with a setting for only two conditions. It can be on or off, low or high, yes or no, hot or cold, etc. These different settings can be adjusted for various operating conditions and provide functions based on user preferences and needs.
You can find four DIP switches on the Carrier furnace: SW1, SW2, SW3, and SW4. SW1 has eight setup switches, while the rest have three setup switches each.
DIP switches are set up as two parallel bars. In the "normal" position, the contacts on the first bar are open and the second bar's contacts are closed. You switch these bars around by pushing the bar down. Once you do so, the contacts will stay in the "set" position until you push down on the bar again.
Purpose Of A DIP Switch On Carrier Furnace
The purpose of a DIP switch is to select one of two options. DIP switches on the Carrier furnace allow you to reduce the power to the unit temporarily.
To turn the Carrier furnace on, you must set the switch to "on." If you have the Carrier furnace set to "auto," which is usually the case, the system will automatically turn on when the demand for heat is high.
Once the switch is set to "on," you can turn the Carrier furnace on by manually turning the thermostat to the desired temperature. You can also turn the Carrier furnace off by flipping the switch back to "off," as simple as that. DIP switches also allow you to change the setting of another switch.
For example, if you have a Carrier furnace that has a built-in humidifier, then you can turn this off by putting a switch on the Carrier furnace. Likewise, you can have it on, which allows you to have a specific indoor humidity. This setting can be built into the Carrier furnace, allowing you to turn it on and off from your controller.
Other than this, you can also switch on a Carrier furnace so it can work as a timer. For example, you can have the Carrier furnace run for a specific time, then shut off until the next day. It is also a great way to help conserve energy if you want your Carrier furnace to run less often.

Check out this Blower Door Safety switch on Amazon.
How To Set DIP Switches On Carrier Furnace
Before setting the Carrier furnace DIP switches, turn off the electricity to the Carrier furnace first. It would help if you had a screwdriver to remove the cover plate. Also, prepare a pencil and a notepad to write down the settings. The four DIP switches and their functions are as follows:

SW1
SW1-1
It's the "Status Code Recovery" switch. Its normal position is OFF. When the R thermostat lead is detached, you can turn it ON to redeem up to 7 stored status codes for troubleshooting assistance.
SW1-2
This switch is for "Low Heat Only" (Adaptive Heat Mode when SW1-2 is OFF). Its normal position is OFF. When SW1-2 is OFF, it allows 2-stage operation with a single-stage thermostat.
When you use a 2-stage thermostat and want to permit Low Heat operation when R to W/W1 closes, you can turn it ON. The same goes when you want to allow High Heat operation when R to W/W1 and W2 close.
SW1-3
This is the "Low Heat Rise Adjustment" switch. Its normal position is OFF. If you want to increase Low Heat airflow by 18%, you can turn it ON. It makes up for the air temperature return surge with a bypass humidifier as the cause.
SW1-4
This switch is for "Comfort/Efficiency Adjustment." Its normal position is ON. Turn ON to decrease low heat airflow 20% for 90% models or 16% for 80% models and high heat airflow 15% for 90% models or 10% for 80% models.
SW1-5
The "CFM Per Ton Adjust" switch is SW1-5. Its normal position is OFF. Turn ON for 400 CFM per ton. Turn OFF for 350 CFM per ton. See also SW4.
SW1-6
This switch is for the "Component Self Test." Its normal position is OFF. When the R thermostat lead is detached, and you want to commence Component Self Test for troubleshooting assistance, you can turn it ON. When Self Test is completed, you can turn it OFF.
SW1-7 & SW1-8
Both switches are for "Blower OFF Delay." There is no normal position for each switch. It will depend on your desired heating mode blower-off delay.
The desired heating mode blower-off delay ranges from 90 seconds to 180 seconds. At 90 seconds, both SW1-7 and SW1-8 are OFF. Then at 120 seconds, SW1-7 is ON while SW1-8 is OFF. At 150 seconds, SW1-7 is OFF while SW1-8 is ON. At 180 seconds, both SW1-7 and SW1-8 are ON.
SW2
SW2 is air conditioning (A/C) setup switches. The AC setup switch chooses the high-stage cooling for airflow or desired cooling for two-stage units.
SW3
SW3 is a continuous fan (CF) setup switch. The CF switch position is the low cooling airflow option for two-stage cooling units. Take note that SW3 cannot be set for airflow higher than SW2.
SW4
SW4-3
It is the "CFM Per Ton Adjust" switch. Its normal position is OFF. This switch allows additional CFM per ton selections when used with SW1-5. You'll see a nominal 325 CFM per ton when SW4-3 ON and SW1-5 OFF.
You get 350 CFM per ton (nominal) when SW4-3 OFF and SW1-5 OFF and 370 CFM per ton (nominal) when SW4-3 ON and SW1-5 ON. Alternatively, you'll get a nominal of 400 CFM per ton when SW1-5 ON and SW4-3 OFF.
Once you set the Carrier furnace DIP switches, you can turn the electricity back on.
Why Set DIP Switches On Carrier Furnace?
You may wonder why you need to set DIP switches on your Carrier furnace. There are many reasons you might want to set DIP switches on the Carrier furnace, and here are a few of them.
One reason is that the Carrier furnace will not work properly if the DIP switches are not set correctly. If the Carrier furnace does not work the way it should, it will not heat your home efficiently. The Carrier furnace will also not last as long as it should.
It's important to note that the DIP switches on your Carrier furnace will reset themselves every time you turn on the Carrier furnace. So, the Carrier furnace will start operating with the settings set to the DIP switches.
Setting DIP switches on your Carrier furnace is also beneficial if your home is in an area with high electricity usage since it will allow you to reduce the amount of power going to the unit manually. You will save some money on your electricity bill as a result.
Another reason you might want to set DIP switches on the Carrier furnace is if you plan to install a new humidifier or dehumidifier in your home. In this case, you'll need to change the Carrier furnace setting to match the new equipment settings.
Or it could simply be because you want to change the operating settings on the Carrier furnace. For example, you might want to run it for a particular time, set it to a specific temperature, or change the indoor humidity.
Items Needed To Set DIP Switches On Carrier Furnace
The items needed to set the DIP switches are as follows:
- Screwdriver: To open the panel on the Carrier furnace and remove the cover plate from the Carrier furnace's digital thermostat.
- A multimeter or electrical circuit tester: It helps test and determines if a circuit is working or has a short circuit.
- Pencil & Note Pad: To write down the settings.
- Tape measure or ruler: To measure the size of the circuit breaker or switch.
- Digital Thermometer: Use it to check the temperature inside the Carrier furnace.
These tools allow you to easily set the DIP switches on your Carrier furnace.
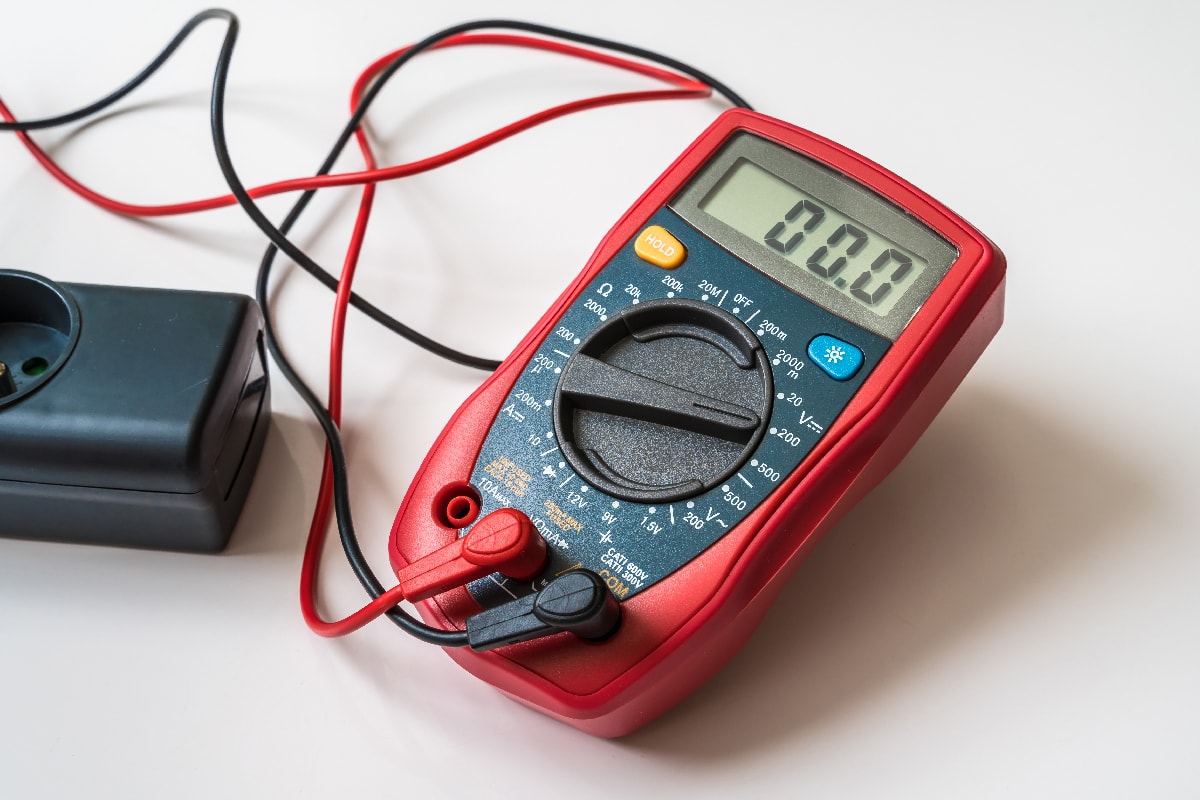
Have a look at this multimeter tester on Amazon.
In Conclusion
Setting the DIP switches on your Carrier furnace is an important task. The Carrier furnace won't work efficiently if the DIP switches are not set correctly or have a long lifespan. You can set the DIP switch settings if you follow the instructions in the manual.
If you are unsure what the DIP switch settings are for your Carrier furnace, then it would be best to call a technician.
Please read these other related articles if you found this helpful:
Carrier Furnace High Limit Switch Keeps Tripping – Why And What To Do?
How To Replace Inducer Motor On Carrier Furnace [In 7 Easy Steps!]