
Expanding foams are often used to seal different surfaces. If you've bought sandpaper and paint from your local shop, you may stop and rethink using them on the expanding foam. Would they not damage it? We got you some information on what experts recommend.
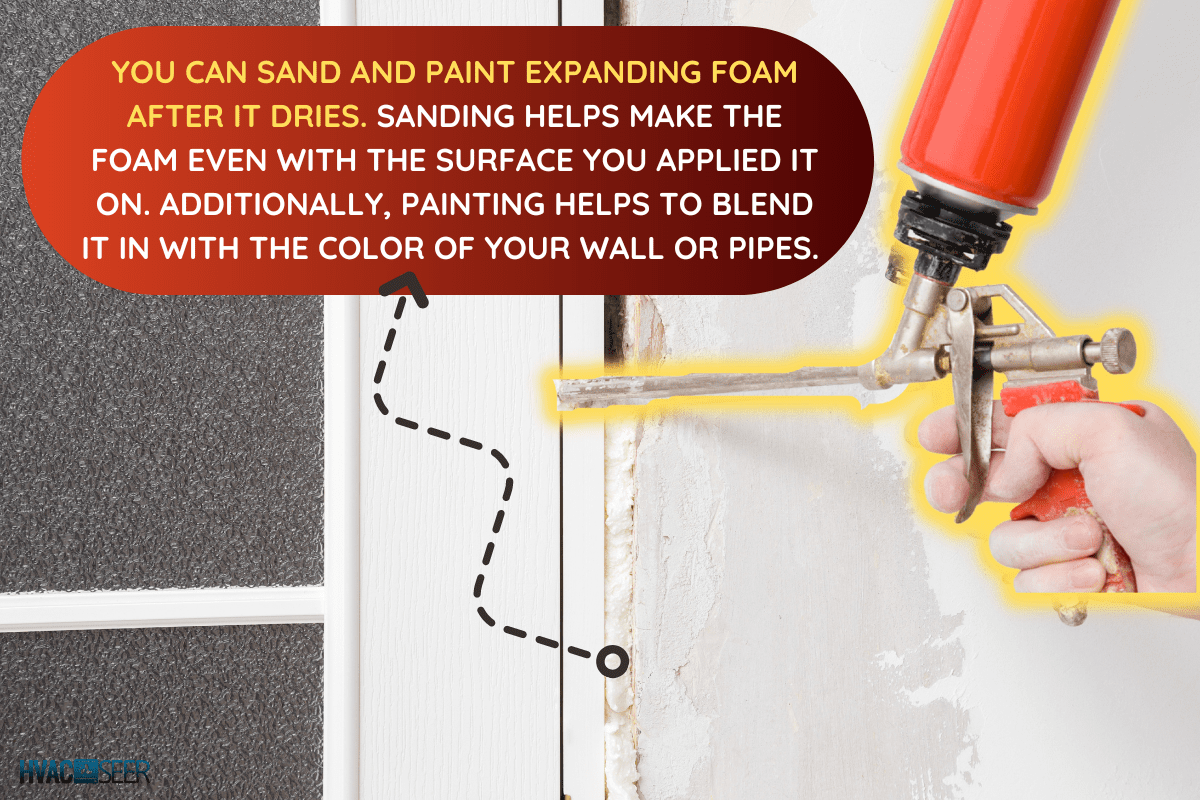
You can sand and paint expanding foam after it dries. Sanding helps make the foam even with the surface you applied it on. Additionally, painting helps to blend it in with the color of your wall or pipes.
The sandpaper and paint wouldn't harm the product. However, if you're unsure how to sand and paint this product, scroll down to read about everything you need to know.
Why Sanding And Painting An Expanding Foam Is Important
Making the foam seamlessly blend into whatever surface you use it on is crucial. Of course, you can opt not to do it, but that is if you're okay with it sticking out like it's a sore thumb on one spot.
Sanding Expanding Foam
From its name, you understand that expanding foams expand in size after application. That is why some of it may get where it shouldn't. Furthermore, it is naturally uneven after application.
Thus, sanding becomes essential as it helps smooth the texture, so you can easily paint it afterward. However, you can only do this after it dries, or else you'll scrape big chunks of it off and not effectively seal your surface area.
Painting Expanding Foam
Because expanding foams are mainly used for repairs, you wouldn't want it to catch the eye of anyone who visits your home. Instead, you need it to blend into the surface to hide previous cavities.
Painting them in the same color and shade as the area you applied to will help you achieve this. Here are some of the paints that work best with expanding foam and adhere to it most effectively:
- Water-based paint
- Latex paint
- Acrylic paint
How To Use Expanding Foam
Correctly applying expanding foam is necessary to ensure that it effectively seals the whole or cracks you've used it on. To help you, here are the directions on how you can do it.
1. Clean Your Surface
Make sure to clean the surface you will put expanding foam into first. Do this to eliminate dust, debris, or other particles that may hinder the product from fully sealing the surface. Cleaning also lessens the roughness of the foam's texture.
Use a dry paintbrush to remove dust particles on the surface. Then, lightly spray water into the spot. Doing this will also help cure the expanding foam, as it needs moisture to cure evenly.
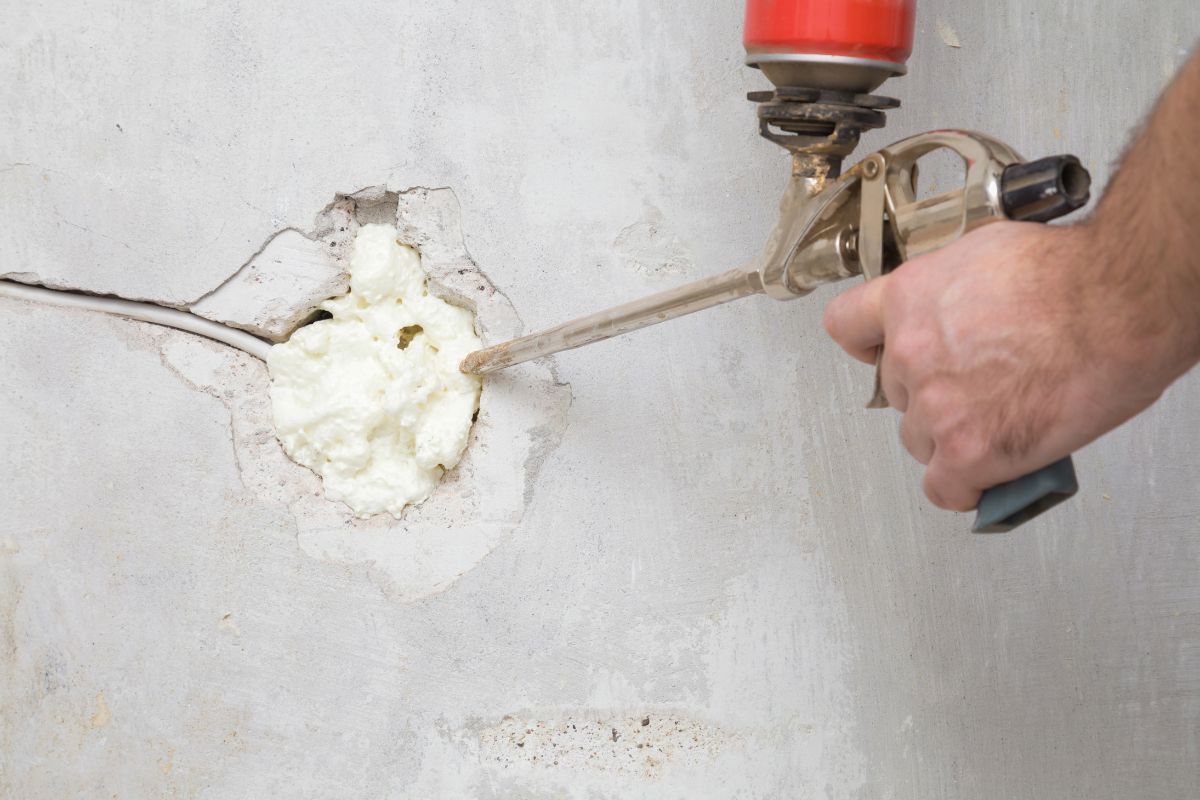
2. Apply the Expanding Foam
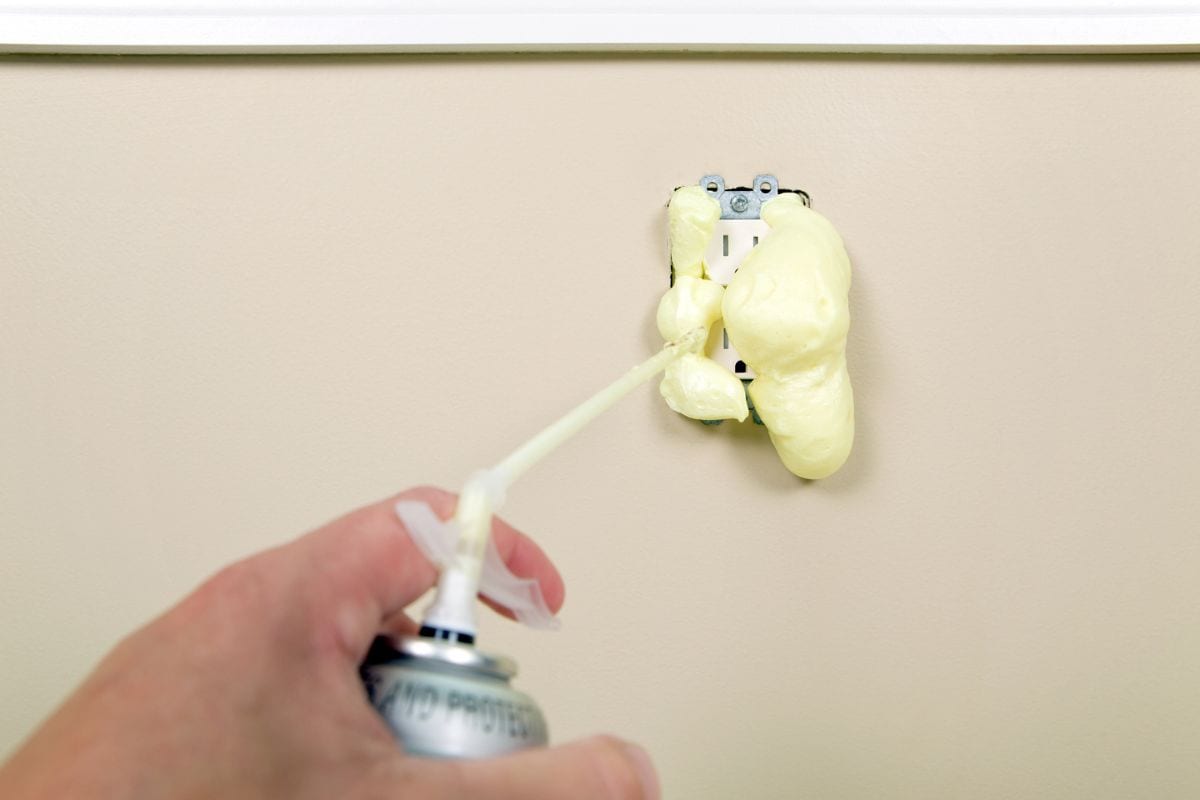
To ensure that you're using your expanding foam right, read the manufacturer's instructions. The directions may differ depending on the product.
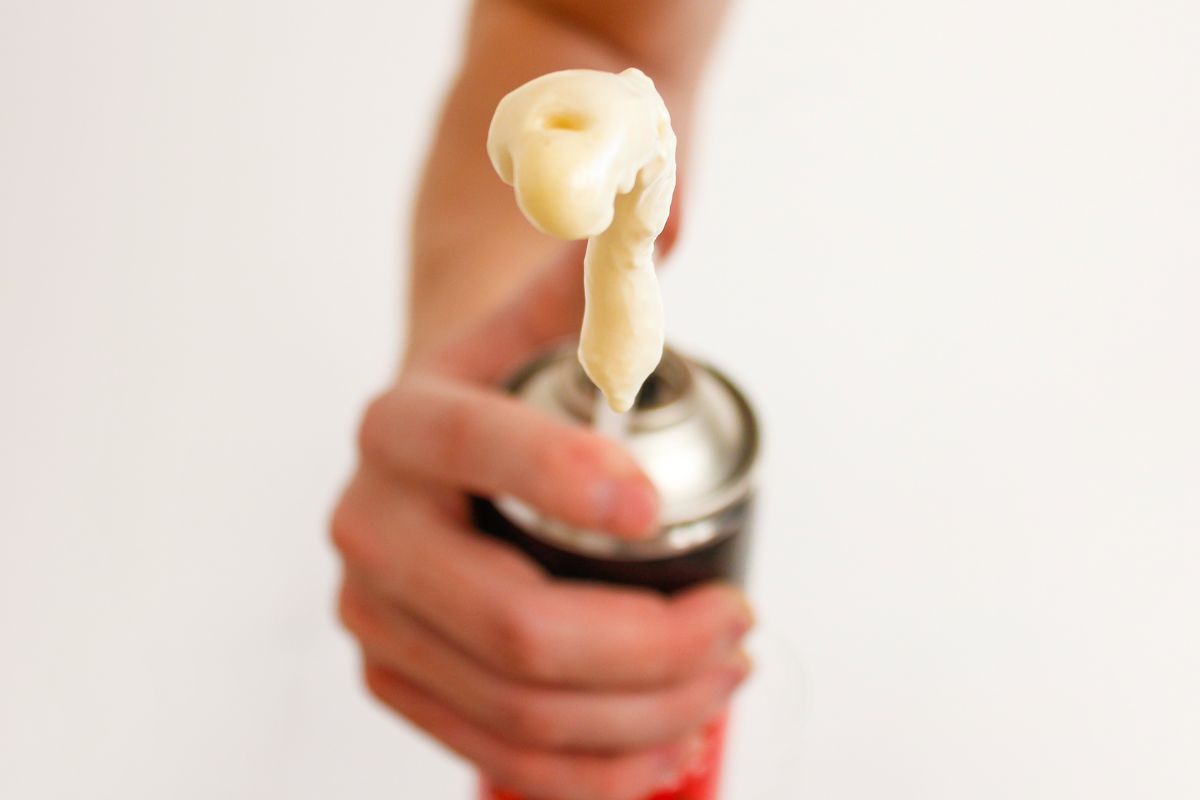
But, use gloves to protect your hands from their chemicals, which may irritate your skin when handling expanding foam. Usually, foam is applied with a gun or nozzle.
Attach it and shake the can while holding it upside down. Then, insert the nozzle where you need the expanding foam. Note that you should not put too much product into your area, as it will still expand in size once applied.
Read this post about what to do if your expanding foam gun isn't working:
My Expanding Foam Gun Is Not Working – What Could Be Wrong?
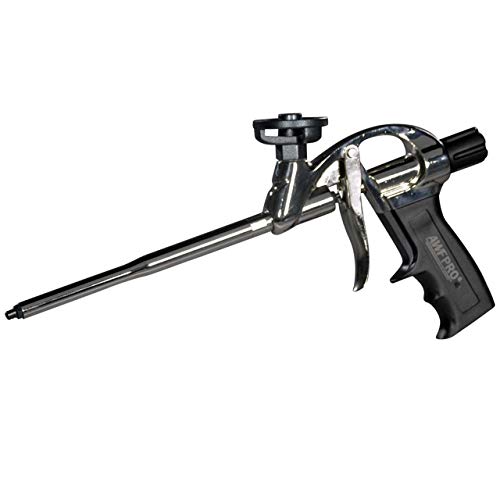
Check out this expanding foam gun on Amazon.
3. Let The Expanding Foam Dry
Once the expanding foam is applied, it will then begin to dry. Waiting for it to dry and cure is vital as these need to finish before you can sand or paint it. After around 30 minutes, the product will most likely be nearly dry.
However, this is different from its curing time which takes eight hours on average. While the drying time is only estimated when the foam is free of moisture, the curing time is when it's fully set and hardened.
Check out this post about an expanding foam drying time for more information:
How Long Does Expanding Foam Take To Dry?
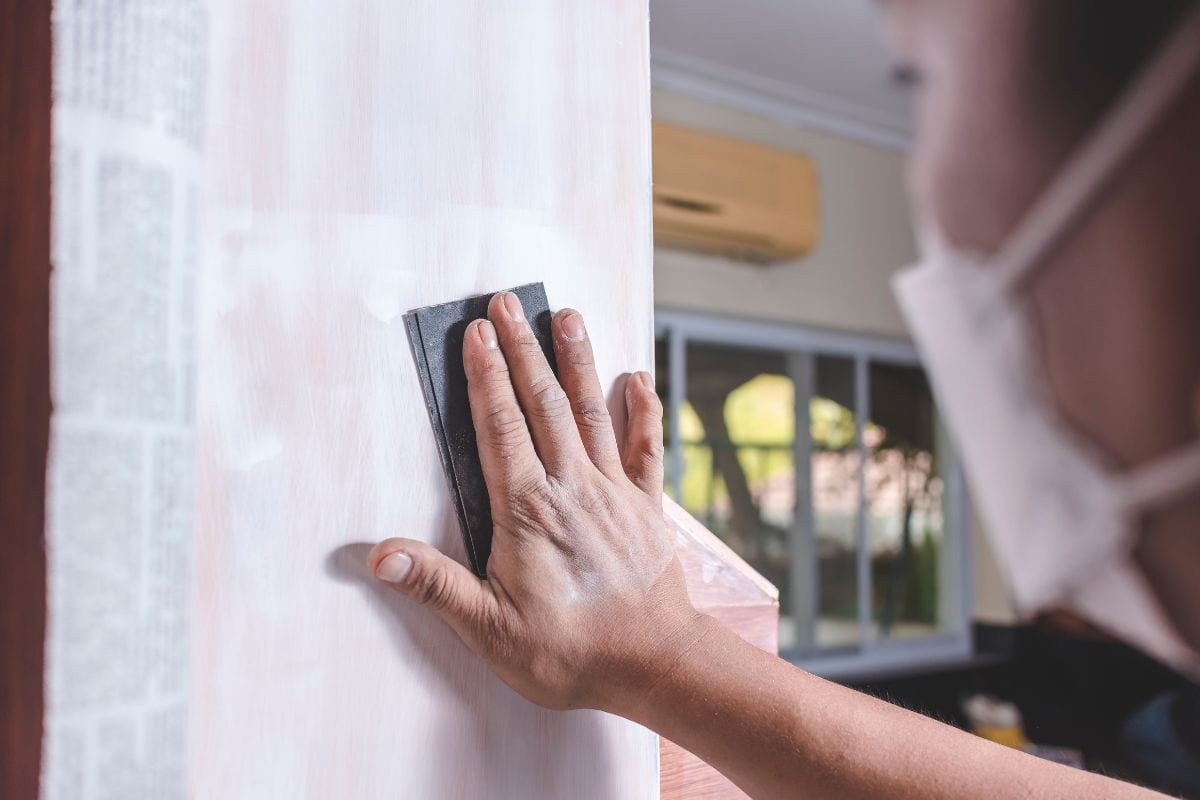
4. Trim And Sand Excess Expanding Foam
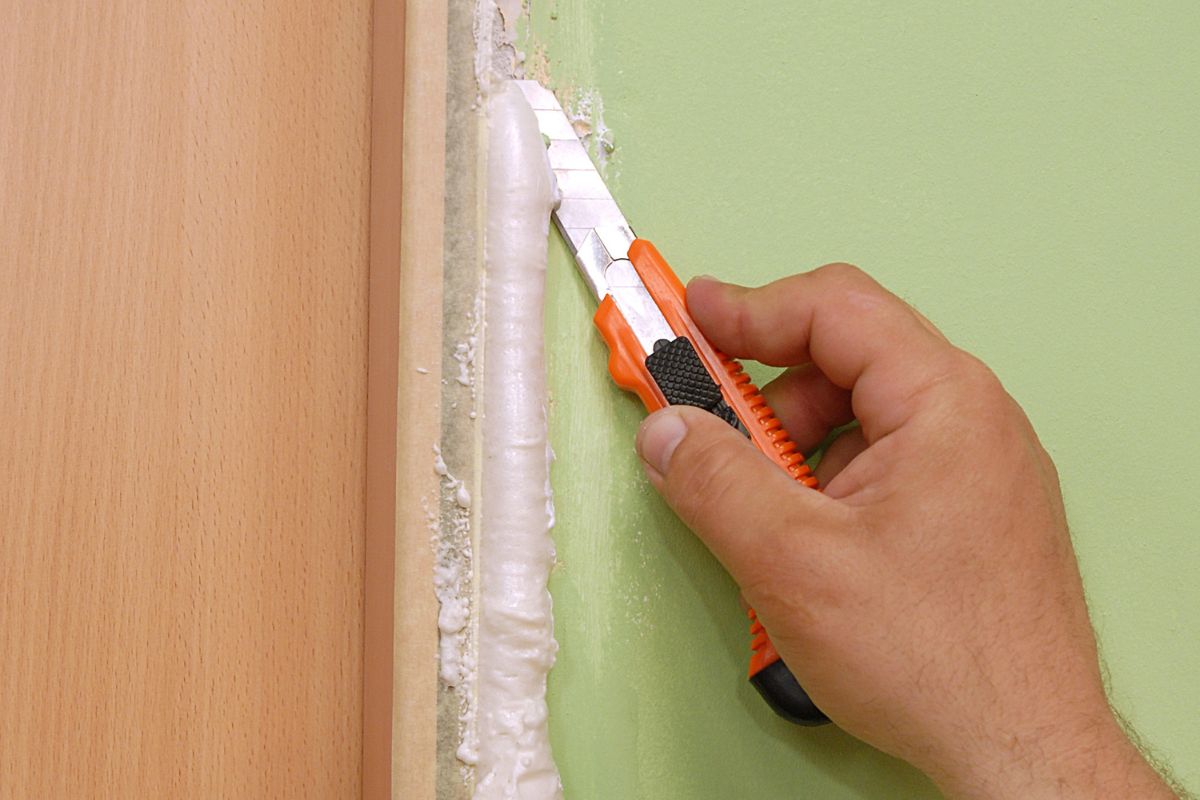
Expanding foam typically looks uneven after it finishes setting as you cannot control how much it will expand. That is why you should trim and sand it. Before doing this, wear a mask and goggles first to avoid breathing in the small particles or getting them in your eyes.
Trimming Expanding Foam
You can use a utility knife, a butter knife, or a handsaw. Use small knives for smaller areas or corners to easily trim the product. When cutting, trim as close to the surface as possible.
Additionally, try smoothly cutting the product, so you don't disrupt or accidentally damage the area you fill. As a safety precaution, position your knife or saw away from your body, so you don't accidentally injure yourself.
Sanding Expanding Foam
After trimming, you need to smoothen the surface of your expanding foam using sandpaper. An 80-120 grit coarse sandpaper is best suited for this job.
Lightly apply the sandpaper to even out the surface. Then, clean off the sanding dust using a dry cloth.

Click here to see this coarse sandpaper on Amazon.
5. Paint The Expanding Foam
Select paint to closely match the surrounding surface. After, you may pick to apply the product by spraying, paint rolling, or hand brushing.
Large surfaces will be easier to cover with spray paint. But, if you don't like aerosols, you can use a paint roller. On the other hand, hand brushing is only best for small surfaces.
Apply paint lightly on the expanding foam and evenly coat the area. Then, wait for the paint to dry for at least five hours. Apply a second coat to make the expanding foam look more uniform and add durability. Coat it the same way as the previous one two to three times for full coverage.
How Long Should You Wait Before Sanding Expanding Foam?
It takes 24 hours before you can sand expanding foam. To make sure the expanding foam dries thoroughly, you should at least wait for a day. The temperature in your space and ambient moisture may also change the time for your foam to finish setting.
What Happens If You Use Acetone On Expanding Foam?
Acetone or WD-40 dissolves expanding foam that hasn't cured yet. That is why this is typically used to clean off expanding foam that got into areas it shouldn't. However, once the expanding foam has cured, it will not be able to dissolve it.
Read this post about WD-40 and how it affects expanding foam for more information:
Does WD-40 Remove Expanding Foam?

Click here to check out this acetone on Amazon.
Is Expanding Foam Waterproof?
Some types of expanding foam are waterproof, but others are not. Typically, cheap ones aren't waterproof, while the more expensive ones are. Water-resistant expanding foams are generally the better choice because you wouldn't need to worry about moisture affecting them.
In Closing
Sanding and painting expanding foam is an excellent choice to make your surface look smooth and even before getting cavities. But it is still your choice to use expanding foam or not.
These processes do not damage the product. Instead, they help it blend with the surface and make it more durable. If you've decided to sand and paint the foam, make sure that you follow the proper process to make the expanding foam unnoticeable.