Increasing your home’s thermal resistance can help you and your guests stay comfortable indoors. Now, you’re wondering if you can install faced insulation in interior walls. We researched this concern for your convenience, and here’s what we found.
You can use faced insulation on interior walls. It’s often a good idea to install this type of insulation in places like attics, basements, and crawl spaces.
Although it’s possible to use faced insulation on interior walls, it’s also important to know the proper way to install it. So continue reading as we take a deeper dive into faced insulation and its proper usage.
What Do I Need To Know Before Installing Faced Insulation?
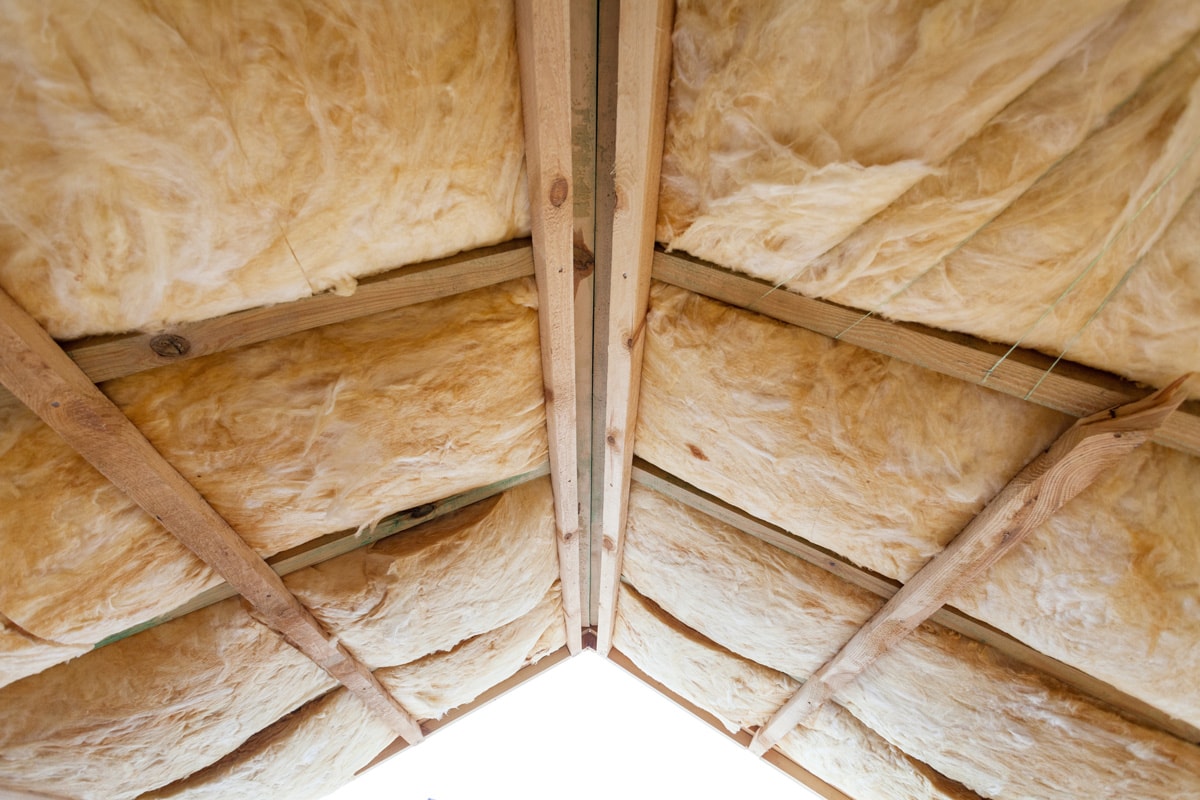
Understanding the material is generally the first step to using faced insulation, regardless of its installation location. Some important things to know about faced insulation are:
Faced Insulation Is Combustible
Unfaced insulation is a Class A fire-rated product. That means that it has a higher flash or burning point than its faced counterpart. It also means that faced insulation is more susceptible to igniting as compared to the unfaced variant.
If you’re going to use faced insulation in places like attics, ensure that the material’s vapor barrier faces the exterior wall. Also, avoid using faced insulation between two other insulating materials as it may cause moisture retention, resulting in other issues like mold and mildew growth.
The Orientation Depends On The Climate
Improper faced insulation installation may cause problems down the line. Take into account the climate of your location as the orientation of the faced insulation often depends on the prominent weather.
For instance, if your area has a cold climate, the faced insulation should be facing the home's interior. On the other hand, locations with warm climates need to have the insulating material facing the house's exterior.
Installation Is A DIY-Friendly Procedure
You may not need professional services to help you install faced insulation in your interior walls. It’s because this type of insulation has a paper vapor retardant that also acts like an adhesive. With this extra layer, users may roll, move, or install the faced insulation without causing significant harm to it.
Repair The Interior Wall Before The Installation
Installing the faced insulation while the interior wall has imperfections may lead to problems like leaks when it rains. So seal cracks, gaps, and holes in the interior walls before initiating the insulation installation. Doing so may also help reduce interior air leaks, which may otherwise increase energy bills.
What Is The Proper Way To Install Faced Insulation?
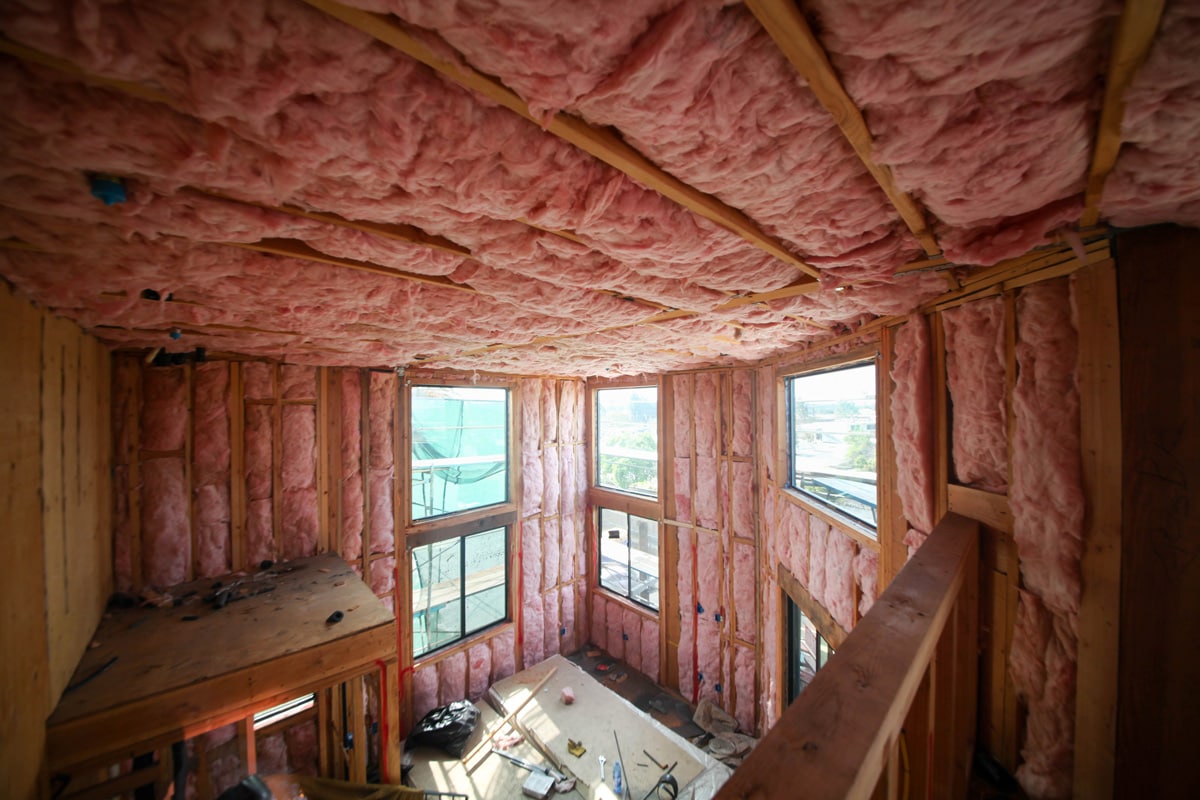
Take note that faced insulation typically also refers to a batt insulation material. But not all batt insulation is a faced-insulating material. So be careful when purchasing your faced insulation to use on your interior walls.
After buying the correct faced insulation, continue this procedure by following these general steps:
Things You’ll Need
- Utility knife
- Measuring tape
- Staple gun
- Duct tape
- Faced insulation batts
Step-By-Step Guide
Step #1: Place The Insulation
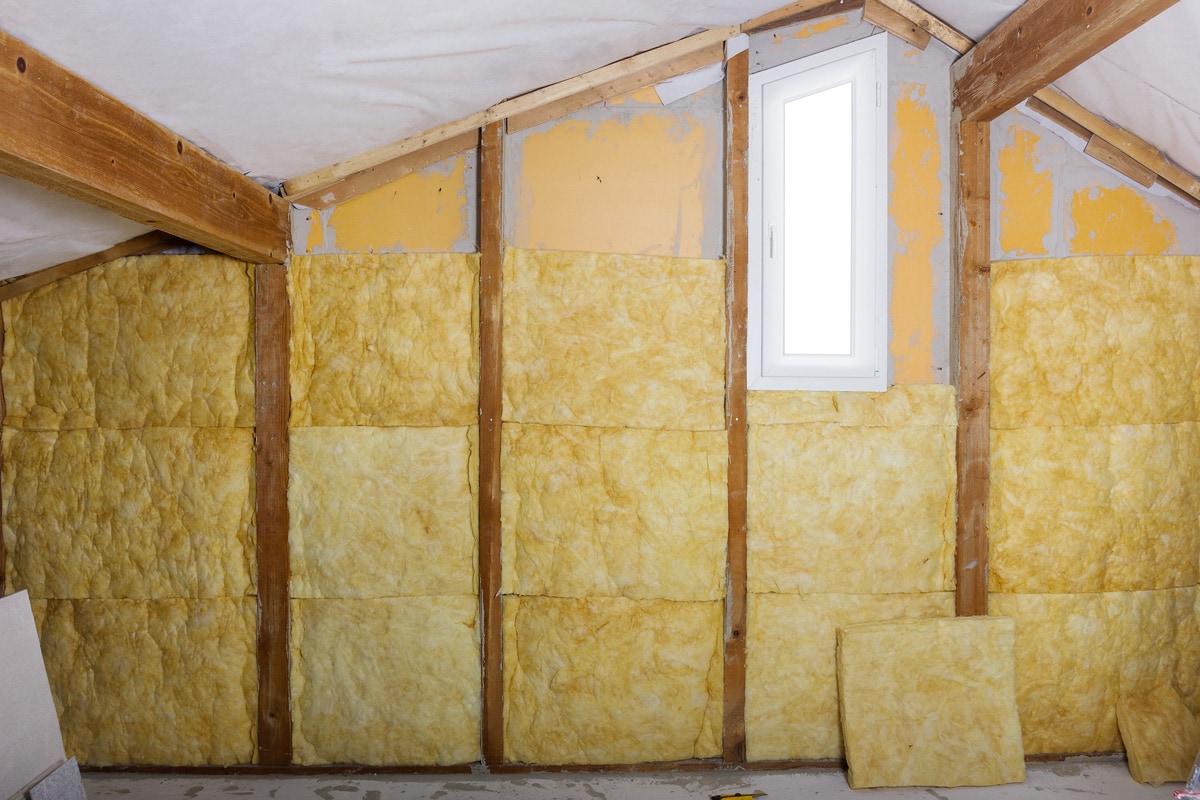
Insert the faced insulation butts between the stud cavities of the interior wall. Adjust the batt so that the material is reasonably flush with the wall cavity. Then, tuck the batt’s bottom so that it doesn’t jut from the wall cavity.
Note: You may need to destroy sections of the interior wall to insert the insulation batt if you’re working on a finished home.
Step #2: Cut The Batt
Use the utility knife at the bottom of the batt if the material is longer than the interior wall’s height. Remember to only cut a reasonable amount that allows the insulation to become flush with the wall cavity. Cutting more than recommended may result in a problematic gap between the faced insulation and the floor.
Tip: If you cut more insulation than needed, you can cut the excess piece into a smaller size. Then, jam the cut piece into the gap for a flush seal.
Step #3: Secure The Batt
Fold the faced insulation’s side tabs so that they rest on the sides of the wall cavity. Then, staple the batt’s tabs to secure the batt in place.
Tip: If you tear some parts of the vapor retardant on the insulation, you can seal them by applying duct tape.
Note: Make sure to maneuver the faced insulation batt around electrical wires, plumbing lines, and HVAC pipes. Contact an appropriate technician if you need help in rerouting these components for the insulation installation.
Check out this fiberglass faced insulation on Amazon.
You can also watch this video for a visual guide to this procedure:
At this point, you might also be wondering if you need to install a vapor barrier with faced insulation. Follow that link if you want to know the answer.
What Happens If Faced Insulation Is Installed Backwards?
As mentioned previously, installing faced insulation without following the correct orientation can lead to problems. One issue that may appear is that the moisture barrier built into the insulation material won’t work properly. So it increases the risks of moisture-related problems. Plus, it promotes a higher-than-normal likelihood of structural deterioration to nearby materials.
How Much To Install Faced Insulation In Interior Walls?
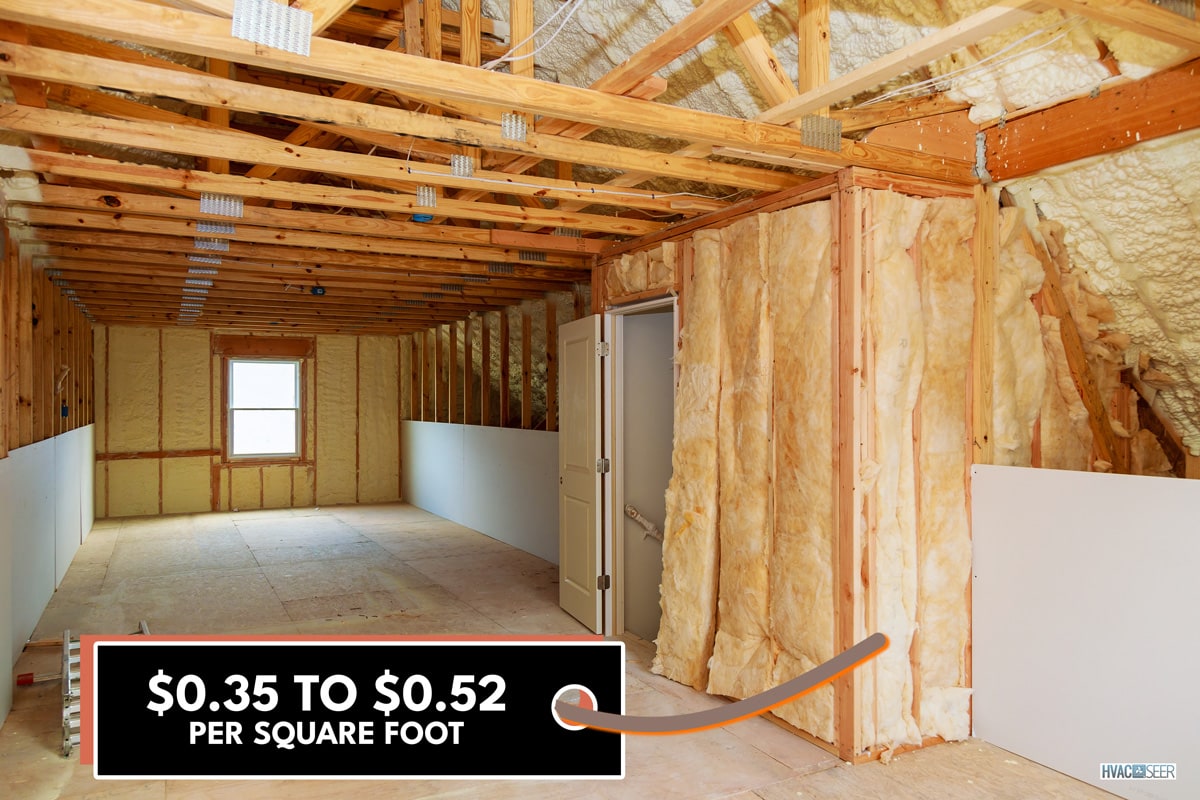
Generally, wall insulation procedures fall within similar price ranges regardless of the material or installation location. But expect to pay around $0.35 to $0.52 per square foot for the installation while taking advantage of professional services.
Take note that the overall costs may vary depending on certain factors. Some elements that may affect professional labor costs include the property's location, the difficulty of the job, and the installation company’s standard price range.
What Are The Differences Between Faced And Unfaced Insulation?
Faced and unfaced insulation materials have key differences. Some of these dissimilarities are:
Location
If faced insulation is ideal for the attic, basement, and crawl space, unfaced insulation can be a good choice for the ceiling, under the floor, and the attic’s floor. But certain scenarios may favor unfaced insulation over the faced variant for increasing the thermal resistance of interior walls.
Materials
You can find and purchase faced insulation made from foil, fiberglass, vinyl, or Kraft paper. On the other hand, unfaced insulation may use plastic, polystyrene, cellulose, and wool.
Installation Style
Faced insulation is usually easier to install than its unfaced counterpart. However, faced insulation materials are reasonably thick, which makes adding extra layers challenging. But you might be able to install unfaced insulation while adding extra layers without the added difficulty.
You can also read our post on faced vs. unfaced insulation in the basement to gain additional insight into this comparison.
What Are Alternatives To Fiberglass Faced Insulation?
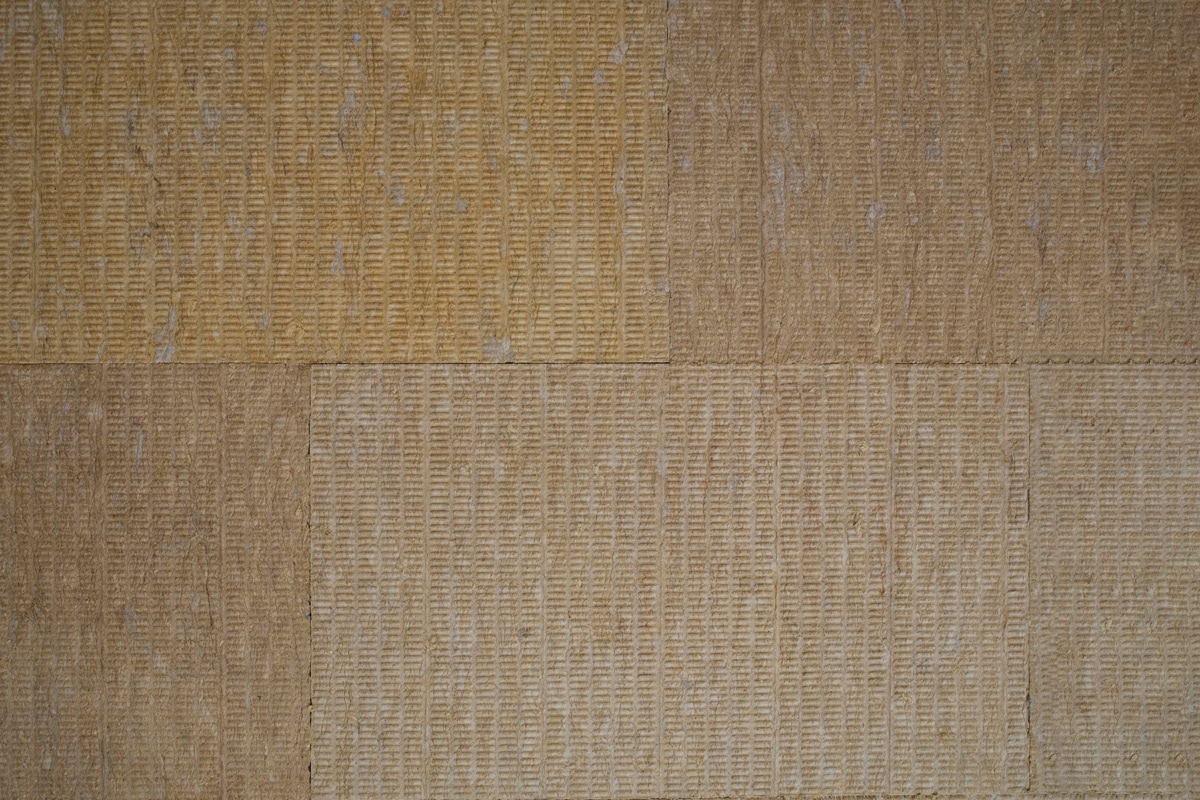
At this point, you might be looking for alternatives to fiberglass faced insulation. Here are some excellent candidates that may pique your interest:
Mineral Wool
Mineral wool insulation typically looks and feels like fiberglass insulation. However, mineral wool uses natural materials unlike the synthetic composition of fiberglass.
You can also choose between two types of mineral wool insulation: rock wool and natural stone. Each mineral wool variant has its unique pros and cons.
Nonetheless, mineral wool insulation is generally a moisture-resistant material. That means it can provide the appropriate level of thermal resistance even when it’s wet.
But like fiberglass, mineral wool needs proper preparation and care when installed. Tiny components might become airborne during the installation, which can irritate the skin, eyes, nose, throat, and lungs.
Check out this rock wool insulation on Amazon.
Cellulose
Generally made from denim and recycled newsprint, cellulose insulation can be an ideal alternative to fiberglass faced insulation. You can use this material to add thermal resistance to places like interior and exterior walls.
Plus, cellulose insulation’s flexible nature makes it a good choice for increasing the thermal resistance of a finished home. It’s because you may not need to destroy walls and other surfaces to install this insulation material.
Cellulose insulation can also increase a room’s soundproofing capabilities. If installed correctly, the material can conform to the shape of the gap between the walls, preventing outdoor noise from penetrating the walls.
Like other insulation installation procedures, setting up cellulose insulation needs proper preparation. It can generate a significant amount of dust during the installation process. Also, this material may need a vapor barrier since cellulose by itself isn’t a moisture-resistant insulating agent.
Check out this cellulose insulation blowing hose kit on Amazon.
Final Thoughts
Installing faced insulation in interior walls can be a great way to increase a home’s thermal resistance. But it’s still important to understand the insulation material’s properties and its correct insulation procedure. That way, household members and guests can have comfort and peace of mind, knowing that this type of insulation functions as intended.


