
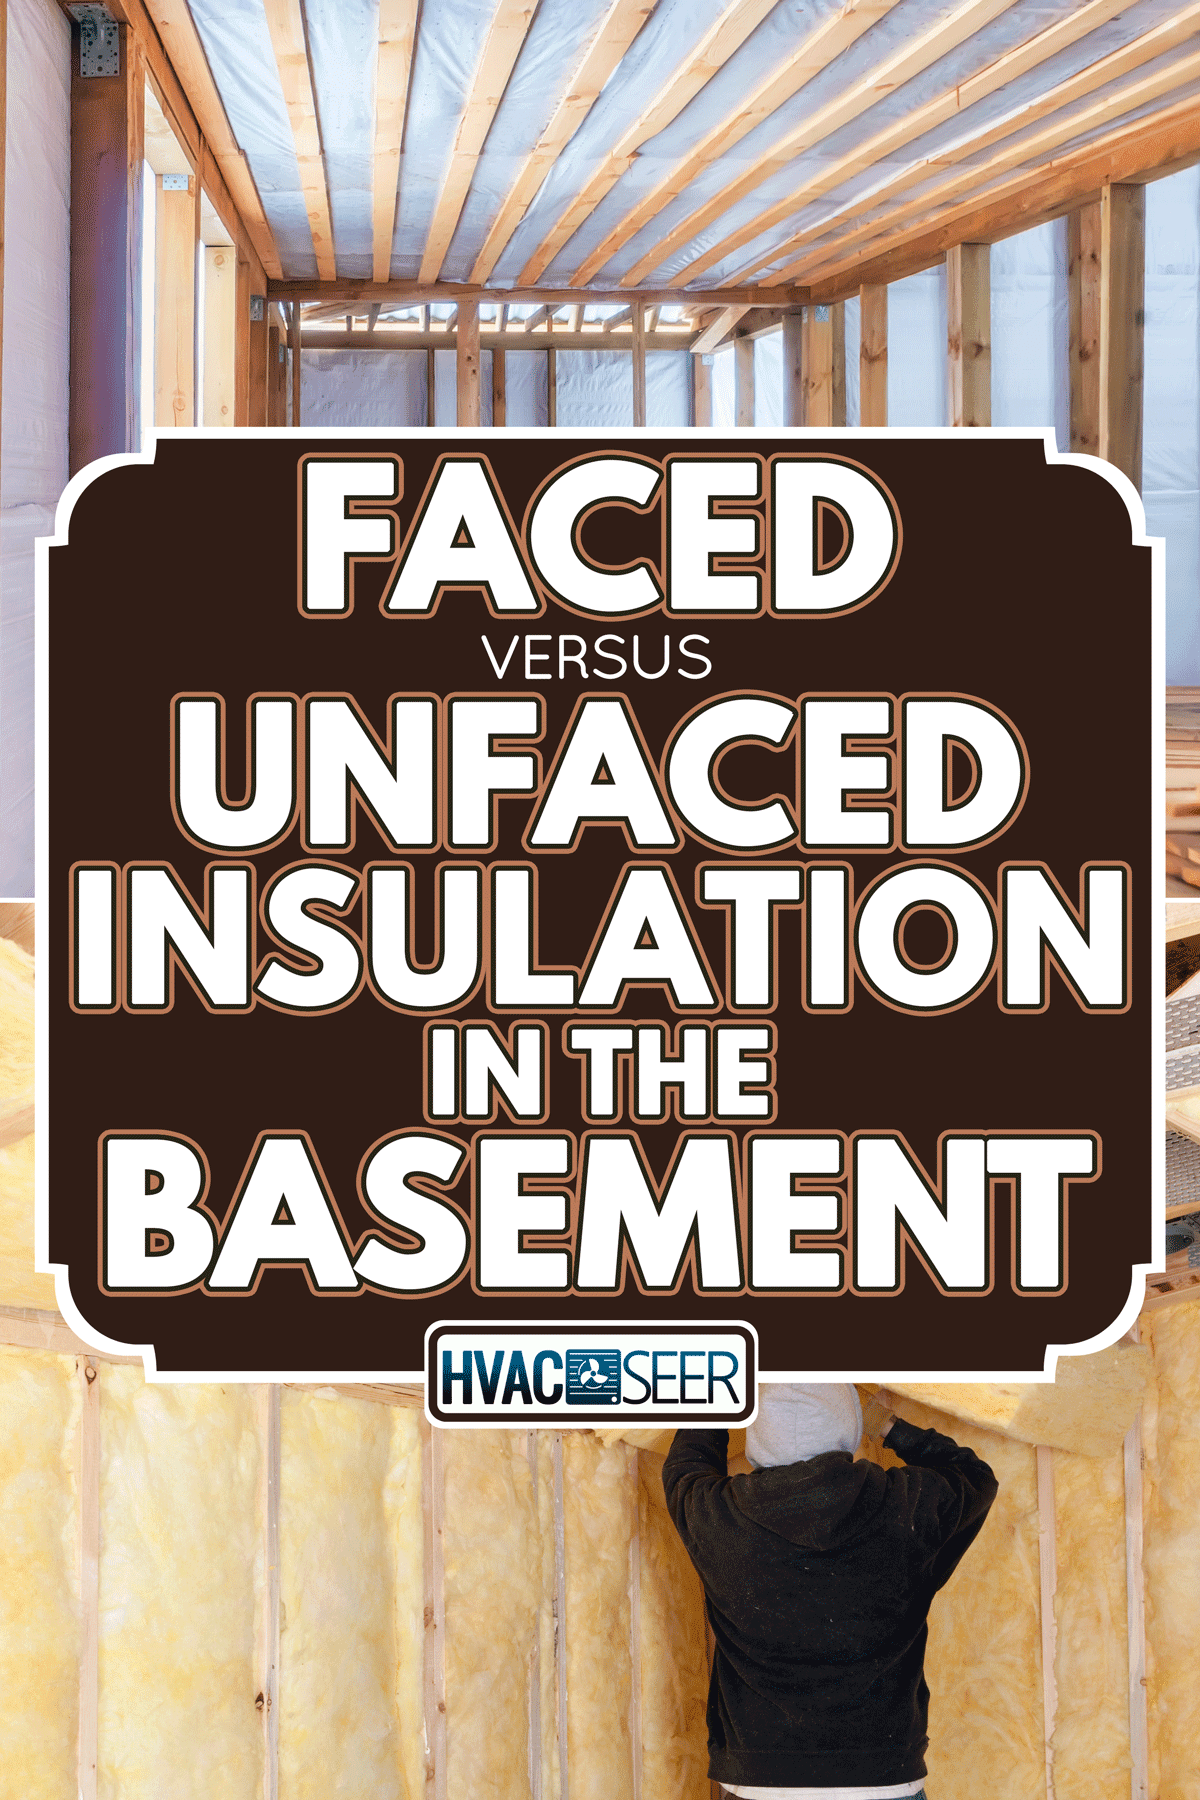
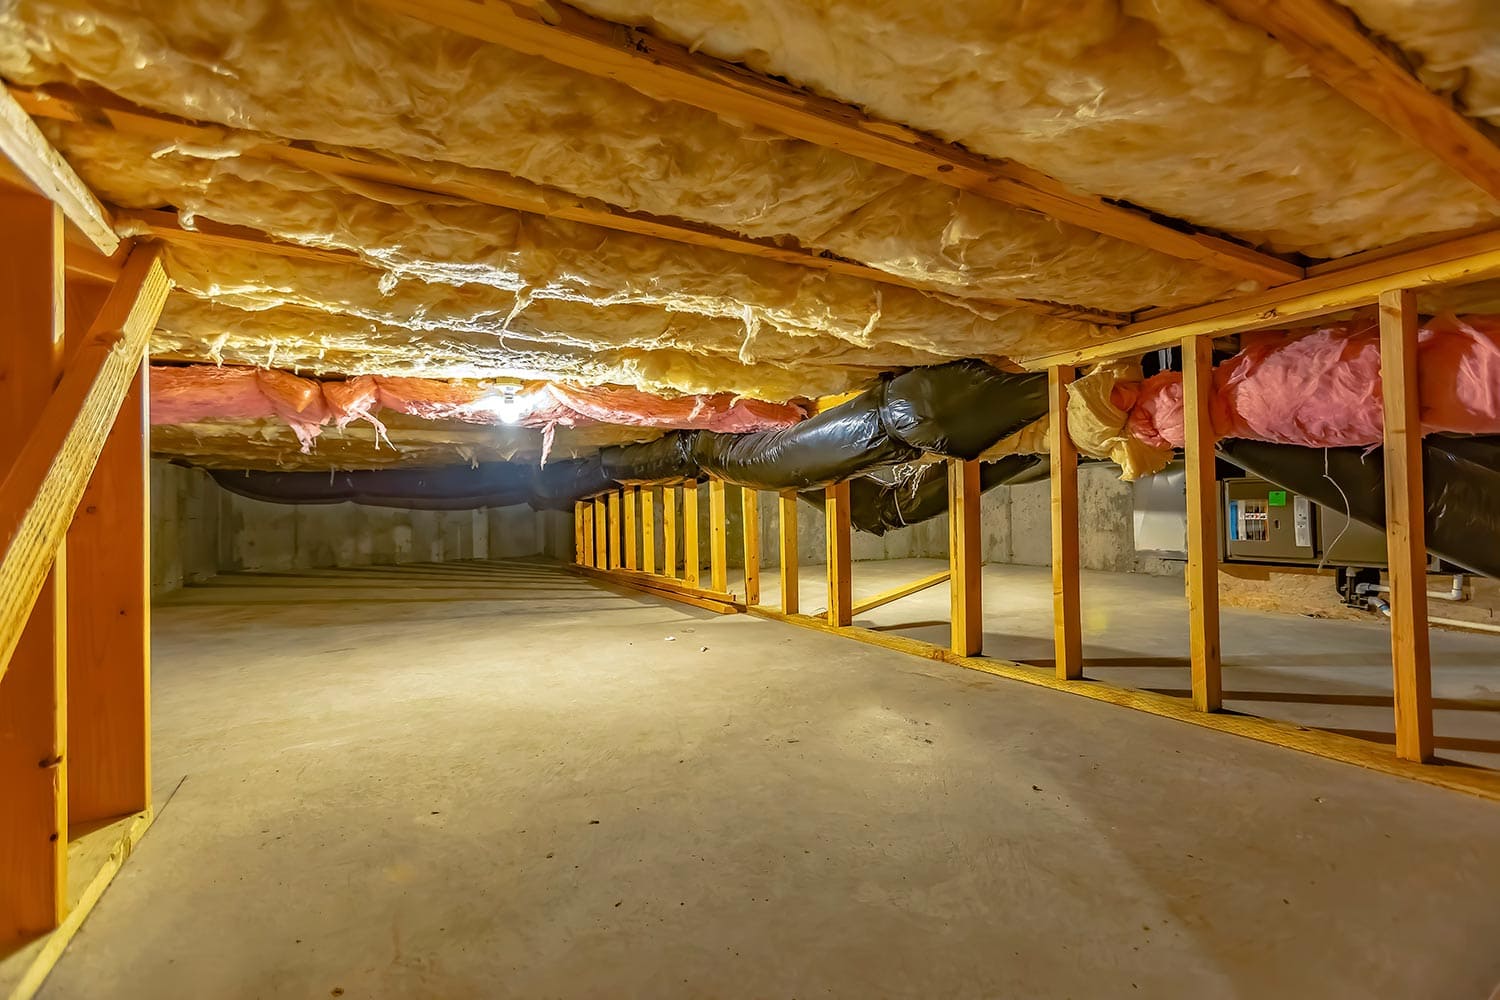
During home renovation, you might not pay too much attention to different types of insulation for your basement as long as the job gets done. But rather than going with the first option available, knowing the differences saves you time and money! Two major types are faced and unfaced insulation, but what sets them apart? Which one will work best for the basement? We've done the research and summed it up in this post.
Faced and unfaced insulation differ in cost and ease of installation, but their main difference is their features. And so, they may work differently based on the location around the home. Both types work in the basement, but faced insulation is more suitable because it has moisture-minimizing properties.
There are several insulation options to choose from, but finding the best one for your basement keeps you from overspending your money and time. Keep reading to know more about basement insulation and why it's essential.
What Insulation Is Better For Basements?
Between faced and unfaced insulation, a basement receives more protection from faced insulation with the additional properties it carries. Faced insulation comes with moisture resistance and prevents mold growth, which is something unfaced insulation does not offer.
Although the differences between them are nothing major, it makes them work better in different locations. However, both types of insulation carry the same primary purpose—to minimize the conduction of heat energy.
Here's a brief description of each type of insulation:
Faced Insulation
Faced insulation is usually made from fiberglass and comes with a vapor retarder to keep out moisture. A vapor retarder works by hindering the movement of water vapor, limiting its spread from the walls to the rest of the home.
Read more about how a vapor barrier affects your basement in this post: Basement Vapor Barrier: Yes Or No? [Pros And Cons Explored]
This type of insulation results in reduced moisture damage and mold growth, making it ideal for use in areas of the house where moisture likely goes through. Such a feature makes it costs more than unfaced insulation.
Faced insulation offers sound resistance and is combustible because the vapor retarder is not fire-resistant. However, the sheet is durable and can last long when used in the appropriate places.
Unfaced Insulation
On the other hand, unfaced insulation cannot control moisture due to the lack of a vapor barrier. Thus, it is prone to moisture collection and potential mold growth.
Even without moisture-controlling features, unfaced insulation comes with several benefits, which include better soundproofing and fire resistance. It's also cheaper than faced insulation but requires more effort during installation.
Unfaced insulation works best in interior spaces without being directly exposed to extreme weather conditions. In some cases, homeowners install it as an additional layer after applying faced insulation.
When Should I Use Faced And Unfaced Insulation?
The two types of insulation each come with properties that counter each other, even with the same purpose. These will determine when and where it would be best to use them.
Faced insulation provides moisture resistance, making it work best in humid locations. Most also prefer using this during first-time installations on different surfaces, including basements.
Keep in mind that the paper layer of the insulation should face the interior in cold climates and face the other way towards the exterior in warm climates. For example: let the paper face upward towards your floors if you're installing the insulation in a crawlspace or basement.
If you want a cheaper option and moisture isn't a concern in your home, unfaced insulation is the better choice for you. It reduces noise better, but they are trickier to install because it tears easily.
Since it doesn't have a sheet, you can place it facing any side. You can also add a plastic vapor barrier on your own before attaching it to your drywall.
Factors To Consider When Choosing Basement Insulation
Before you pick out which insulation to use in your basement, there are a few things you need to consider that affect its effectiveness. These factors include the following:
Total Budget And Cost
First, you need to calculate how much you are willing to spend on basement insulation. Between the two options we've mentioned earlier, unfaced insulation is cheaper. They usually have a $0.10 to $0.25 difference in price, which is a lot when counting per square foot.
Pick an option that fits your budget, but manage your expectations! Most insulation will perform within their price range, but these functions may help you lower your total expenses later on.
Primary Features
Each type of insulation comes with different functions. Faced insulation focuses on controlling moisture, and unfaced insulation aims to provide a fire-safe soundproof option. Although they vary in these, they aim for the same main goal: reducing heat transfer around the home.
Ease Of Installation
Some homeowners prefer insulation that won't take too long to install. If this is the case for you, faced insulation is more in your favor as the vapor barrier holds the insulation together. As a result, it allows you to move and staple it without worrying it will fall apart.
Unfaced insulation doesn't have the same cohesion, meaning it may easily tear during the installation. There are instances when staples aren't enough to hold up the insulation, so you may need to add a plastic vapor barrier to help secure it onto the surface.
Home Location
Your location determines the typical conditions within your home, especially for less-ventilated or covered portions of the house.
If you live in an area where the climate is warmer, you will likely experience higher humidity levels. Faced insulation can solve this concern because of its moisture-controlling properties.
In colder locations, heat loss tends to occur frequently. Installing unfaced insulation is one way to regulate temperature flow while providing another layer of protection.
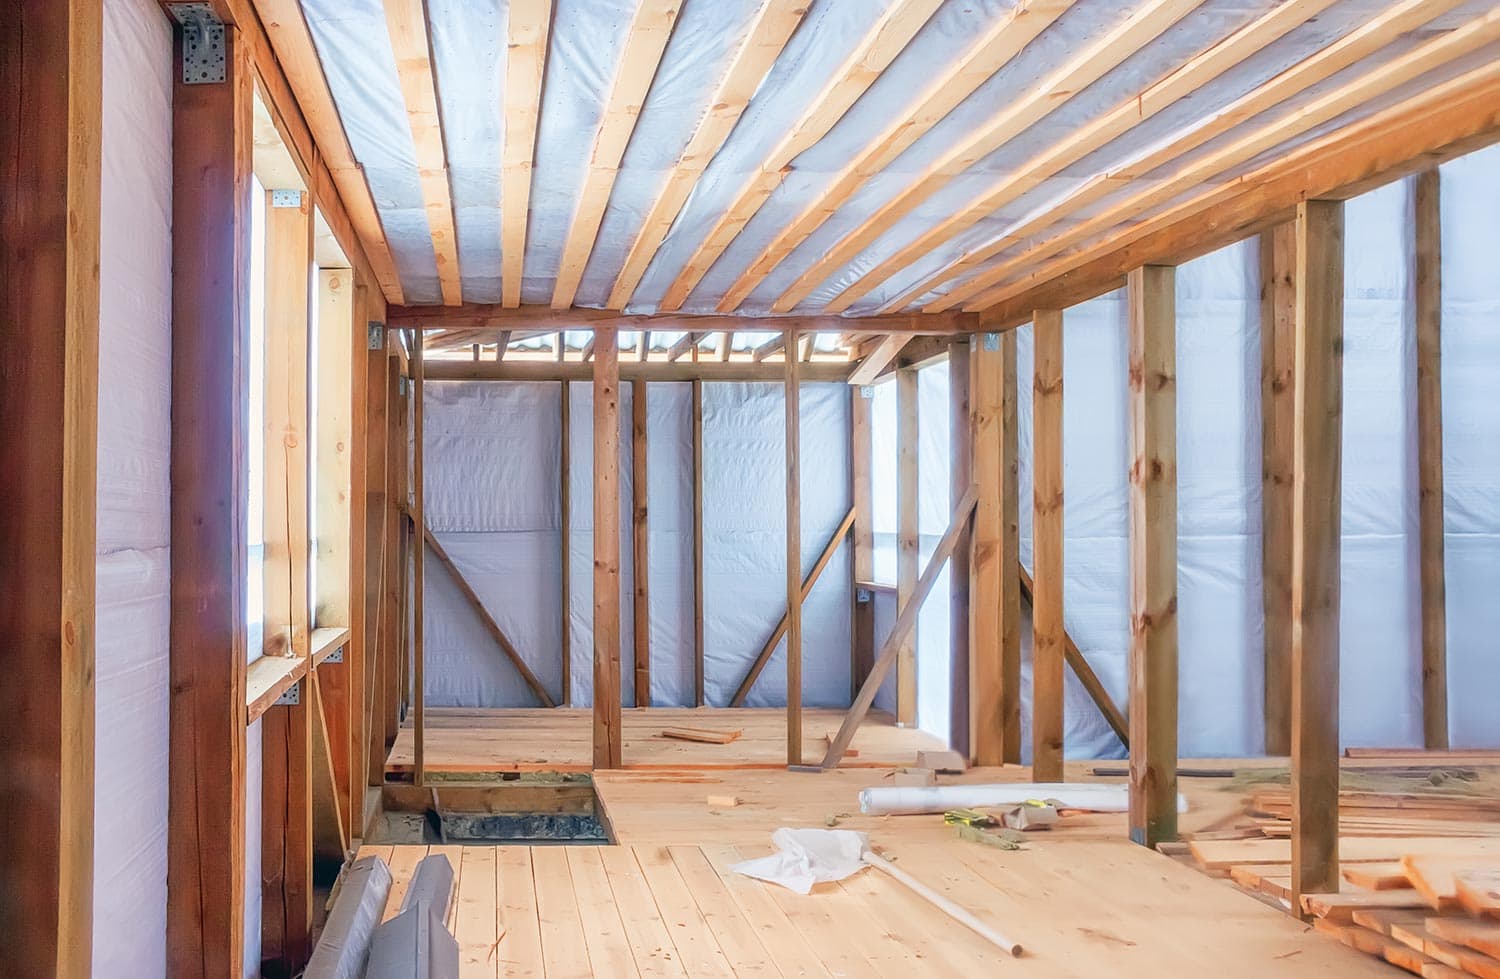
A Guide To Installing Insulation
Once you've decided on the insulation you prefer for your basement, you can choose to have a professional install it or do it yourself! Below are the step-by-step procedures to install faced and unfaced insulation in your basement.
How To Install Faced Insulation
Faced insulation come in long rolls or batts, usually precut to fit basic basement dimensions. Follow these steps to install kraft-faced insulation in your basement:
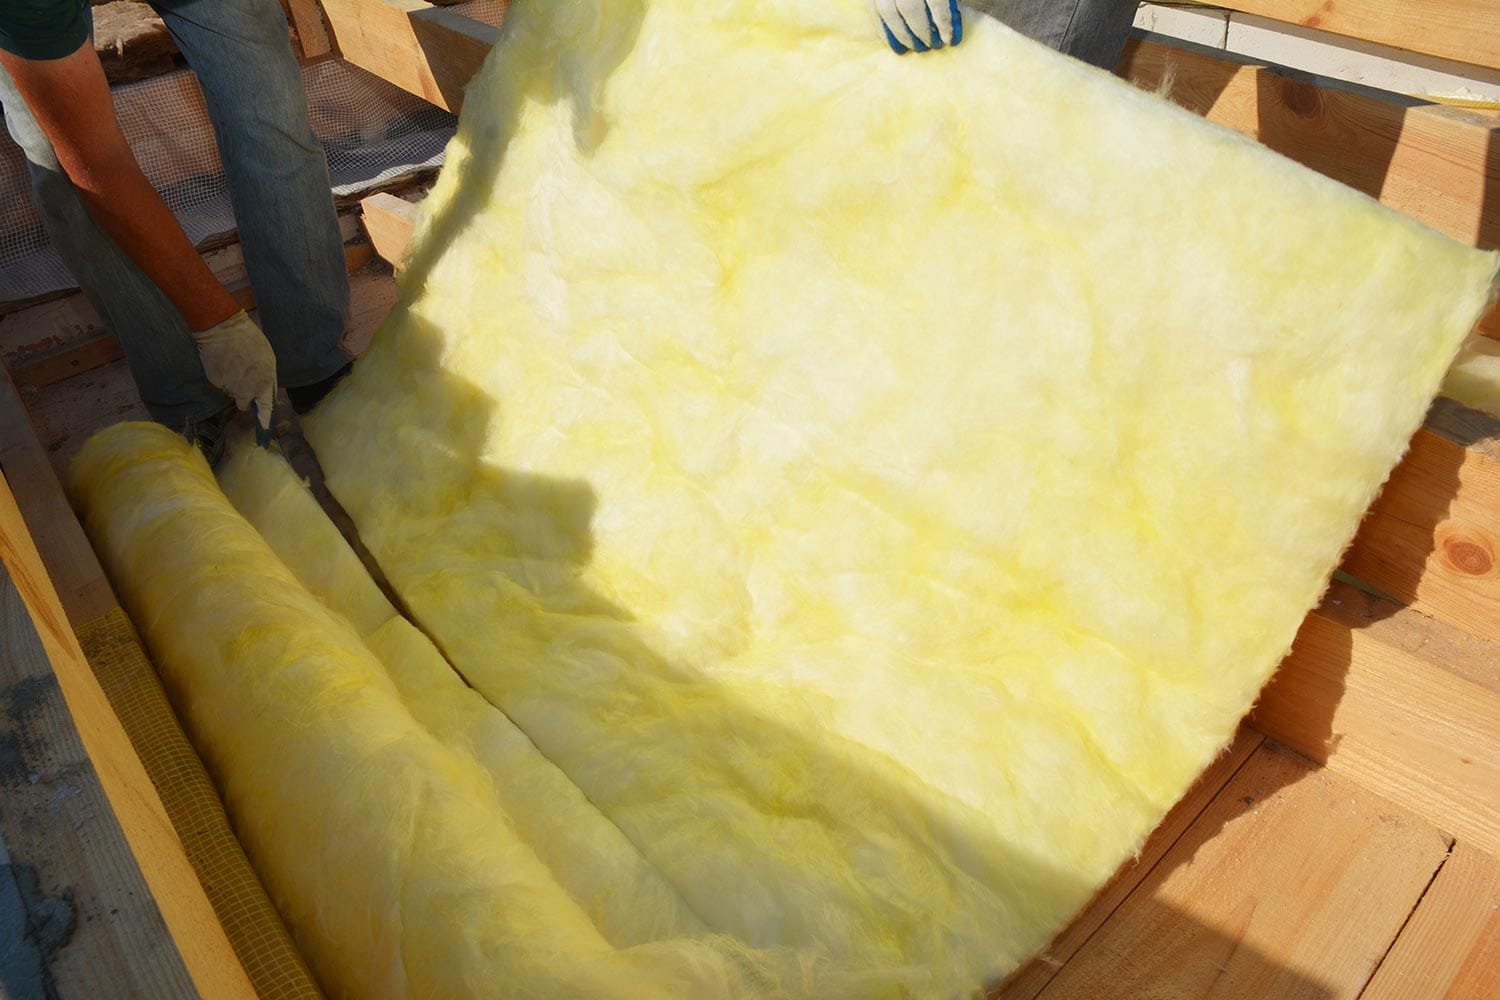
1. Cut The Insulation Roll
Measure the surface where the insulation will go and cut the insulation roll to fit the cavity. Cut it by placing the facing side down on top of scrap plywood.
Take a ruler to use for marking the measurements. If you use a T-square or metal straightedge, firmly press it down. Use a utility knife to cut along the insulation and facing.
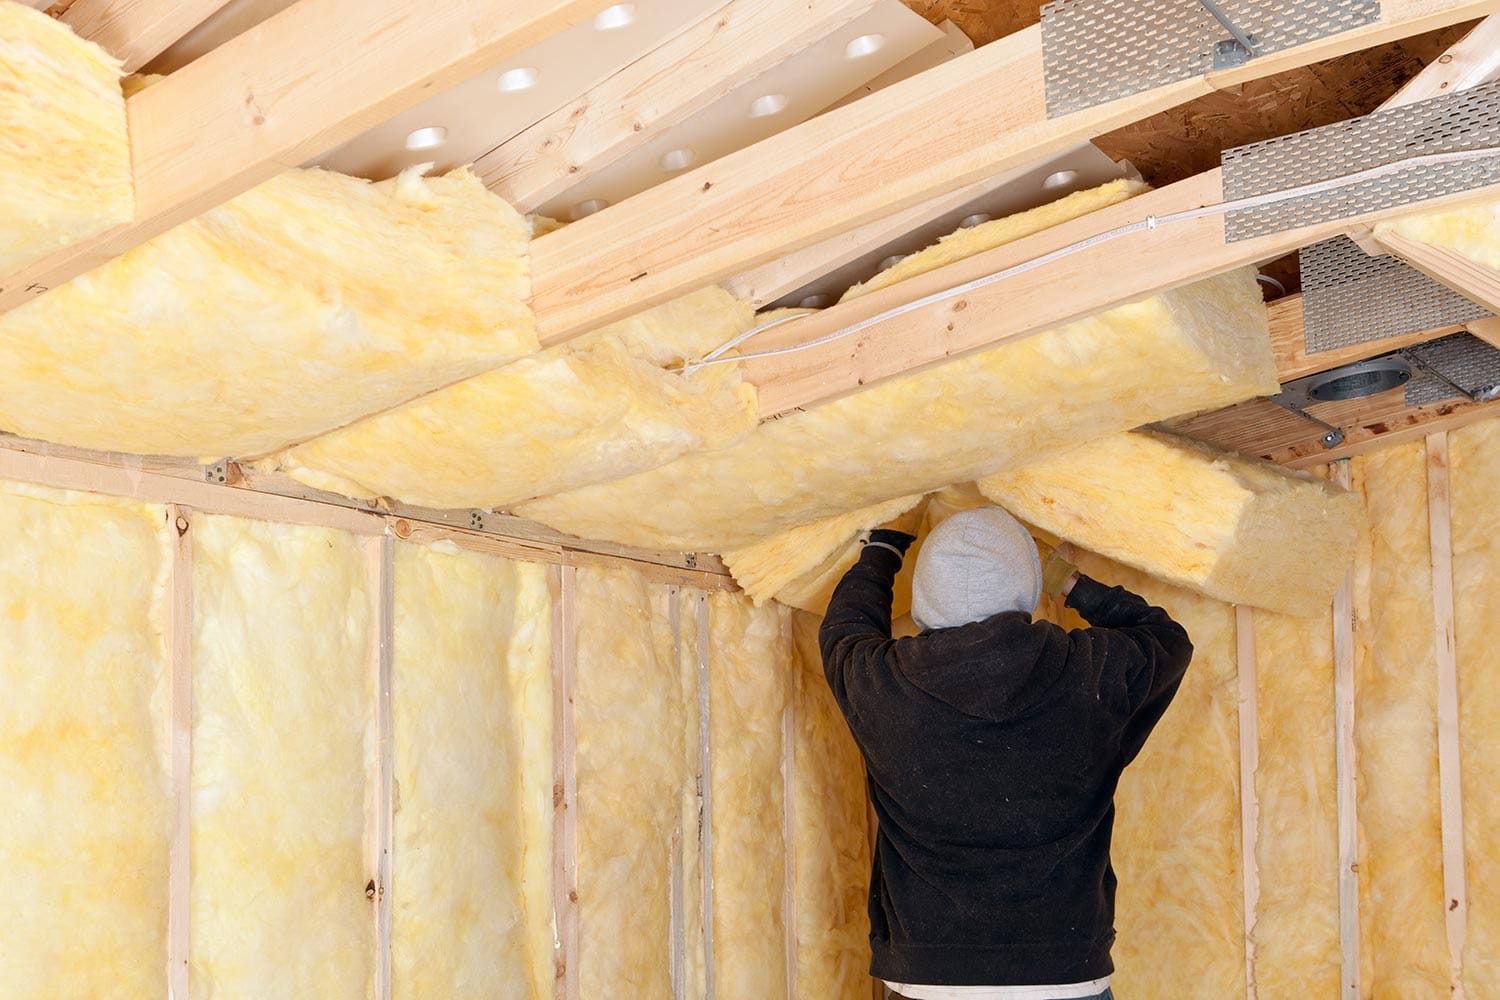
2. Fit The Insulation Into Place
Gently place the insulation into the cavity of the surface. Be careful not to force it in or compress it to avoid reducing its value. Ensure it fits in the cavity snug enough to cover up gaps from end to end.
3. Position The Insulation
Fold-out one side of the paper flange and position it against the side face of the surface. The edge of the flange should be flush with the interior edge of the surface.
4. Fasten The Paper Flanges
Staple the flange onto the side of the framing with a distance of 12 inches between each staple. Repeat this step on the opposite side.
Some locations require you to overlap the flange onto the front edge of the framing and staple it there, so be sure to look into your local building codes before securing the insulation.
How To Install Unfaced Insulation
Although it doesn't come with a moisture barrier, unfaced insulation can serve as an additional layer of protection to your basement. Check out these instructions below to install unfaced insulation:
1. Set The Position And Cut The Batts
Place the insulation on top of any existing insulation and press it firmly. Make sure you don't compress it to maintain its efficiency.
Loosely fasten the insulation with plastic straps, then cut it with a utility knife. Remember not to fold it over.
2. Push It Into Place
Carefully set it into the place, ensuring there are no air gaps. Although it can stay in place, it's better to secure the insulation. Use galvanized nails for this.
3. Secure It Onto The Surface
Nail the insulation on the exterior, then nail foam boards onto the surface with galvanized nails, keeping them 16 to 18 inches apart. Cover any unfaced foam panel with waterproof house wrap after the installation.
Why Insulating A Basement Important?
An insulated basement saves you money while keeping your living space comfortable. The value of basement insulation primarily focuses on increasing energy efficiency by controlling temperature flow in your home.
Get more insight about basement insulation R-value by reading this post: What R-Value Insulation For Basement Walls?
The Verdict
With its moisture-resistance properties, faced insulation works better for basements. However, you can install unfaced insulation on top of it for more protection. Even with varying features, both work effectively in regulating heat transfer within your home.