
If you're searching the internet looking for a guide on how to properly clean your Mitsubishi mini-split, you've come to the right page! We did extensive research and asked some experts to give you an answer.
Below is a step-by-step procedure on how to properly clean a Mitsubishi mini-split:
- Remove the front panel and louvers
- Remove filters and cover
- Loosen screw inside the blower wheel
- Unfasten other screws and remove the blower wheel
- Clean the front panel, filters, and blower wheel
- Clean main body
- Reinstall all parts
Proper maintenance and use will ensure the efficiency of your air conditioning unit throughout its lifespan. So, if you're still a bit confused about the steps we provided, read through as we elaborate more on the topic. We'll also discuss frequently asked questions as we go along.
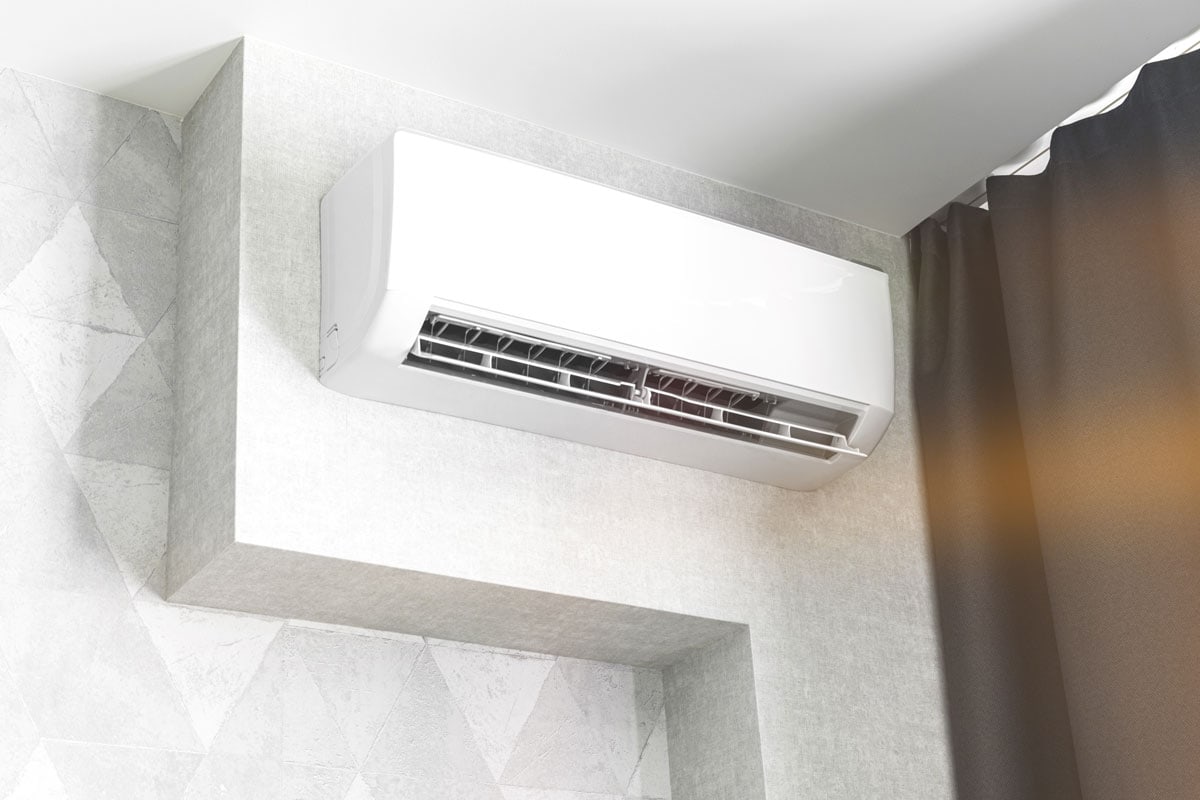
![Mini split type ac in living room, How To Clean A Mitsubishi Mini Split [ A Step-By-Step Guide]](https://hvacseer.com/wp-content/uploads/2022/05/How-To-Clean-A-Mitsubishi-Mini-Split-A-Step-By-Step-Guide.png)
Steps To Properly Clean A Mitsubishi Mini-Split:
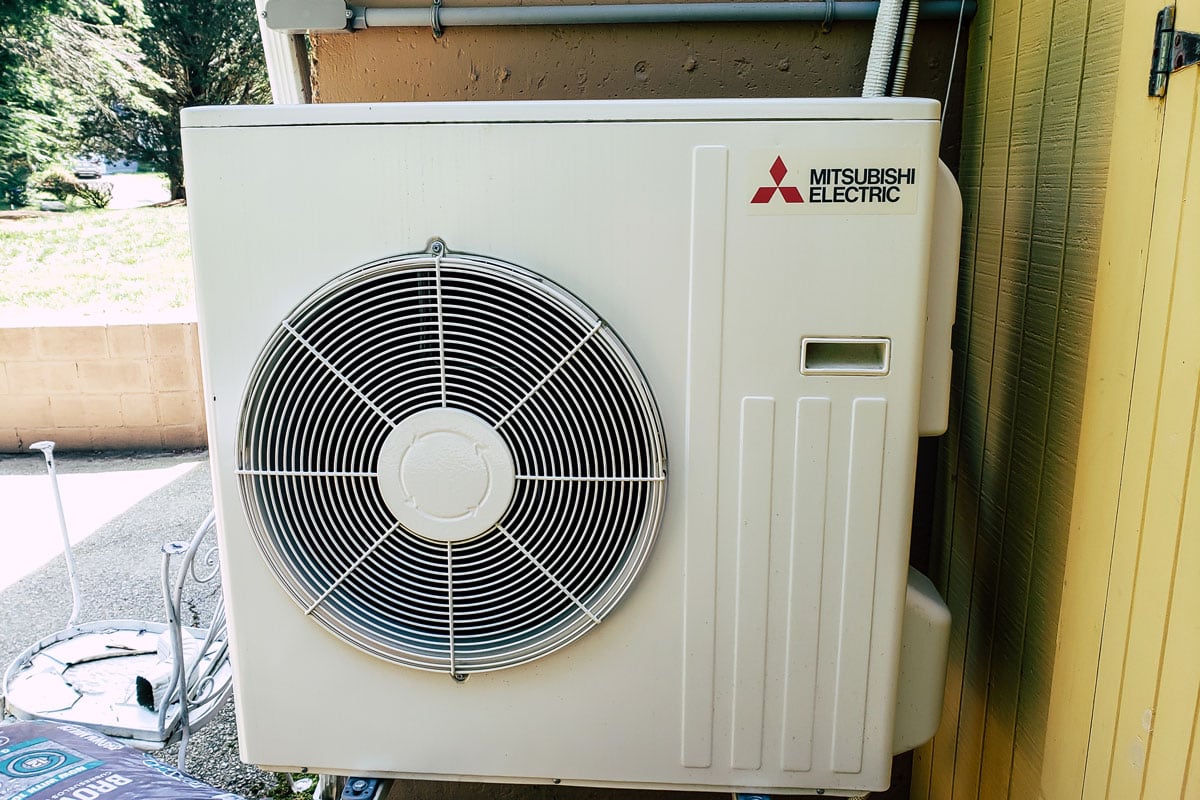
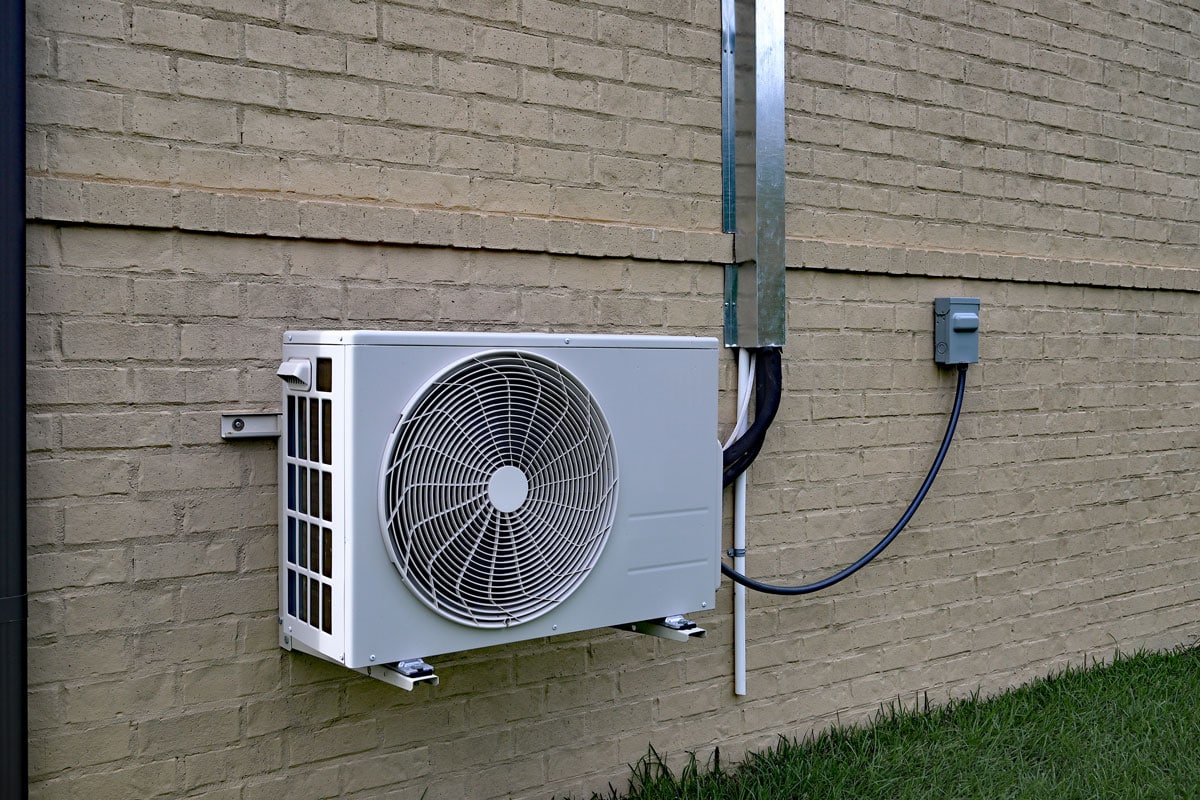
Mitsubishi mini-split air-conditioners are known not only for their size, but also for cooling and zoning individual rooms. As with most central systems, there are two main components for the Mitsubishi mini-split air conditioner. It has an air-handling unit for indoors and an outdoor compressor/condenser.
In this article, we'll discuss and focus on how to clean the indoor air-handling unit of a Mitsubishi mini-split. But before anything else, you should first gather the needed ">tools for the procedure.
You'll need a bucket, a Phillips and flathead screwdrivers, some clean towels, an evaporator coil cleaner, a vacuum cleaner, and a mild detergent.
Don't forget to use a metal ladder as well, and, although optional, you can also use an aircon cleaning cover to wash the main body of the unit. Note that before performing the task, unplug the power supply, switch off the breaker, and don't touch the metal parts with your hands.
Step 1. Remove the front panel and louvers
To remove the front panel, simply lift it until you hear a "click" sound. Gently hold the hinges and pull them off. Now, remove the horizontal louvers by gently sliding the middle and left side clip to the right. Be careful not to apply excessive force while removing the louvers to avoid breakage or cracks.
Step 2. Remove filters and cover
Slowly detach the filters from the hinges and slide them down to remove them. Now, to remove the unit's cover, take off the tabs on the side edges using a flathead screwdriver.
The tabs are positioned on the bottom part where the louvers were located. Underneath those tabs are screws, unfasten them all using a Phillips head screwdriver.
Now, gently take off the air conditioning unit's cover.
Step 3. Loosen screw inside the blower wheel
On the right side of the blower wheel opening, you can spot a screw on the innermost section. Just loosen it using a Phillips head screwdriver and don't take it off completely.
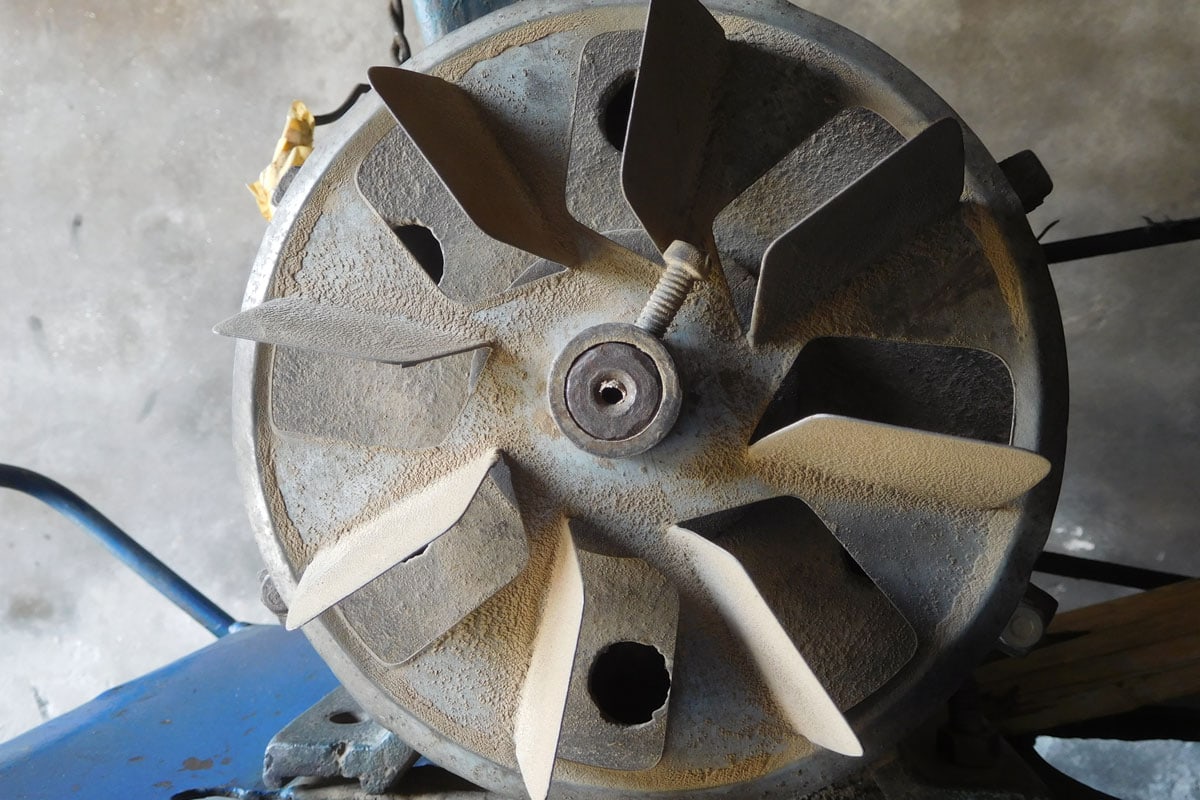
Step 4. Unfasten other screws and remove the blower wheel
Now, unfasten the three screws located on the left side of the unit's body. Next, slowly pull the drain pan just below the evaporator. Use a towel in case there is water dripping out of the pan. Next, pull the evaporator to remove the blower wheel.
Step 5. Clean the front panel, filters, and blower wheel
When cleaning the front panel, filters, and blower wheel, avoid using any scrubbing brush or hard sponge. Avoid using cleaning products with ingredients like polishing powder, insecticides, benzene, or thinner. If possible, use diluted mild detergents only.
Wet a clean wet towel and use it to wipe off the dirt from the front panel and louvers. Don't rinse or soak the horizontal louvers.
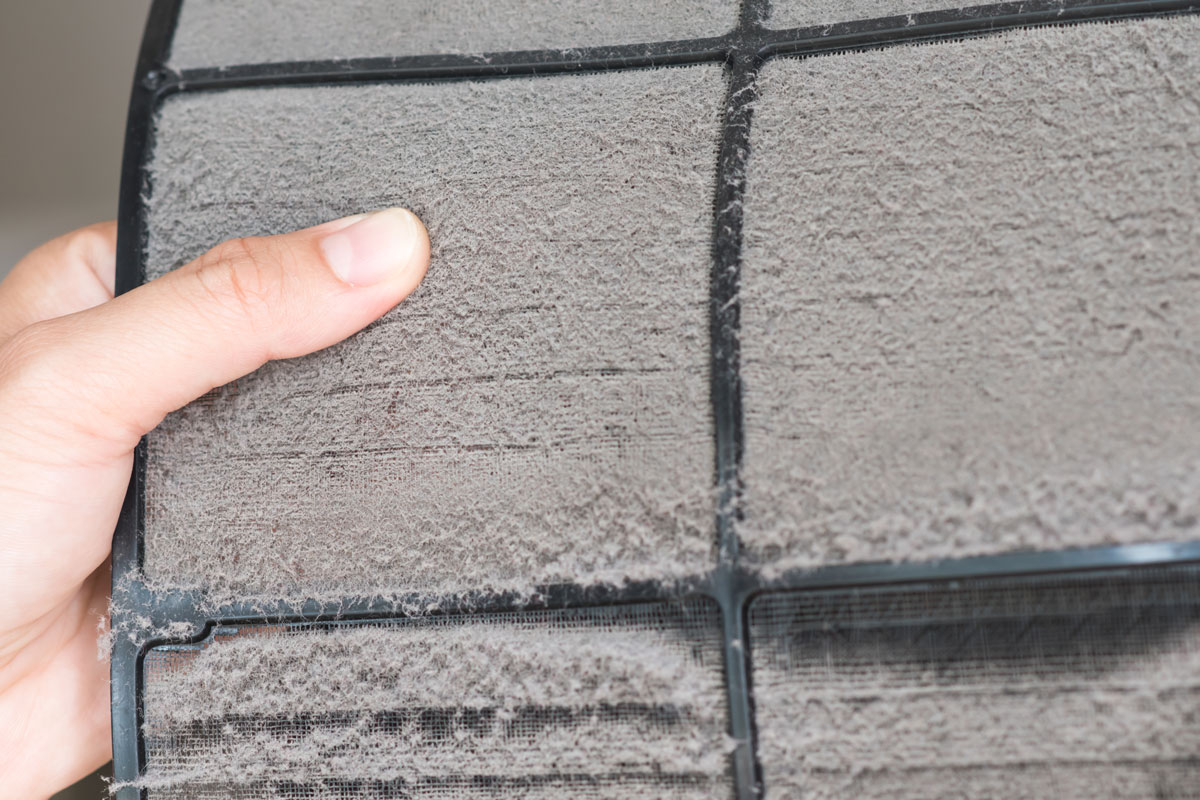
The Nano Platinum filter must be cleaned every 2 weeks. You can use a vacuum cleaner to remove the dirt or rinse it with water. If you choose to rinse it, make sure that you dry it well in shade and not in direct sunlight.
The air-cleaning filter is the blue filter, and it must be cleaned every 3 months. You can clean it first with a vacuum cleaner. But, if vacuum cleaning alone can't remove the dirt, you need to soak it in lukewarm water, along with its frame, before rinsing it. Once done, dry it in shade and avoid drying it in direct sunlight.
One way of ensuring the air quality of your air conditioning unit is to replace its filters regularly. As for the Mitsubishi mini-split, the air-cleaning filter needs replacing every year, especially when you can no longer remove the smell and dirt by simply cleaning it.
The deodorizing filter helps purify the air that your air conditioning unit produces. It is the black filter in your Mitsubishi mini-split that needs to be cleaned regularly to restore its deodorizing feature. As recommended, clean it every 3 months using a vacuum, or by soaking it and its frame in lukewarm water for 15 minutes.
You should always clean your filters because dirty filters would cause condensation in the air conditioning unit. Condensation contributes to the growth of fungi— mold. Fungi can pose serious health risks for you and your family.
If dirt and dust is clogging your filters, it prevents cold air from flowing through the evaporator. Because of this, the machine exerts more effort just to reach the set temperature, leading to higher energy consumption.

Check this Mitsubishi air-cleaning filter on Amazon

Check out this Mitsubishi deodorizing filter on Amazon
Now, once you're finished cleaning the filters, you need to clean the blower wheel by spraying some diluted mild detergents on its entire body. After letting the detergent sit for 5-10 minutes, rinse it. Again, dry it in shade afterward.
Step 6. Clean main body
Next, clean the main body by installing the cleaning cover on it. This is to ensure that there would be no splashes of water coming out or dripping while you're cleaning the unit. Make sure to put the hose that comes with the cleaning cover inside a bucket.
Now, spray an evaporator coil cleaner on the coils and let it sit for a couple of minutes until the foam dissolves. Rinse the coils by spraying them with water. Let the coils dry.

Check this evaporator coil cleaner on Amazon
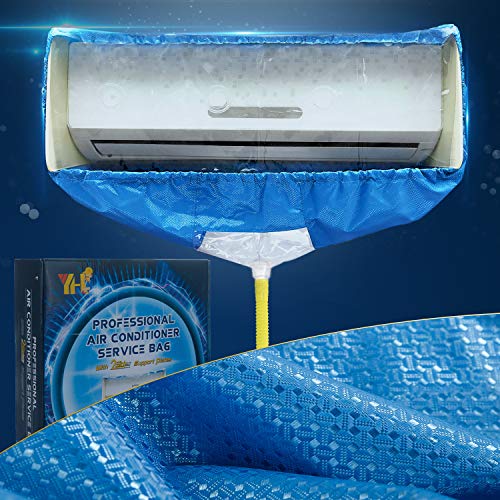
Check out this cleaning cover on Amazon
Step 7. Reinstall all parts
Wait until all the parts are dry. Reinstall them following the removal procedure in reverse.
Check out the video below for reference:
How Efficient Are Mitsubishi Mini-Splits?
Mitsubishi mini-splits are known for being energy efficient since they use 25% up to 50% less energy than the typical central air conditioning system. The reason behind this is that the system avoids heating or cooling rooms that are not being used.
Also, since Mitsubishi mini-splits are ductless, they deliver air directly to different rooms. Because of this, it maximizes energy efficiency by 25%.
A ductless system has a feature that allows the system to remain on with a variation of speed, which helps maintain a consistent temperature that adapts to the environment. This feature eliminates the need to turn your unit on and off, which causes higher energy consumption.
How Much Does A Ductless Air Conditioning System Cost?
The price varies depending on the model, system capacity, and brand. However, the typical costs range between $1,500 and $5,000 for a ductless air conditioning system, depending on the horsepower.
How Long Should A Mini-Split Last?
The lifespan of an air conditioning unit would depend mostly on the environment, usage, maintenance, and power supply. If proper maintenance and use are followed, the typical lifespan of a Mitsubishi mini-split lasts up to 20 years.
In Summary
Cleaning a Mitsubishi mini-split is quite easy, especially if you have the right tools. The first thing that you need to do is to remove the front panel and louvers. Next, remove the filters, and the unit's entire cover. Loosen the screw inside the blower wheel, and unfasten the other screws holding it.
Now, remove the blower wheel and clean it along with the filters, louvers, and front panel. Once you're finished cleaning them, proceed to your unit's location and clean its main body using a cleaning cover. Once everything is dry, reinstall all the parts.
If you want to learn more about mini-split, read these interesting posts before you go: