Are you looking for ways to effectively insulate your roll-up garage doors during the winter and summer seasons? You're in the right place! It's really important to know the nitty-gritty of insulating garage doors to efficiently accomplish the task. Hence, we've researched and asked some experts to provide you with the correct procedure.
To properly insulate your roll-up garage doors, follow these steps below:
- Clean your garage door.
- Measure the width and length of your garage door.
- Roll out and cut the polyethylene foam.
- Spray on the adhesive.
- Install the polyethylene foam.
DIY home projects require not just the right tools to achieve the desired outcome, but the proper execution of each step as well. Read further as we discuss each step and elaborate more on the topic. Along the way, we'll also answer frequently asked questions about roll-up garage doors.
![Clean garage room with rolling gates, How To Insulate Roll Up Garage Doors [Follow These 5 Steps]](https://hvacseer.com/wp-content/uploads/2022/02/How-To-Insulate-Roll-Up-Garage-Doors-Follow-These-5-Steps.png)
Insulating roll-up garage doors
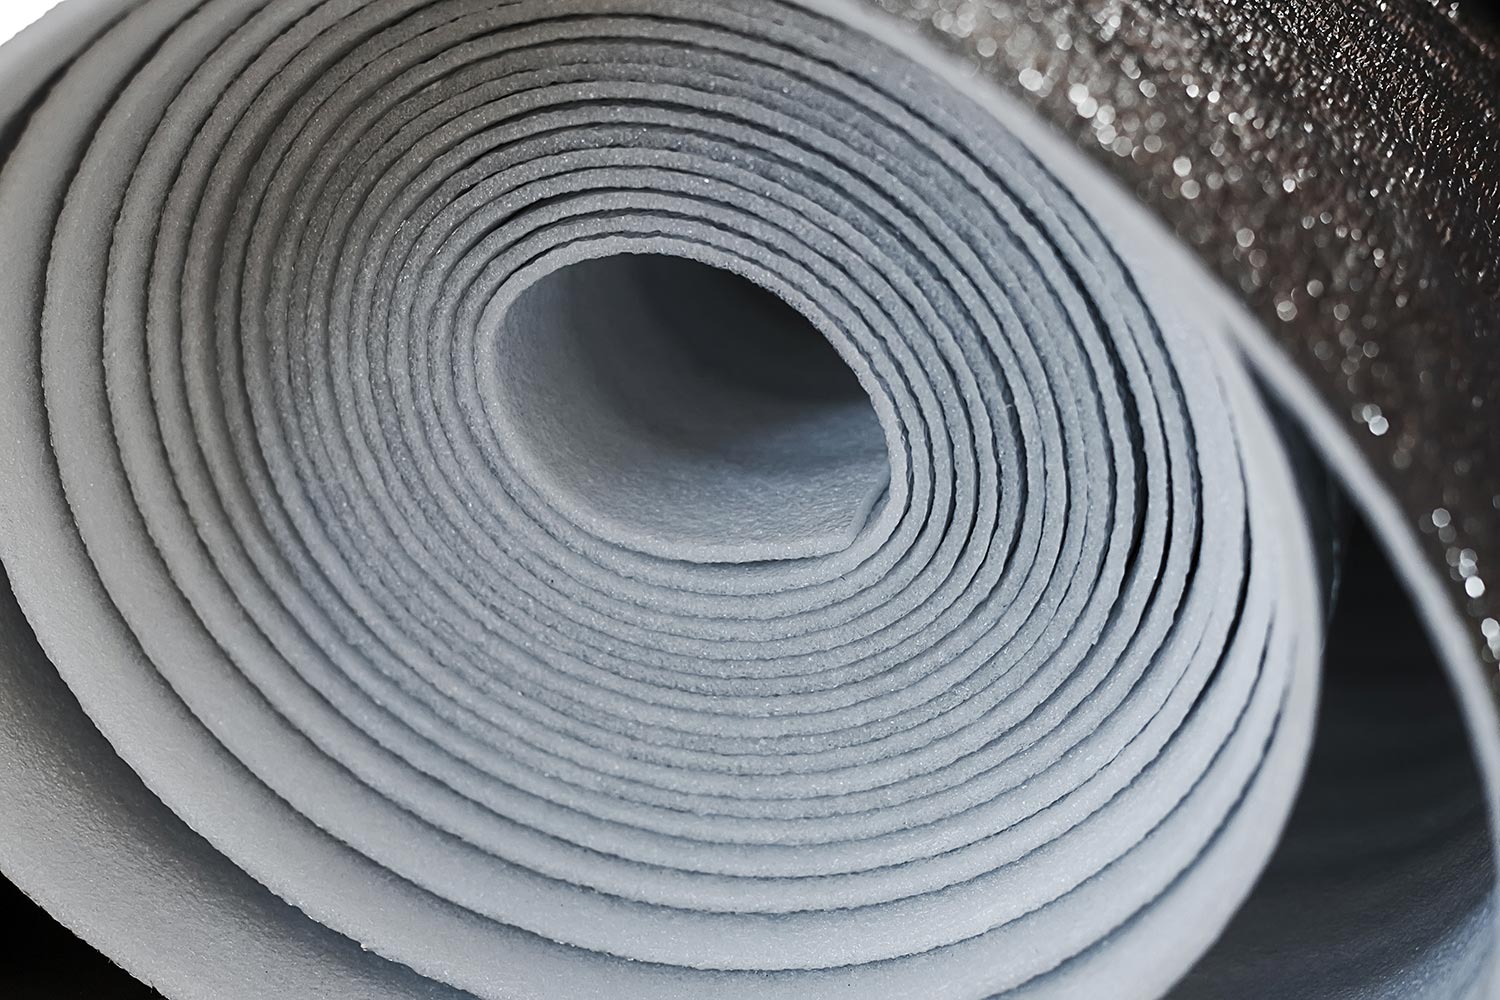
The first thing you have to do is prepare the needed tools for the task. You need a roll of polyethylene foam to serve as the insulator, an adhesive tape to hold the foam temporarily, a cutter or knife to cut the foam, and an adhesive spray to hold the foam permanently into the door's surface.
Also, don't forget to prepare a tape measure to measure the dimensions of the door, and sandpaper and all-purpose cleaner to clean the door.
Click here to see this Reflectix insulation roll on Amazon.
Click here to see this adhesive spray on Amazon.
On another side note, this task is a two-man job. So, it's always better if you have someone to help you do the job to save time and effort. However, you can still execute the steps alone using some tools to help you with.
Here are the ">steps to properly insulate a roll-up garage door:
Step 1. Clean garage door

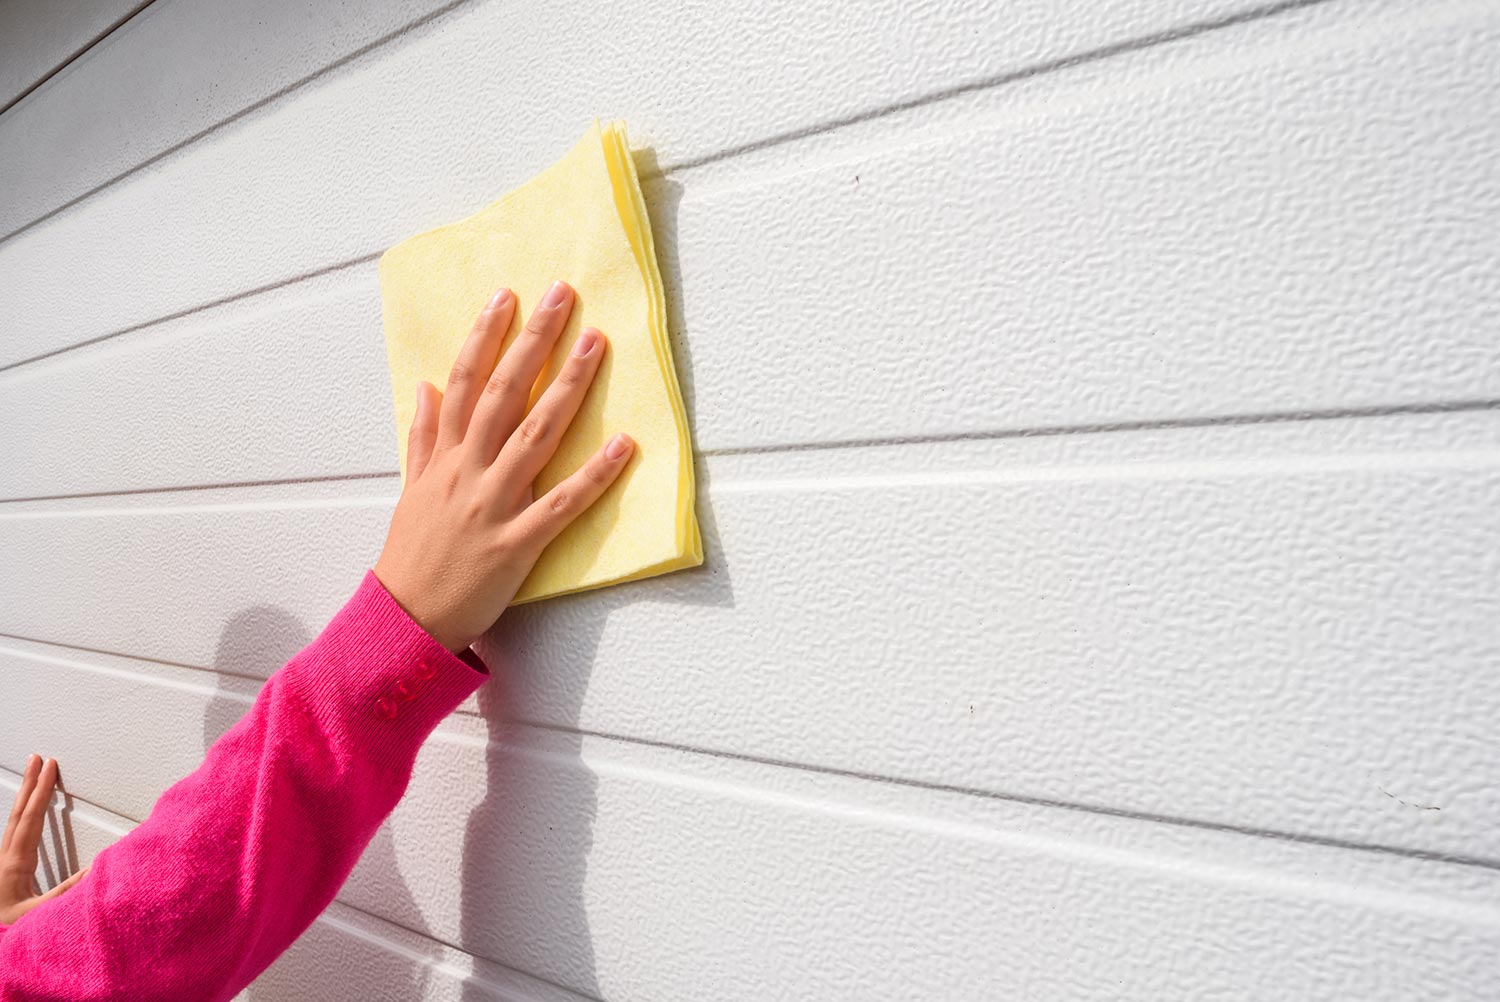
Once you're done preparing all the needed tools for the task, start cleaning your garage door. Take note that it's important to sand the surface of your roll-up door vigorously until it becomes even and light.
Afterward, wipe the surface with an all-purpose cleaner using a clean rag to remove any dirt, oil, and debris. Make sure to allow the surface of your door to dry for about 15-20 minutes.
Step 2. Measure the dimensions of the garage door
Now, measure the inner part dimensions of your roll-up garage door using your tape measure. Make sure that in measuring the width of the garage door, you measure within the space between the two side guides. In measuring the height of the door, start from the top most down to the area just before the bottom bar.
Ensure that your measurement is spot on because it will affect the quality and efficiency of the insulation.
Step 3. Prepare the polyethylene foam

Next, lay the polyethylene foam on the floor. With the use of your tape measure and marker, mark the polyethylene foam according to the door's dimension. Once done, cut the foam using a cutter or knife.
If you don't have a helper with you, you can use adhesive tape to hold the foam temporarily while you make sure that the foam is properly in place and securely covering the entire door.
Step 4. Spray adhesive
Once you're done cutting all the needed polyethylene foam, you need to spray the adhesive directly and evenly on the metal surface of your garage door. It's always better to use an adhesive spray that is good for gluing foam and metal together.
Hold the spray nozzle 4-6 inches away from the metal. It's better to start spraying horizontally on the lower center of your garage door for better precision and to avoid creasing the foam. Spray by section.
Always allow the adhesive spray to dry before installing the foam.
Step 5. Install the foam
After spraying the adhesive on the lower center of your door, you should now start installing the foam on that area. Press the foam firmly into the metal. Move your hands along the door curtain, making sure that the foam is solidly pressed against the metal surface.
As you go along, spray the adhesive carefully on each curtain and ensure that each curtain has a good amount of adhesive for the foam to stick. For this task, it's always better to start at the bottom part and once you're done, start doing the top portion of the door.
Check out the video below for your reference:
How do I insulate the air gaps in my garage door?

In installing an insulator on your garage door, most often than not, the top, sides, and bottom parts are left with some tiny gaps. Thus, you need to get rid of those gaps and ensure that your garage doors are airtight. To insulate the air gaps in your garage door, you can either put on a rubber garage door seal or install a brush seal.
Rubber garage door seal
When using a ">door seal to get rid of air gaps, start installing the screws into the aluminum extrusion using an electric drill at the bottom of your door. Take note that aside from the rubber seal, the screws and the aluminum are also included in the rubber door seal set.
Using an electric cutter, cut the aluminum extrusion if it is longer than your door's width. Afterward, slide the rubber seal into the aluminum extrusion and cut the excess using a cutter.
Click here to see this bottom garage door seal on Amazon.
Brush seal

Firstly, you need to measure not just the width and height of the garage door but the gap size on the header and the sides as well. Next, mark the brush seal where you want your screws to be fastened, and predrill it using an electric drill for easy installation.
If you need to cut down the brush seal, simply slide the brush out of the aluminum holder and cut the aluminum using a hack saw or a cut-off wheel, and cut the brush using a bolt/lock cutter.
Now, when installing the brush seal, you need to install the header brush first. Fasten the header brush with the use of the screws and electric drill. Next, install the brush seal into the sides and make sure that the bristle is touching the lower rib of the door.
Watch the detailed instructions on how to install a brush seal kit in this video:
Click here to see this brush seal kit on Amazon.
What are the benefits of an insulated roll-up door?
The following are the benefits of insulated roll-up garage doors:
Noise reduction
Insulating your roll-up garage door will greatly reduce the surrounding noise because it resists the sound transfer through the air by preventing sound waves from entering your garage.
It also reduces the noise it produces when it is rolled up and down because of the insulation foam.
Energy efficiency
An insulated roll-up garage door will help you save on electricity bills. Since it can help maintain and regulate the temperature inside the garage, it also decreases the amount of work your HVAC system needs to do, resulting in lesser electricity usage.
Climate control and convenience
By using polyethylene insulation, you put a barrier between the inside of your garage and the outside environment. Because of this, it maintains and keeps the temperature in your garage warm during the winter and cool during the summer.
When your garage is properly insulated, doing occasional activities there would then become easier. This way, convenience is achieved when you don't feel uncomfortable staying outside your garage to do certain things or even to move your kids from your car to the house and vice versa.
Property protection
Storing your car in an uninsulated garage would greatly affect your car's condition in many ways. Insulating your garage doesn't only protect your car from any damage brought about by the cold weather. It also helps protect you and your family from possible car problems—which might lead to accidents.
How much warmer is an insulated garage door?

An insulated garage door can make the inside of the garage stay warm for over 10-20 degrees than the outside temperature.
How much does it cost to insulate a garage door?
In Summary
Insulating your roll-up garage door starts with cleaning the door itself. Measuring the dimensions of your door comes next. After getting the dimensions, mark the polyethylene foam as the correct measurement, and cut it accordingly. Spray adhesive into the door's surface, and press the polyethylene foam firmly on it.
If you want to learn more about insulation and how to insulate garage walls, check out these posts before you go:


