
Keeping your basement or garage safe from water damage can be challenging. Luckily, products like Drylok make this dilemma easier to handle. If you're wondering how long it takes for Drylok to dry, you're on the right page. We've researched this topic extensively to provide you with relevant information.
The amount of time it takes for Drylok to dry and cure depends primarily on the weather. In ideal weather conditions (75–85 degrees F), it may only take two to three hours to dry.
Drying and curing times can take longer in cold, damp conditions. You need to give Drylok up to 24 hours of curing time before allowing heavy foot traffic on the surface.
Using Drylock is a great way to keep your basement or garage safe from seeping water. In this article, we'll dive deeper into how to use Drylok and help you decide if it's the solution for your water issues. Read on to learn more.
What Are The Drying And Curing Times For Drylok?
Most Drylok formulations have the same drying and curing times. Drying is the solvent evaporating the water and becoming ready for another coat. Curing time is the recommended length of time before the formulation is ready for daily use.
For many Drylok waterproofer formulations, the drying time between the first and second coats will be two to three hours.
After the second coat, you should let the Drylok cure for a minimum of four hours before subjecting it to light foot traffic. It needs a minimum of 24 hours of curing time for heavy foot traffic.
In terms of subjecting Drylok to heavy machinery or vehicles, you should let it cure for at least a week before driving on it. This ensures that all fumes and volatile solvents have completely evaporated and the formulation has completely set on the masonry.
Failure to follow recommended curing times for Drylok can compromise its effectiveness and significantly decrease its longevity.
How To Get The Best Results When Applying Drylok
Achieving the best results with Drylok does not come by chance. There are proven steps that will affect the outcome of your application of the product. To use a cooking term, you should always follow the recipe when using Drylok.
Preparation Is Key
On any masonry project, preparation is critical. It can make or break the whole process.
To start, remove all the loose dirt and particles that could keep the Drylok from properly adhering. Clean the entire surface with a wire brush.
If you see a white powdery substance when preparing your wall or floor, be sure to remove it, as it is a mason's worst enemy. This powdery substance is called efflorescence.
It's a buildup of salt that emerges through the surface of concrete. In some cases, severe buildup of efflorescence can signify compromised structural integrity.
Prior to the actual application, remove all traces of efflorescence to avoid compromising the effectiveness of a product such as Drylok Masonry Waterproofer. You can use Drylok Etch to neutralize the efflorescence.

Click here to check out Drylok Etch on Amazon.
Patch Every Crevice
The second step is to patch every crack and crevice present. Any moisture that seeps into the masonry during application can compromise the overall effectiveness of the waterproofer.
Patch every wall joint and corner, as these areas are the most susceptible to water leaks and moisture. You can use Drylok's hydraulic cement for this procedure, as it sets in just five minutes after application.

Check out Drylok Fast Plug on Amazon.
Waterproof Everything
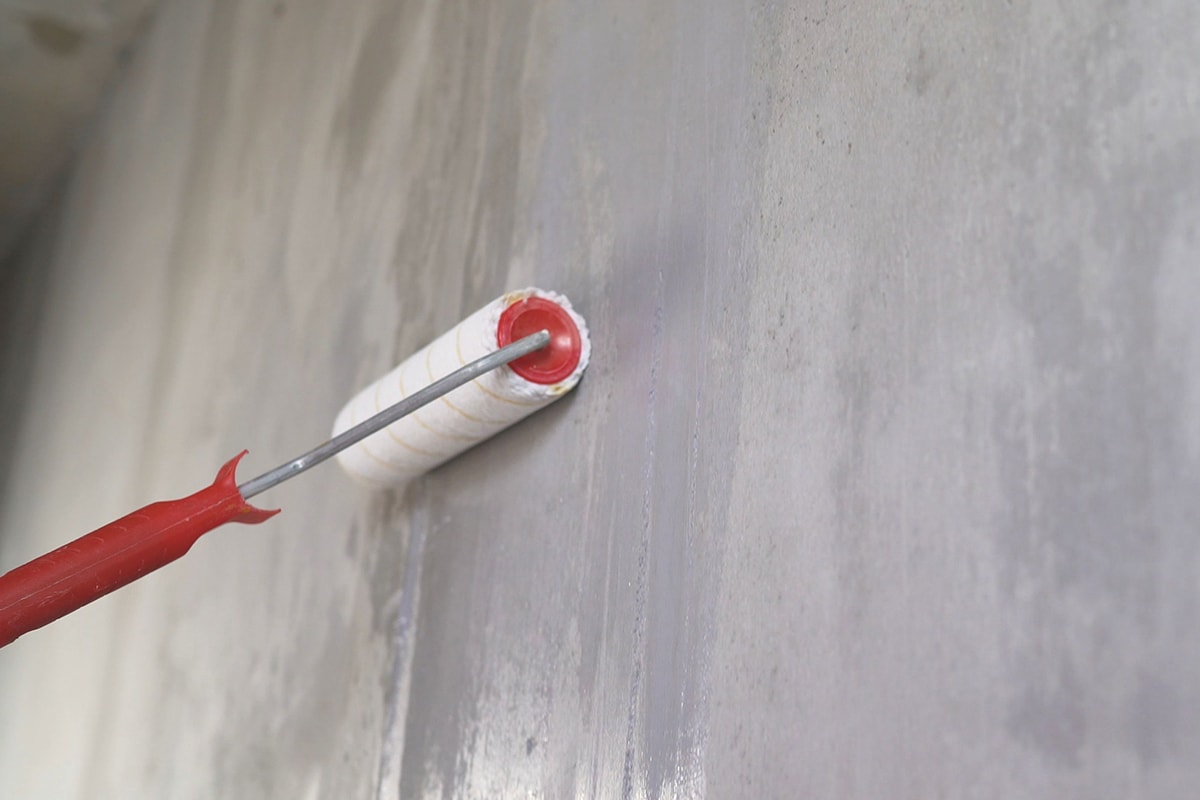
For the final step, apply your Drylok waterproofer of choice. Ensure even application on the entire surface and fill in every nook and cranny.
Depending on the waterproofer formulation you choose, you can apply it to the floor for a complete masonry seal.
As it cures and dries, Drylok expands into the pores of the masonry, creating a complete seal while also becoming part of the wall.
Is A Second Drylok Coat Necessary?
Applying a second coat is essential for Drylok to work correctly. It covers and reinforces all areas of the first coating. It acts as a seal and barrier while also making the final product as even as possible.
Also, a minimum of two coats is required for the limited warranty of Drylok waterproofer to be applicable. So, be sure to follow the recommended coating application procedure to get your money's worth from Drylok.
How Long Will Drylok Last?
According to Drylok, when the correct procedure is followed during the application process, Drylok can last for more than five years. Effectiveness will vary depending on what type of Drylok you apply.
If you use Drylok Original Masonry Waterproofer, you are guaranteed that its effectiveness will last for a decade.
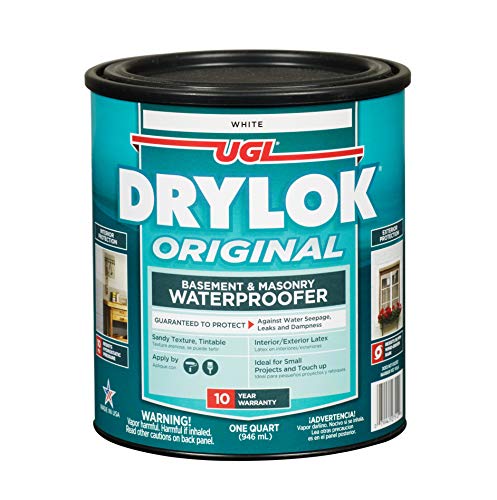
Check out Drylok Original Waterproofer on Amazon.
When applying the Drylok Extreme Masonry Waterproofer, Drylok guarantees that with the correct application, the effectiveness of the extreme variant can last for 15 years.
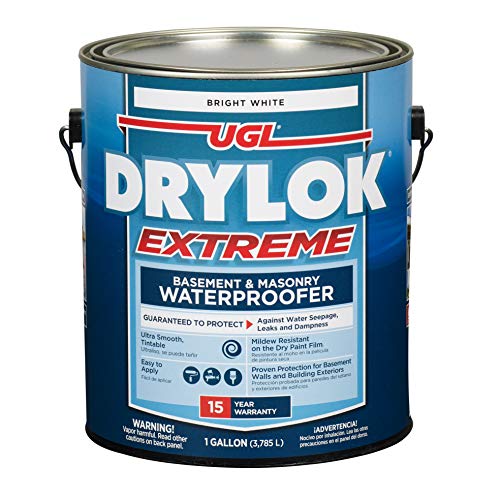
Check out Drylok Extreme Waterproofer on Amazon.
With Drylok Floor & Wall Masonry Waterproofer, Drylok guarantees that the effectiveness will last for seven years from application.
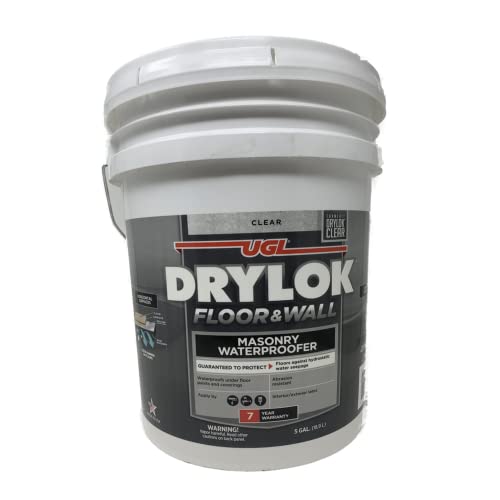
Check out Drylok Floor & Wall Waterproofer on Amazon.
Take note that the numbers provided by the official Drylok website do not apply to all scenarios. Drylok also says that in many instances, when the application is made correctly, additional years of effectiveness may result for each type of waterproofer.
Can Drylok Be Applied To Any Material?
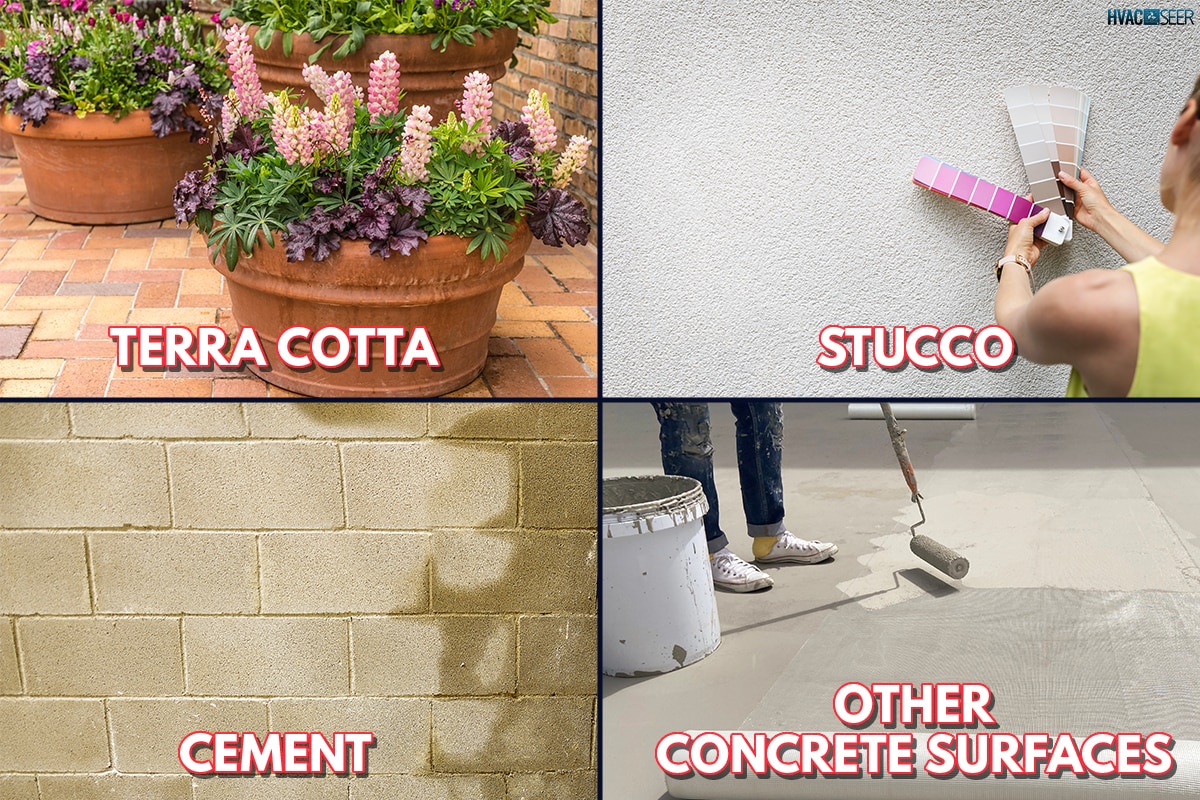
Unfortunately, Drylok Masonry Waterproofer can only be used on bare masonry and concrete surfaces. Anything other than those materials will not work with Drylok.
Drylok works well when applied to terra cotta, stucco, cement, and other concrete surfaces.
Apart From Basements, Where Can I Use Drylok?
There are numerous areas where you can benefit from the waterproofing capabilities of Drylok.
From gardening materials to decorations and even fish ponds, Drylok has a versatile range of product applications that take care of your waterproofing needs.
Fish Ponds
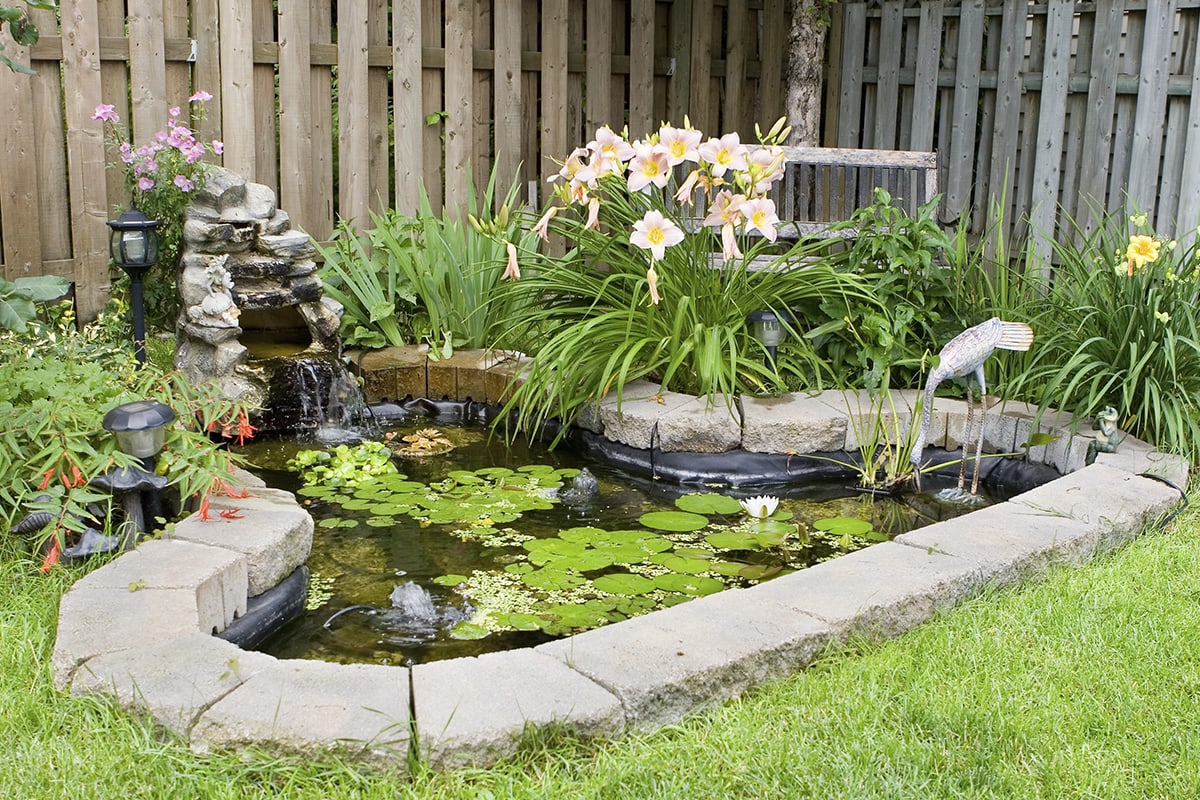
Drylok can help protect and maintain the structural integrity of your fish pond and keep it looking good for an extended period.
Recommended curing times for fish ponds is one week to ensure no solvents will affect the water quality and potentially harm your favorite fishies.
Water Troughs
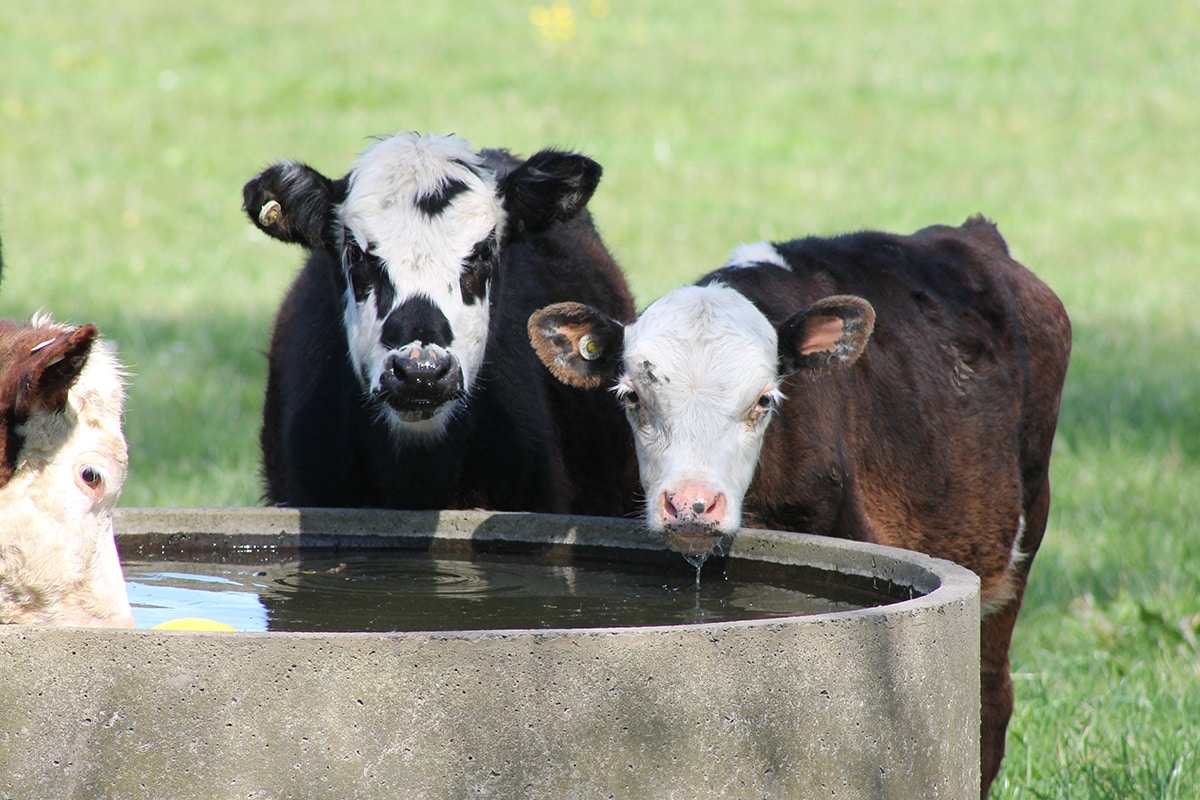
If you live on a farm, Drylok can help prevent damage to your livestock's concrete water troughs and cisterns. These troughs are subjected to outdoor weather conditions like rain, snow, and extreme sunlight, so protection is helpful.
Terra Cotta Planters
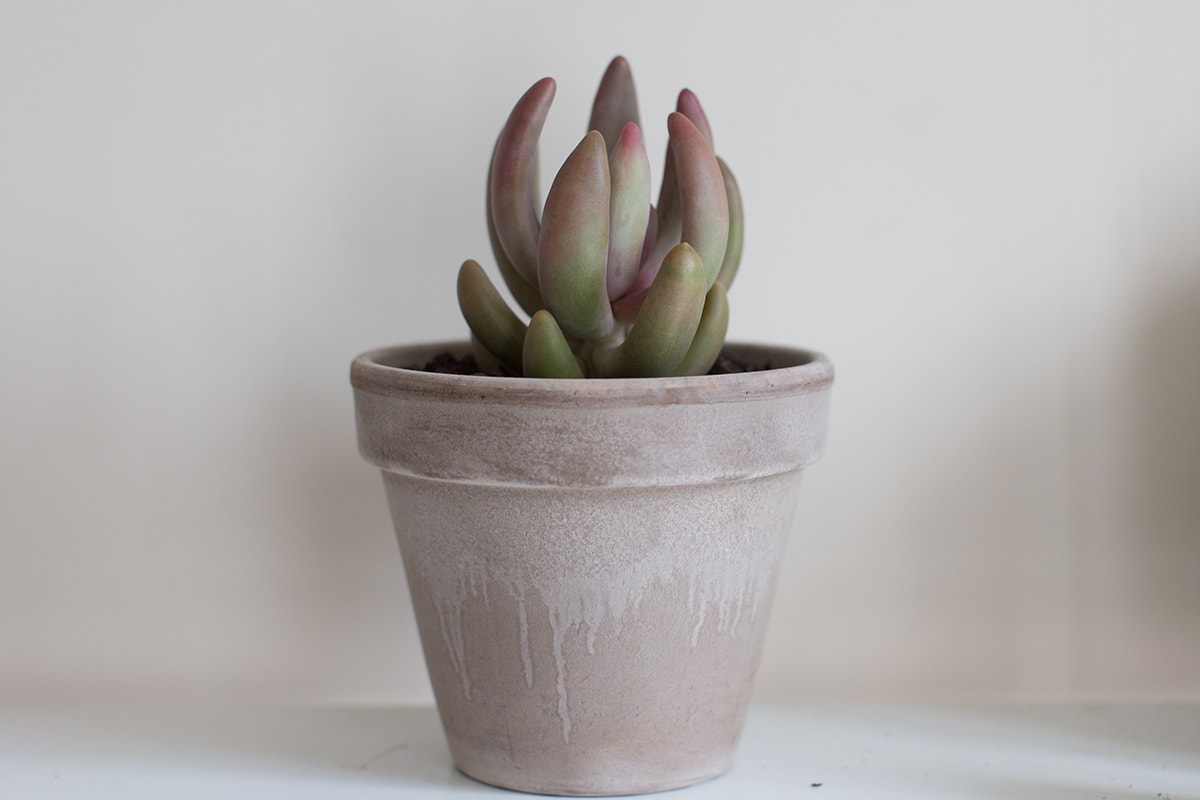
Drylok works well with porous materials often invaded by moisture, leading to cracks and deterioration. Terra cotta is often left outdoors to face the elements, and Drylok can help limit damage due to differing weather conditions.
Outdoor Fire Pits And Ovens
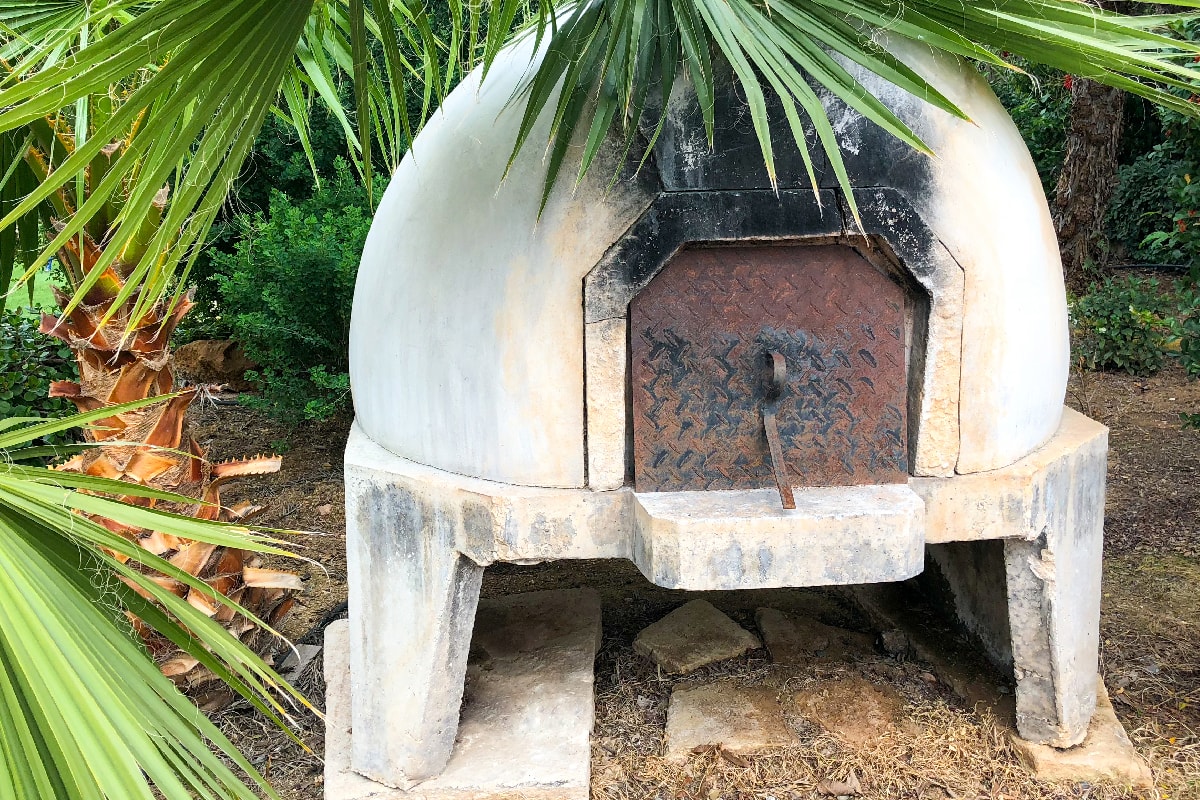
The trend of outdoor cooking has been catching on, and for good reason. Cooking outdoors can be a great way to bond with family and friends.
Many outdoor fire pits and ovens are made of brick—a porous material susceptible to damage caused by moisture. Coating your outdoor fire pit or oven with Drylok can prevent damage caused by rain.
Swimming Pools
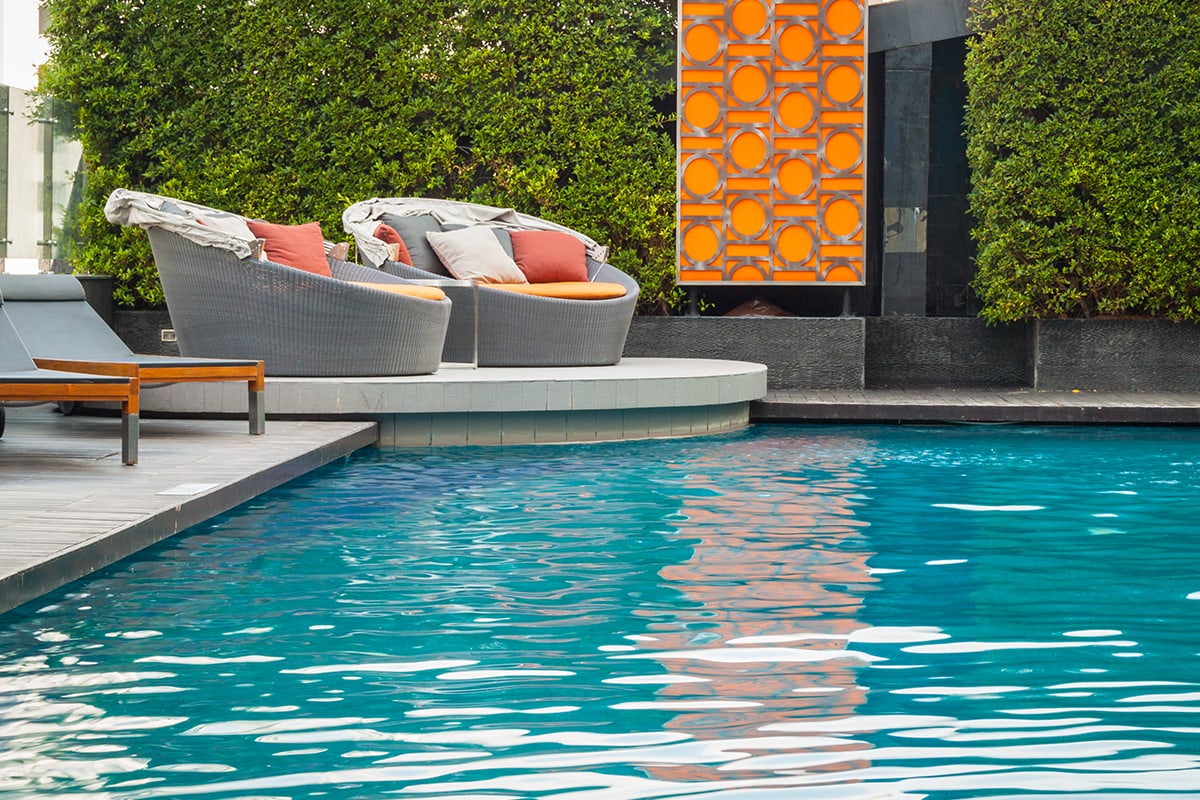
Like fish ponds, swimming pools are in constant contact with water, making them prone to damage if not properly protected.
Drylok Extreme Waterproofer is formulated to withstand water pressure and has a biocide to prevent mold and mildew growth on your pool.
For every application of Drylok waterproofer, ensure that you follow the recommended application procedure and curing times to achieve the desired effect.
To Wrap It Up
Drylok waterproofer products are a great way to protect the integrity of your masonry from water damage. Drylok can also help you save on future costs brought about by repairs and additional repaint jobs.
As with most things, prevention is always better than cure. Drylok's effectiveness lies in the correct application of the formulation. Take your time and let the product dry before enjoying the benefits.
For more valuable information regarding Drylok, check out our other posts on the site:
How To Apply Drylok [A Detailed Guide For Beginners]
What Is The Best Sealant For Basement Walls? [3 Great Options Explored]