The term vapor barrier is a word that most homeowners are familiar with. For those who don't know, a vapor barrier helps protect homes from moisture and dampness problems and provides additional comfort to a living space. We asked professionals how thick should a vapor barrier be to prove useful in one's home.
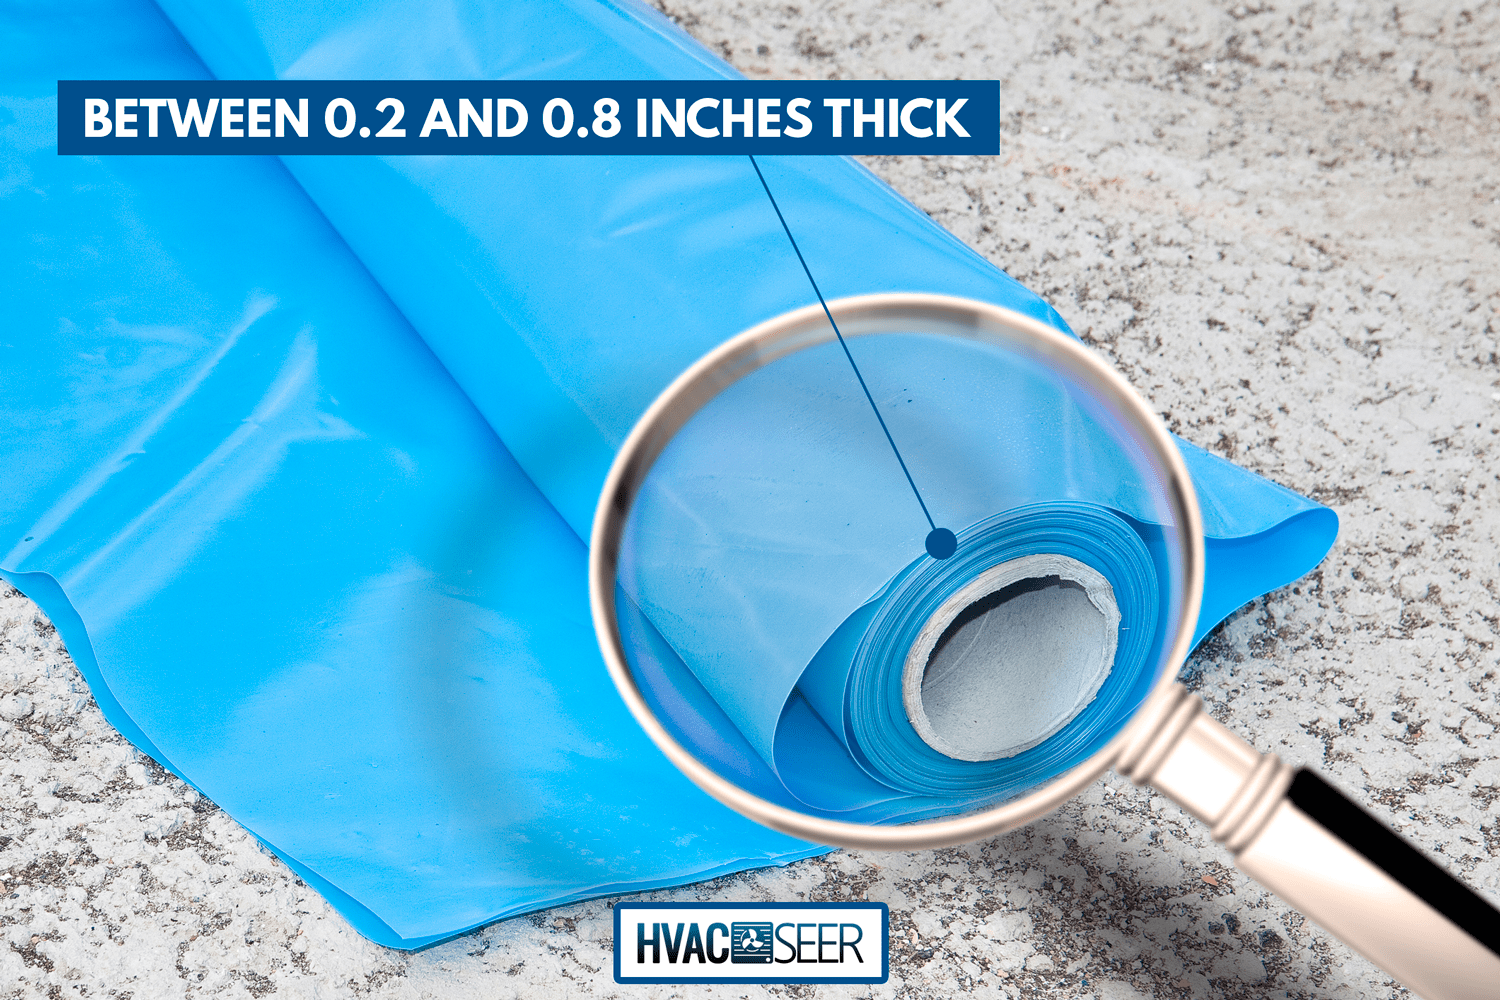
According to most experts, a vapor barrier should be between 0.2 and 0.8 inches thick. It all depends on one's budget and what the house needs in conjunction with its surroundings. The thicker a vapor barrier is, the more durable and impervious it becomes.
In this article, we will further discuss what a vapor barrier is and the thickness it requires. On top of that, we will also explain what factors one must be aware of when installing a vapor barrier. Continue reading to find out more.
What Is A Vapor Barrier And How Thick Should It Be?
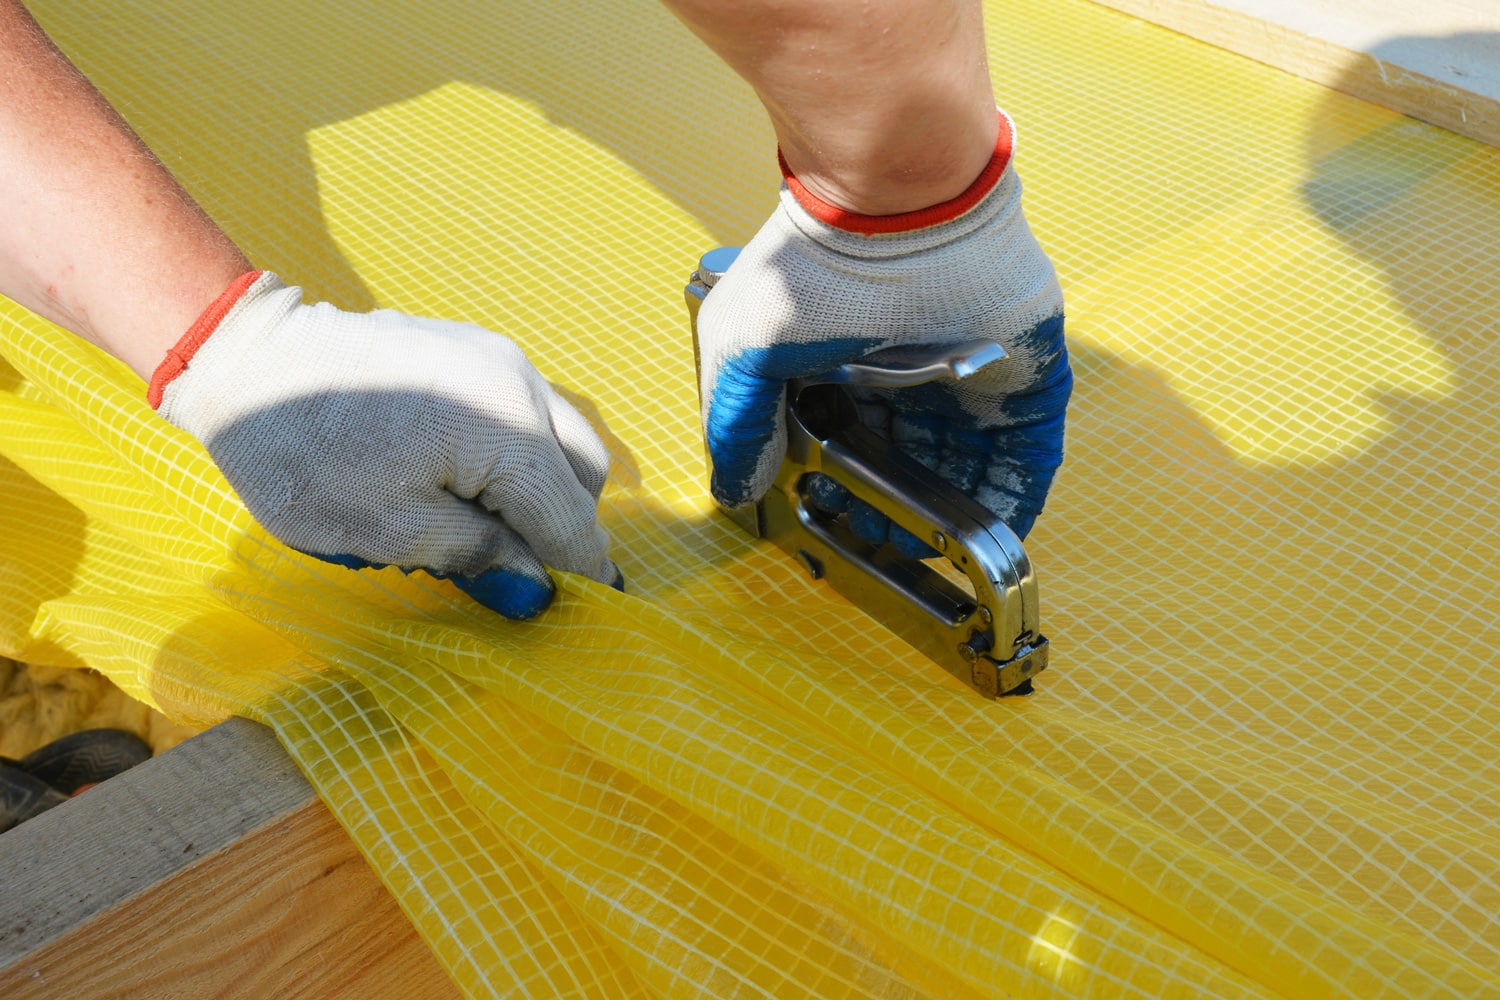
First, we will briefly discuss what a vapor barrier is. According to the United States Department of Energy, it helps stop condensation from occurring inside buildings, thereby preventing internal damage. Additionally, it goes by the name of vapor retarder, although the former term is more popular.
As stated, the primary purpose of a vapor barrier is to prevent condensation. Without a vapor barrier in place, molds and water damage become commonplace. This, in turn, causes problems with the building's structural integrity and insulation.
As we mentioned earlier, for a vapor barrier to be effective, it needs to be at least 0.2 inches or 6 millimeters thick. A millimeter is a measurement unit equivalent to a thousandth of an inch. For example, a piece of paper is generally a millimeter in thickness.
So you need to use a plastic sheet equivalent to the thickness of between 6 and 20 pieces of paper. Anything less won't be enough to protect the interior of your home.
Does Thickness Matter When It Comes To Vapor Barriers?
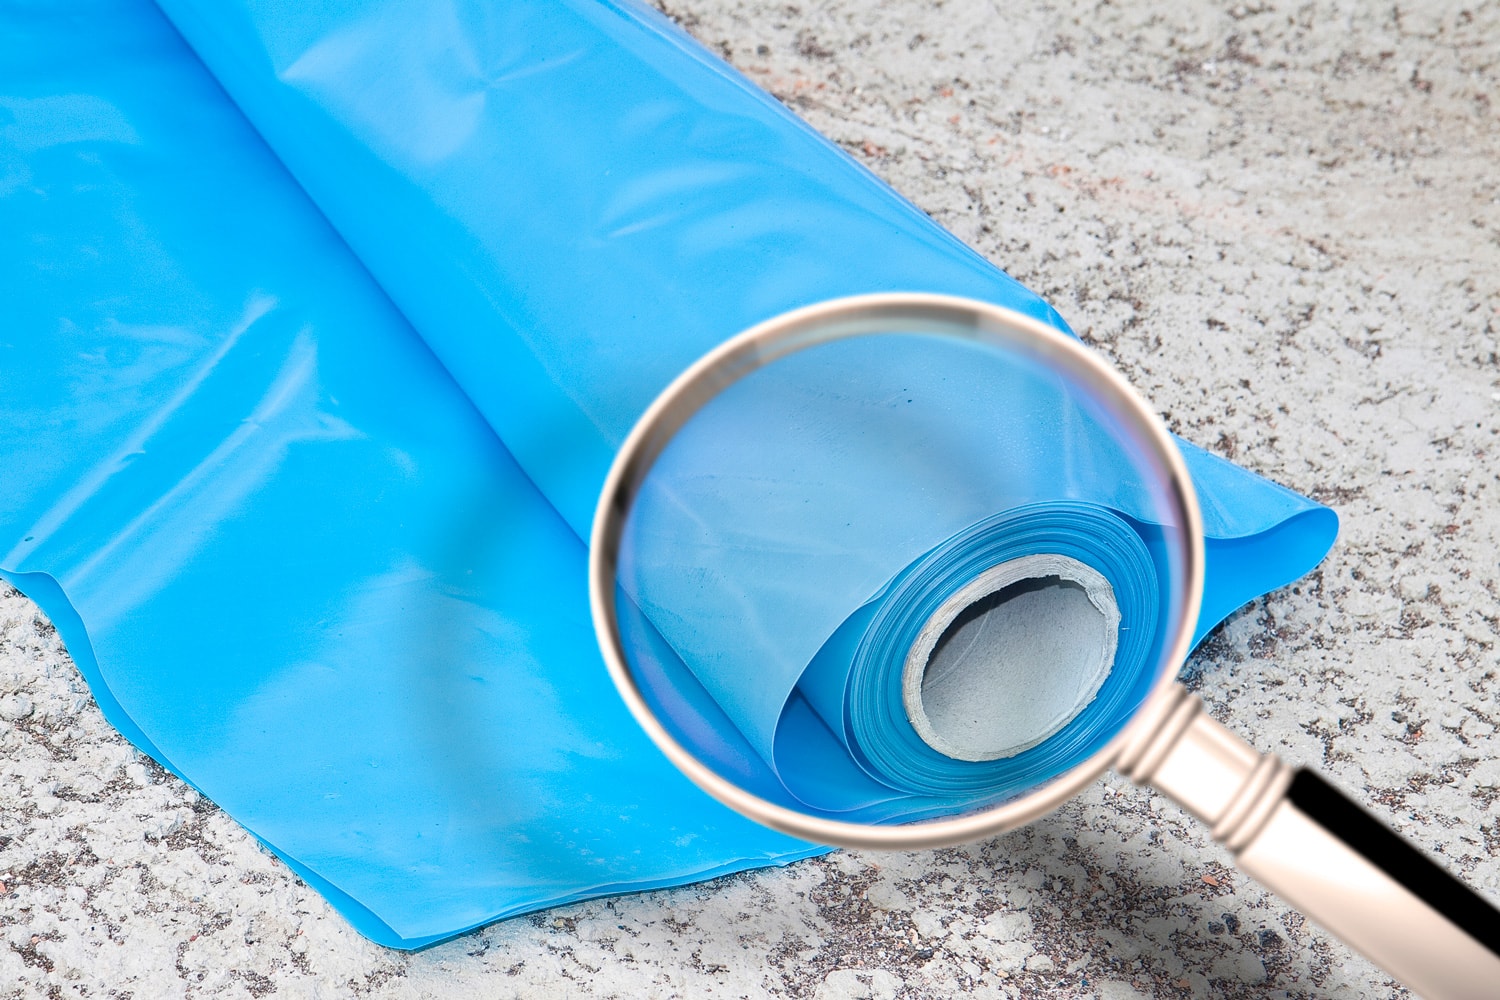
Earlier, we talked about how thick a vapor barrier should be. This section will discuss why a vapor barrier must be thick before installation.
The first is durability. A thicker vapor barrier is less prone to damage and puncture marks. This means that it can't be damaged easily by debris and small rodents.
Second, the thickness of a vapor barrier directly affects its permeability. Permeability is the state of how objects pass through one another. In this instance, you want the vapor barrier to be as close to impermeable as possible to prevent water from seeping inside.
A lower permeability rate also helps prevent mold spores from entering your home. This, in turn, helps improve the air quality and prevents you and your family from getting sick.
Consult a local encapsulation company when installing a vapor barrier. They will not only advise you on how thick it should be but also advise you on which material to get. Preferably, you would want one with high tensile strength and fire-resistant.
Plastic Sheeting As Vapor Barrier, Doable?
You might ask, is plastic sheeting used for vapor barriers? And the answer to that is yes. A couple of factors make plastic the go-to material.
First, it has a low permeability rating, and as we discussed earlier, the material needs to have one that's as low as possible. This prevents water and water vapor from passing through.
Second, it's very flexible and easy to use. You can also easily buy one at your local store or online shops.
Check this plastic sheeting on Amazon.
What Plastic To Use As A Vapor Barrier?
As we all know, many different types of plastics are out there. However, the one used for vapor barrier installation is reinforced polyethylene plastic sheeting.
Known simply as polyethylene, it comes in a variety of thicknesses. The most common thickness is the 0.2 inch one, which is the cheapest one that can be used as a vapor barrier. Any savings that come from using this are lost in the long run due to having less durability than its thicker counterparts.
According to experts, you would need at least 0.4 inches of thickness for the vapor barrier to last longer. After all, the moment the vapor barrier gets damaged or punctured, it stops being a vapor barrier and needs to be replaced.
And, as mentioned earlier, it's best to get one that's fire resistant, especially if you plan to add a vapor barrier to the walls and crawl space. This will prevent accidental fires from spreading rapidly inside your home.
Is Walking On A Vapor Barrier Possible?
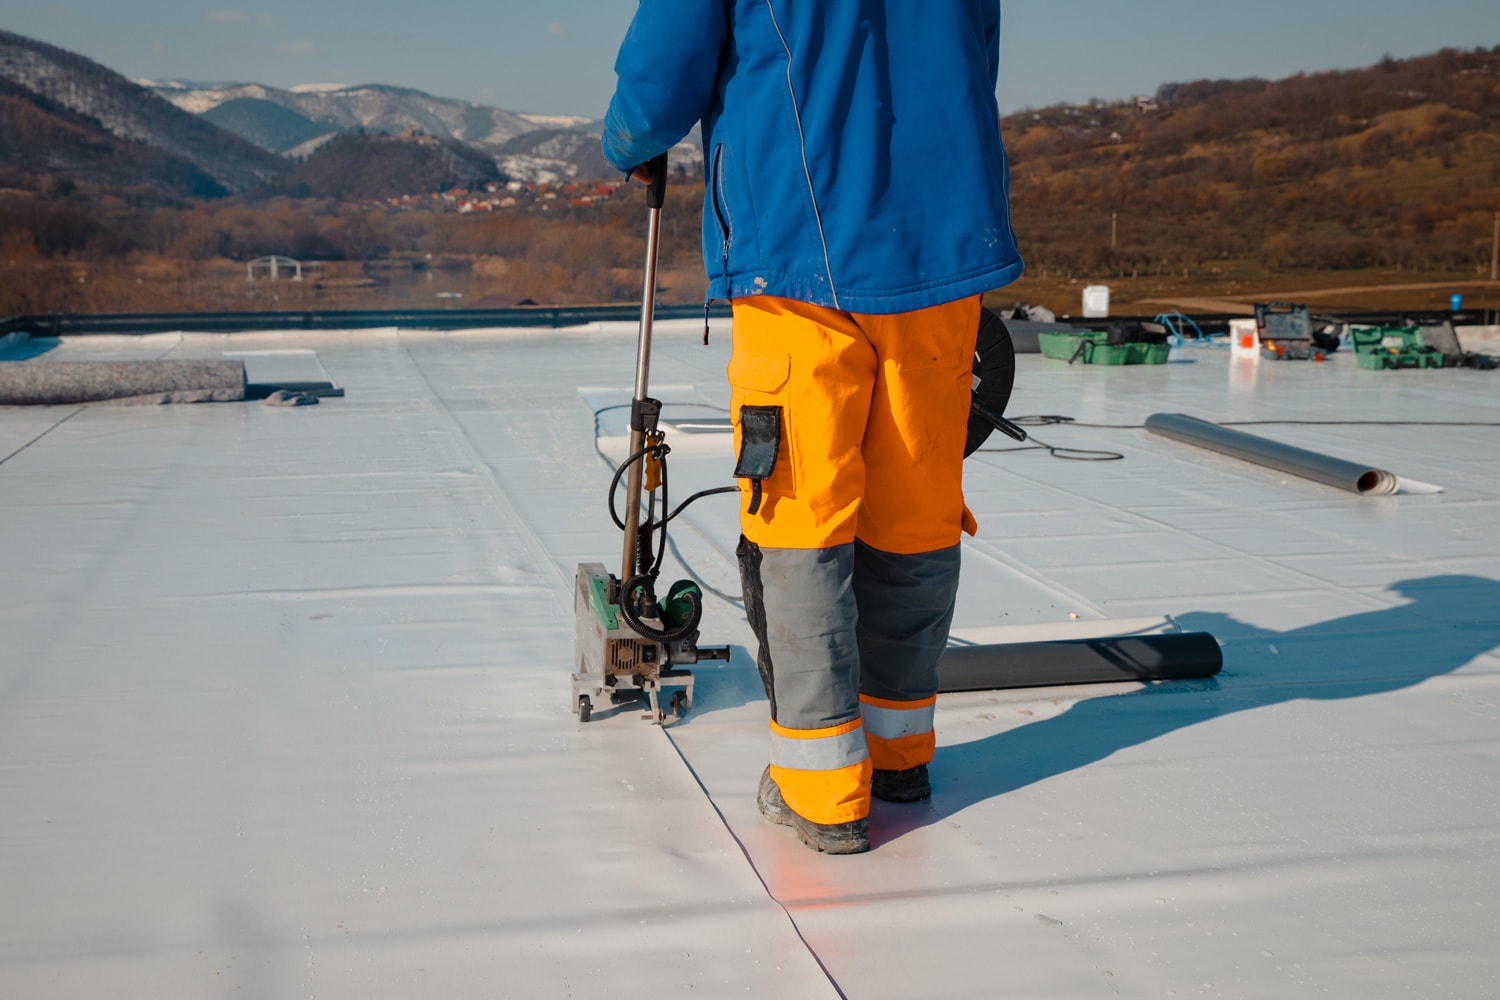
This is a question that homeowners should always ask an encapsulation company when it comes to adding a vapor barrier in the crawl space. A lot of people use the crawl space as an additional storage area. So it's safe to assume that stepping on the vapor barrier is unavoidable.
Using a thicker vapor barrier than usual will make it safe to walk on. However, that alone isn't enough in most cases. Installing dimple matting will help.
Installing it below the vapor barrier offers stability and durability and creates a pathway for trapped water. Sometimes, water gets underneath the vapor barrier, and dimple matting helps prevent that. It helps guide the water towards the installed sump pump, allowing easy draining.
Check this dimple matting on Amazon.
What Is The Difference Between A Vapor Barrier And A Moisture Barrier?
While a lot of people use both terms interchangeably, they are significantly different from one another. However, it is essential to note that both are equally important when it comes to keeping your home safe and dry.
A moisture barrier acts as an impediment. It prevents water from getting inside the walls and causing severe damage.
On the other hand, a vapor barrier prevents water vapor from damaging the walls. It functions by filtering the water vapor to the other side of the wall and letting it condense on the portion of the insulation where it's warm.
What Is The Difference Between A Vapor Barrier And Encapsulation?
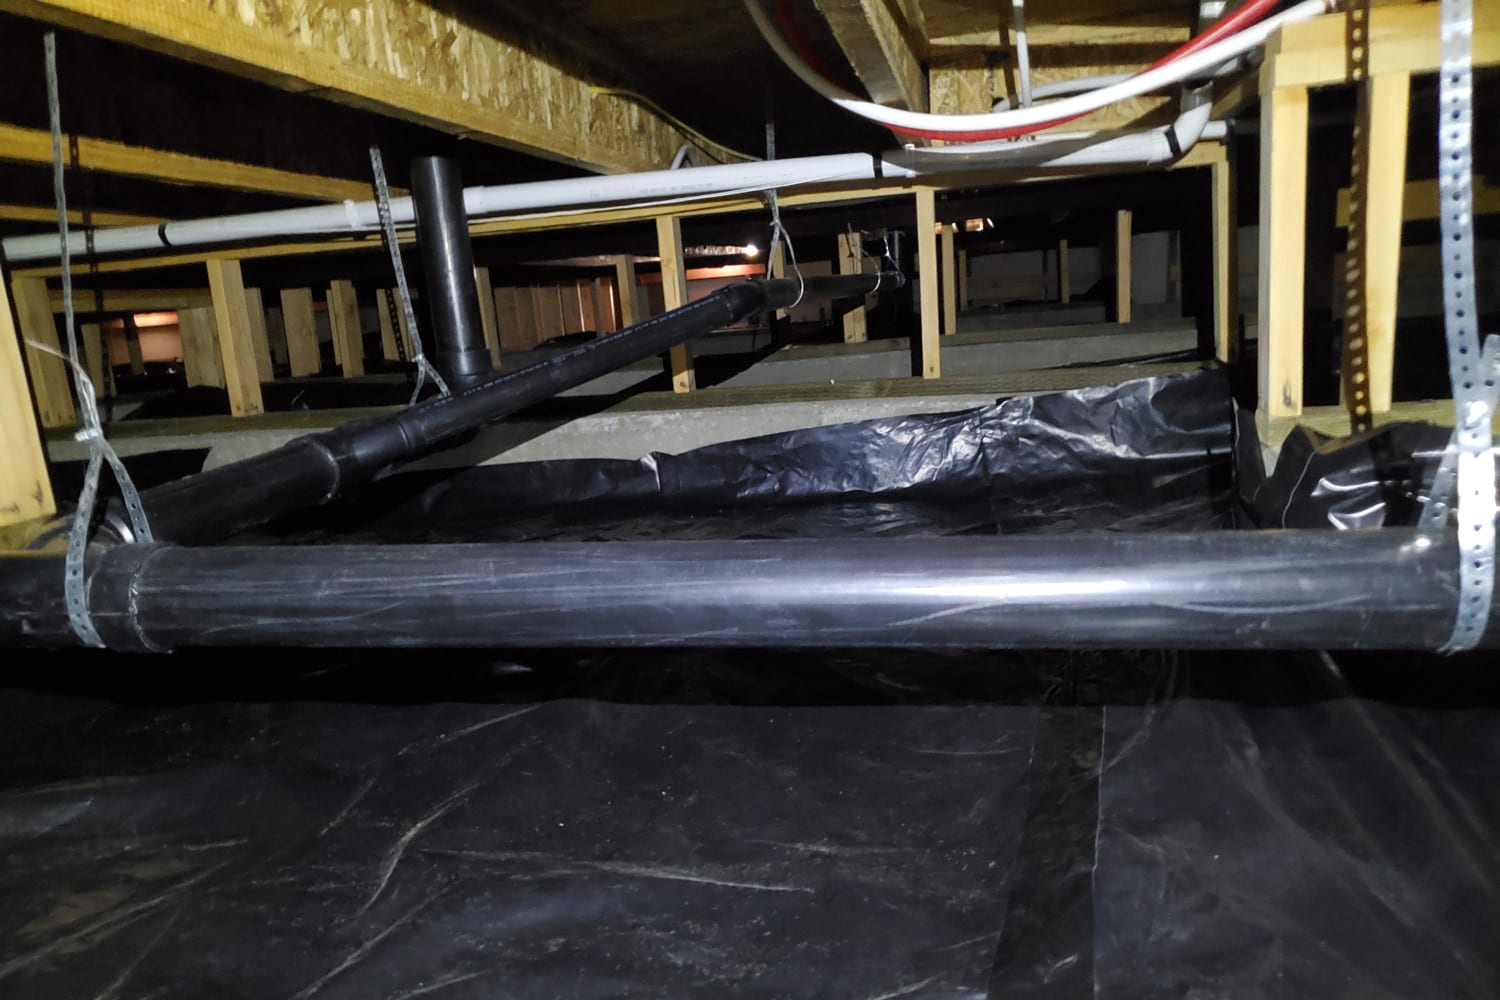
Throughout this article, we discussed how a vapor barrier works. Now, we will discuss a more extreme version of it.
Unlike a vapor barrier, encapsulation not only prevents water vapor from doing any internal damage, it completely seals it right from the start. In other words, it prevents condensation and other external water factor from happening.
As its name suggests, it covers an entire space in plastic sheeting. In doing so, the risk of moisture-related problems, like molds and mildew, drastically drops to near zero.
Additionally, it keeps your home energy efficient. During the summer, it helps keep cool air flowing inside the house. And during the winter, it keeps warm air inside.
Also, having an encapsulated space will be an added investment for future buyers if you plan to sell your home. This would show them that the house has no water problems to speak of and that the air quality inside is as clean as possible.
How Much Does It Cost To Install A Vapor Barrier?
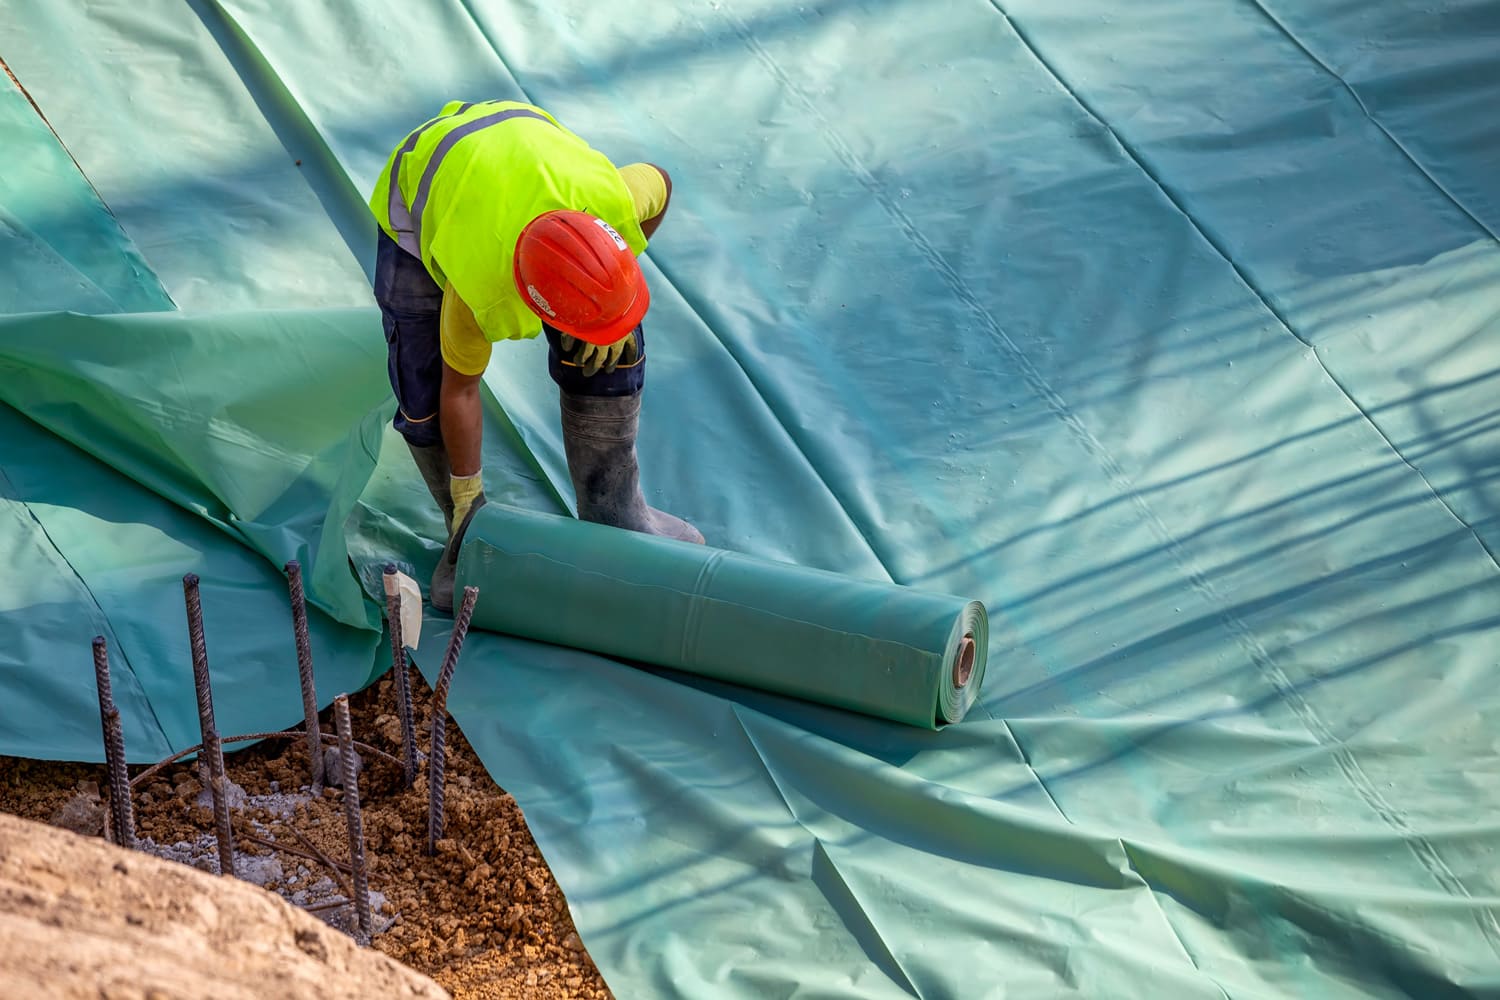
If you plan to install a vapor barrier inside your home, know that it would cost a considerable sum of money, depending on the size of the area you plan to cover. The average installation will cost you between $2 to $4 per square foot. That roughly equates to an average of $1,200 to $4,000 overall.
That price already includes all the materials and labor that you will need for this project. While it may seem like a lot of money to pay for laying plastic down everywhere, this will help save you on repair fees in the long run.
Below is a link to an article on when to install a vapor barrier in your home. Check it out:
In Conclusion
You will need a water vapor barrier that's at least 0.2 inches thick. Anything less would significantly impact the interior structure of your house. As a homeowner, you don't want your house to be a breeding ground for molds and mildew.
If you enjoyed reading this article, consider checking out the links below. These two articles provide even more information on water vapor barriers.


