
Your property might suffer damage from water that seeps into the foundation, but products like Drylok can stop this from happening. Want to know how to apply the Drylok? You're in luck! We've researched this topic extensively to help you with this matter.
Following is the detailed guide for applying Drylok:
- Pick out the tools and materials needed.
- Wear safety gear.
- Prepare the working area.
- Seal holes and joints.
- Mix the Drylok paint.
- Apply the first coat of Drylok paint.
- Apply the second coat of Drylok paint.
- Clean up.
In this article, we'll delve deeper into the uses of Drylok products. We'll elaborate on each step of applying Drylok paint. So keep on reading for more information.
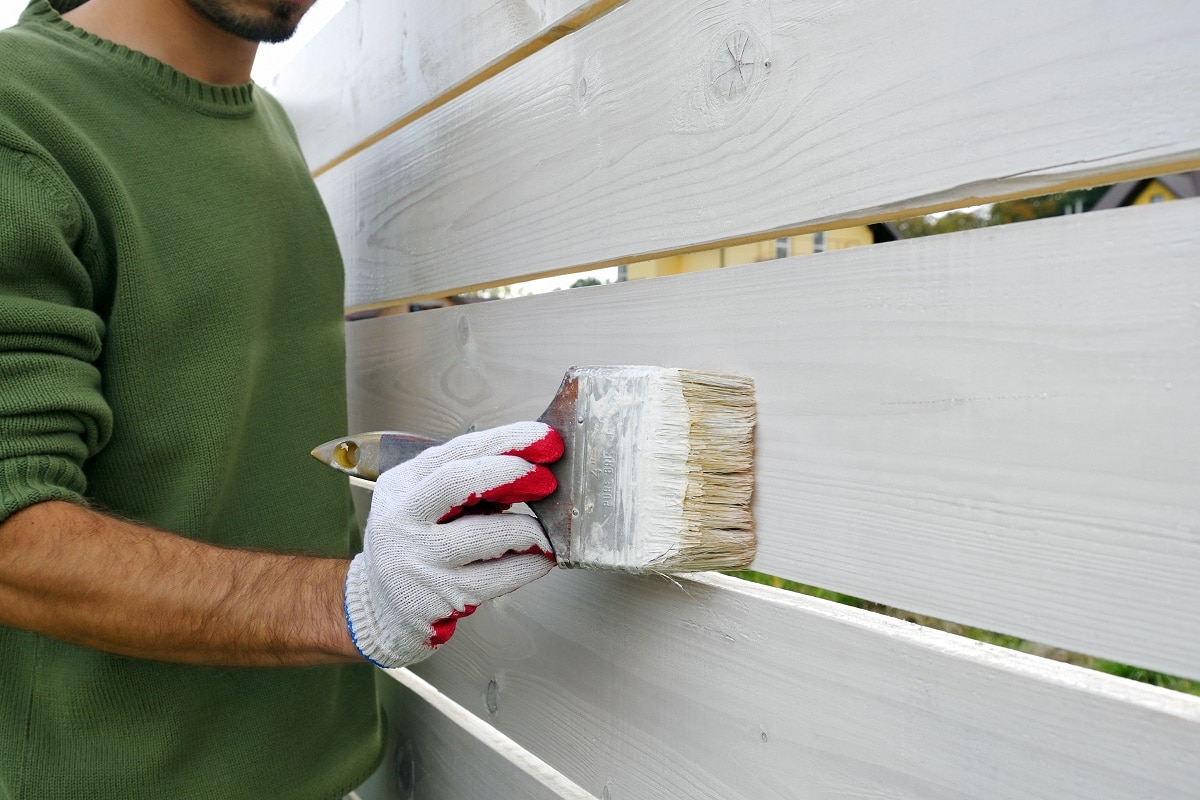
![Close-up of a worker's hand with a brush painting a brick wall with white paint. How To Apply Drylok [A Detailed Guide For Beginners]](https://hvacseer.com/wp-content/uploads/2022/09/Untitled-33.jpg)
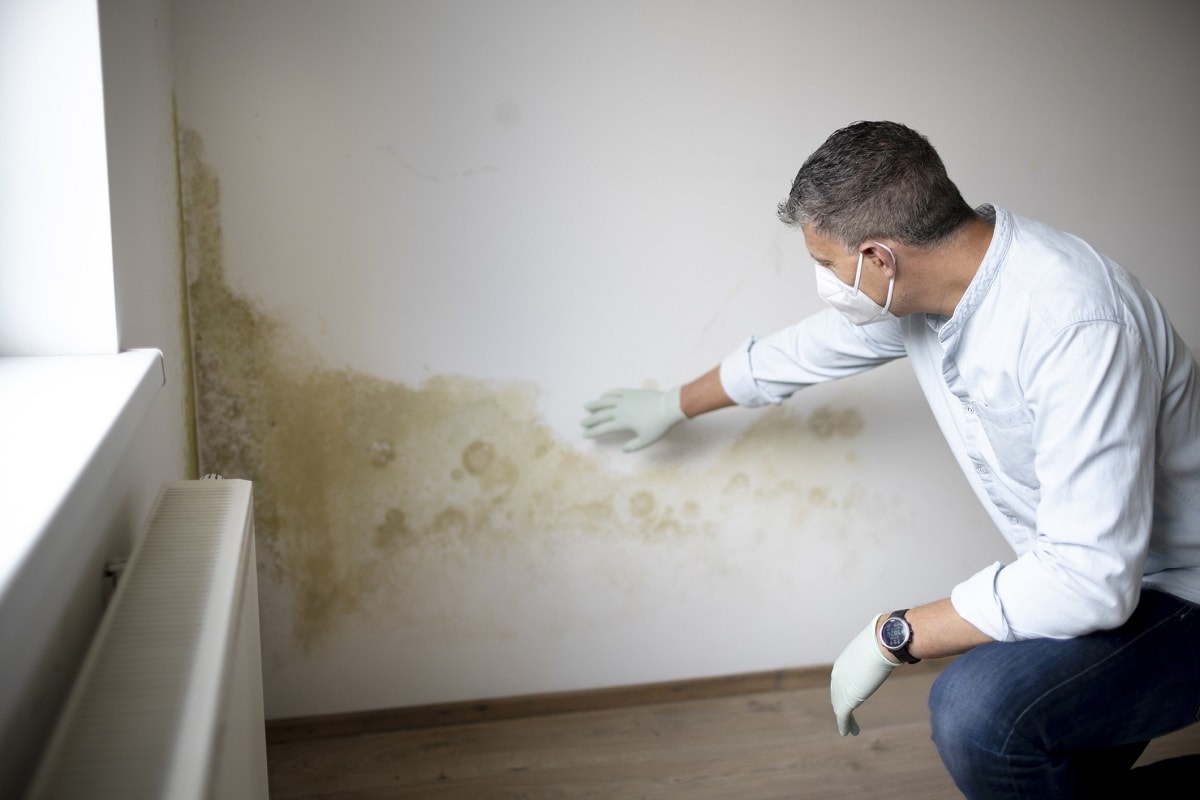
When And Where To Apply Drylok?
Concrete basement foundations, which are the most common type, are extremely porous and can let dampness and water leak through. Most frequently, this can cause mold or fungi to grow, which can later lead to a variety of insect and rodent problems.
Drylok is used to stop water from entering through foundation walls and potentially ruining your foundation. It enters the pores in the stone surface, bonds, and creates an impenetrable barrier, in contrast to ordinary paint, which attaches to a surface but is easily removed by water pressure.
Use Drylok to waterproof interior, exterior, above and below grade walls, as well as other surfaces, including those in basements, living areas, dry storage, laundry rooms, hobby nooks, fish ponds, birdbaths, retaining walls, and more.
How To Apply Drylok?

Even if a product is the best of its type and totally fantastic, improper application can render it useless. Use Drylok correctly to experience its optimum efficiency by following the instructions listed below.
1. Pick Out The Tools And Materials Needed
There are a few essentials that you need for this project:
- Drylok Fast Plug
- Drylok Masonry Waterproofer
- Plaster tape
- Drop cloths
- Wire brush
- Sandpaper
- Putty knife
- Paintbrushes
- Paint roller
- Extension pole for paint roller
- Paint tray
2. Wear Safety Gears
You need the appropriate personal protection equipment [PPE] to keep yourself safe while cleaning or before starting any prep work.
Always cover your hands with gloves to protect them. For sanding, leather or fabric gloves will do. For handling paint thinner and other solvents, solvent-resistant gloves are a requirement. Oil- and water-based paint are best applied with impermeable gloves.
Click here to see these gloves on Amazon.
When handling paint or paint thinners, wear safety goggles, eyeglasses, or a face shield. It is particularly crucial while sanding, spray painting, or painting above your head.

Click here to see these safety goggles on Amazon.
When sanding, put on a dust mask or particle respirator. When using a brush or roller, you should also wear a breathing mask if you are extremely sensitive to chemicals. It is preferable to use a paint respirator when spraying painting because it provides additional protection for your lungs.

Click here to see this mask on Amazon.
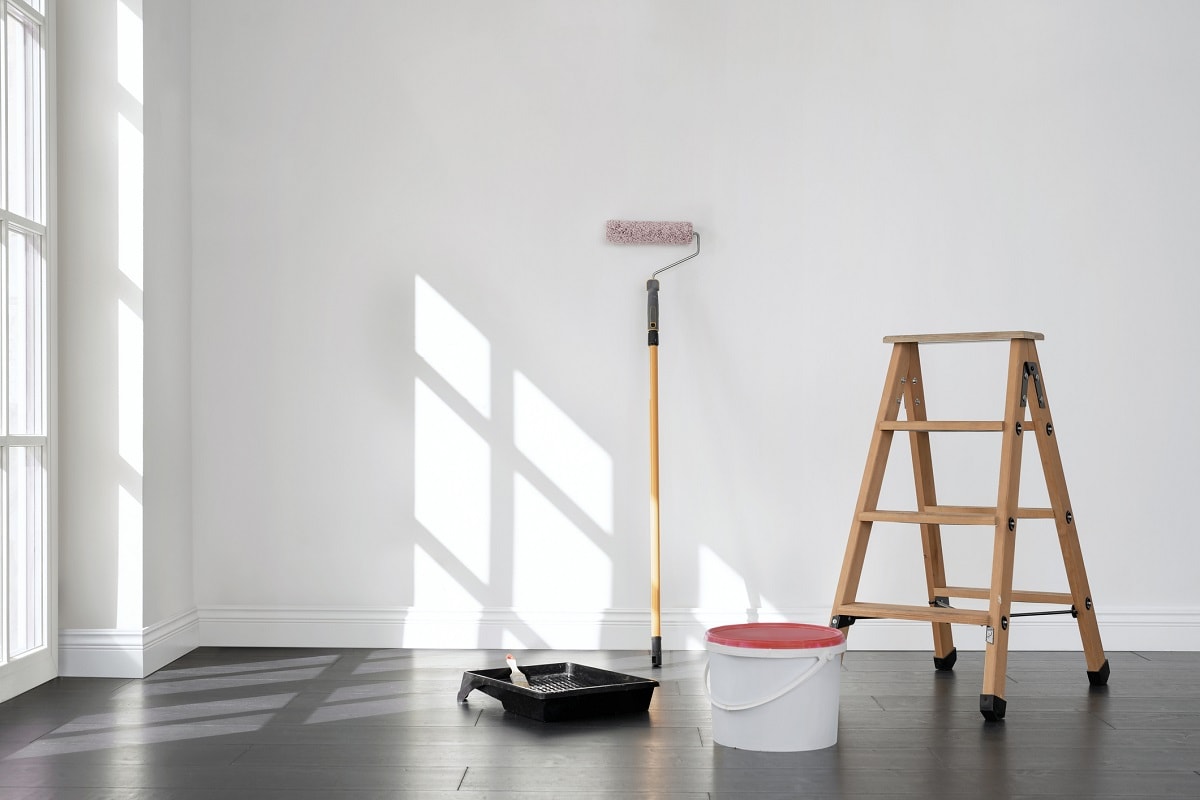
3. Prepare The Working Area
Preparing the surface is an essential first step in any painting endeavor. Use a drop cloth or thin plastic sheet to cover the pieces, the floor, and any countertops or cabinetry that might be at risk from excessive splatter.

Click here to see this drop cloth on Amazon.
To remove any loose or damaged mortar, dirt, dust, or efflorescence, thoroughly clean the areas that will be painted using a wire brush.

Click here to see this wire brush on Amazon.
When removing efflorescence, brushing alone is not sufficient. Put some undiluted vinegar on a sponge and scrub. If there's a presence of old paint, make sure to remove it using sandblasting or another appropriate method as well. Before applying any Drylok, make sure the wall is totally dry.

Click here to see this vinegar wash on Amazon.
Remember that Drylok can be applied over any other waterproofing paint of the cementitious kind that is in good condition. Do not apply it over oil- or latex-based paints. Drylok will stick, but it won't waterproof the surface.
Additionally, make sure there is sufficient ventilation and decent airflow in the space where you are working. Especially if you're working in a basement, this is important.
4. Seal Holes And Joints
Check the walls you plan to waterproof to see if there are any seams, gaps, or cracks that need to be sealed. Then, using Drylok Fast Plug, fill in these cracks and holes. This item is a hydraulic cement that sets up quickly and can fix holes even if water is still running through them.

Click here to see this Drylok Fast Plug on Amazon.
But first, wet down and chisel out into the shape of an inverted "V" to the surface area to effectively cure the Drylok Fast Plug and allow the patch to bind to the surface. Only mix enough of this substance to use in a few minutes because it dries up quickly.
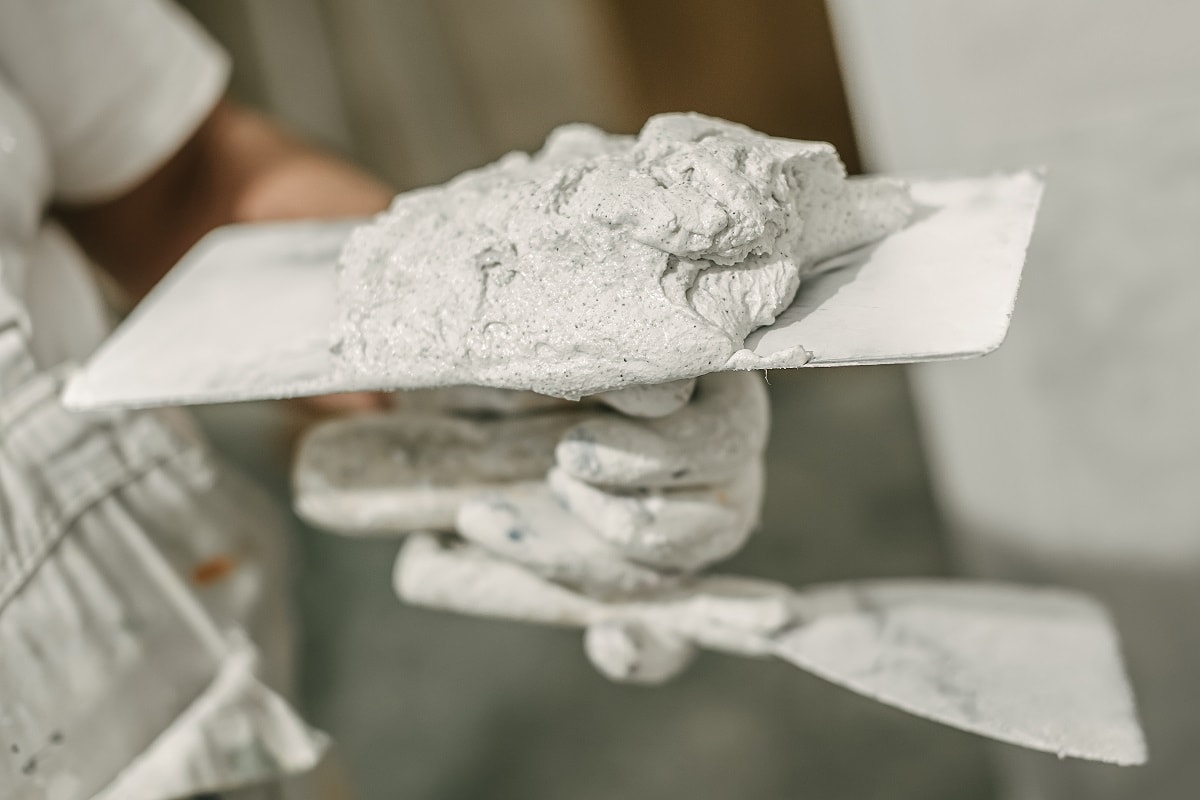
5. Mix The Drylok Paint
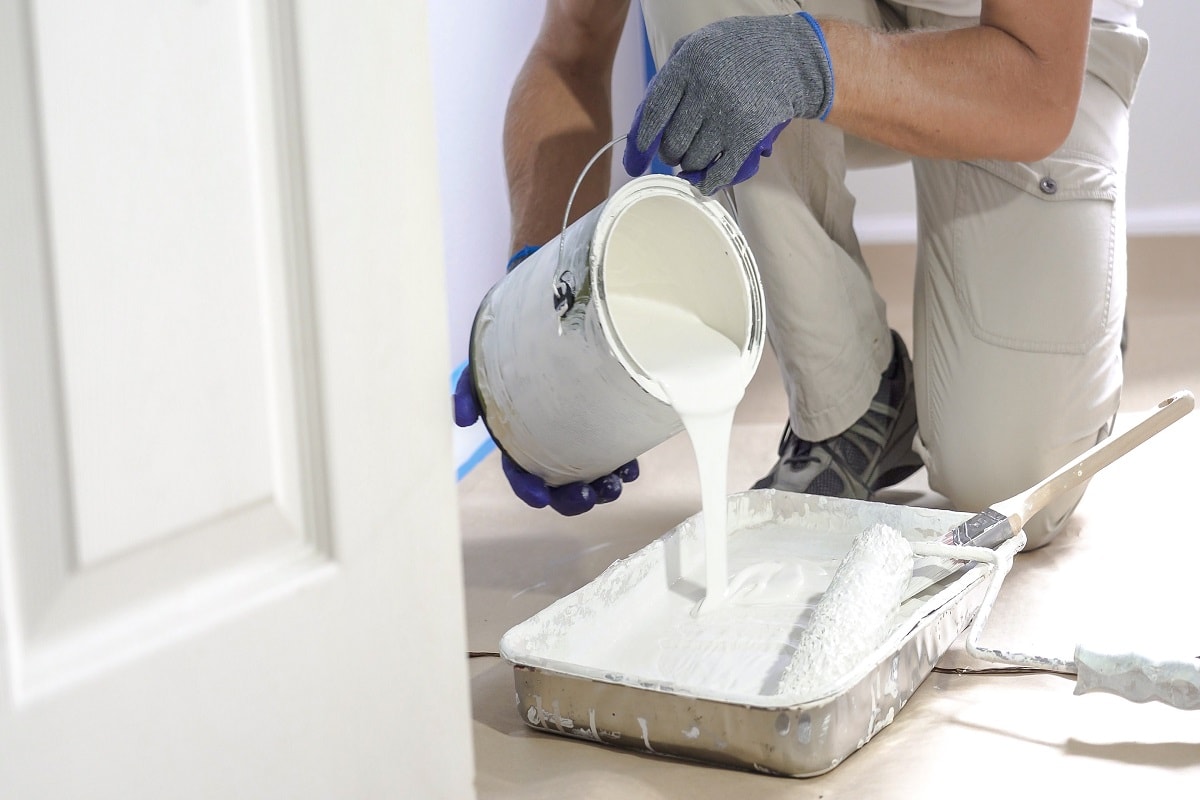
Throughout the project, stir the Drylok Extreme Masonry Waterproofer frequently with a wooden paint stick. If you don't consistently stir your paint, the ingredients may separate, which could affect the genuine consistency. If you need more than one gallon of paint, combine the cans in a big bucket just in case the colors differ somewhat.
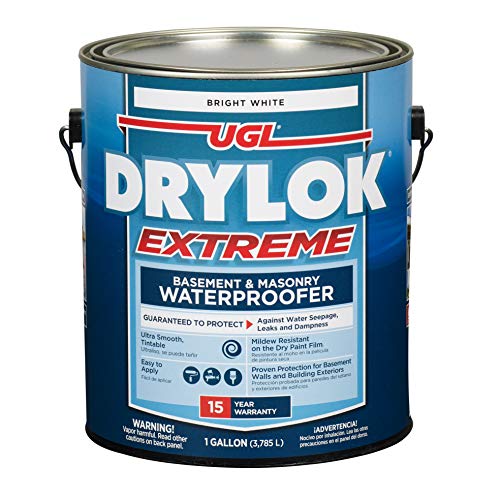
Click here to see this Drylok extreme masonry waterproofer on Amazon.
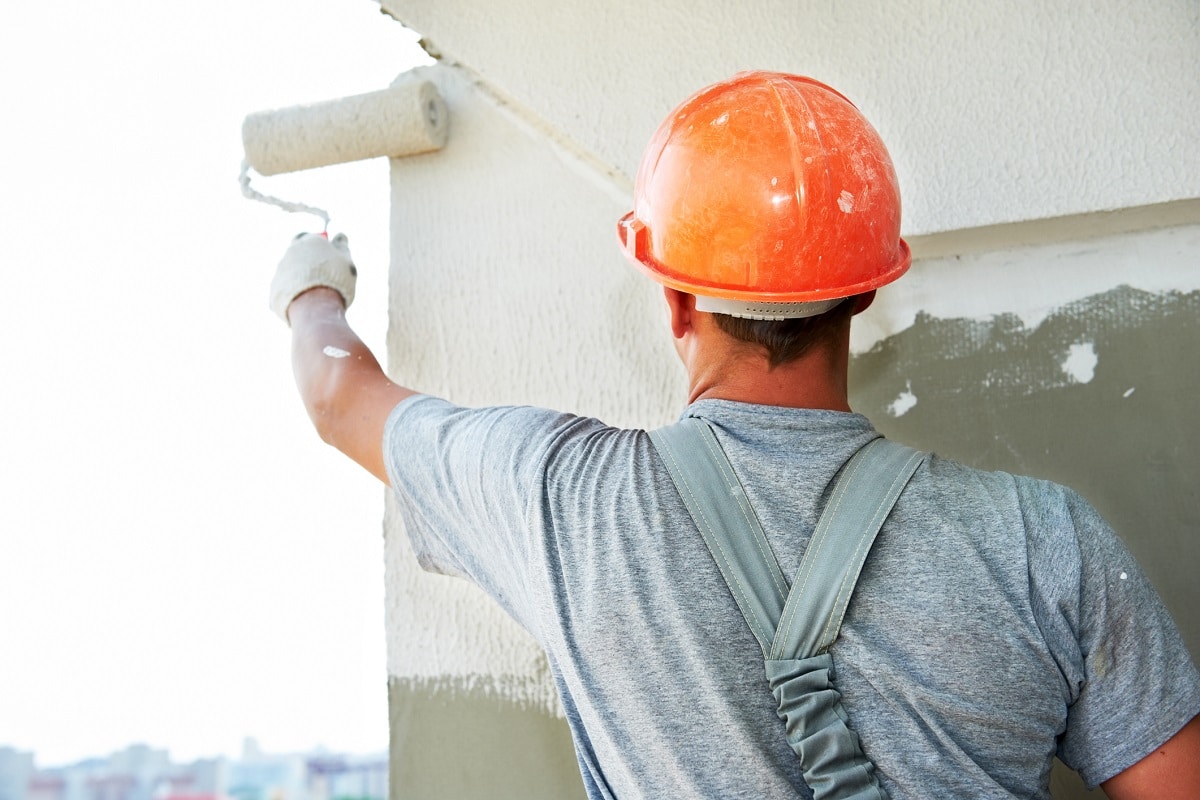
6. Apply The First Coat Of Drylok Paint
Make sure the surface and air temperature are above 50°F once the walls have been adequately prepped, as Drylok advises. Wait for a day without rain for optimal outcome.
Apply DRYLOK only to bare, clean, and dry masonry. Considering that this solution requires two coats, one gallon will cover 75 to 100 square feet of surface space. Apply the first application with a stiff-bristle brush.

Click here to see this stiff-bristle brush on Amazon.
When dried, the substance will be translucent but will seem milky in the can and on the surface. Painting on masonry, such as concrete, requires great attention in your strokes and filling in every crack and crevice on the surface, unlike painting on drywall.
7. Apply The Second Coat Of Drylok Paint
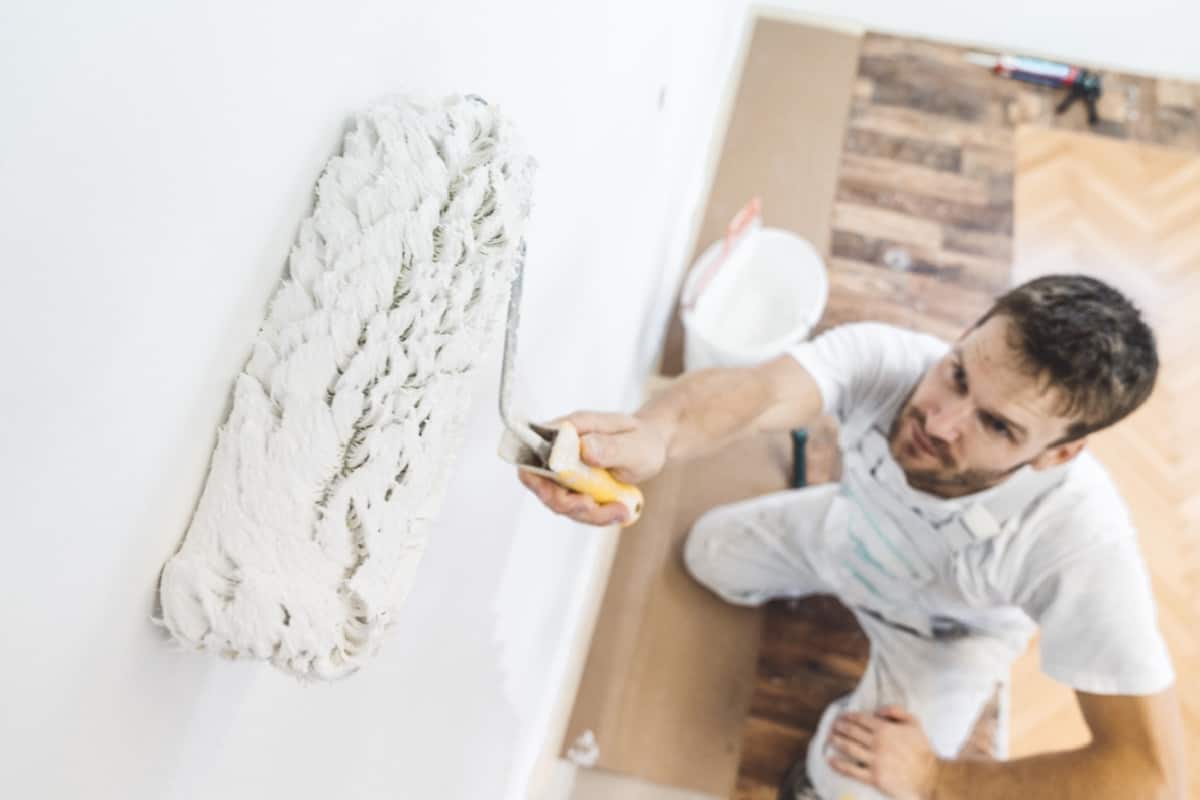
It is not recommended to paint on this thick masonry paint like conventional paint because it is intended to act as a waterproof barrier. Prior to applying the second coat, make sure you take your time to completely cover all the pores and spaces on the surface.
Effective waterproofing requires a minimum of two applications. Allow ample drying time between applications by adhering to the manufacturer's instructions. The following coat can be brushed on or applied with a thick, fuzzy nap roller.
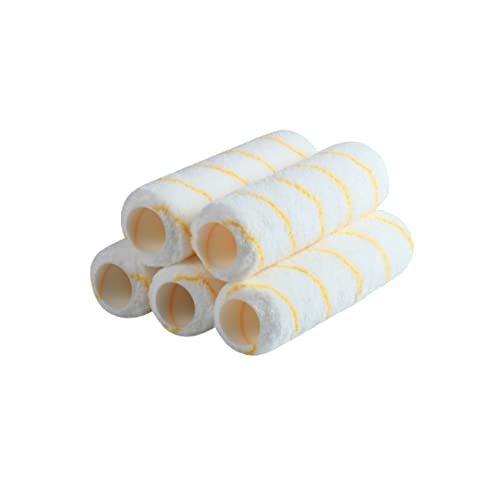
Click here to see these rollers on Amazon.
8. Clean Up
Even after you've applied several layers, it's not yet time to unwind. Gather drop cloths and remove all of the painter's tape, ensuring any stains or splatters are completely dried before moving the cloths.
Use soapy water to clean their brushes. To clean and reshape bristles, use a painter's brush. Scrape off leftover paint from roller covers if you wish to reuse them.
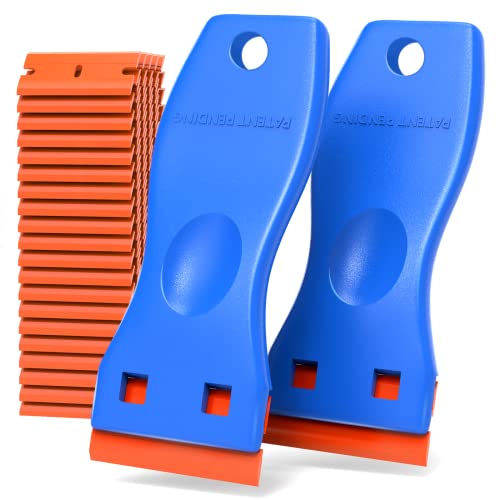
Click here to see this scraper on Amazon.
A YouTube video instruction is provided below so that you can understand how it's done clearly.
How Long Does It Take For A Drylok Fast Plug To Set?
One of the greatest patching options available is Drylok Fast Plug. It is well-liked not only for its capacity to address ongoing leaks but also for its speed and simplicity of application.
Typically, Drylok Fast Plug needs 3 to 5 minutes to set. However, keep in mind that cool, humid weather can extend the dry period. Using cold water rather than room temperature water for the combination can also prolong the curing period.
Make a combination of 3 parts Fast Plug and 1 part water. For instance, you should only use one cup of water for every three cups of Fast Plug. Stirring vigorously is necessary until the mixture is warm to the touch. That is a certain indication that it has begun to set, at which point you should begin counting the remaining 3-5 minutes.
A different option is to combine and wait a minute before applying. It is suggested that you mix Drylok Fast Plug in batches so that you have just enough to use at once because it hardens up very quickly. When the area has fully dried, you can paint over Drylok Fast Plug, just like you do with most hydraulic cement.
Can You Use Drylok On Wood?
Concrete and masonry waterproofing is the purpose of Drylok's formulation. When used in accordance with the manufacturer's instructions, the brand offers a transferable warranty.
The manufacturer does not advise putting Drylok products directly into the wood, and will not provide a warranty when used in this way. The usage of Drylok for your wood project is still permissible despite this.
However, Drylok has been used successfully by many people to waterproof wood. It has mostly been used to waterproof pet terrariums and rare aquariums. Applying Drylok to wood may provide successful waterproofing for up to 5 years.
Regardless of the approach you choose, the trick in painting Drylok into the wood is that you coat it with several layers, each getting thicker. Make sure to insert the Drylok into every crevice and corner. Before starting the next coat, allow each coat to dry for the required amount of time.
Conclusion
When it comes to waterproofing cement or bare masonry, Drylok is an excellent product. But its effectiveness is dependent on how it is used. Applying Drylok appropriately will ensure that the treatment lasts for a very long time. Rushing through it increases the chances that it won't accomplish what it's meant to.
For more valuable topics, don't hesitate to check out the posts below.