Radon is one of the factors why your home is dangerous. If your house has a high level of this radioactive gas, you should consider attaching a radon pipe. We've researched how to do this, and here is what you should do:
To attach a radon pipe to your house, you should follow these steps:
- Determine how high the level of radon in your home is.
- Assess the structure of your home.
- Plan the route of the pipes.
- Drill a hole for the pipes.
- Setup pipes from the attic to the basement.
- Cut a portion of the pipe to the size of the fan.
- Install the fan between the pipe's gap.
- Seal the holes.
- Install a manometer.
- Test the system.
Don't go! We are not yet done. In a little while, we will discuss these steps thoroughly. After that, you will learn what you might need to know before, during, or after installing the radon pipes. If you want to understand them, keep on reading.

Installing A Radon Pipe To Your House
Radon causes most of the lung cancer that it acquired. According to the Centers for Disease Control and Prevention (CDC), this is second to smoking. So, if you plan on doing this project yourself, you should be knowledgeable and skilled.

We will talk about the steps in a little while, and if any of the procedures makes you unsure of how you should do it, then we suggest you contact and hire a local professional contractor instead.
Step 1
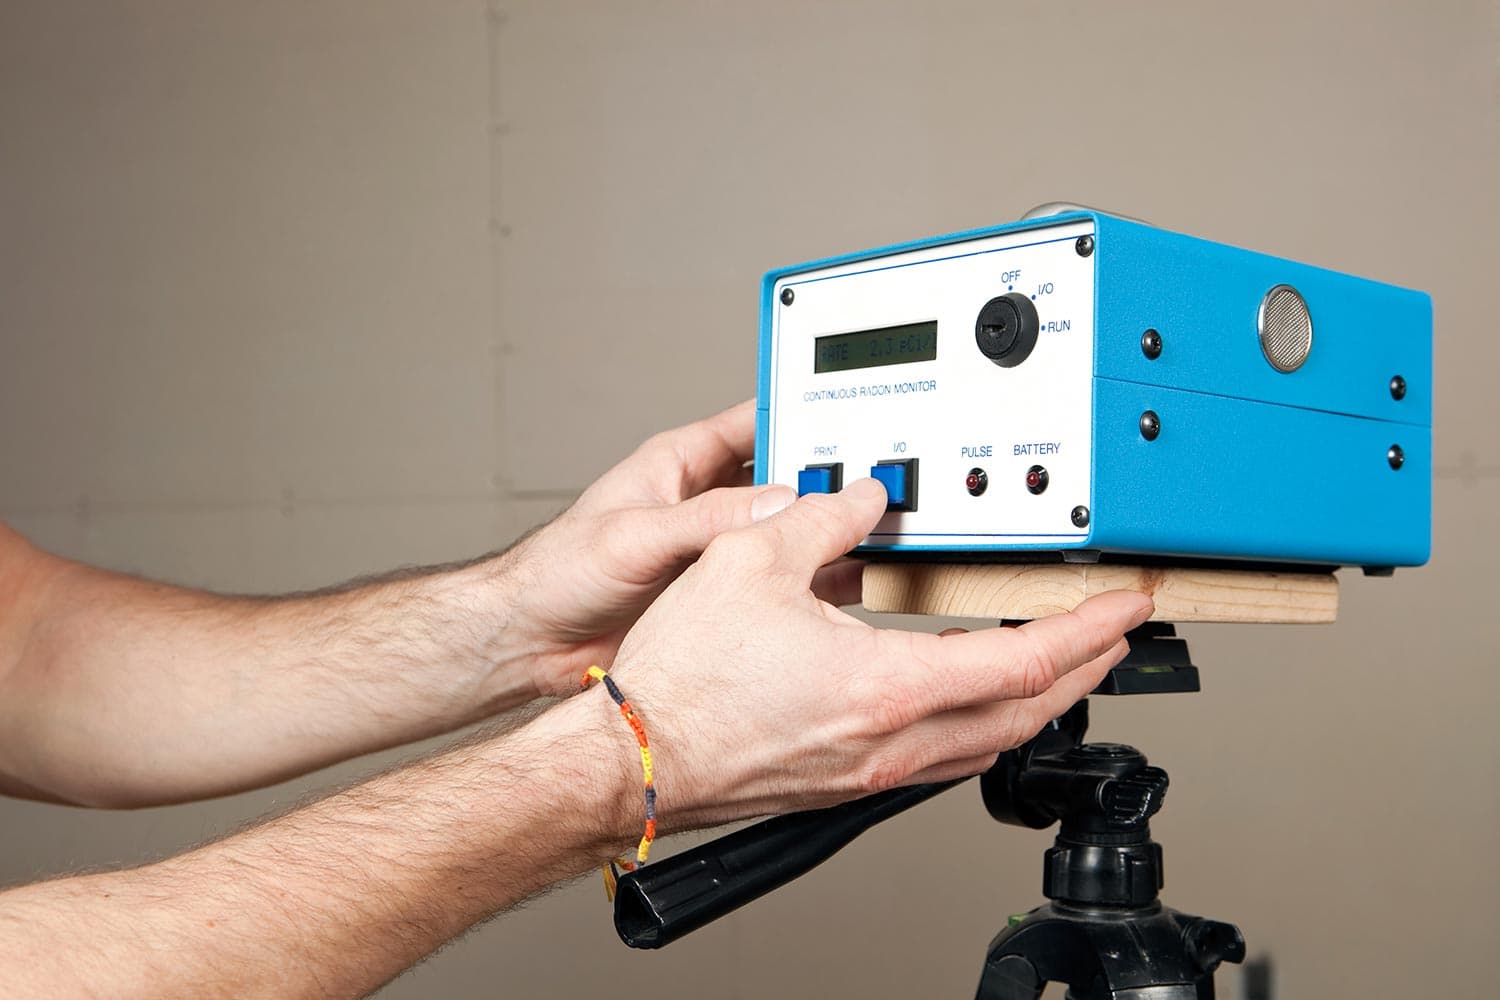
Use a radon detector, a device used to measure radon in picocuries per liter of air (pCi/L), to determine how severe the radon level is in your home. Decaying elements produce radon underground. That is why it is best to do the test in the lowest part of the house, which is the basement.

Check out this radon detector on Amazon.
The duration depends on how urgent you need the results. Short-term tests last from 2 to 90 days. Meanwhile, long-term testing can be done in the minimum span of 3 months. You can also choose between passive (no electrical power required) and active (electrical power needed) radon testers.
When detecting, remember these tips you can consider:
- Before and during radon detection, close all the doors and windows.
- Avoid humid areas like the bathroom or laundry room as they can cause device malfunction.
- Follow the instructions provided by the manufacturer.
- Take notes of the date and time of detection for data accuracy.
- Results can be negatively affected by sump pumps, construction joints, and crawlspaces.
1.25 pCi/L is the average level of radon a household should have. If the result is 4 pCi/L and above, you should install radon pipes. This level can cause danger to all the occupants.
Check outCheck out this radon test kit on Amazon.
Step 2
Determine the structure of your home. In this step, you can ensure that your house is compatible. Knowing the design of your home can also make planning more accurate and more straightforward. Start by determining the texture of the fill present under the cement slab foundation. Do this by drilling a hole in that slab foundation.
If it is porous and not wet, it is a good sign that the gas can easily be sucked. If not so, then you and the radon fan will have to make more effort to draw the radon out.
Next, are the sections of your home constructed continuously? You need to install a multiple radon pipe system if it isn't. After that, what kind of drainage system do you have? If it is a french drain or drains tile, you may not need to drill the foundation slab.
Lastly, are your pipe's seal holes crack-free? If they aren't, you should start sealing to help the mitigation system function better.
Step 3
Plan where the pipes are going. It would be best if you were wise about where to put it. Situating it in an area where people frequently go is not a good idea since it can be destructive and can be off with your interior.
To help you decide, you can take a look at these pointers you can include when determining:
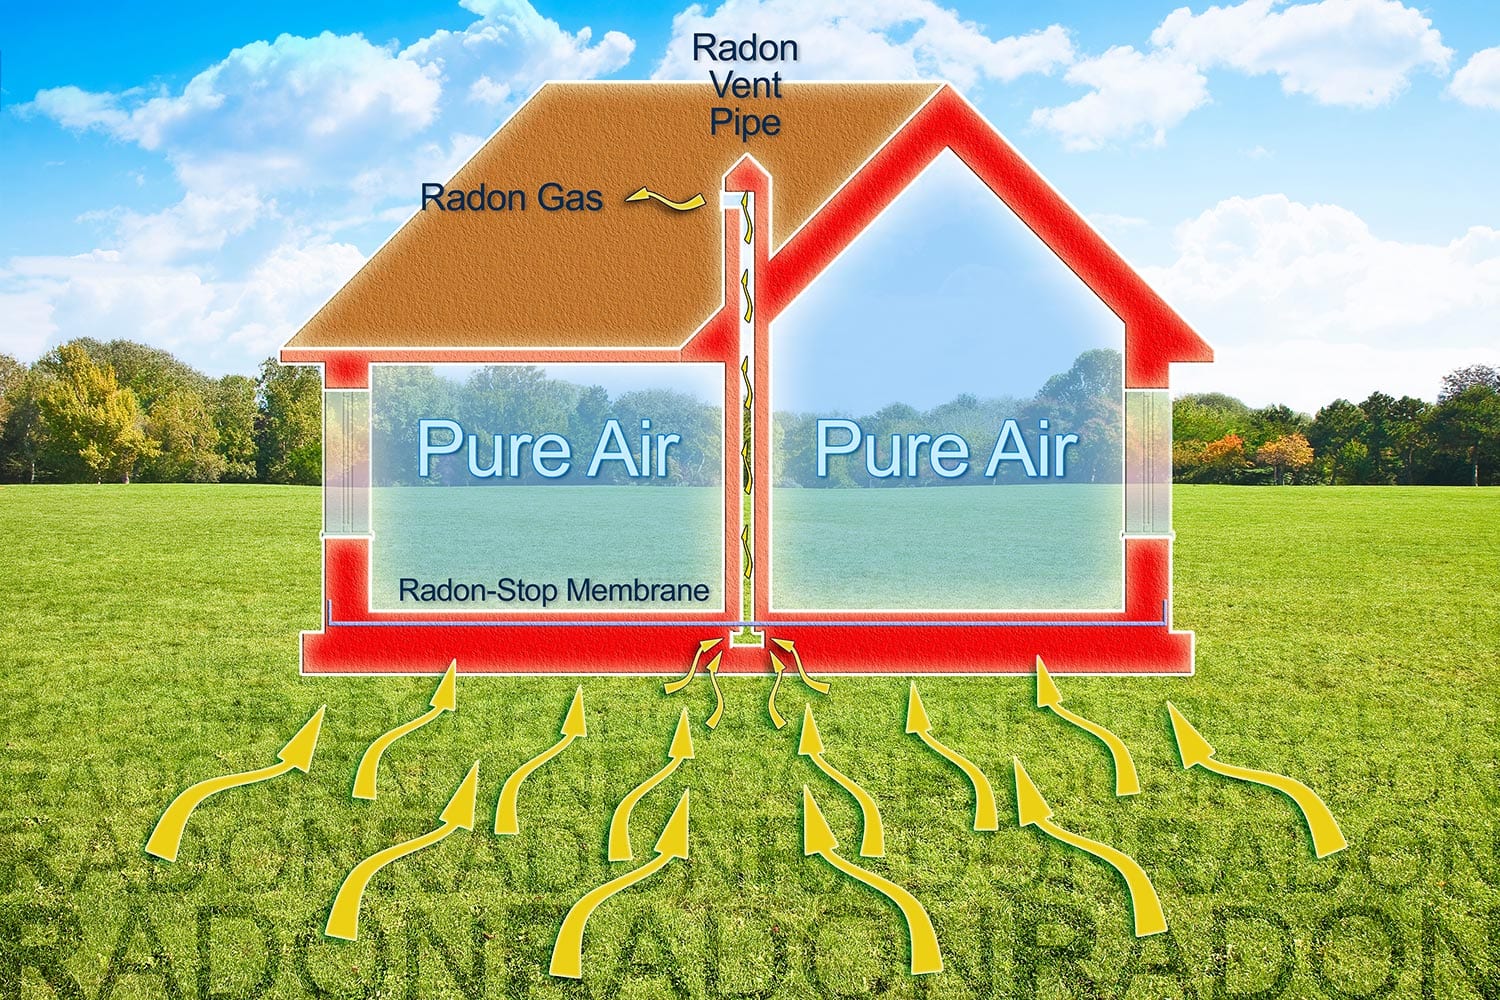
- PVC pipes are 3 to 4 inches in diameter and must pierce through the roof.
- It should be stretching 12 inches away from the roof's surface.
- The pipe's opening should be 10 feet horizontally away from the windows or doors to prevent the gas from coming in.
- The ideal spot for the pipe's foundation is near the wall.
Step 4
When you have chosen a spot to lay the foundation, sketch a hole slightly larger than the diameter of the PVC pipe. Using a jackhammer, start drilling until you hit the fill. When you reach the walls, floors, or roof, users must use a handsaw or a wide-diameter drill.
Step 5
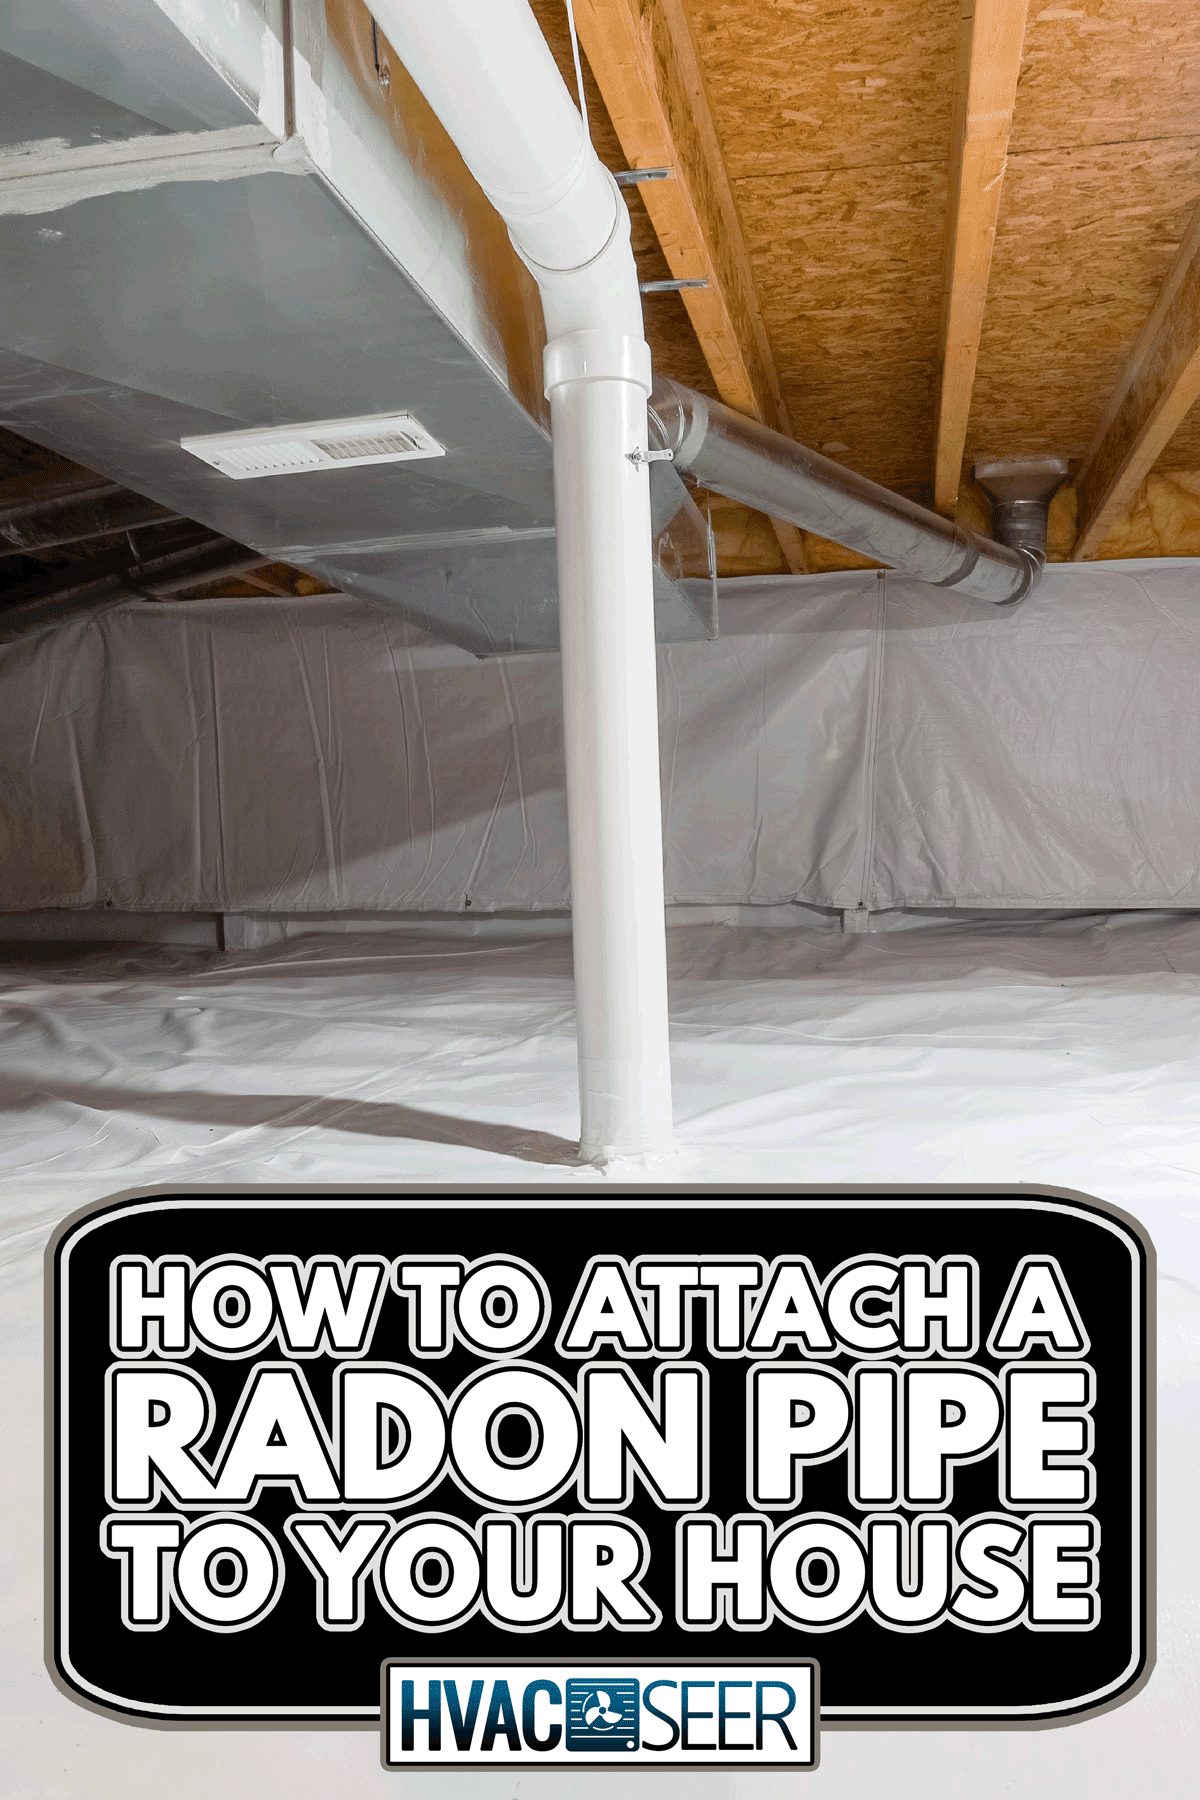
From the roof, attach the pipes until you reach the foundation in the basement. Ensure strengthening the attachment by gluing the joint, adding strap support, etc.
Step 6
Going back to the attic, measure the height of the vent fan and cut that length on a portion of the pipe there.
Step 7
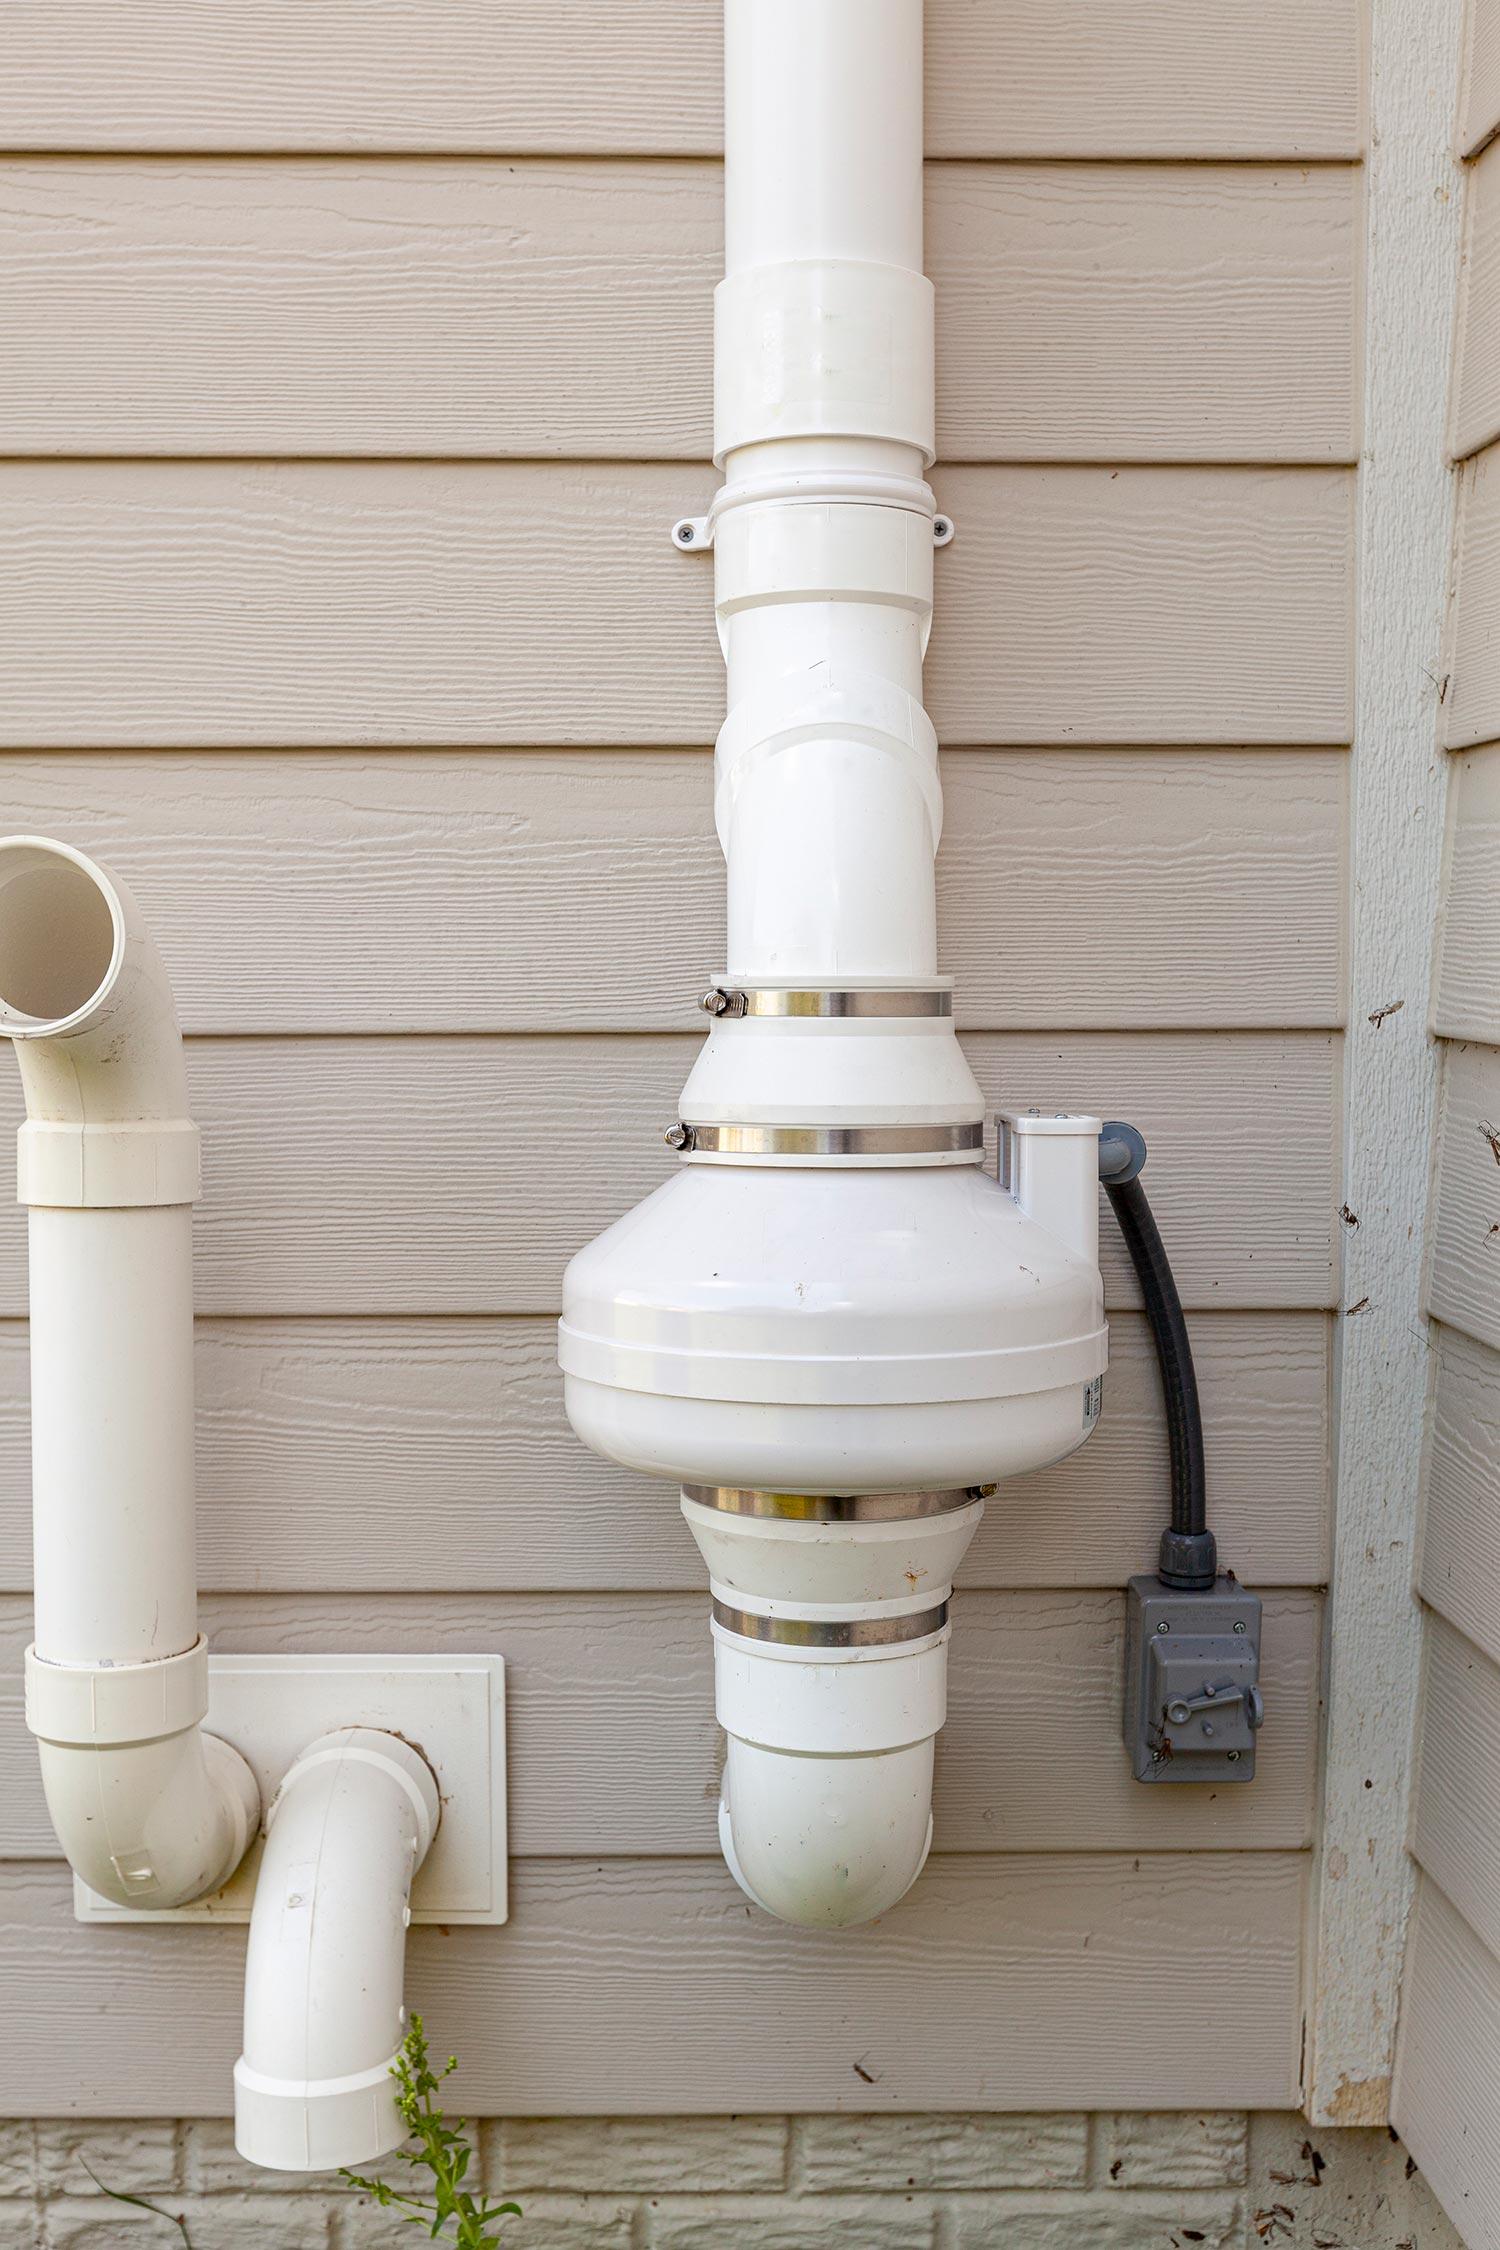
Start installing the fan and connecting the wirings. Add insulation between the pipe and vent fan to prevent condensation on the piping.
Step 8
When everything is securely held in place, start sealing the holes on the roof, the floors, walls, and the foundation using caulk and hydraulic cement.
Check out this caulk on Amazon.
Step 9
After insulating, install a liquid-filled manometer on the PVC pipe. Make a hole where a small tube is enough to penetrate. This tube will serve as a bridge for the pipe and the manometer to test the pressure.
Step 10
Start turning on the fan and check the manometer. If the meter is above zero, then it is working correctly. If it is not, then check the system for any holes and seal them.
How Much To Install Radon Mitigation System?

Installing a radon mitigation system can range from $1,100 to $2,500. This depends on many factors from your home, such as its size, age, foundation, materials, etc.
Why Is Radon Present In Your Home?
All of the soil produces radon. This odorless, radioactive gas enters your home through the cracks or holes in the foundation ground. Since the house is an enclosed space, it traps all the radon that moves up, resulting in a high level of it indoors.
You can reduce the risk or level of radon in your home by installing a radon mitigation system and always having proper ventilation.
 Open your windows, exhaust fans, or fans; you have to let the air circulate the space and push the radon gas out.
Another way is to seal any openings where they can pass through. Especially in the basement area. You can also check the other passages where radon might enter:
- Cracks or cavities present in the walls
- Water supply
- Holes in construction pipes/joints
Want to learn more about insulating basement floors? Read this: Should You Insulate Basement Floor [Inc. Existing Floor]
How Dangerous Is Radon Gas To Your Health?

Inhaling a large amount of radon gas can severely threaten your health. According to U.S. Environmental Protection Agency (EPA), 21,000 people are killed yearly because of lung cancer caused by radon. People who smoke are ten times more at risk of acquiring this disease since it has cancer-causing substances.
More alarming is that 30.8 million Americans are reported to be smokers in 2020. That is not all. We are all aware of how smoking is more dangerous to secondhand smokers (people who inhale the smoke of a cigarette blown out by a smoker). So the only way to save and prevent anyone from this is to stop smoking.
Air purifiers help eliminate substances and particles lifted into the air by smoked cigarettes. Learn how to use them here: Can You Use An Air Purifier And Humidifier Together?
Conclusion
Attaching a radon pipe in your house is a hard job. If you are not a professional or not knowledgeable enough in this area of expertise, it is best to seek help from your local contractors to ensure the safety and best installment of radon pipes in your home.
Aside from the mitigation system, insulate your home to reduce the radon level, especially the basement floor, since it can be the main entry of this radioactive gas.


