A properly-installed ceiling fan will be able to keep you comfortable in the summer months, as well as improve the air circulation in your space -whether or not you're using the air conditioner. That said, how do you make sure your ceiling fan performs at peak condition? How do you balance it during installation? We have researched answers for you.
Balancing a ceiling fan should take you around two hours. The process is simple enough, but you need to consider its rotation from a central axis. If you notice your fan wobbling and making noise, adjustments are necessary.
- Switch off the power source.
- Tighten the screws on the fan blade.
- Number the blades with a piece of tape to keep track of them.
- Even out each blades' distance from the ceiling. Manually bend the blade's bracket if one appears to be uneven.
- Purchase a blade-balancing kit. Place the clip on the middle of the trailing edge of the blade that's wobbling.
- Test the fan; adjust the clip to see if anything changes. Repeat the process until wobbling stops.
Ceiling fans look like a humble fixture, but they can do much more to benefit your home and can encounter issues that can affect its performance. If you want to learn more about maintaining and using your ceiling fans, keep reading below!
Things to Consider when Balancing a Ceiling Fan
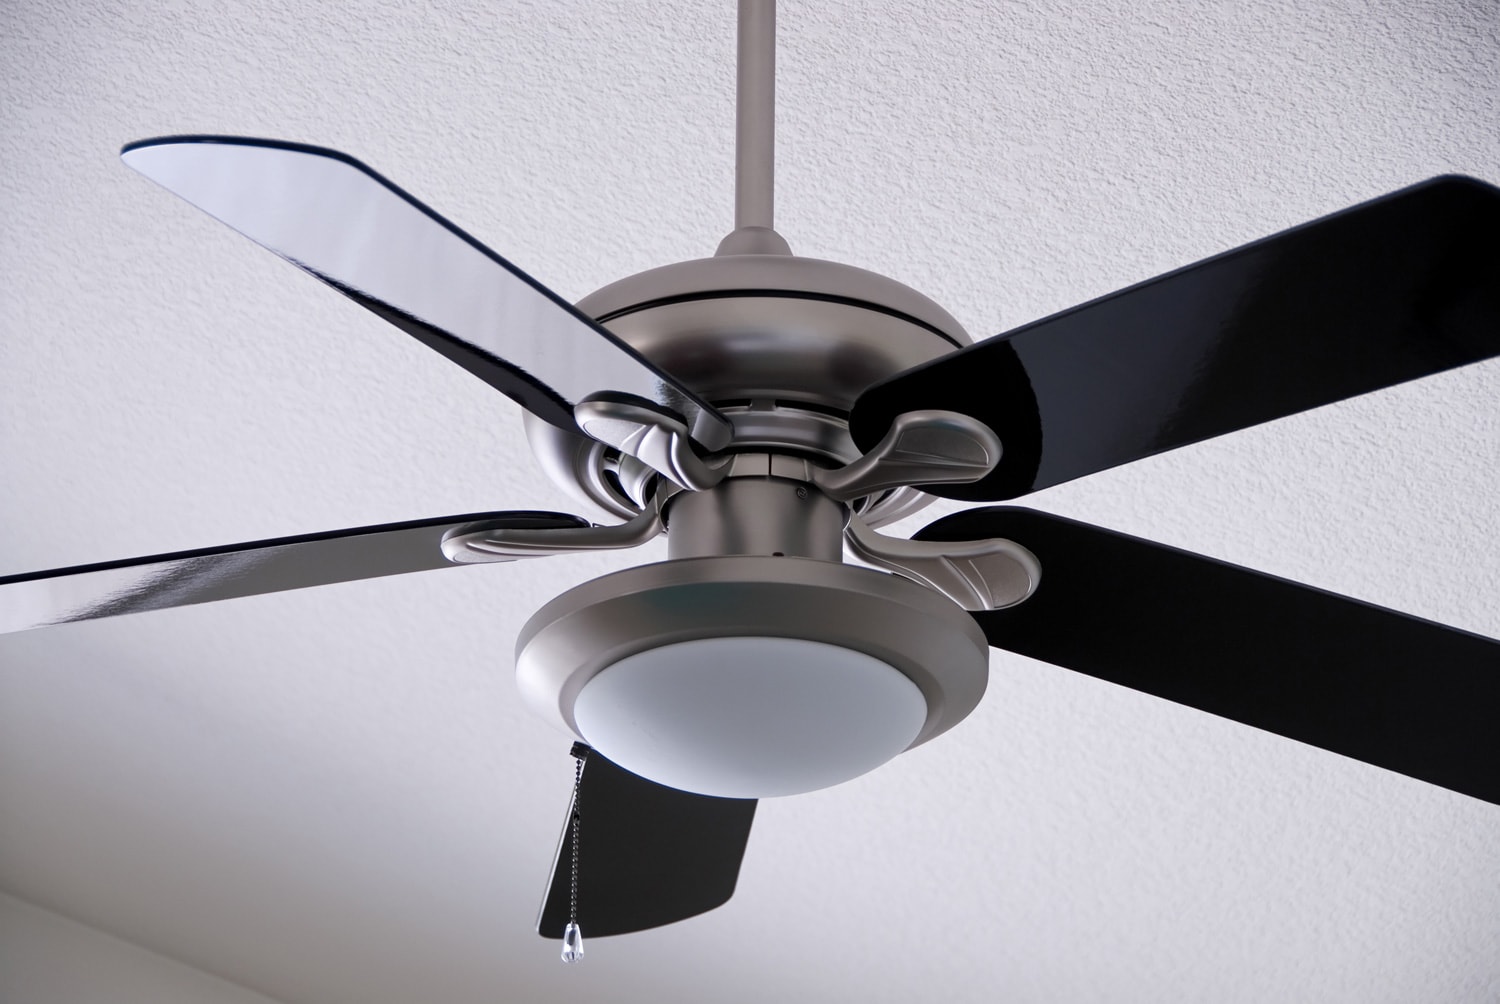
Your ceiling fan has a lot of mechanisms that contribute to its stability. There is an allowable imbalance that is tolerable for a ceiling fan; beyond this, it will not be able to perform correctly and can even make noise.
Keep in mind that the quality of your ceiling fan is also a factor. You should only get one that is made with high-quality materials so it will not be prone to imbalances.
Check the housing
Though fan blades are often the culprit of instability, you should still check the entire body itself. Make sure all the screws are tight and that there is no dust accumulating anywhere that can misalign it.
Inspect the fan blades
If the fan blades are damaged, chances are its structural integrity is already compromised --meaning you won't be able to adjust and even them out anymore.
Each blade should be firmly screwed into the mechanism so that they still have enough strength to hold up their position. It is important to keep everything snug together to prevent it from falling, possibly injuring someone.
Level out the blades
Uneven blades can cause the fan to wobble and not distribute air. You can purchase a blade balancing kit to remedy this or a yardstick so everything is measured accurately. Do not forget to measure the blades from every side since most ceiling fan blades have sharp angles.
Click here to see a 3-set fan balancing kit on Amazon.
How to Eliminate Noise from Ceiling Fan
You can save on energy costs if you have enough insulation in your home and a well-functioning ceiling fan to keep you cool during warm days. However, you can't really relax if you have a noisy fan overhead grating your ears.
You need to address this immediately, not only for convenience but also to prolong the lifespan of your ceiling fan. Here is what you can do to remove the noise coming from your fan.
Read: "How To Reverse Ceiling Fan Direction."
Clean and tighten the fan blades
Gunk and grease can cause the fan blades to become unstable, creating noise as a result. This can be dangerous if you are allergic to dust since the ceiling fan is basically distributing dust along with the air.
The dirt can also reduce the lubrication of the ceiling fan, creating grating noises. Make sure you regularly wipe each blade and the entire fan with a rag.
A simple dusting every day can also keep the ceiling fan clean, but you can also use a vinegar-based spray to lightly coat the fan. Simply mix equal parts of water and vinegar in a spray bottle and spray a cloth with it. Wipe the fan blades with it to catch any buildup.
Tighten or reinstall light fixtures
Some ceiling fans have a light fixture in the middle. However, when it becomes loose, it may create noise when the fan turns on.
- Locate the panel and check the fastener.
- Check the bulb. Wash the cover if you see dirt on it.
- Replace and tighten the bulb.
- Turn on the fan to check for noises.
Adjust the Motor Covers
If the noise is intermittent, it may be because the blade's brackets are occasionally scraping on the housing cover. There is a fairly easy fix for this.
Simply loosen the screw on the cover, adjust its position, and retighten the screws. Make sure no brackets brush against the cover.
Tighten the canopy in place
An upper canopy adheres to the post, which is the transition point from the ceiling. This can loosen over time depending on the quality of your ceiling fan.
The fix for this is to simply recalibrate the screws of the canopy. You can strengthen them using a locking liquid, although you may need to call a technician if you are unable to do this.
If you can use a ladder tp access and fix the canopy, make sure you don't touch any of the wiring to avoid any damage or an accident.
How to determine the right ceiling fan size for your room

Determining the appropriate size of ceiling fan for your room is just as essential as choosing one with the best quality. The correct ceiling fan should be able to keep you cool on hot days and warm during the winter through direction reversal.
As a rule, you need to match the diameter of the fan blade with the room's width. The fan drop should also be appropriate with the ceiling height so that it can rotate to its maximum speed.
Read: "Ceiling Fan Not Working On All Speeds – What To Do?"
Check out this ceiling fan on Amazon.
For narrow hallways
Narrow hallways, and small spaces can utilize ceiling fans less than 29 inches. This can already cool the room during the summer, especially if you have an adequate insulation system.
Make sure that the ceiling fans have enough space to rotate even at the highest speed since air can be stuffy in narrow areas. You can also use these fans to cool appliances effectively, so you can put them above computer set-ups and TV systems.
Make sure that the ceiling fan is screwed tightly --you don't want them falling off on expensive appliances. You can call a technician in case you're not sure about installing it yourself to be on the safe side.
For bedrooms and home offices
Home offices and bedrooms can already be cooled by 42 to 48-inch ceiling fans. They are the areas where comfort is most demanded, so make sure you get the best quality ceiling fan --both for function and aesthetic purposes.
For living rooms and kitchens
Large living rooms and kitchens require more airflow. You want your ceiling fan to be at least 52 to 56 inches in diameter to distribute air more evenly around the space. This is especially recommended for homes with high ceilings.
For cathedral ceiling rooms
Spaces that are over 350 square feet would require a ceiling fan with a diameter of 60 inches.
This is especially recommended for spaces that usually experience a high volume of people, such as exercise studios and home gyms. Do not forget to also install a dehumidifier to keep the place feeling fresh and dry.
For Standard Garages
Garages also need to stay comfortable throughout the year, so installing a ceiling fan should be a priority.
A larger fan with 50 inches of diameter should be enough to keep the air moving, but larger garages of over 400 square feet will need a 60-inch ceiling fan.
Since garages are often more exposed to outside elements compared to the rest of the house, make sure that the fans you install there have UL damp listings so that you are assured that the ceiling fan can withstand moisture.
Final Thoughts
Ceiling fans have a lot of benefits, but they are also prone to issues, especially when they are often used. Make sure your ceiling fans are appropriate for each room so that you can benefit from them more efficiently.
As with any home appliance, make sure you tune them up every now and then to keep it functioning well.


