
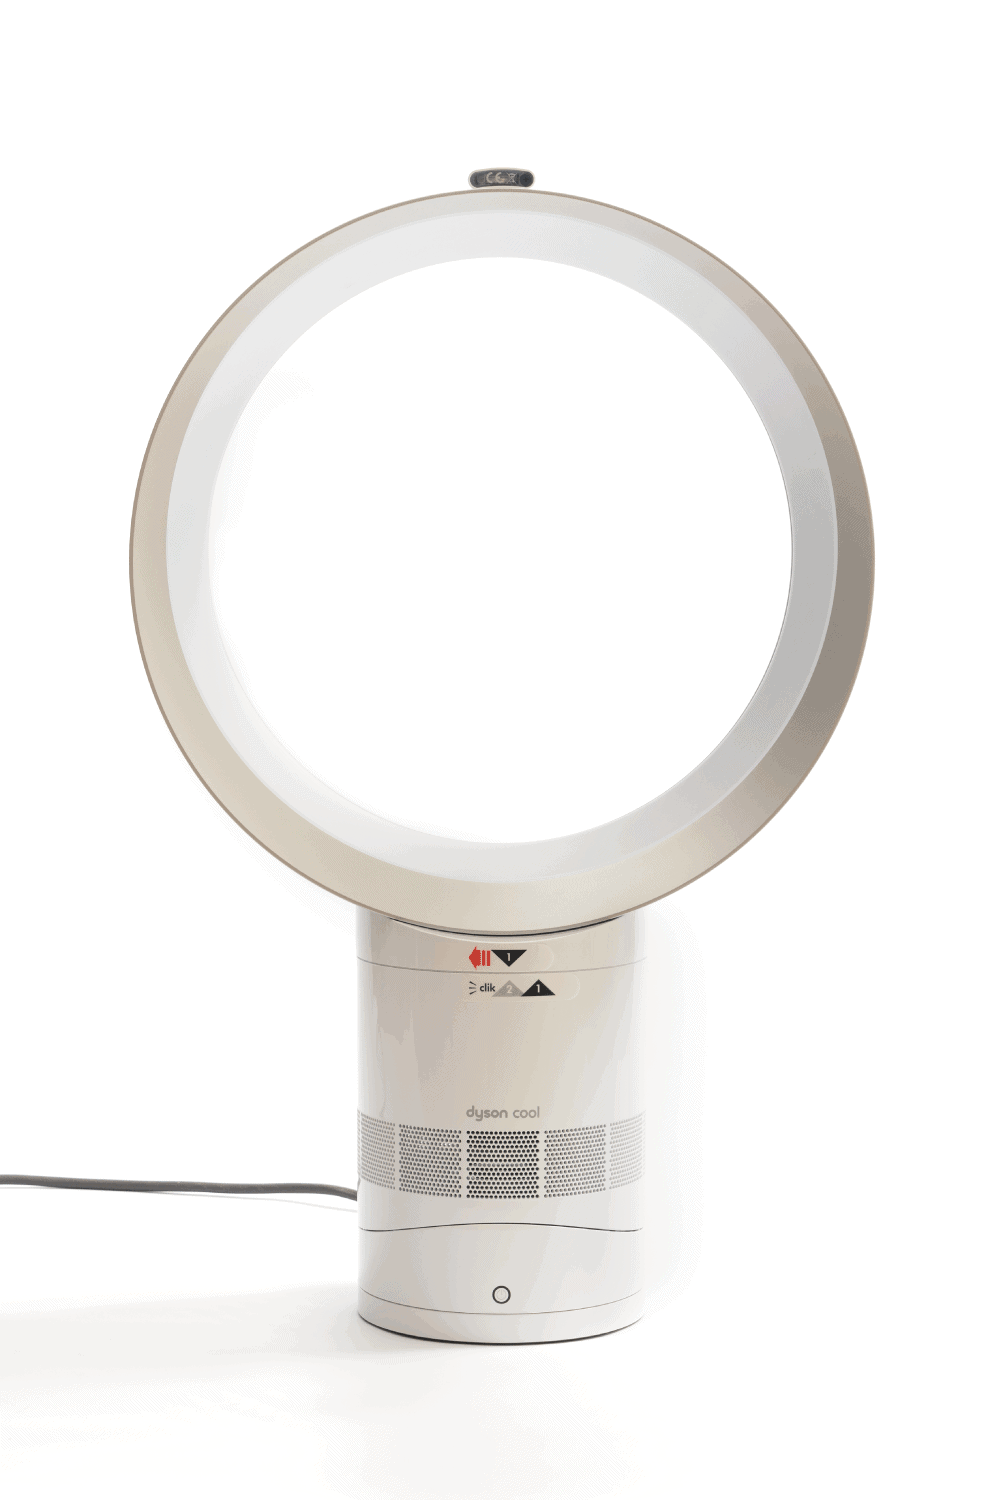
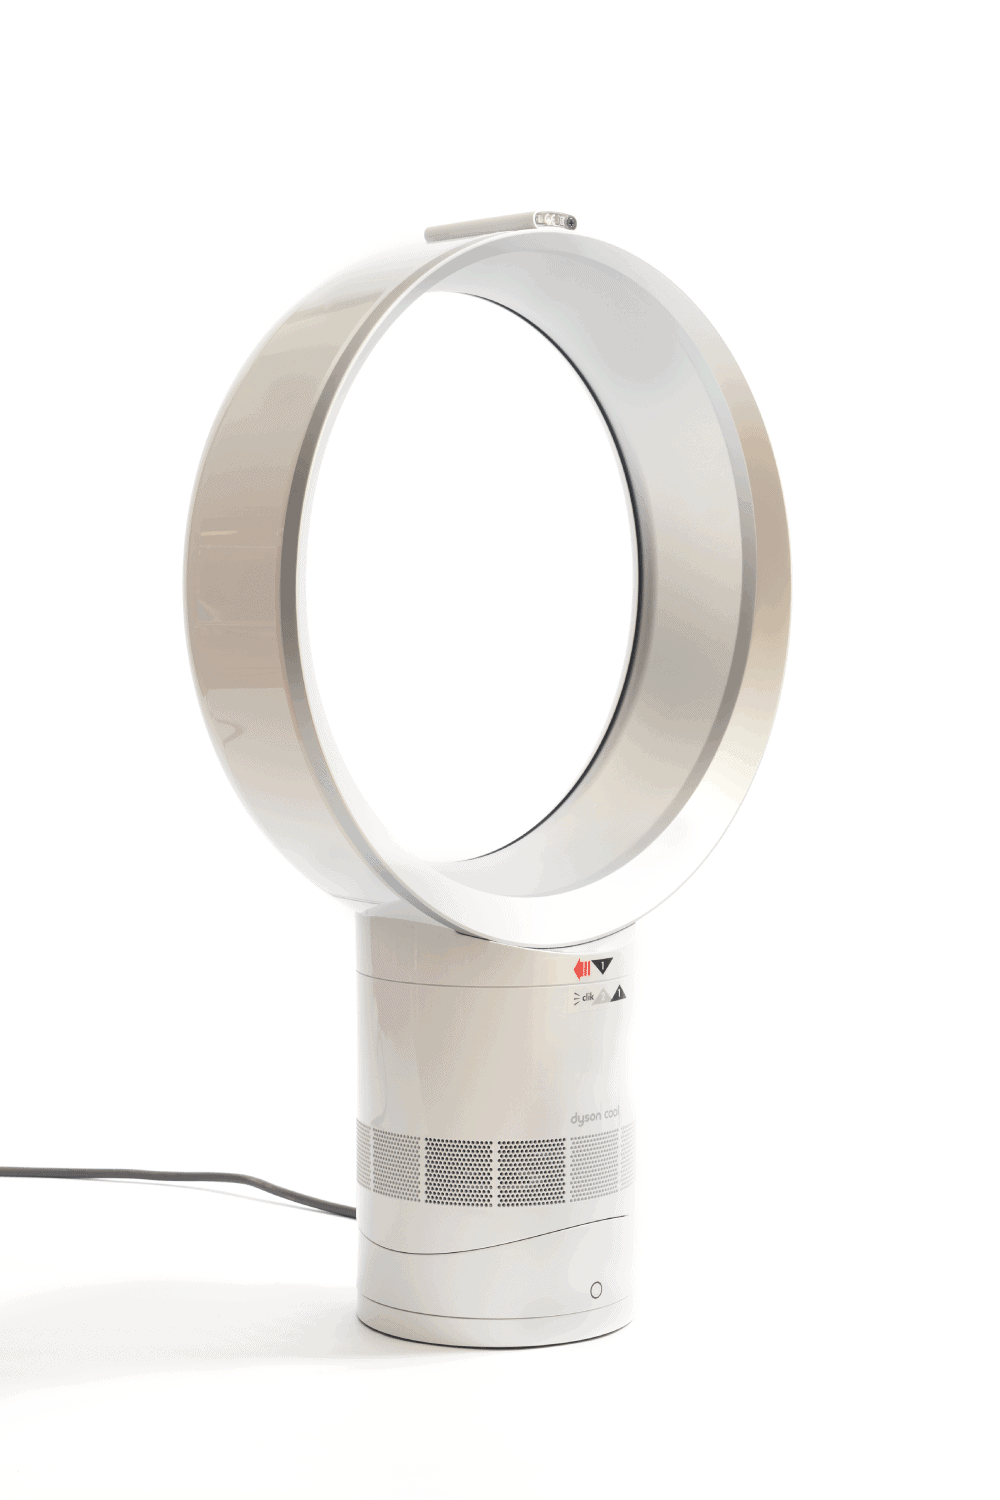
Dyson fans are designed to be portable and less bulky compared to a regular fan, but they collect dust and other dirt particles that you might not have noticed. If you have a Dyson fan in your home, you may be worried about how to clean it properly. Well, worry no more! We did thorough research for you, and here's what we found out.
It is best to clean your bladeless fan often to keep it in good condition. The following are guides on how to clean a Dyson fan:
- Unplug the fan from the switch.
- Clean the circular surface of the fan using a moist cloth.
- Connect a tube or brush extension to a vacuum.
- Look for circular grooves to locate the back vents.
- Remove any dust from the vent with a vacuum.
- Clean off the remaining dust using a paper towel.
You can easily clean your Dyson fan without the help of a skilled technician. So, keep reading as we delve into cleaning the outside and inside of a Dyson fan.
Cleaning A Dyson Fan
Dyson fans are known to be bladeless but actually have blades concealed inside the stand. Just like other appliances in your home, Dyson fans need to be cleaned periodically to ensure that they work well for years. To ensure that the fan is thoroughly cleaned, follow this step-by-step guide:
1. Unplug the fan from the switch
Always make sure to unplug your Dyson fan before starting the cleaning process. This allows you to clean the fan properly, without exposing yourself to the risk of injuries.
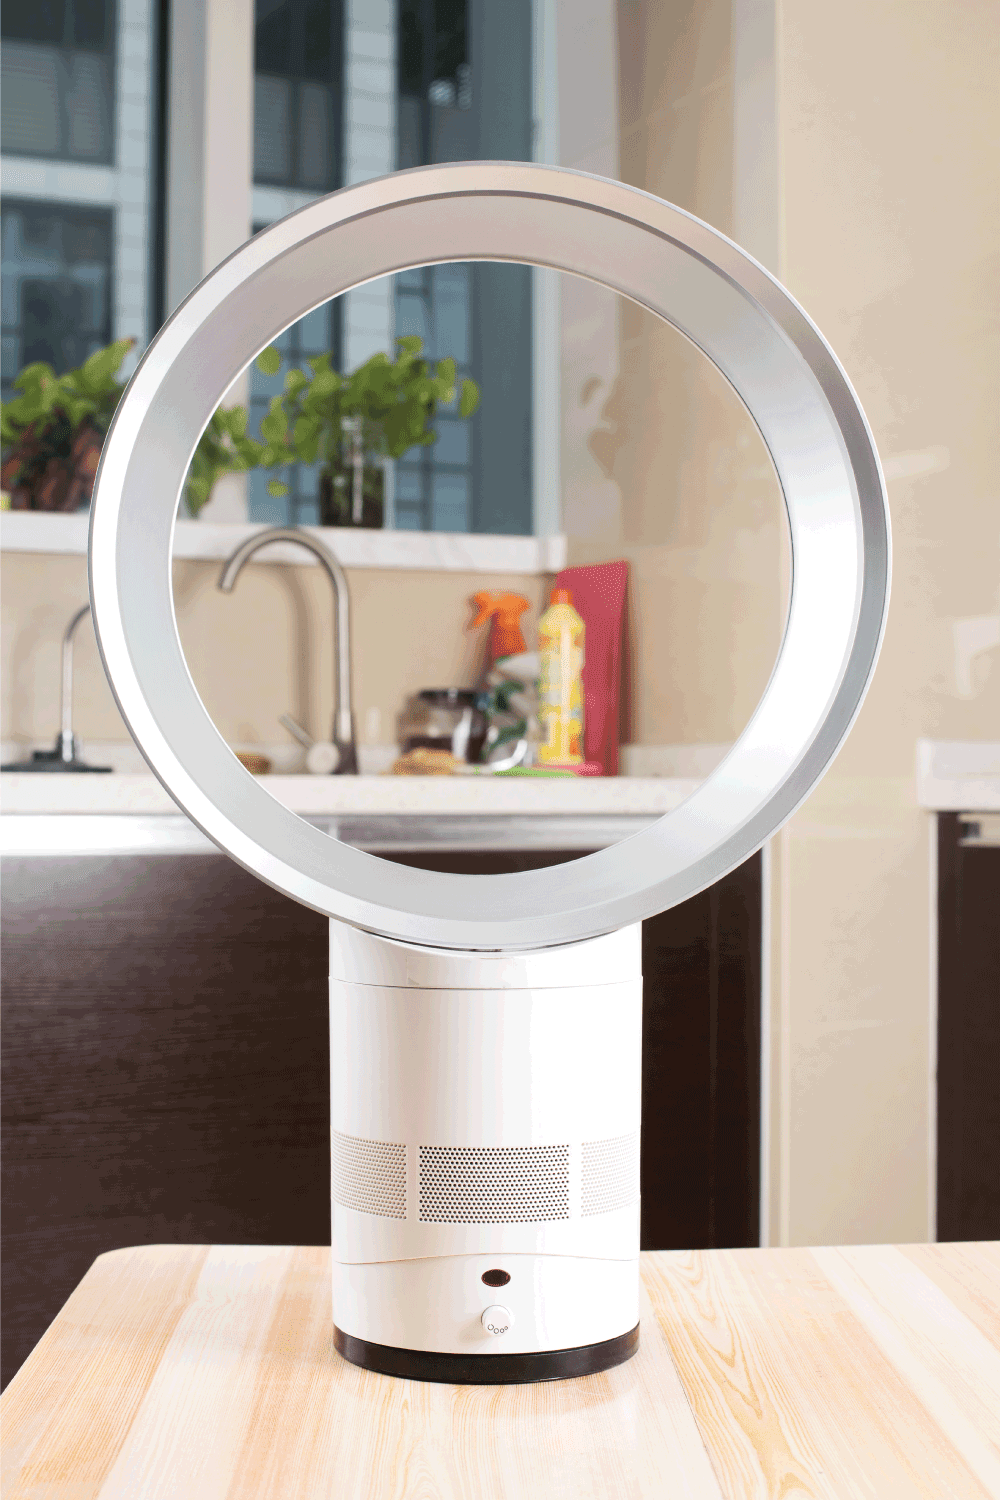
2. Clean the circular surface of the fan using a moist cloth
Dyson fans are easier to clean since they come bladeless. Using a moist cloth, gently clean the inner portion of the fan's circular surface. You can do this in less than 30 seconds. After cleaning the inner portion of the fan, the next thing to do is clean the fan's exterior using a wet paper towel. Baby wipes can also serve as an alternative.
3. Connect a tube or brush extension to a vacuum
Try locating the attachment tube on your vacuum. The tube helps in cleaning smaller areas. Your vacuum may have different types of attachments depending on the one you are using. Make sure to add a long, narrow tube or brush attachment to your vacuum before carrying on with the procedure.
4. Look for circular grooves to locate the back vents
In your Dyson fan, the area to find the back vents may vary based on the model. But they can be easily identified. All you have to do is to find rows of rounded grooves in a square pattern close to the base of your fan.
5. Remove any dust from the back of the vent with a vacuum
After turning on the vacuum, make sure to grip the tube or brush extension well. Then carefully get rid of the dust from the back of your Dyson fan.
6. Clean off the remaining dust using a paper towel
Make sure to check the surface for excess dust or dirt after vacuuming. If any, use a dry paper towel or cloth to remove them. If you still notice more dust, then you should repeat the process.

How Do You Clean The Inside of A Dyson Fan?
Some users prefer to clean their fan thoroughly, so they go the extra mile to disassemble the device to clean the inside. Here are the steps to clean the inner part of your Dyson fan:
1. Detach the circular/upper part
Grip the base of the fan with one hand and then try twisting the circular part (counter-clockwise motion) with your other hand. Your aim should be to detach the two pieces of the Dyson fan.
If you are finding it difficult to separate both parts, you should consult your fan's user manual for more direction on how to detach it. There is usually a noticeable line demarcating the circular part of the fan from the rest of the body.
2. Clean the upper part of the fan using a moist wipe
A Dyson bladeless fan has a mechanical part that can be seen after separating the two pieces. While cleaning the inner part, make sure to do it carefully with a damp cloth. A can of compressed air can substitute for a damp cloth.
Hold the circular portion straight with your two hands to check the amount of dust inside. Use a damp cloth to get rid of any dirt particles inside the fan. Carefully wipe any rounded edges of the fan's interior. When carrying out this cleaning process, it is better to do it gently. You can also make use of a baby wipe if available.
3. Remove the outer retainer
To detach the outer retainer you have to loosen the single T8 Torx screw. Then carefully pry the snap-lock close to the screw. After this, you can now lift the retainer. Try lifting the whole motor-turbine assembly off the housing.
4. Dismantle the blower assembly
Loosen the four Torx screws at the top of the stator. After loosening the screw the assembly opens easily. Make sure to vacuum and clean all visible dirt.
5. Clean the rotating impeller
Check the rotating impeller for dirt and make sure to clean all. Try passing a soft cloth or wet tissue through each channel with the help of a screwdriver or stick. Do this carefully to avoid scratching or damaging the impeller.
Alternatively, you can detach the impeller from the motor by dismantling the assembly from the back, and loosening the four bigger Torx screws at the top of the stator so the motor will be visible. You can then wash the impeller easily.
6. Clean housing and intake holes
Make sure to take out the bottom sponge and wipe all the dirt inside the housing using a vacuum cleaner. You can use a bristle brush and a vacuum cleaner to clean the air intake holes.
7. Reassemble the parts
When all the parts of the fan are dust-free and dried, reattach the circular portion to the rest of the fan. Do this in a clockwise motion. It is better to use one hand to hold the fan in place and the other to reattach the top piece.
Always make sure all components are correctly aligned. Most components are meant to be fitted in just one direction. Any improper attachment will be noticeable. Do not force any components.
If you notice that some parts need to be forced in place, check how you fixed previous parts again. If you are still finding it difficult to reassemble your fan, you should carefully check the fan manual's instructions.
Can You Wash A Dyson Fan Filter?
You can wash your Dyson fan filter in cold water only. Washing a Dyson fan filter is easy and quick. You just have to remove the filter and wash it with cold water, then rinse it off thoroughly with water again.
After rinsing, allow it to dry. Do not use detergent to wash your fan filter. Additionally, using a dishwasher or washing machine to wash your filter isn't advisable.
How Long Does The Dyson Filter Last?
To Sum It Up
Cleaning a Dyson fan is not a difficult task. If you own a Dyson fan, keeping it in good condition should be your priority, so it is necessary to clean the device regularly.
You have to unplug the device, detach it from its base by pulling it up with your hands, remove any attachments, and unscrew all screws on the fan. Then carefully remove any dust or debris inside it using a vacuum cleaner or compressed air nozzle.
Before you go, check out these related posts:
How To Control A Dyson Fan Without A Remote