
A fan will often only work efficiently if it has a clean motor. So how can you clean a fan motor? We researched the appropriate procedure for this concern, and here’s what we found.
The first step to cleaning a fan motor is to take out the assembly and disassemble its components. Once done, continue the cleaning process by following these steps:
- Vacuum the dirt from the fan motor’s parts.
- Dip a scrub brush in mild liquid detergent and use it to clean the motor’s plastic parts.
- Rinse off the dirt and soap from the plastic components.
- Reassemble the fan motor except its casing.
- Apply oil to the front and rear bearings or bushings.
- Reassemble the rest of the fan motor and electric fan.
Some homeowners may find disassembling the fan motor to be tougher than cleaning its parts. Continue reading as we tackle the steps to help you remove a fan motor’s different components. We’ll also discuss cleaning this assembly in greater detail.
How Do I Disassemble An Electric Fan Motor?
Take note that you may need to disassemble an electric fan motor before you can clean its parts individually. Generally, you need a sufficient level of expertise in electronics and the right amount of confidence to proceed with this task.
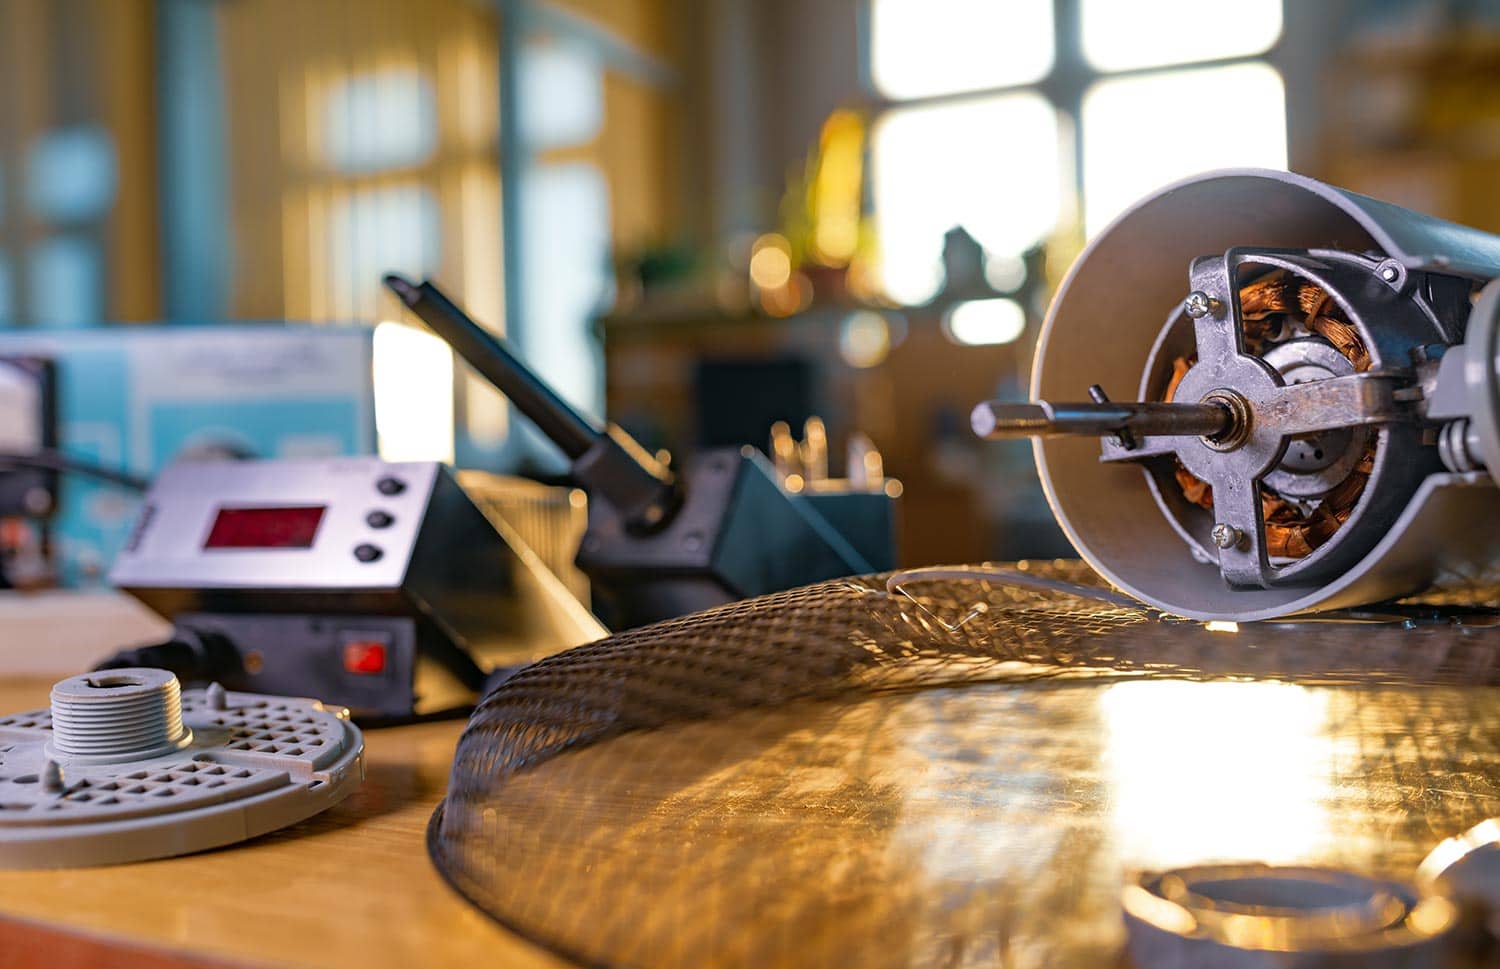
If you don’t have the necessary self-assurance or the understanding to complete this project, it might be best to leave it to the experts. Otherwise, grab your screwdriver and follow these steps if you want to continue:
Step-by-Step Guide
- Unplug or disconnect the electric fan from its power source.
- Unscrew and take out the cover that houses the fan’s motor and blades.
- Remove the blades and unscrew the knob that secures the rear grate.
- Unscrew the lever knob at the back of the fan motor’s case.
- Remove the screws at the front face of the motor’s case. Then, remove the front face.
- Slide the motor case from its back.
- Unscrew all the screws at the back of the motor. Remove the gearbox afterward.
- Unscrew the screws of the gearbox and take out the gear train.
It is a good idea to take a photo of each assembly and component you take out from the fan motor. That way, you shouldn’t have significant trouble with the reassembly after cleaning those parts.
Also, make sure to set the parts in a place where you can easily find them. If you're going to place them on a table, ensure that the surface is level to prevent the items from falling.
You can also watch the video below to see a visual representation of this electric fan motor disassembly process:
How Do You Clean A Fan Motor?
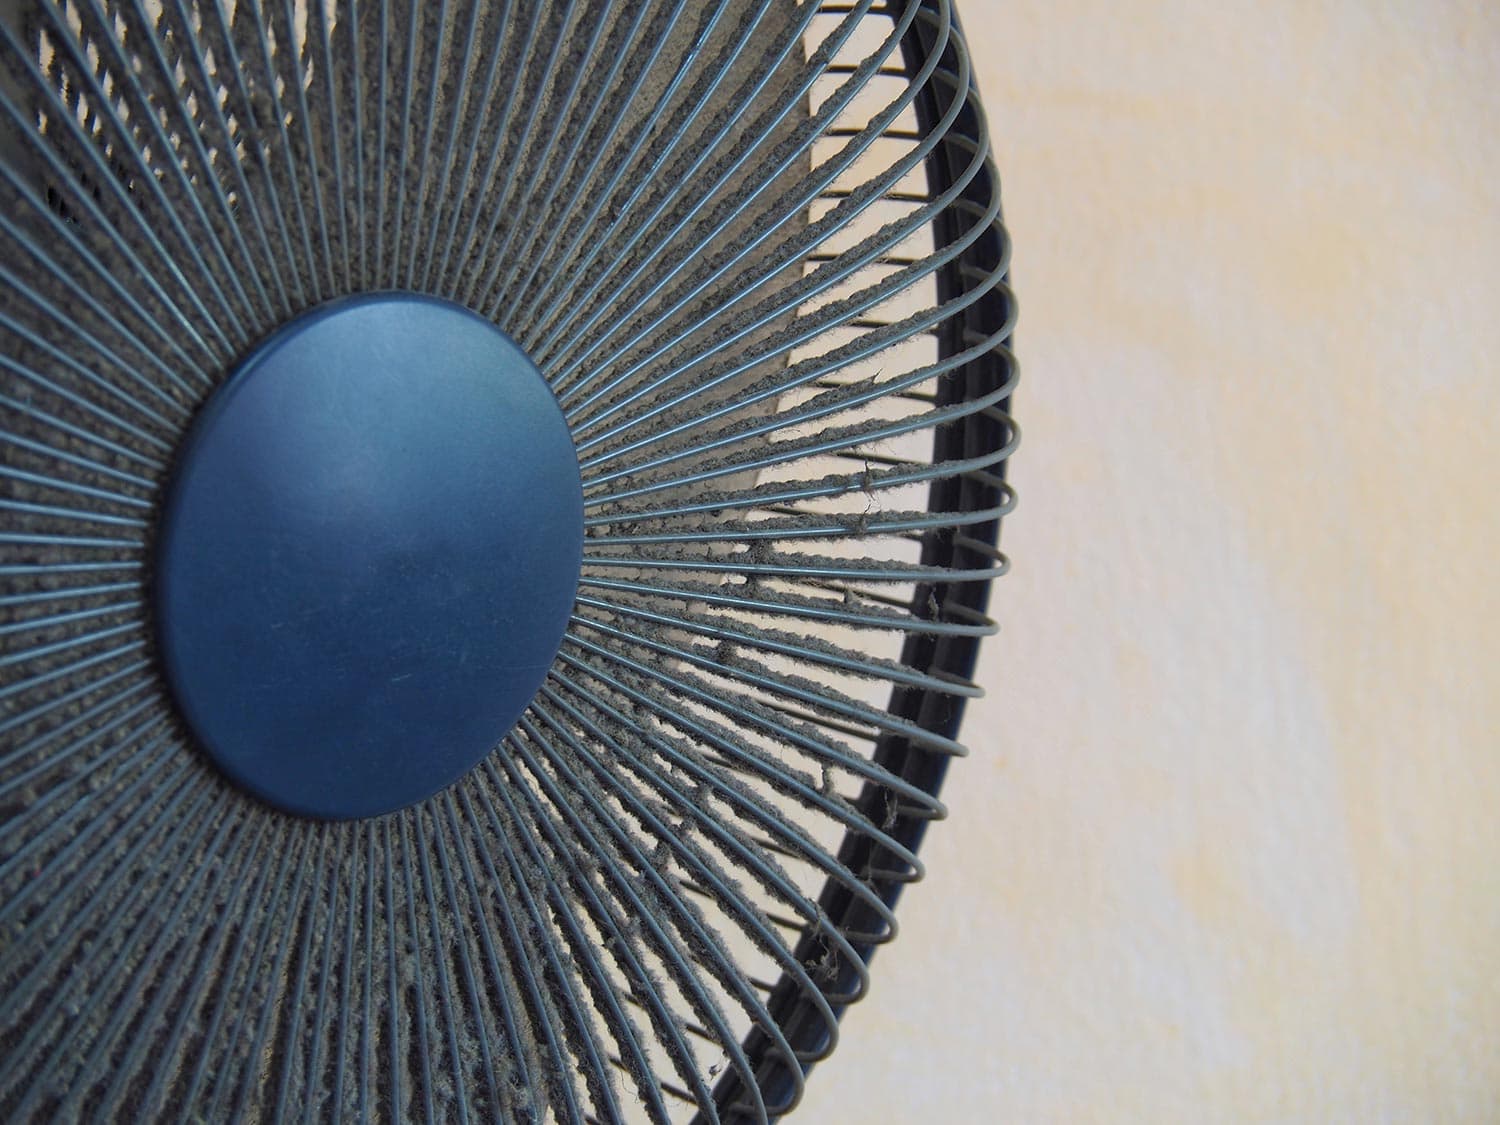
It’s a good idea to wear a respirator or face mask for this procedure, especially if you haven’t cleaned your electric fan’s motor for a while. You may also notice that heavy dust buildup is already on the motor. If so, the dust can become airborne, and it may lead to it triggering respiratory issues if you breathe it.
What You’ll Need
- Vacuum cleaner
- Scrub brush
- Mild liquid detergent
- Lubricating oil
Step-by-Step Guide
- Vacuum loose dirt and dust from the motor’s parts.
- Use a scrub brush dipped in mild liquid detergent to wipe the dirt buildup on the motor’s plastic parts.
- Rinse the plastic components with a shower head or garden hose.
- Reassemble the fan motor but don’t attach the casing yet.
- Oil the front bearing or bushing. Do the same step for the rear bearing or bushing.
- Secure the motor in its casing and reassemble the rest of the electric fan.
- Restore power to the electric fan and turn it on to test it.
Watch the video below to see the steps to clean the fan motor in action. This video will also show you how to clean the fan’s blades:
How Often Should You Clean The Electric Fan?
Homeowners should dust their electric fans at least once per week. But deep cleaning these appliances should be done twice or three times per year.
Keep in mind that this frequency of deep cleaning your fans may increase based on certain factors. For example, clean your fans more often than usual if you have pets in your home. You may also need to remove dirt from your fans and their motors more frequently than average if you live in a particularly dusty area.
What Is The Best Lubricant For Electric Fan?
You shouldn’t use any lubricant on your electric fan, particularly on its motor. Using the wrong lubricating agent may cause unwanted gunk buildup. Using the appliance with as it amassed filth can put it at risk of acquiring irreparable harm.
Still, certain options exist that are compatible for use on different fan motors. Some of these choices are:
1. 3-IN-ONE 10038 Multi-Purpose Oil
Aside from being a good lubricant, this product can also clean and protect a fan motor. It also has a pump dispenser design, providing optimal convenience during use. It’s also safe to use on different materials like rubber.

Check out this product on Amazon.
2. WD-40 Multi-Use Oil
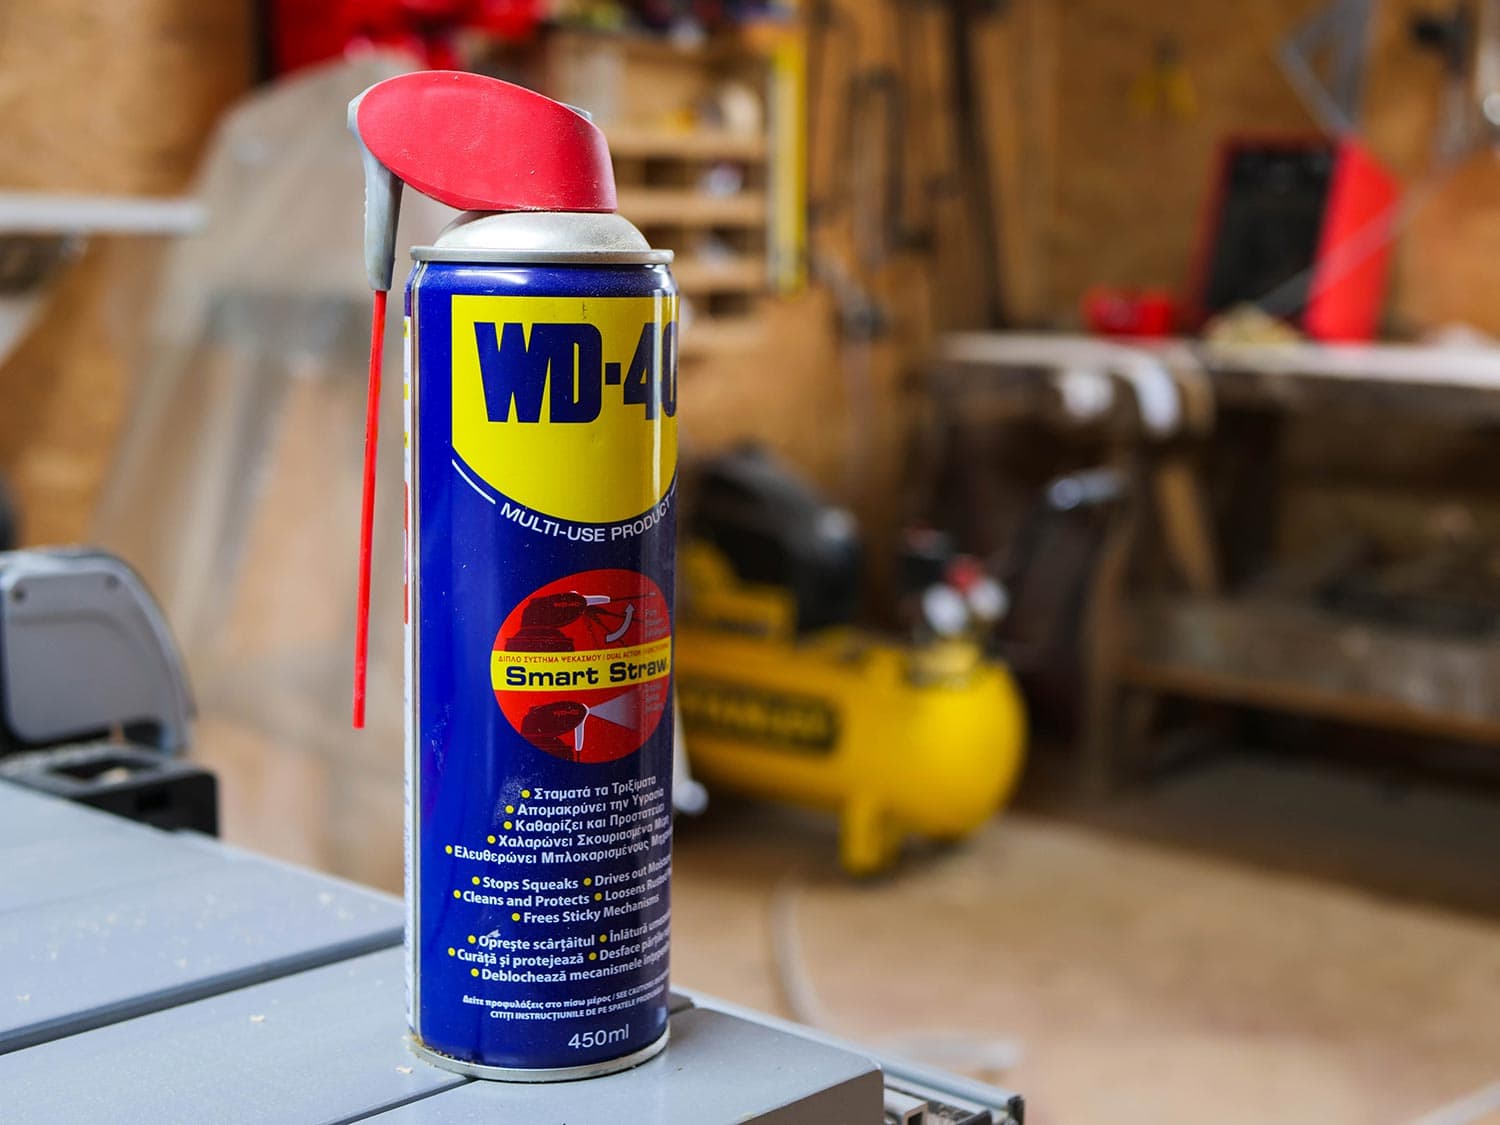
This particular WD-40 product can help lubricate fan motors. It also supplies rust protection to the electric fan and its other parts.
However, be wary as WD-40 offers other products that you shouldn’t use on fan motors. One example is the standard WD-40 solvent, which is often only ideal for removing gunk buildup. But you should remove that product after using it or it can attract additional filth to the motor.

Check out this product on Amazon.
3. CRC Power Lube
Use this lubricant to help protect electric fan motors against rust and corrosion. It’s also quite versatile, allowing you to use it on other gears and machines, including motor vehicles and household tools.

Check out this product on Amazon.
How Much Does A Electric Fan Cost Per Hour?
Keep in mind that the standard pedestal electric fan draws about 50 watts. Use that measurement with the U.S. average electricity rate, which is $0.10 per kilowatt-hour. Then, you should be able to spend approximately $0.05 per hour of electricity fan usage. So if you use the fan for an entire day without shutting it off, it should increase your home’s energy bill by about $1.20.
You can read our post on how much electricity does a fan use for additional details on this topic.
How To Troubleshoot An Electric Fan That’s Not Working?
If your electric fan has problems and cleaning it gave you little to no results, perhaps the issues come from underlying complications. Some of the ways you can troubleshoot the appliance to find the source of its faults are:
- Inspect the electrical cord. Check the electric fan if it’s plugged in properly.
- Check the appliance’s fuse. Open your home’s electrical service panel box and inspect if the connected fuse is functioning as intended.
- Look for damaged wires. Pests might chew on the electric fan’s wires, causing it to malfunction or fail.
On the other hand, if you're looking to replace your electric fan, we have a post on eight of the best fans that blow cold air for you to check out.
How To Oil A Ceiling Fan?
The process of oiling a ceiling fan is similar to lubricating an electric fan's motor. One of the main differences between this task and doing it with a ceiling fan is the disassembly process.
For instance, you need to remove the ceiling fan from its bracket. That step often requires you to climb a stepladder. That also means that it’s ideal to have an assistant with you to help secure the ladder as you’re removing the fan.
Proceed to remove the motor from the rest of the assembly. Then, continue the task by following these steps:
What You’ll Need
- Power drill
- Lubricating oil
Step-by-Step Guide
- Apply a couple of drops to the bearing that’s near the motor’s shaft.
- Spin the motor a few times to help lubricate the rest of the assembly.
- Flip the ceiling fan motor and repeat the previous steps to that side.
- Reassemble the motor to the ceiling fan.
- Reinstall the fan to its ceiling bracket and turn it on to test it.

Check out this power drill on Amazon.
Make sure not to put more than four drops of lubricant on the ceiling fan motor's bearings. It's still possible to over-lubricate the assembly, causing it to run into problems.
You can also watch the video below to gain additional insight on how to complete this job with as minimal risk of error as possible:
Final Words
After dismantling the fan motor, use the appropriate products and methods to clean its parts. Also, make sure to apply a suitable lubricant to the assembly. Otherwise, you might harm the appliance, causing it to malfunction or even fail.