As a homeowner, you may want to clean your mini split drain line but are wondering how to go about it. Fortunately, we have done some research for you, and here is what we found.
The following is the step-by-step guide for cleaning a mini split drain line:
- Turn off the AC
- Wrap the drain line with a damp towel
- Clear the drain line using a vacuum
- Remove the front panel of the indoor AC Unit
- Locate the drain pipe
- Clean the indoor AC unit
- Reattach all parts
Cleaning the AC drain line prevents water buildup. This prevents mold, algae, and water damage. Continue reading to learn when and how to clean the various parts of your mini split drain line.
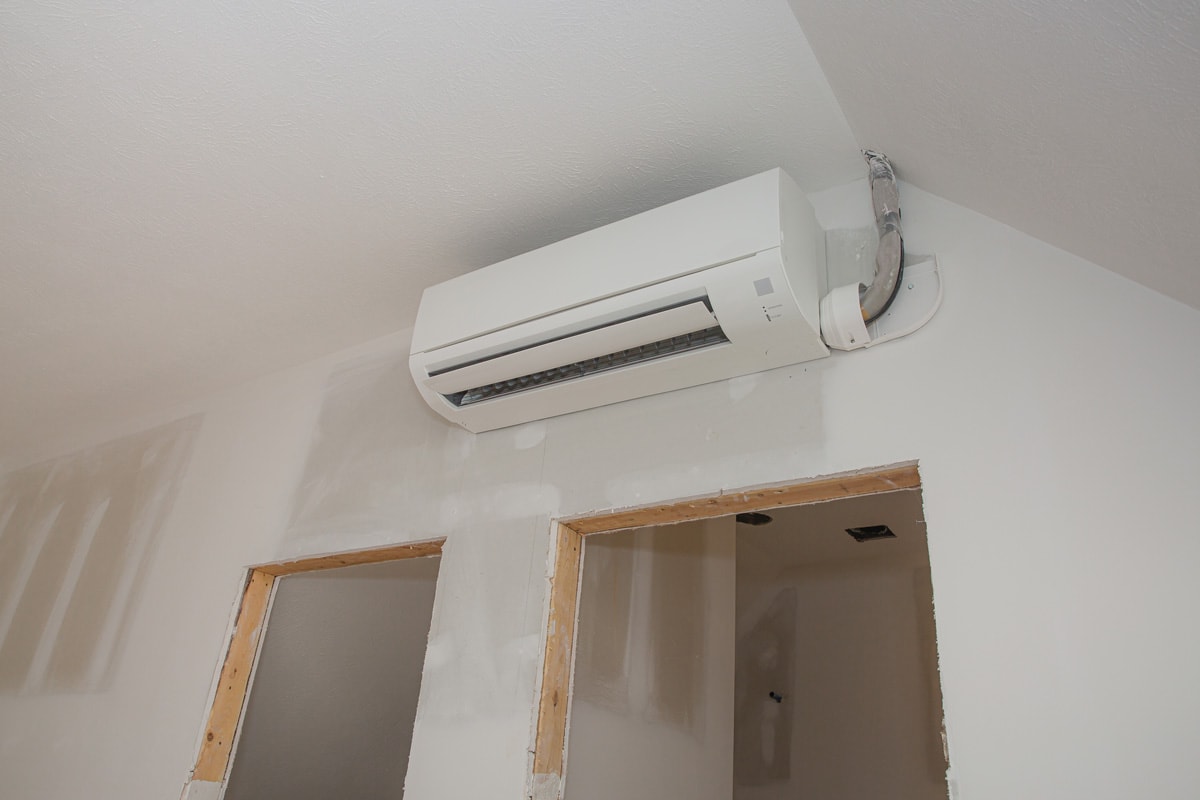
![Mini-split ductless air conditioning unit installed in unfinished room, How To Clean A Mini Split Drain Line [Step By Step Guide]](https://hvacseer.com/wp-content/uploads/2022/10/43.-How-To-Clean-A-Mini-Split-Drain-Line-Step-By-Step-Guide.jpg)
How To Clean A Mini Split Drain Line [Step By Step Guide]

If you want to clean your mini split drain line, you can follow this step-by-step guide:
Step 1: Turn Off The AC
Always put your own safety first. Go over to the service panel and switch off the breaker that controls the air conditioner. While you are working on the unit, you have to disconnect its circuit from the service panel so that there is no chance that any electricity would flow through it.
Step 2: Wrap The Drain Line With A Damp Towel
This is an easy step. The aim of this is to make the drain line airtight. Take your wet/dry vacuum and a moist hand towel with you when you go outdoors to inspect the drainpipe. Wrap it around the pipe to provide a close fit for the vacuum line that will prevent air leaks.
When you compare the dimensions of the vacuum to those of the drain pipe, you will see that the two cannot work together to create an airtight seal. Therefore, the damp towel or piece of tissue may assist in closing the additional space and allowing for some suction to occur.
Step 3: Clear The Drain Line Using A Vacuum
Connect a vacuum hose to the unit and then turn the vacuum on. Let it run for a minute or two in order to remove anything that could be stuck in the drain pipe of the split AC. You should notice additional water that is brownish in color coming out. In the event that there was an obstruction, the vacuum would gather mucky water.
But you're not done yet. You still need to repeat the procedure in the interior unit, since this is the location where the water condensation process begins.
Click here to see this vacuum on Amazon.
Step 4: Remove The Front Panel Of The Indoor AC Unit
Ensure that the power is turned off before opening the front panel. Find out how to remove it by consulting the user handbook. In most cases, the front panel will have plastic snaps on the bottom side that you may open by pressing down on them and taking out the air filters.
It is highly recommended that you vacuum the air filter before putting them back in. Remove the screws using a screwdriver, then remove the plastic cover by pulling it out.
The indoor unit includes plastic clips at the bottom that need to be pressed in order to be removed. Move the panel's hinge forward and up until it can be released. Consult the instruction manual of your specific model for information about how to remove the front panel.
Step 5: Locate The Drain Pipe
You should be able to get access to the drain pipe after the front panel has been removed; the drainage pipe is a large pipe that can be found at the base of the unit. Search for a seal that connects the drain of the air conditioner to the drain pipe now that you have access to the drain line.
Typically, the grip tape is used as the insulation, and electrical tape is used on the inside to complete the sealing process. Take off each of these tapes. Before you can begin to separate the joints, you need to get a bucket and collect any water that may leak from the pipe. Once you are ready, separate the joints.
Step 6: Clean The Indoor AC Unit
To clean the drain line, use the drain brush and run it back and forth through half of the drain. Carry out the same steps with the opposite pipe that leads outside. Try to force the brush to go as far as it can.
You may dislodge the dirt in the drain pipe by pouring some bleach down it, and the bleach will also destroy any germs that could have begun developing there. Get the towel that has been soaked in water, wrap it around the drain that connects the AC unit, and then attach the vacuum line.
Start the vacuum and let it run for a minute or two to pick up any debris that was brushed away during the cleaning process.
Click here to view this bleach on Amazon.
Step 7: Reattach All Parts
Put the split AC drain pipe back where it was, and then reattach the inside panel using the appropriate snaps. Replace the outside panel and put back the screws that you removed. Insert the filters when they have been cleaned, and then insert the top cover.
Where Is My Mini Split Drain Line?
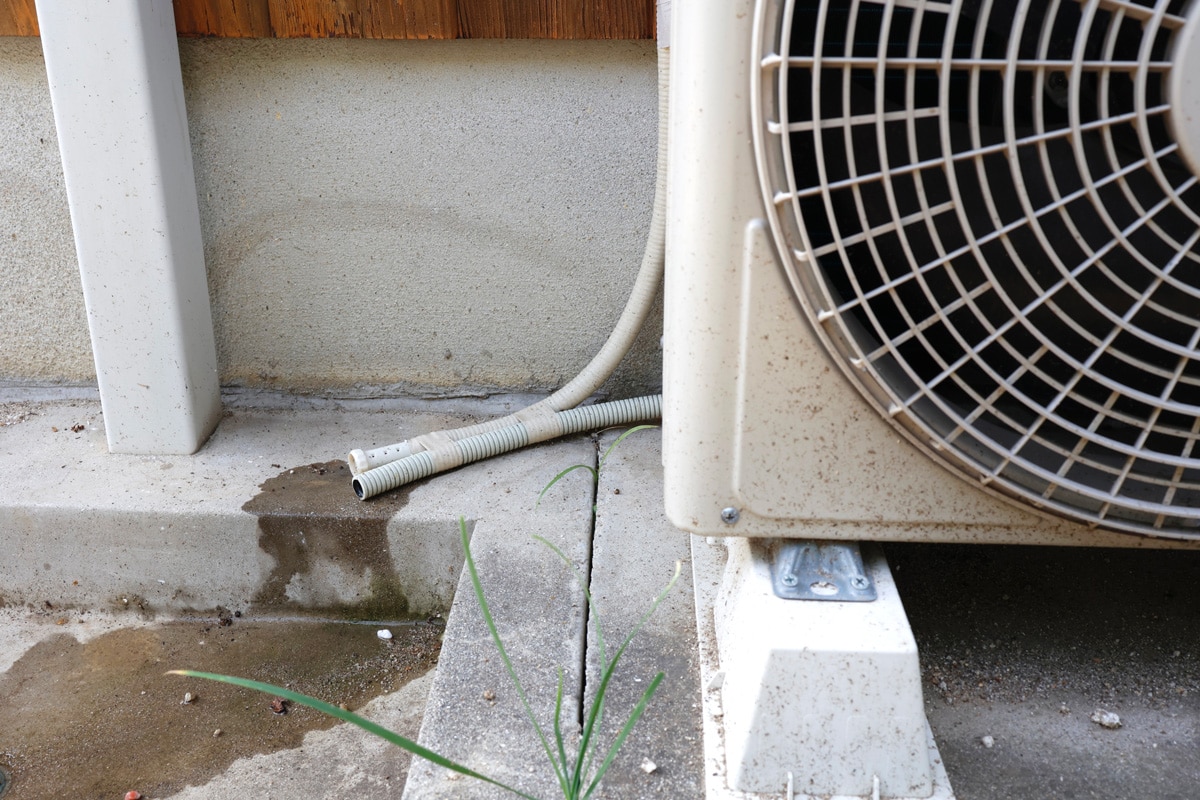
In most cases, the drain line is located in close proximity to the outside condenser unit. Condensate is securely removed from the mini split via the drain line whenever your HVAC system is functioning normally.
How Long Does It Take To Clean A Mini Split Drain Line?

Cleaning of the drain line often only takes a few hours to complete. You should anticipate that the cleaning will be finished in fewer than three hours.
In that amount of time, you will be able to clean both the indoor and the outdoor drain lines, as well as get everything back together and screwed back in place.
How Often Should You Clean A Mini Split Drain Line?

There are two basic elements that make up a mini-split HVAC system: an indoor unit and an outdoor unit. So, it is necessary to clean both components of a mini-split system on a regular basis so it can function well.
If you want the best results from your mini-split systems, you should clean them once every four to six weeks, on average. You can also check the owner's handbook that came with your system in order to know how frequently the system has to be cleaned.
How Do You Know If Your Mini Split Drain Line Is Clogged?

Moisture has the ability to entrap dust, dirt, and other airborne particles as they travel through the evaporator coil with the circulating indoor air.
This dirt that has accumulated can be removed together with the condensate that drains from the coil. It is possible for it to become stuck in your condensate drain line over time, which will cause a blockage. As a precautionary measure, you should be on the lookout for the following warning signs:
- A musty or moldy odor in the area surrounding your indoor unit or in the air comes from the registers and vents.
- Water close to the interior unit (showing leakages).
- Water damage in areas close to the indoor unit.
- Home not cooling.
- The air conditioning system turns off or does not come on.
If you notice any of the above symptoms, it is definitely time to inspect your unit to see if the drain line has gotten clogged.
How Much Does It Cost To Clean Mini Split Drain Line?
There is no specific amount spent on cleaning a mini split drain line. It often depends on so many factors. However, if you bring in a certified HVAC professional to do the cleaning for you, the price to clean the mini split drain line will be anywhere from $200 to $400.
Does Hydrogen Peroxide Clean Mini Split Drain Line?
Yes, if you want to clean out a mini split drain line, you can use bleach, vinegar, hydrogen peroxide, or any antibacterial soap solution mixed with a little bit of hot water. Since this is the pipe that leads outside, you do not need to be concerned about the impact that these chemicals will have on the air conditioning.
Your drain line will be cleaned by pouring either one cup of vinegar or one cup of hydrogen peroxide down it. Any of them works. After you have put the liquid into the system, wait for half an hour, and then finish by flushing the system with water.
Even though this technique won't get rid of blockages, it may sometimes make them break up so that they can come out of the system on their own.
To Wrap Up
Mini-splits can effectively cool and heat your home for years when properly maintained. However, to increase the longevity of your unit you have to clean the drain line frequently. To do this, you should turn off the AC, wrap and clear the drain line, and then clean the indoor AC unit.
If you enjoyed reading this post, here are similar articles you may like:
How To Clean A Mitsubishi Mini Split [A Step By Step Guide]


