
To prepare for summer, it's essential to ensure your air conditioning is in top shape.
The owners can dismantle most condenser units for general cleaning, but this can feel unsafe for first-time owners. But don't worry because we have researched how you can clean your Ducane AC.
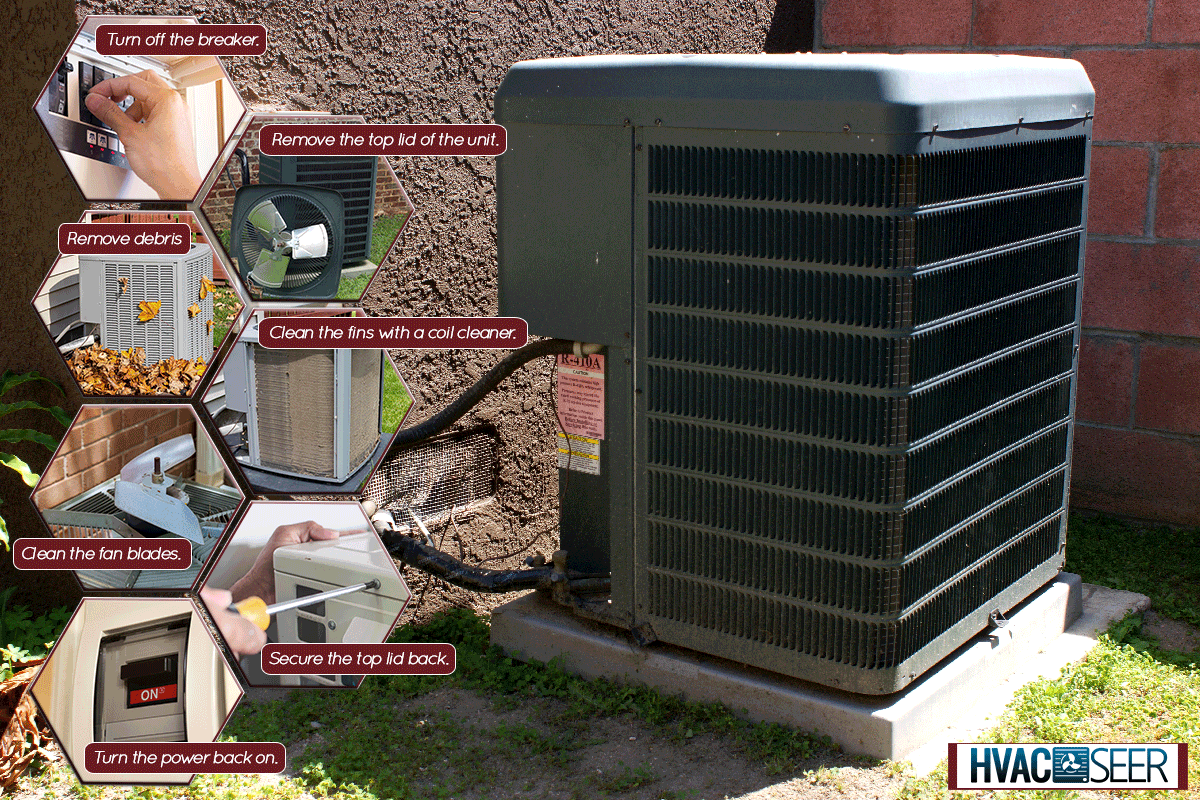
To clean your Ducane air conditioner unit, carefully follow the steps below:
- Turn off the breaker at the unit or the breaker box.
- Remove the top lid of the unit.
- Remove the collected debris at the bottom of the unit.
- Clean the fins with a coil cleaner.
- Clean the fan blades
- Secure the top lid back.
- Turn the power back on.
While it's important to clean the unit at least once a year, there are a lot of other elements in your central air conditioning system that can affect its general performance if left uncared for.
Continue reading as we discuss all the extra details of cleaning your AC.
How Do I Clean My Ducane AC?
Cleaning a big machine requires special care and attention to ensure you do not miss the small details.
Things like a wrong-sized filter or a damaged insulator can go unnoticed, eventually leading to more severe problems.
When cleaning outdoor conditioning units, inspect all the extending parts.
Turn The Power Off
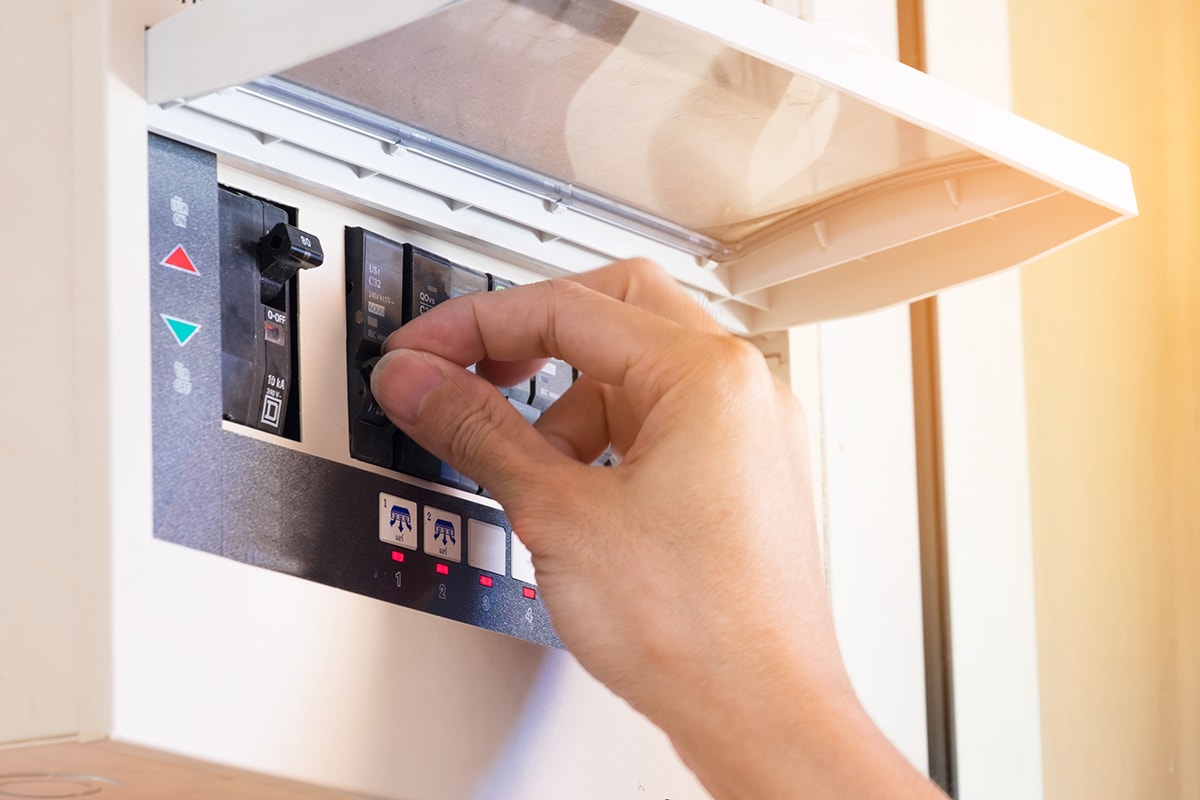
Before opening the unit to clean the inside, disconnect the power first. Your AC must have its power connector by code.
Your AC must have its power connector right by the unit. Pull the power plug off the socket and place it on top of a dry place before washing the unit.
For older AC set-ups or units not installed up to code, locate the unit's breaker inside your home's main circuit box and turn it off.
If you cannot find the individual breaker, simply turn off the main circuit board of the house.
Shutting off the power to the conditioner unit is essential to avoid electrical accidents when cleaning the machine.
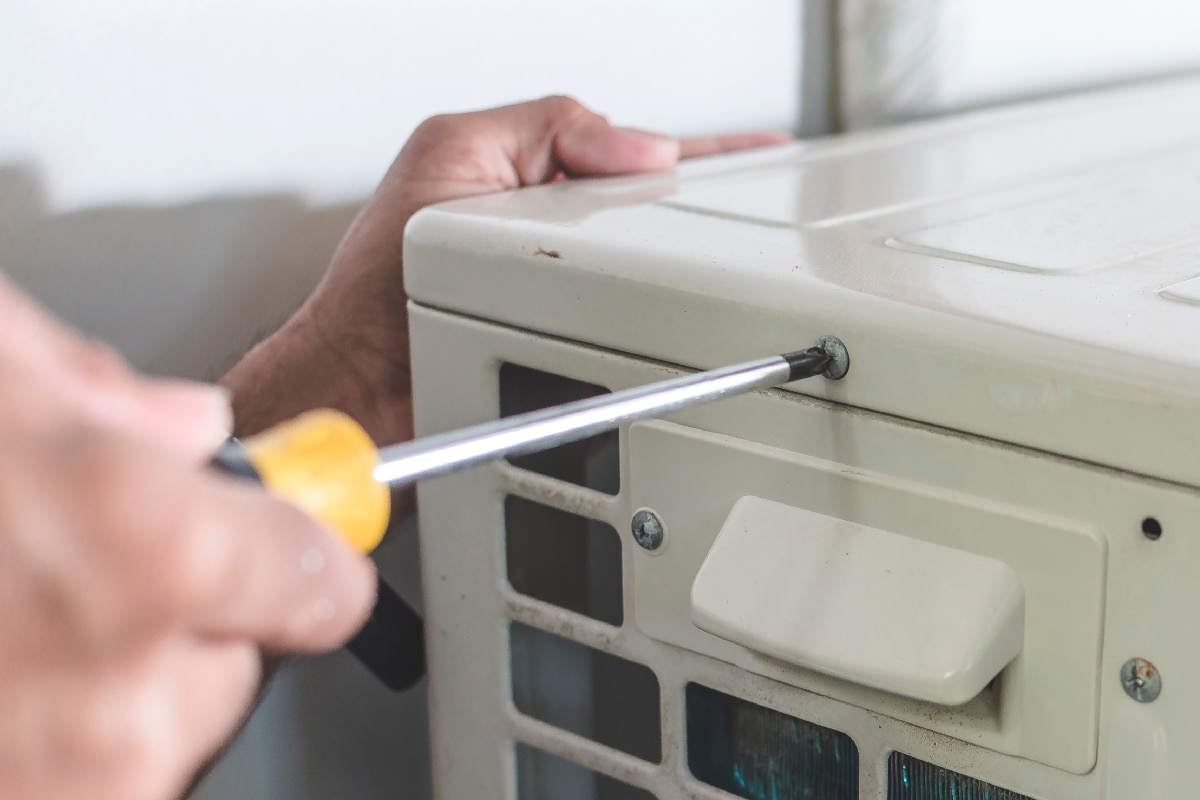
Remove The Lid Of The Unit
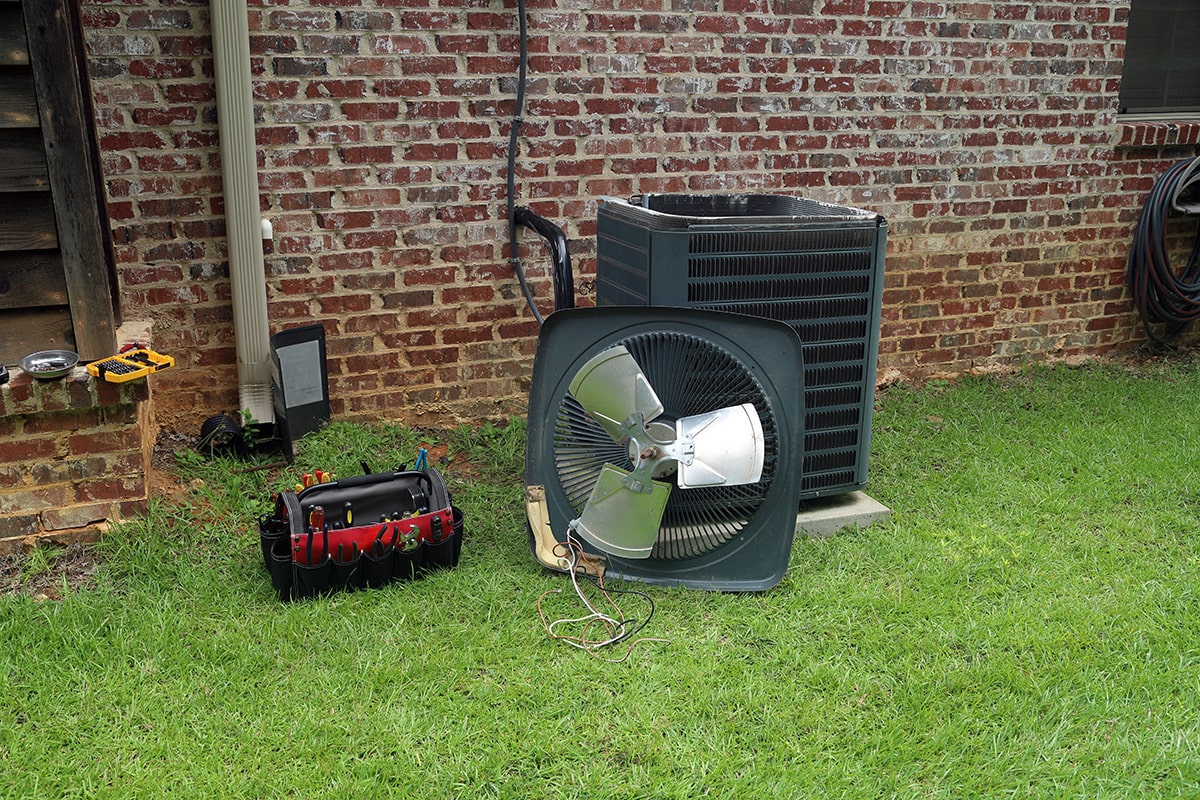
The method of removing your AC's lid varies depending on your unit's manufacturer.
Usually, you can remove the entire cover of the AC, but some models are designed to let you access the housing interior by simply lifting off the fan blade.
To do this, you can use an adjustable wrench to loosen the screws, although you should refer to your unit's manual to see which tool would work best.
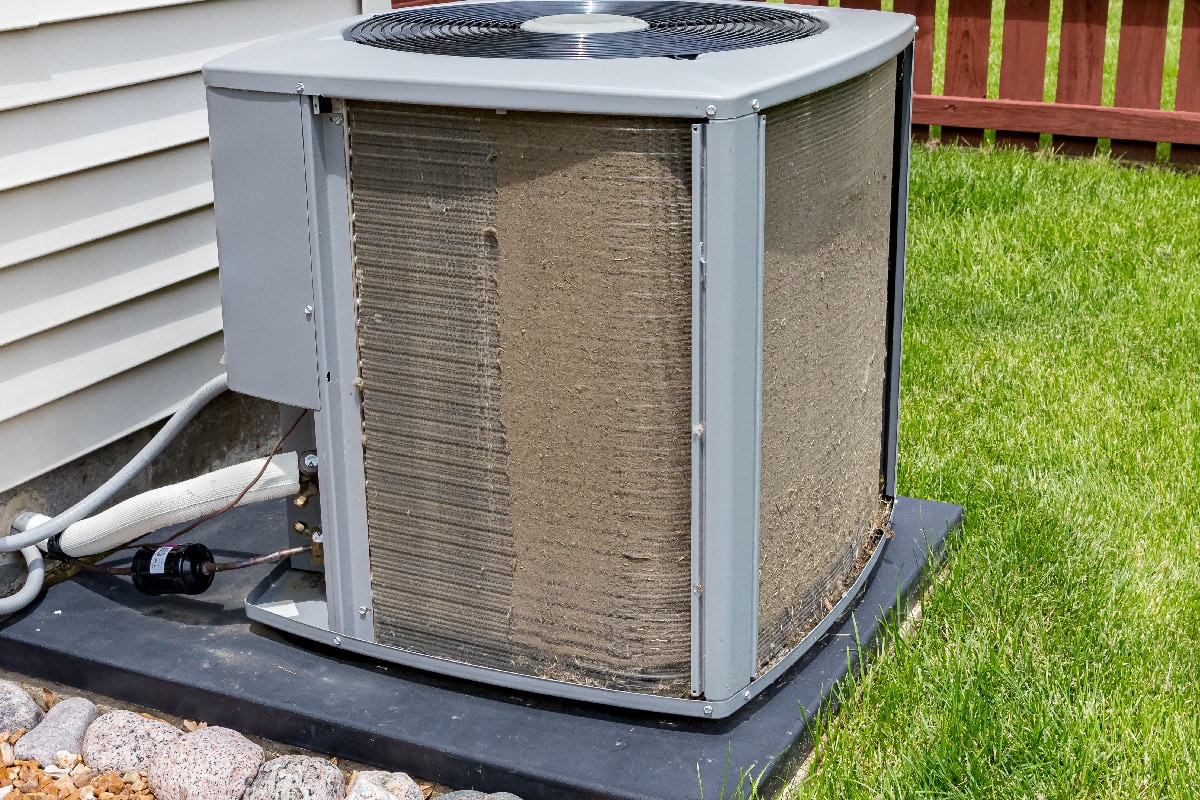
Removing Accumulated Debris From The Housing
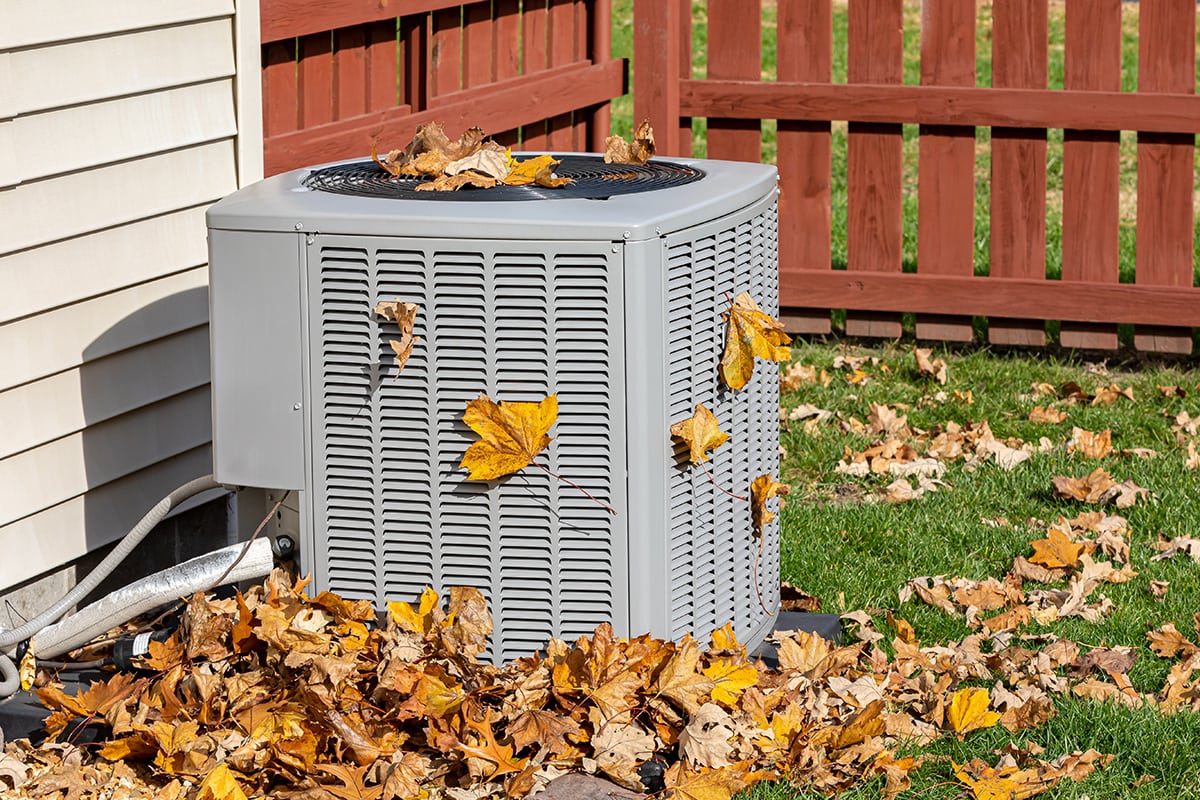
Removing the litter that fell into the AC's housing is essential to ensure that your unit's fins continuously circulate the air without obstructing this cycle.
If you have not cleaned the interior of your outdoor AC unit for a while, chances are twigs and leaves have piled up inside the case, which you'll have to remove by hand or with a vacuum.
It's also common to find mud around the bottom of the case, primarily if you do not provide a cover for your unit to protect it from snow or rain. Use a hose to wash away the mud.
Ensure that you are doing this from inside the case, washing away the dirt outwards so that no mud will stick to the fins.
Clean The Fins
A coil cleaner is commonly used to loosen the hardened gunk on your AC's fins. Let the solution sit on the fins for 5–10 minutes before washing it away with clean water.
You should wear safety goggles when you spray the solution on your fins to prevent the harsh chemicals from irritating your eyes.
If your hardware store does not have coil cleaners in stock, you can also make your solution with some essential home ingredients.
Stir water, dishwashing soap, and white vinegar together in a small bucket, or preferably in a spray bottle.
Once thoroughly mixed, apply it to the fins and let it sit for 2–3 minutes before washing it off.
After washing the coil cleaner, check the fins for crooked lines that need straightening. To do this, you can buy a fin brush in hardware stores.
If this is not available to you, a slotted screwdriver or even a wooden stick can do the job if you use it carefully to avoid damaging the delicate fins.
Clean The Fan Blades
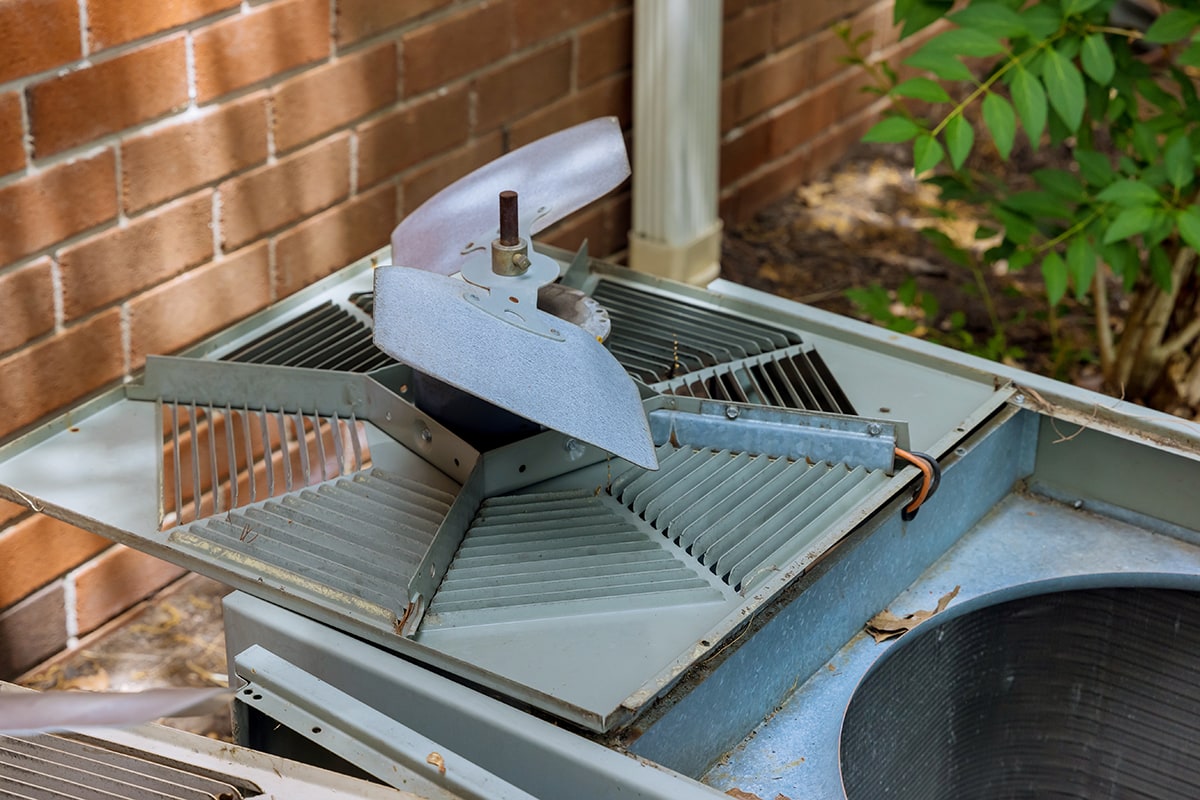
Suppose you want to clean the fan blades before returning the lid. Be mindful of the blade's position on the motor shaft before removing it for cleaning.
The blade should be returned in the correct position, with the set screw aligned to the flat side of the shaft.
Secure The Lid Back In Place
After cleaning the interior of the AC unit, be sure to return the screws securely in place. Loose screws will not be able to hold down an operating fan in place, resulting in severe damage to the machine.
Also, notice lines going in and out of the machine. Ensure you have rested the wires on the notch at the housing before returning the cover and retreading the screws.
After doing all this, your machine can be plugged back in and put to work.
Additional Factors To Inspect
It's possible that your cooling system did not improve even after cleaning the conditioner unit. If this is the case, look for external elements connected to the unit.
Filters
Filters should be cleaned regularly to reduce allergens and allow good airflow. The filter can be found in the air handler cabinet at the front of the door.
Washable filters are recommended because they are easy to maintain, better for the environment, and can last as long as the air conditioner unit itself.
If your filter is disposable, replace it every 1–3 months. Check the size of your filter stamped on the item's side to purchase the correct size replacement.
Insulator
The insulators around the cold line should be replaced if damaged.
Many things can affect the insulator since it is situated outside the house, so it's important to check it to prevent cracks or tears.
A well-maintained insulator is essential to maintain your conditioner unit's thermal efficiency.
How To Care For An Outdoor AC Unit
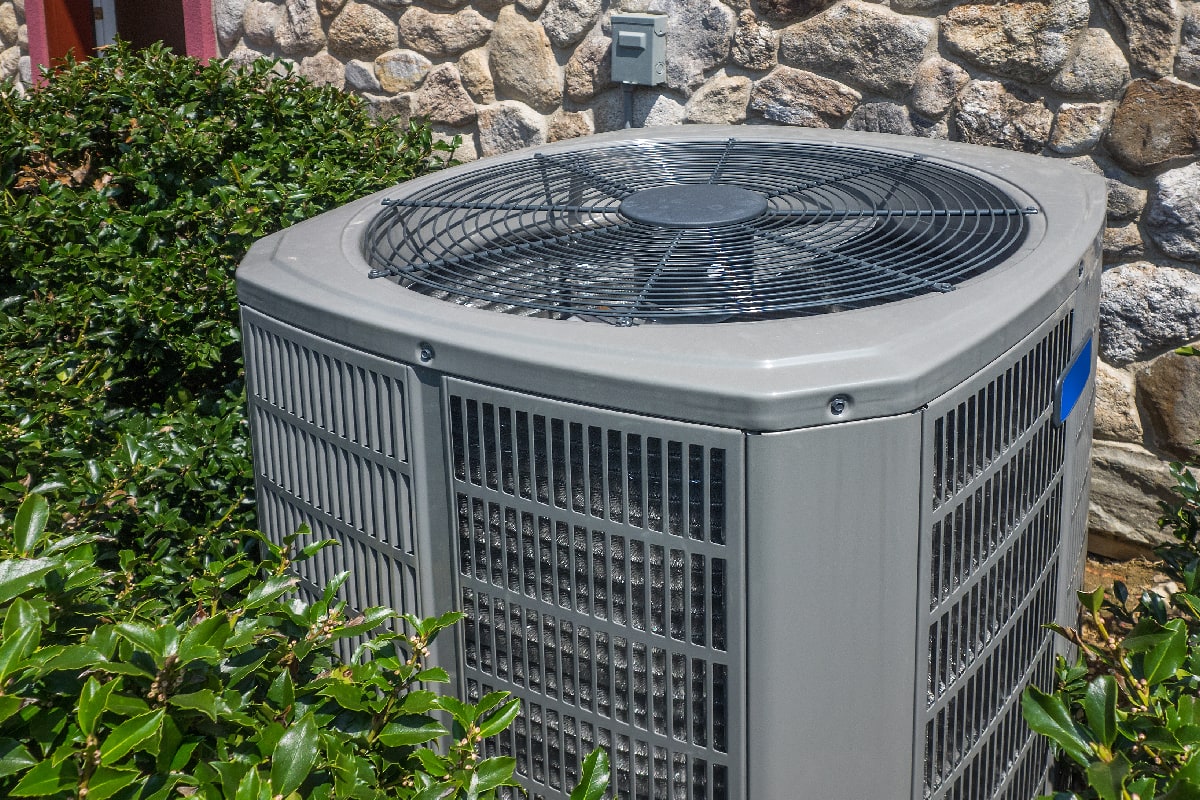
An AC unit installed outside can be affected by weather elements, especially if it's not protected with a cover. Below is a list of tips to care for your unit and maintain its quality for longer.
- Avoid installing the unit under trees or around bushes to prevent twigs and leaves from falling in.
- If the air conditioner is installed near a tree, keep the tree maintained and remove branches that could fall on top of the unit in harsh weather conditions.
- Do not allow vegetation to ground in or around the unit.
- Avoid installing the air conditioner under a gutter to prevent dirty water from leaking into the unit.
- If a fence is installed, allow at least 2 feet of space around the unit to keep it accessible for repair and maintenance.
- Frequently rake the fallen leaves around the unit to avoid them being stuck into the fin coils.
- During the winter and rainy seasons, cover the top of the unit to prevent excessive debris from gathering inside the housing.
- Do not completely cover the unit, as it can cause moisture build-up, which could lead to corrosion.
- Avoid covering the unit all year round, as it can hinder the airflow and encourage pests to build nests.
- Make sure that the unit is elevated correctly upon installation.
- Be mindful of the ground supporting the unit and ensure it is solid enough to hold it in place even during harsh weather conditions. Concrete pads are recommended for a sturdy base.
- Allow a slight tilt in the unit's foundation to provide the defrost runoff to drain correctly.
- Have the air vents professionally cleaned at least once every 2–3 years.
- Make sure you installed your air conditioner so it would not be constantly exposed to sunlight.
How Do I Claim Ducane Warranty?
By default, a Ducane air conditioner unit has a 5-year limited warranty covering parts and a 20-year limited warranty covering things like heat exchangers and other pieces of equipment that are not registered.
Ducane advises users to register their products to the service within 60 days of installation to secure the unit's warranty.
To get the warranty, you must find your unit's serial or model number, available upon purchase. You must also provide customer care service with an email address to verify your unit's registration.
The contractor who installed the unit will provide a lot of the information you need to claim a warranty.
To Wrap Up
Cleaning your Ducane AC unit is easy and can be done without professional help.
In this article, we discussed how you can adequately clean your AC and a few tips you can observe to maintain the unit.
By following these steps, you'll be confident that your AC unit will work for you for many more summer months.
If you're looking for related information, check out our other posts!