
Are you wondering how to properly clean your GE air conditioner to make it more efficient at cooling? You’ve come to the right place, for we have researched this question, and we have the answer for you.
There is an easy process of cleaning your GE window air conditioner without removing it from the window. Here are the summarized steps to do this:
- Unplug your air conditioner.
- Remove the front grill cover and set it aside.
- Remove the filters. Clean separately.
- Unscrew the front casing and pull it out.
- Use a vacuum with a soft brush attachment to loosen the dust on the grills.
- Once you’ve cleared most of the dust, spray the fins with a no-rinse foaming coil cleaner.
- Use a fin brush to thoroughly clean the fins. Use a fin comb to make them straight.
- Remove the cover on the back of your air conditioner.
- Spray the coils and fins on the outdoor side with the same foaming coil cleaner.
- Let your air conditioner dry naturally.
- Reassemble the covers back.
Get the detailed instructions in the sections below. Additionally, we also included steps on how to clean other types of GE air conditioners. Read on!
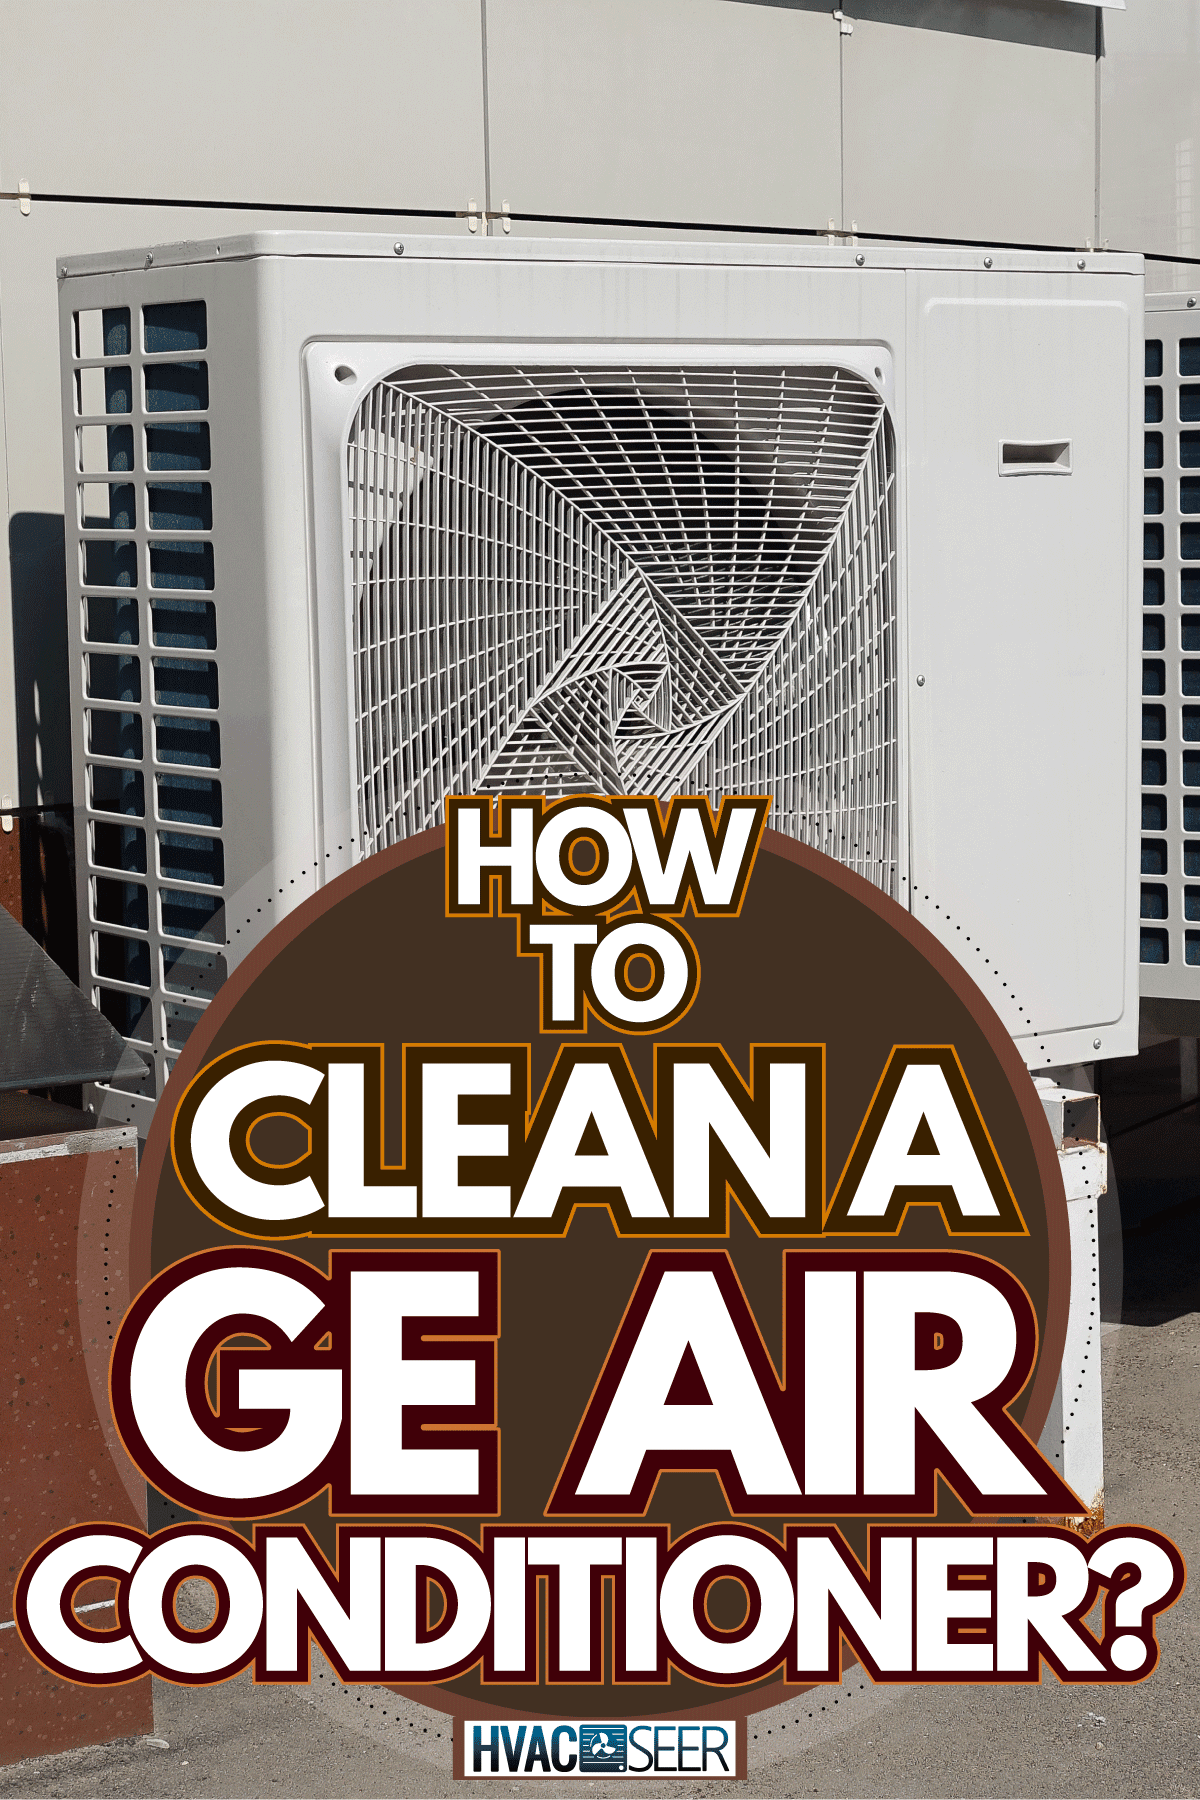
How to clean a GE window air conditioner?
Cleaning your GE air conditioner without removing it from the window is ideal for air conditioners that are hard to remove.

Here are the steps for cleaning your air conditioner in detail. We also included the steps in case you plan to remove your GE air conditioner from the window.
Preparing Your Air Conditioner For Cleaning
Initial Preparation
- Turn off your air conditioner.
- Unplug the air conditioner.
- Remove the drain plug from your air conditioner and drain the accumulated water.
Removing Your Air Conditioner From The Window
If you’re not removing your GE air conditioner from your window, you can skip this section and proceed to the next.
- Carefully remove any insulating seals or tape that you installed.
- Unscrew the accordion curtain frame from the window frame. Set aside the screws where you can easily find them later.
- Unscrew the side brackets that hold your air conditioner in place. These small brackets are on the side of your air conditioner. Unscrew it from the windowsill. Set aside the screws
- Carefully pull your air conditioner out.
Removing The Covers
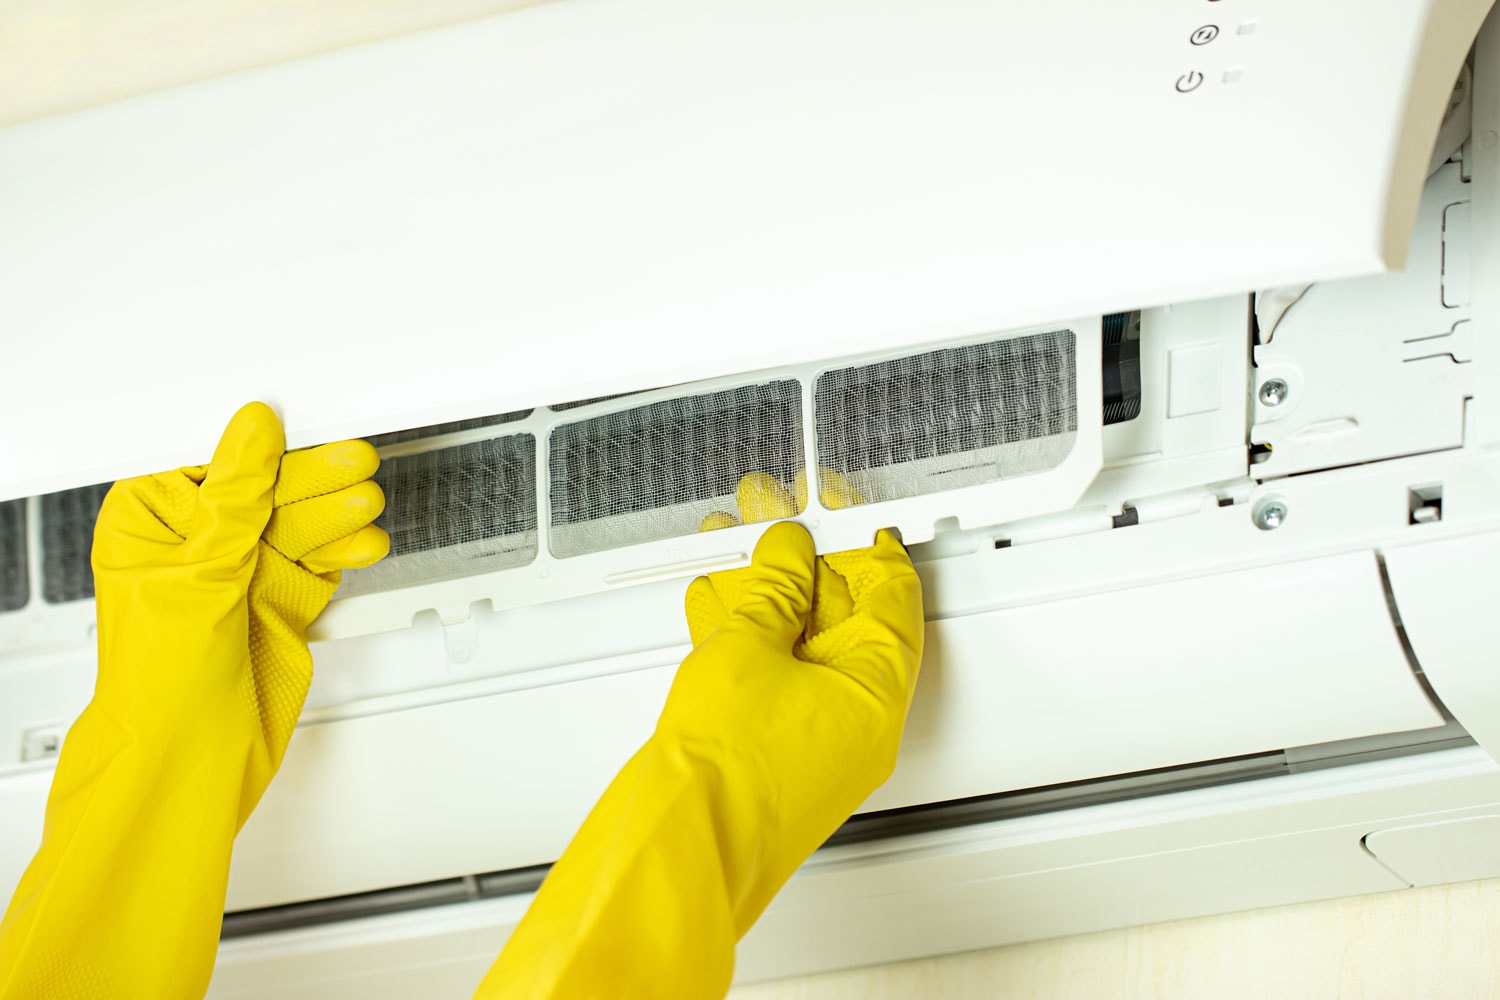
- Press the latch to release the front grill of your air conditioner. The latch can be found on both sides in some models. There are models where you can simply pull the front grill using two small tabs on the grill.
- Remove the filter.
- Unscrew the front casing. Removing the front grill will expose the screws that hold the front casing in place. Set aside the screws after removing them. There are some models where the front grill and the front casing are one piece. If this is the case, you just need to unscrew the front casing to remove both.
- Unscrew the back cover of your air conditioner and set it aside.
Cleaning The Filters And Covers
- Rinse the filter in lukewarm water.
- Soak it in a solution of water and mild dishwashing liquid. Make sure to keep it submerged for at least 5 minutes.
- Use a soft brush or an old toothbrush to gently scrub the filter. Do not scrub too hard. You do not want to poke a hole in the filter and end up replacing it.
- Rinse the filter with warm water.
- Let the filter dry naturally.
- Follow the same process for cleaning the front grills and covers.
Removing Excess Dust From Your Air Conditioner

- Install a soft brush attachment on your vacuum cleaner. If your vacuum cleaner doesn’t have a soft brush attachment, use a separate soft fin brush and hold it in one hand while you hold the vacuum cleaner on the other.
- Gently scrub the fins with the brush while running the vacuum. The brush will loosen the dust, while the vacuum will immediately suck the loose dust before it spreads out.
- Do the same thing for the fins at the back. Your air conditioner has two coils with its own set of fins. The evaporator coil is what you see in front, and the condenser coil is what you have at the back of the air conditioner.
- Vacuum any dirt at the back like dead leaves and fur.
- Use a fin comb to straighten any fin that has become bent.
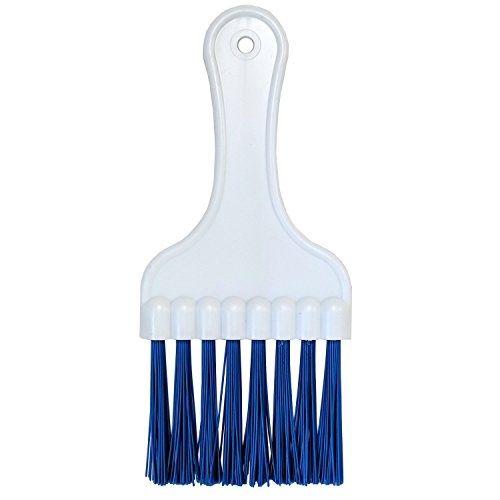
The air conditioner condenser fin whisk brush from the Midwest Hearth Store is available on Amazon. Check it out through this link.
Deep Cleaning Your Air Conditioner
- Use a no-rinse foaming coil cleaner to thoroughly clean the fins. Just spray the coil cleaner on the fins of your air conditioner. Make sure that the fins are all covered with foam and let it soak. The foam will dissipate on its own and leave the surface of your air conditioner fins clean. Repeat as necessary. The foaming coil cleaner allows you to clean your air conditioner without using water that can get to the electrical parts.
- Use the same foaming coil cleaner to clean the rear fins of your air conditioner. For tough dirt, use a soft brush to scrub the dirt off after you spray the foaming coil cleaner.
- Mix warm water and mild dishwashing liquid and pour it into a sprayer. Spray the solution on the remaining surfaces of your air conditioner, like the vents where the cold air is blown out.
- Wipe the moist surface with a dry cleaning cloth. Repeat as needed.
- Do the same thing on other parts of the air conditioner that needs to be cleaned.
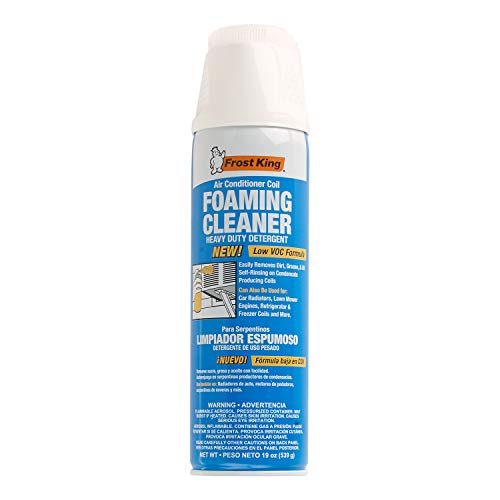
The Frost King ACF19 Foam Coil Cleaner is available on Amazon. Check it out through this link.
Reassembling Your Air Conditioner
- Wait for your air conditioner to dry naturally.
- Reassemble the parts of your air conditioner that you removed, like the front and back casing.
- Reinsert the filter.
- Plug your air conditioner back into the socket.
How to clean a GE built-in air conditioner?
A GE built-in air conditioner is the same as a through-the-wall air conditioner. These air conditioners are installed through a hole in the wall.
Unlike window air conditioners, built-in air conditioners do not have side vents because the thickness of the wall can easily block these vents. There will be a drop in performance and efficiency if any of the vents of an air conditioner is blocked.
Cleaning a GE built-in air conditioner is similar to cleaning a window air conditioner. Use the same steps that we provided above to clean your GE window air conditioner.
However, considering how this type of air conditioner is installed, it is best to clean it using the steps where you do not remove it from the wall. Built-in air conditioners are installed more permanently than window air conditioners and can be harder to remove and reinstall.
How to clean a GE portable air conditioner?
A portable air conditioner is a type of air conditioner that you can move to different rooms where you need cooling. It is not installed permanently in a single room, although you can choose to leave it installed in a single room.
This model normally sits on the floor close to the window where its removable vents are installed.
Here are the simple steps to clean your GE portable air conditioner:
Cleaning The Exterior Of Your GE Portable Air Conditioner
- Turn off your portable air conditioner.
- Unplug the air conditioner from the wall socket.
- Get a soft cloth and dampen it with water.
- Gently wipe the exterior of the air conditioner case with a damp soft cloth. Never use any spray cleaner on your GE portable air conditioner. Never use chemical cleaners, abrasives, bleach, detergent concentrates, ammonia, scouring pads, or solvents.
- Use a dry soft cloth to dry up the casing.
Cleaning The Air Filter Of Your GE Air Conditioner
Some GE portable air conditioners have two air filters. Make sure to clean both.
It is recommended that you clean the air filters at least once a week. Clean it more often if you live in a dusty area.
- Remove the back filter by releasing the upper filter panel.
- Remove the side filter by using the tabs to grip the filter and pull it out. In some models, side filters will easily slide out after the rear filter has been removed.
- Let warm water wash the dust off the filters. Alternatively, you can use a vacuum cleaner to suck the dust off the filters.
- Gently shake the filters to remove excess water and any dust or dirt that is still on the filter.
- Let the filter dry naturally.
- Reinsert the filter into your GE portable air conditioner.
Draining The Water Tank
You will see the 'Water Full' indicator light once the internal water tank is filled with water from condensation.
- Place an empty pan under the drain valve. This is usually located at the back of your portable air conditioner.
- Remove the valve cap. Carefully remove the rubber drain plug.
- Wait until the water has been completely drained.
- Reinsert the rubber drain plug.
- Screw back the cap.
- Plug the portable air conditioner back in.
Conclusion
Cleaning a GE air conditioner can be a simple weekend DIY task. Simply follow the simple steps above, and your GE air conditioner will be clean and efficient once more.
If you found this article interesting, why not check the two articles below too: