Getting professional servicing once a year will keep your Mitsubishi air conditioner in tip-top shape, but this should not be the reason to disregard cleaning. Many people clean their Mitsubishi AC units by themselves, and we bet you can. Read through our post to learn the ins and outs of cleaning your air conditioner in just a few minutes.
You only need a vacuum and other essential tools to clean a Mitsubishi air conditioner's inside and outside units. After preparing the tools, follow these steps to clean the inside of your Mitsubishi air conditioner:
- Remove the front panel to expose the air filters.
- Take off the filters and clean them with a vacuum.
- Clean the heat exchanger in vertical motions using the vacuum.
- Remove the vertical and horizontal vanes to expose the air outlet and the fan.
- Clean the air outlet and the fan using a cloth and a vacuum.
- Collect the detached panels and clean them one at a time.
- Reinstall the vanes, filters, and front panel fitting.
- Turn on to see if the AC is working correctly.
Cleaning the air conditioner unit inside your home is one story. Cleaning the outside unit is another. Continue reading to find out how every part of the air conditioner is accessed and cleaned in detail.
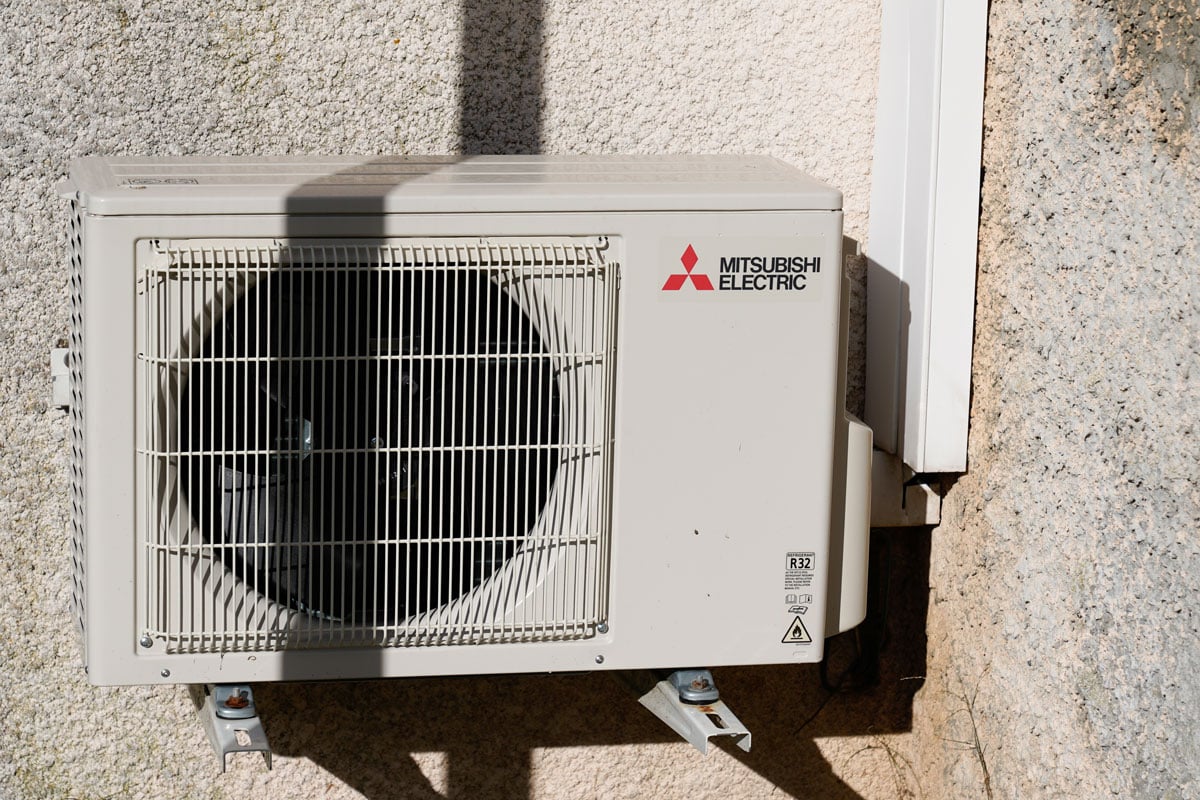
![Mitsubishi air conditioning unit mounted on metal brackets, How To Clean Mitsubishi Air Conditioner [Inc. Outside Unit]](https://hvacseer.com/wp-content/uploads/2022/06/How-To-Clean-Mitsubishi-Air-Conditioner-Inc.-Outside-Unit.png)
How to Clean a Mitsubishi Air Conditioner
It is easy to clean most parts of the air conditioner since the task mainly involves simple vacuuming. What can be tricky is when you have to dismantle certain parts to allow access to the inner components.

We will go through this step by step as promised. For now, you should know the tools you need to clean a Mitsubishi AC.
Tools for Cleaning a Mitsubishi Air Conditioner
Cleaning an air conditioner is easy, but you must have the right tools to do the job correctly and safely. Here are the tools you need to clean a Mitsubishi AC unit:
- vacuum
- sponge
- dry cloth
- cleaning solution
- hose with shower head
- screwdriver
- gloves
- facemask
You may use a Mitsubishi Quick Clean Kit to clean your air conditioner if you have one. Otherwise, a regular vacuum will do just as fine. Make sure the vacuum has an adaptor, a flexible hose, and a tube so it can extend several feet. Remember, you will be working at a height. Small brush fittings are also essential to reach dirt-tight areas easily.
You will also need a dry cloth, a sponge, and a mild detergent solution to remove dirt from the panels and filters. You may use a cleaning product specifically designed for the fins for the coil.
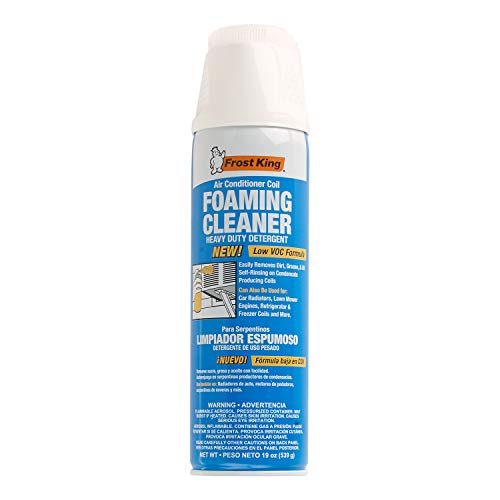
Check out this foam coil cleaner on Amazon.
When cleaning the outside AC unit, a hose with a shower head will do the job faster. Never use a pressure washer to clean the coils.
How to Clean the Inside Air Outlet Unit
Switch off your air conditioner and wait for at least 5 hours. This will help you avoid heat and moisture buildup. For safety against an electric shock, turn off the circuit breaker. Once you are ready to clean, wear your gloves and a facemask.
Here are the steps on how to clean the inside air outlet unit of your Mitsubishi AC:
Remove the front panel to expose the filter.
To do this, simply lift the panel fitting and unclick from both sides to release. This should expose your air filters.
Remove the filters and clean them with a vacuum.
The filters should be easy to remove when you pull them away from the AC fixture. Once removed, you will notice a smaller filter on one end of each air filter. This is called an air cleaning filter.
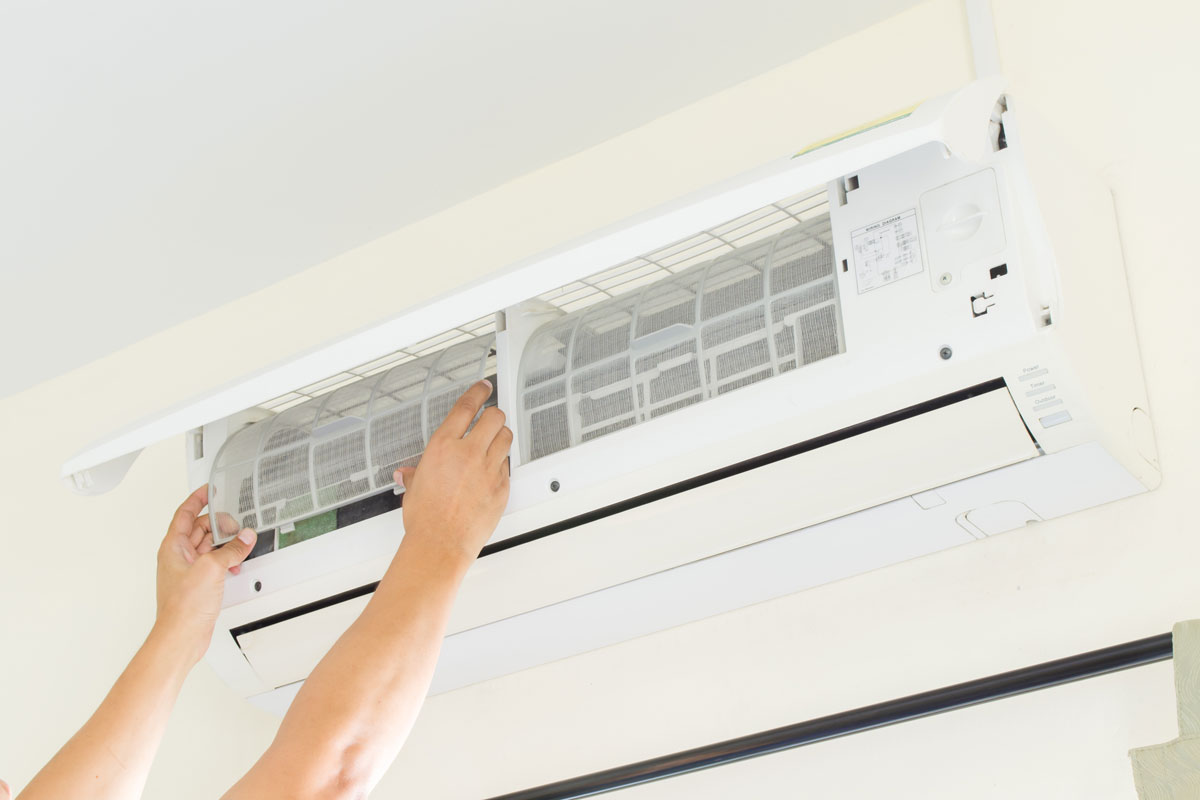
Remove the air cleaning filter and clean all the filters separately with a vacuum. You may wash the filters using a mild detergent solution and a sponge for thick dirt. After rinsing, let the filters dry naturally.
Clean the heat exchanger in vertical motions using the vacuum.
The heat exchanger is located under the air filters. It is essential to clean it with a vacuum using a small brush, fitting in gentle vertical motions to avoid damage.
Remove the horizontal and vertical vanes to expose the air outlet and the fan.
The horizontal vane sits just below the air filters. To remove it, open the vane downward and unlock the tabs by sliding them to the right. This will now expose the vertical vanes.
Unlike the horizontal vane, the vertical vane does not detach from the AC fixture. You can open the vertical vane one side at a time like you would open cabinet doors.
Clean the air outlet and the fan.
Now that you have full access to the air outlet clean it using a dry cloth. Then vacuum the fans using the soft-bristle brush adaptor in horizontal motions, following the pattern of the fan.
Collect the detached panels and clean them one at a time.
Go back to the panels you removed earlier. Clean them using a sponge and a mild detergent solution. Rinse them with clean water before drying them out with a clean cloth.
Reinstall the horizontal vane, filters, and front panel fitting.
Once these items are dry, return them to their places, following the processes in reverse.
Turn on to see if the AC is working correctly.
If you don't reinstall the horizontal panel correctly, the LED lights won't stop blinking until the issue is resolved.
There may also be other reasons why your AC is blinking. To learn more about the potential causes, you may read the post: Why Is My Air Conditioner Light Blinking?
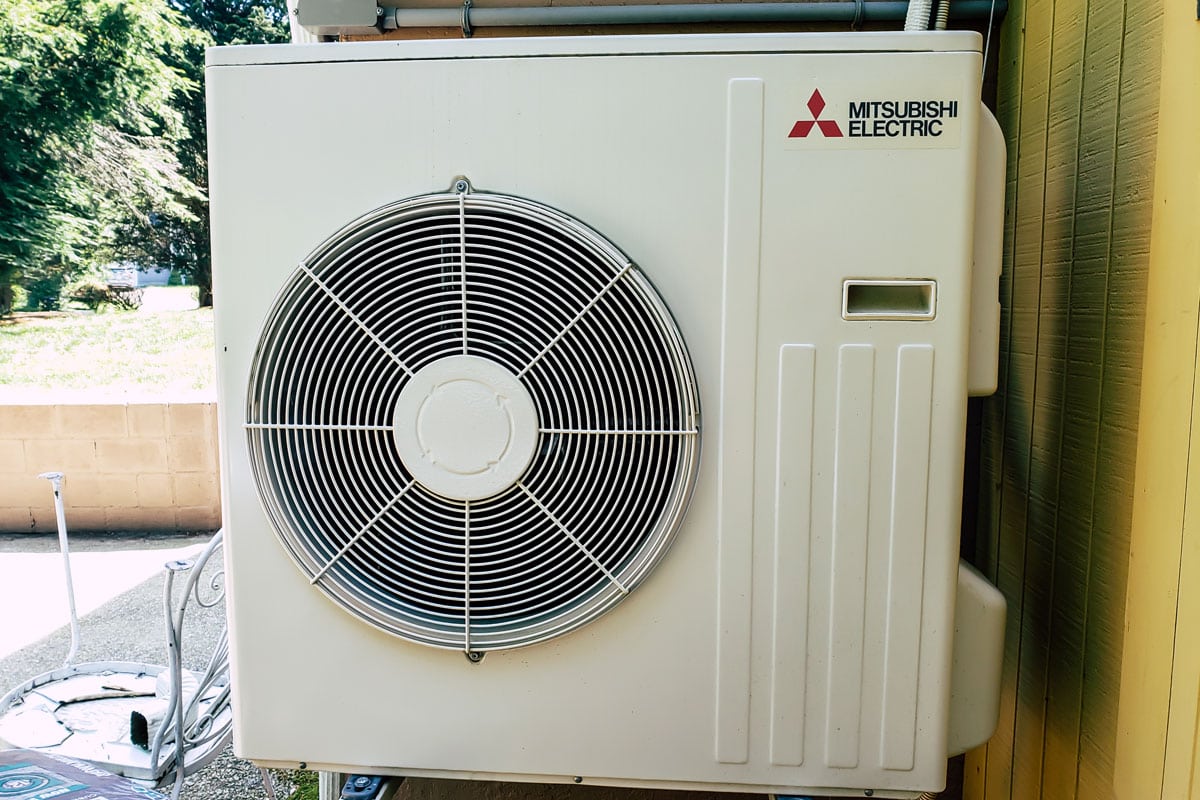
How to Clean the Air Conditioner Outside Unit
The air conditioner's outside unit houses the compressor, fan, and condensers. With all the vital operations going through, cleaning the exterior of your AC is as important as cleaning the inside air outlet unit.
To clean your Mitsubishi AC's outside unit, make sure to switch off the breaker first and then follow these steps:
Remove the panels using a screwdriver
Open your air conditioner by removing the side, top, and front panels. You may use an automatic screwdriver to remove the screws more quickly. Place all screws in a container.
Removing the panels will expose the air conditioner coil, fan, and other components. This will also reveal the side that contains the electrical wirings.
Use a vacuum to remove dust
Attach the soft-bristle brush fitting to the vacuum and use it to remove dust, dirt, and cobwebs. Be gentle when going through the fins, as too much pressure can cause damage. Next, gently vacuum the area holding the electrical wirings.
Wash the inside of the AC unit to remove dirt altogether
You may need to use a hose with a shower head to thoroughly remove dirt from the different components. It is okay to wash the fins, fan, and other areas inside the AC except for the electrical board. The wiring should remain dry all the time.
Use a mild detergent solution and a sponge to clean the fan. For the coil, you can use a particular product for cleaning AC coils and follow the direction for use on the label. Remember to clean the casing, too. Then, rinse all sections with clean water.
Clean the detached panels
While waiting for the outside unit to dry, go back to the detached panels and clean them one by one. Use a mild soap solution and sponge to remove dirt. Then, rinse thoroughly with clean water and allow to dry.
Reinstall the panels once all components are dry
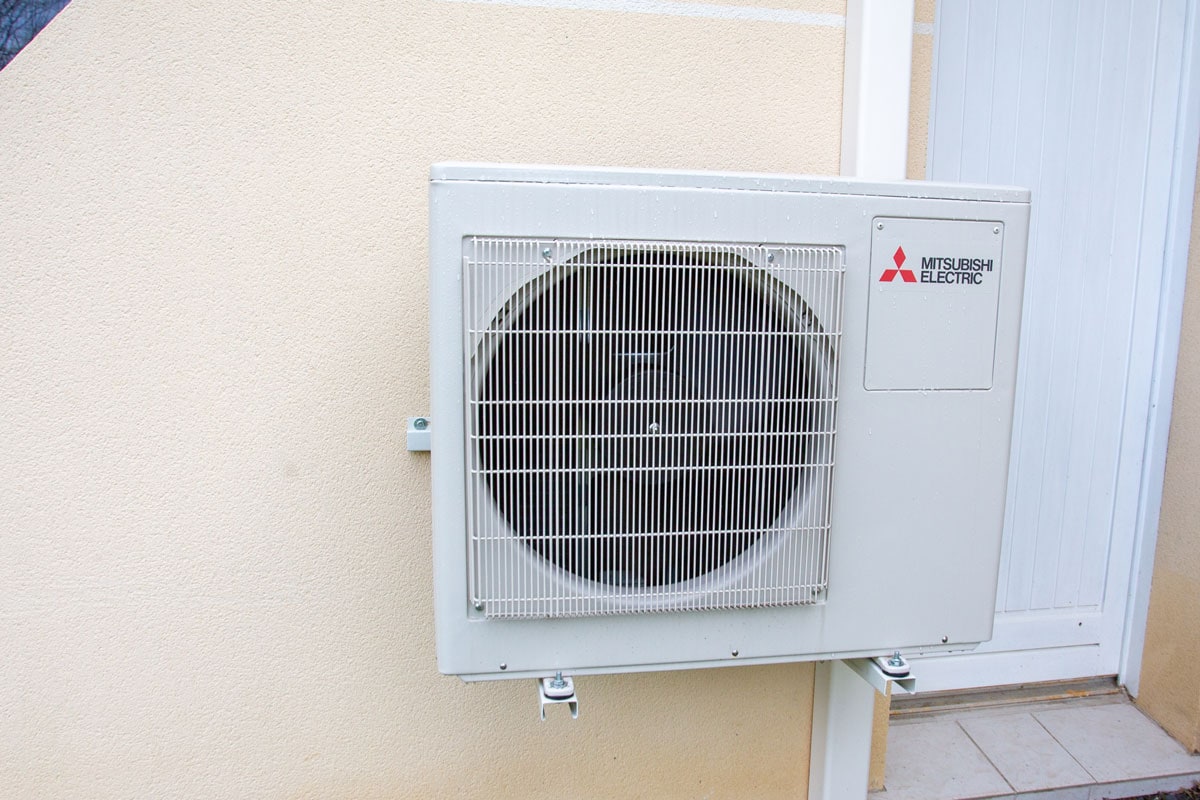
Allow enough time for the compressor and other components in the AC unit to dry before reinstalling the panels and switching the air conditioner on.
To give you a clearer idea, here is a video demonstrating the process in full. Take note of how carefully the guy in the video cleans the electrical board and the coil fins.
When cleaning your AC, take some time to check the condensate drain pipe for any blockage. This is also the time to check for leaks. Lastly, trim the bushes surrounding the AC outdoor unit, which may restrict airflow.
Is It Necessary to Clean Outdoor AC Unit?
It is necessary to clean the outdoor AC unit as much as it is for the inside AC unit. HVAC experts and the US Department of Energy even recommend cleaning the condensers, fan, coil, and other components with water and a mild detergent solution. Doing so improves the efficiency and lifespan of your air conditioning system.
Here's a good read related to AC cleaning and maintenance: Should AC Be Serviced Every Year?
Final Thoughts
Cleaning the inside and outside units of a Mitsubishi air conditioner only requires a few essential tools. Once you learn how to remove and reinstall the components correctly, the cleaning process becomes a piece of cake.

