
Whether it is from an exuberant teenager or from the removal of old appliances, sometimes holes get punched in the walls of a house. Maybe there is a brand new hole in your home, or maybe one has been under a poster for years. Either way, you are wondering how to close and insulate that old hole in the wall. Well, in this post we combine industry professional knowledge and research to thoroughly answer your question.
To properly and permanently close and insulate a larger hole in the wall, follow the steps below. Generally, these steps are appropriate for any hole 6-inches by 6-inches or larger in interior drywall:
- Determine the method for attaching new drywall
- Measure the size of the patch and cut drywall
- Add blocking as needed
- Insulate with fiberglass batts
- Screw on the drywall patch
- Add joint compound and drywall tape around the patch
- Paint area to match
Keep reading the rest of this post for details on each of the above steps. This guide includes both directions for each step and the tools needed. We conclude by answering a few related questions.
Determine The Method for Attaching New Drywall
There are two main ways to attach the new drywall patch. You can either attach it to existing framing or add blocking. Both methods are equally effective.
Attaching to Existing Framing
For attaching to existing framing, make sure that at least the two farthest vertical ends of the drywall land on studs. That is to say, the patch will fail if it hangs out into the wall cavity. To accomplish this, you will need to locate the existing studs visually or by using a stud finder. Then, cut the wall hole larger.

Click here for a well-reviewed stud finder from Amazon.
Attaching to Blocking
This method requires adding additional wood between the existing framing which will support the drywall patch and the existing drywall. This still requires that you can maneuver a screw gun into the space to attach the block to the existing framing. This means you may still need to partially cut away the existing drywall.
Measure Size of Patch and Cut Drywall
Once you have decided how to attach the drywall patch, it is time to measure the size of that patch and cut the existing drywall to match the patch. Also, you can cut the patch at this step. It is critical in this step that you ensure that both the old and new drywall lands on wood framing or blocking. Often, this requires cutting the drywall right in the middle of a stud.
Measuring the Size of the Patch
Generally, you are hoping to add a square or rectangular patch piece because they are much easier to cut and work with. To accomplish this, measure the greatest width and height distance of the existing hole. Using those numbers and a straight edge, you can then mark out a neat area with right-angle corners.
Remember, you might need to enlarge the hole past the existing hole size to ensure that most vertical edges of both the existing and new drywall land on framing or blocking. Often the easiest way to accomplish this is by adding blocking.
Cutting the Drywall
Now that you have your patch area marked on the wall, it is time to cut that area out. Use a drywall saw and a utility knife. Be sure to not cut any plumbing or electrical. The drywall saw is easy to use between existing framing but cannot work over studs and other framing elements.
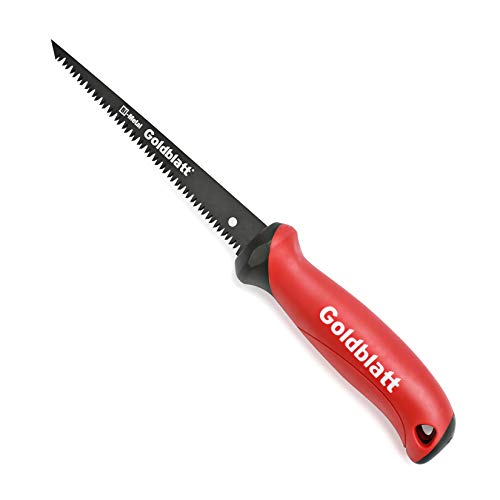
Click here for a drywall saw from Amazon.
Instead of the drywall saw, use the utility knife to deeply score the drywall over any framing. Then, once you have the rest of the drywall removed, you can usually pop out the drywall over the framing and it will neatly break along the scored line. Afterward, use the utility knife to cut away any remaining drywall chunks.

Click here for a utility knife from Amazon.
Cutting the Patch Drywall
Using extra drywall, mark out the size of the patch with a pencil and a straight edge. Be sure that the new drywall thickness matches the thickness of the old drywall. Then, using the drywall saw, neatly cut the patch so it just fits in the hole you just made in the wall. Trim as needed.
Add Blocking As Needed
Now that the hole in the wall is to its final size, and before you add insulation, you should add blocking. The easiest way to block in these tight situations is with an impact driver/screwgun and screws.

Click here for an impact driver from Amazon.
Cut your scrap lumber to size and slip it into the wall cavity. Then screw the block to the existing framing. Make sure that the screw enters the framing by at least 1-inch for optimal staying power. Often, you will need to angle the screw in - this is not a problem.
Insulate with Fiberglass Batts
If you are adding this patch to an outside wall, it is now time to insulate.
The best and easiest way to insulate a patch like the one discussed here is with fiberglass batts. R-11 batts are designed for 2" x 4" walls and R-19 batts are designed for 2" x 6" walls.
Stuff the batts into the wall cavity as far as possible; using a push stick is useful. The goal is to have the batts as fluffy as possible and to fill all holes in the cavity. Cut the batts to match the shape of the wall cavity. If there is paper on the batts, face the paper towards the inside of the home.
To learn more about the many types of home insulation read this great article from HVAC Seer: 9 Types Of Thermal Insulation You Should Know.
Screw on Drywall Patch
Now that you have blocking or framing around your entire hole and a patch that matches the hole, it is time to screw the patch on. Use drywall screws or a comparable screw that enters into the wood at least 1-inch. Generally, add a screw at least every 8-inches and on all places where the patch meets the existing drywall.

Click here for drywall screws from Amazon.
It is useful to mark the location of framing and plumbing/electrical before you put the patch on. This makes it easier to know where, and where not to, drive your screws.
Add Joint Compound and Drywall Tape Around Patch
Click here for a premixed joint compound from Amazon.
Now it is time to add joint compound and drywall tape to the inevitable gap between your patch and the older drywall. Both drywall tape and joint compound can be purchased online and at any home improvement or hardware store. For smallish patches, it is easiest to buy premixed joint compound.
Now use a 6-inch putty knife to spread the compound into the cracks and over the joints. Once you have all the compound spread, add the tape over the joints. Now, finish smoothing out the compound under the tape and over the whole area. The goal is to get one smooth seamless patch.

Click here for a set of putty knives from Amazon.
Paint The Area to Match
Buy paint to match the existing area or take the opportunity to repaint the whole room. Tape off any places like trim where you do not want paint and add a drop cloth to the ground. Finally, paint the patch so it disappears back into the wall. Good work.
Related Questions
How to insulate an old house without tearing down walls?
The easiest way to insulate an old house without doing any drywall or wall cladding removal is to blow the walls from the outside. This involves cutting round holes into the exterior cladding or removing sections of the siding. Then, cellulose or fiberglass insulation is blown into the wall cavities.
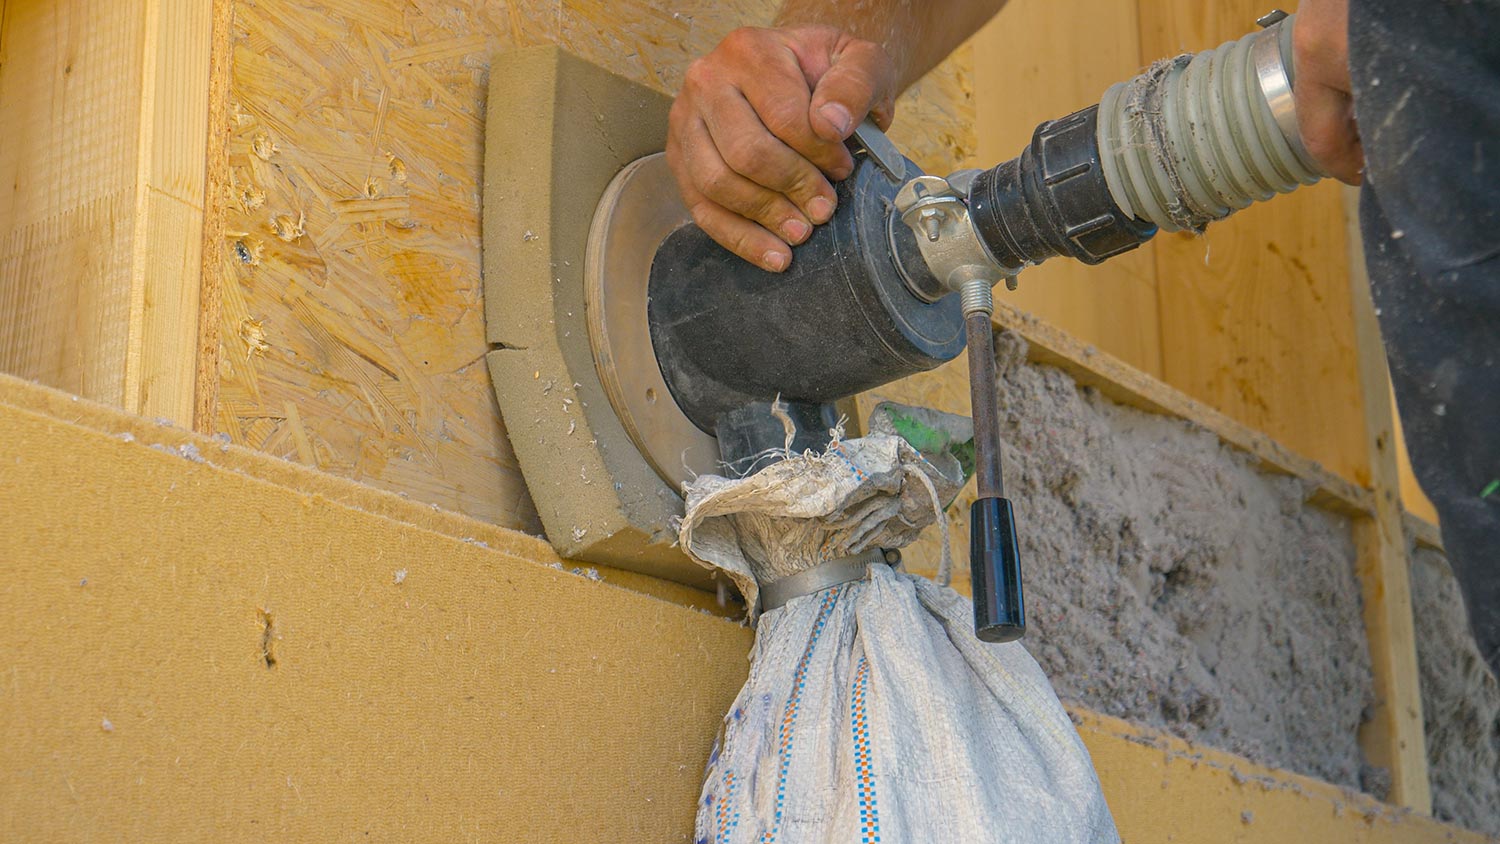
This requires a specialty insulation blower, so contact a local contractor or home weatherization company for quotes. If done properly, the holes are patched and painted to be nearly invisible once the work is done.
How do they put foam insulation in existing walls?
Foam insulation is sprayed into existing walls with the same technique as fiberglass or cellulose insulation. Holes are drilled into the walls and then, using a special machine and a hose, the foam is sprayed into the wall cavity.
Can you insulate interior walls without removing drywall?
Using the above blowing technique, you can also insulate interior walls or vaulted ceilings. However, there is no reason to insulate an interior wall because you are just slowing temperature transfer from one heated or cooled space to another.
If you do want to insulate an interior wall, read all about it in this HVAC Seer article: How To Insulate Existing Interior Walls.
What is the best interior wall insulation?
The best interior wall insulation is no insulation. There is no economic or home comfort reason to insulate interior walls. These walls just separate one heated or cooled area from another. Unless you are looking to dampen sound, insulating interior walls is a waste of money. It costs between $1 and $4 per square foot to insulate interior walls.
In Closing
In this post, we answered the question of how to close and insulate a hole in a wall. We included all the necessary steps and tools required for this process. We also answered several related questions. Good luck!