
Are you looking to upgrade your home heating system with a Sinope thermostat? Installing and connecting this smart device can significantly enhance your control over temperature settings and energy consumption.
In this article, we'll delve into the process of connecting and setting up a Sinope thermostat to optimize your home comfort.
Sinope offers a variety of thermostat models, catering to different types of heating systems. From electric heating thermostats to floor heating options, there's a perfect fit for every household.
As we walk you through the installation steps, you'll come to appreciate the sleek design and user-friendly interface.
While the idea of installing a thermostat may seem daunting, fear not! Our guide will make the process more accessible, even for those without technical expertise.
Stay tuned to learn how a Sinope thermostat can transform your home heating experience and bring newfound ease to climate control.
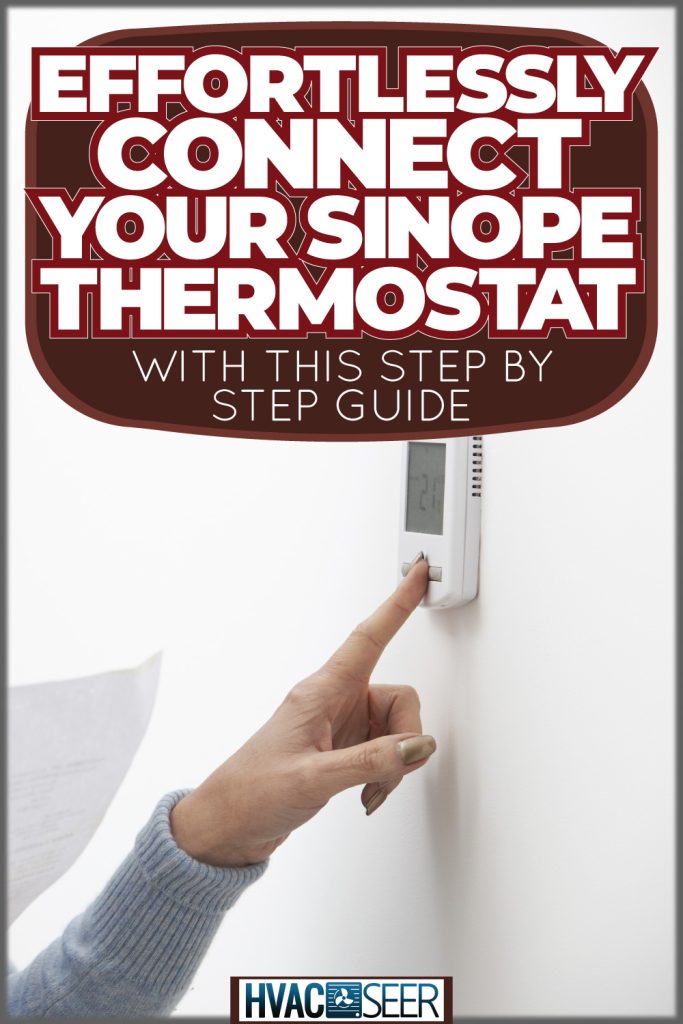
How To Connect A Sinope Thermostat
Providing a comfortable atmosphere, the Sinope thermostat is a popular choice for many households. The installation process is quite simple, even for DIY enthusiasts.

This article will guide you through the necessary steps to connect a Sinope thermostat effortlessly.
Step-By-Step Guide
- Safety first: Before embarking on this thermostat journey, ensure the breakers for the heating system are switched off at the main electrical panel. This will prevent any risk of electric shock.
- Up and away: Gently lift the thermostat cover to unlock it. Inside, you'll see the wires that need your attention.
- Connection time: Grab the provided wire connectors to connect the thermostat wires to the electrical box's wires. Expert tip: the thermostat wires are non-polarized, making two-wire installation a breeze.
- Nice and snug: Secure the thermostat to the electrical box using two screws. Double-check the wire connectors, as loose connections can be a fire hazard.
- Configuration: Customize your thermostat settings, such as the room name assigned in Neviweb. This will help with easy identification and management of your device.
By following these simple steps, you'll have your Sinope thermostat up and running in no time. Now, all that's left for you to do is sit back, relax, and enjoy the precise temperature control delivered by your new, trusty thermostat.
How Do I Reset My Sinope Wi-Fi Thermostat?
Looking to reset your Sinope Wi-Fi thermostat? Perfect, let's begin with a simple step-by-step guide that will have everything up and running in no time. But first, let's go through a short introduction.
Sinope thermostats are popular for their sleek design and user-friendly interface. However, sometimes they need a quick reset to fix minor issues or start fresh. Need not worry, the process is quite simple, just follow the easy steps below.
Alright, now that we've teased your curiosity, let's dive right into the process. The first step in resetting your Sinope thermostat is pressing and holding the top button to increase the temperature. Keep holding until the display changes to the menu.
Then, move on to holding both buttons simultaneously. Hold on until the magic abbreviation "CLR" appears on the screen. Well, you're almost there! Just one more step to go.
Simply press the top button once to increase the temperature, and watch as the display changes from "NO" to "YES." Voila! Your thermostat has been reset, and it's now ready to work optimally.
Remember, resetting your thermostat is an easy process, so don't be afraid to try it out when necessary. Your Sinope Wi-Fi thermostat will continue to offer smart and energy-efficient temperature control for a cozy home environment.
Why Won't My Sinope Thermostat Connect To My Wi-Fi?
Picture this: you've just set up your new Sinope thermostat, but it seems to resist connecting to your Wi-Fi network. Frustrating, right? Let's explore some possible reasons and save you a headache.
First, thermostats from Sinope usually require a 2.4GHz Wi-Fi band. Do you have a mesh system that merges 2.4GHz and 5GHz bands? It could interfere with your thermostat, making the connection challenging.
Another aspect worth considering is the Wi-Fi signal strength in the area where your thermostat is installed. Homes often have "dead spots," where Wi-Fi signals are either weak or completely lost. Could your thermostat be in one of those spots?
Now, bear with us for a moment: is there a chance that your network's password failed to connect your thermostat? A simple typo in your password might be the culprit. Double-check, and don't hesitate to try again.
Last but not least, review any error codes that may appear on your thermostat’s screen. The codes might reveal issues with communication between the thermostat and your internet gateway. Keep an eye on those to help pinpoint your problem.
In the end, don't let a frustrating Wi-Fi connection dampen your spirits. Try some of the suggestions above, and hopefully, you'll soon have your Sinope thermostat working like a charm!
What To Do If Thermostat Is Not Communicating?
Experiencing a disconnected Sinope thermostat? Don't fret! We've gathered some simple troubleshooting steps to help reconnect your thermostat.
First, verify that your thermostat is powered on. If not, inspect the wiring to ensure a proper connection. Misaligned or loose connections can disrupt communication.
Next, check on your Wi-Fi signal strength. A weak or unstable connection might prevent your thermostat from communicating with your home network. You may need to improve your Wi-Fi signal.
For smart thermostats, ensure the mobile app is up-to-date. Outdated software may complicate connections between devices. Don't forget to review the app settings for compatibility.
Another critical step is to verify if your home's Wi-Fi network is properly connected to your thermostat. If necessary, perform the reconnection process using a compatible smartphone app.
If your smart thermostat is still having connectivity issues, try disconnecting and reconnecting it to your home Wi-Fi network. Either through the smartphone app or directly from the thermostat settings.
Lastly, it is essential to check for any firewall restrictions on your network. Extra security measures can obstruct your Sinope thermostat from syncing with your home's Wi-Fi. Adjust your firewall settings, as needed.
Are Sinope Thermostats Easy To Use?
Sinope thermostats are known for their user-friendly design and intuitive controls. With a compact and quiet build, these thermostats seamlessly integrate into your home environment.
One of the key features is the Neviweb app, which offers easy access and control over your thermostat. You can adjust the temperature or set schedules with just a few taps on your smartphone.
In addition to the app, Sinope thermostats are compatible with popular voice assistants. This further enhances the ease of use, as you can simply ask your virtual assistant to adjust the settings.

Installation is also straightforward, as Sinope provides clear guidance to wire and set up the thermostat. Just make sure to turn off the breakers for your heating system and follow the step-by-step instructions.
Lastly, customizing your Sinope thermostat is a breeze with the Neviweb app's settings. You can name your device and group them by room, allowing for better organization and management.
In conclusion, Sinope thermostats offer a convenient and enjoyable user experience, ensuring that managing your home temperature is no longer a daunting task.
Check out some of our previously written articles below:
How To Install A Hive Thermostat On A Combi Boiler
Why Is My Amazon Smart Thermostat Short Cycling? [& How To Fix It]