
Seville produces quiet, stable tower fans. You might have been using a Seville Classics fan for quite some time and are now wondering how you can clean it at home. Look no further, because we have done the research to provide you with all the important information you will need if you are planning to disassemble and clean a Seville Classics Tower Fan.
Below is a step-by-step guide to help you disassemble and clean a Seville Classics Tower Fan properly.
Disassembly:
- Unplug the unit.
- Remove the main control panel.
- Remove the main control panel's bottom cover.
- Remove the tower unit's cover.
- Detach both fan side panels.
- Remove the bottom panels.
- Remove the main case.
Cleaning:
You can use a vacuum cleaner to remove the dust inside and along the body of the fan motor. You can also wipe the disassembled pieces of the casing with a microfiber cloth, or any soft cloth that will not scratch the surface of the unit. Avoid immersing the fan motor in water or any liquid cleaning solution.
The motors of Seville Classics Tower Fans are enclosed in a secured housing, and you may find it intimidating to disassemble and open the unit for cleaning. Note that there are other methods you can try for cleaning your Seville Classics fan. Continue reading, as we will discuss in depth how you can disassemble and clean a Seville Classics fan.
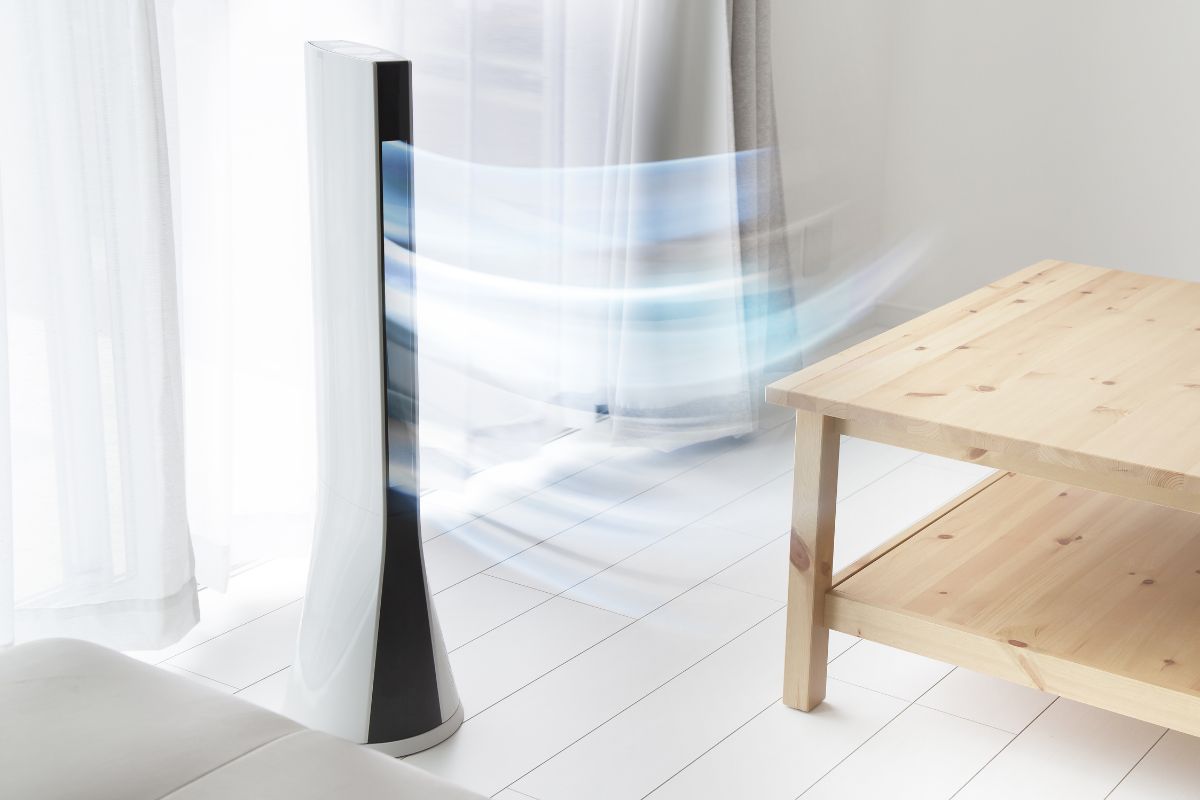
![Electronic tower fan blowing cold air. - How To Disassemble & Clean Seville Classics Tower Fan [Step By Step Guide]](https://hvacseer.com/wp-content/uploads/2022/10/Electronic-tower-fan-blowing-cold-air.-How-To-Disassemble-amp-Clean-Seville-Classics-Tower-Fan-Step-By-Step-Guide.png)
How Do I Clean A Seville Classics Tower Fan?
Cleaning a Seville Classics Tower Fan is simple, although the tower fan should be disassembled beforehand. Below is a list of tools and instructions you can follow if you want to disassemble your Seville Classics fan at home.
Tools For Disassembly
- Slotted screwdriver
- Phillips-head screwdriver
Materials For Cleaning
- Vacuum cleaner
- Microfiber cloth/any soft, clean cloth
How To Disassemble A Seville Classics Tower Fan
Before disassembling a Seville Classics Tower fan, you must first prepare all the tools that we listed above. It is very important to use these tools because they are appropriate for the multiple screws and notches that you will unscrew and pry off.
Using the appropriate tools carefully will ensure that you will not damage the unit. Remember that a damaged product can cause void your fan's warranty.
Once you have your tools ready, unplug the fan unit from the socket before proceeding to disassemble it. This will ensure that you do not accidentally turn on the fan motor while it is out of its housing, which can cause injury to you and damage to the fan.
Once the fan is unplugged, you can tidy up the cable and begin disassembling the fan.
Remove The Main Control Panel
The main control panel is the interface that contains the buttons of the control panel. You will have to remove this part of the fan to detach the main casing later on.
To remove the main control panel, locate the small notch at the top center of the cover. Using a slotted screwdriver, pry the control panel case up.
Make sure you do this carefully so as to not produce any cracks in the casing. You can use the slotted screwdriver until you create enough space, and then use your hands to continue removing the casing.
Once the cover is off, gently allow it to dangle on the side of the fan. Do not pull or rearrange the wiring that is connecting the control panel to the main motor fan.
Remove The Bottom Cover Of The Main Control Panel
Below the main control panel, you will notice another cover with five screws around the edges of the surface. Remove these screws with the Phillips screwdriver.
Once the bottom cover is unscrewed, place the main control panel back on the bottom cover before removing it again together.
This will the main control panel to dangle with its bottom cover instead of having the main control panel dangle separately from its bottom cover.
Remove The Cover Of The Tower Unit
After removing the main control panel and its bottom cover, you will have to remove the cover of the tower unit. This cover can be removed with the Phillips screwdriver as well.
First, unscrew the three screws located around the edges of the surface at the bottom of the control panel.
Then unscrew the two screws located at the back of the control panel casing, above the slot for the remote control. Set aside the five screws for later reassembly.
After you have removed the screws below and behind the control panel casing, carefully pull it up and allow it to dangle beside the main control panel.
As we mentioned before, be mindful of the wiring and do not pull it off with the main control panel and its casing.
Detach Both Fan Side Panels
Along the fan's front grills, you will notice two panels that run vertically on both sides. You will have to remove these to remove the main casing later on. To detach both side panels, simply pull them up until they unhook from the corner notches.
Remove The Bottom Panels
Put the main control panel, main control panel's bottom case, and tower unit cover back into place without inserting the screws. Afterward, carefully set the fan down in a horizontal position on a flat, dry surface.
Locate the bottom panels of the Seville Tower fan. The bottom panels are also secured with screws that can be removed with the Phillips screwdriver.
You can remove the left panel first before detaching the right panel. To do this, remove the two screws and then pull back the left panel until the inward-facing hooks detach from the inner notches. Repeat the same process for the right panel.
Once both sides of the bottom panel are removed, locate the five screws at the top. You will have to remove all of these screws to remove the main casing. Set aside all five screws for later reassembly.
Remove The Main Case
Once all the screws are removed, you can detach the main casing from the fan's front grill. Similar to the fan grill's side panels, you can also remove the main casing by pulling it up until it unhooks from the notches.
Watch the video below for a detailed demonstration of how to disassemble a Seville Classics tower fan.
How To Clean A Seville Classics Tower Fan
After all the parts of the Seville Classics fan have been disassembled, you can wipe each piece with a microfiber towel or any soft, clean towel that will not scratch the surface of the unit.
As with any other machine, fan motors should never be immersed in water or any liquid for cleaning. Instead, you can use a vacuum cleaner to remove the dust and grime in hard-to-reach areas of the tower fan.
Once the fan is cleaned, simply reassemble all the pieces. The process should follow the reversed order of disassembling the tower fan, starting with the bottom panels.
Can I Clean A Seville Classics Tower Fan Without Disassembling It?
While disassembling a Seville Classics Tower fan for cleaning will result in a much more thorough result, you can still get rid of the dust inside the tower fan without having to go through the trouble of disassembling its many parts.
Note that disassembling the Seville Classics Tower fan is strongly advised against because any damage to the product during the disassembly can void your warranty.
To clean a Seville tower fan without disassembling it, all you need is a can of compressed air and an open, outdoor space. Compressed air can blow away the dust inside the fan's front grills, and it is the recommended method of cleaning a Seville tower fan.
When using a compressed air can, make sure that you are pointing the can towards the fan grills and away from your face.

Click here to see these cans of compressed air on Amazon.
Electric compressed air dusters can also be used to clean tower fans. Electric compressed air dusters work similarly to compressed air cans.

Click here to see this electric air duster on Amazon.
Just as we mentioned before, make sure that you use the tool outdoors and position it at an angle where the dust will not be blown towards your face.
Accidental inhalation of dust can cause injury to your eyes and respiratory system. It can also cause serious injury to people who are sensitive to dust.
Will Disassembling A Tower Fan Void My Warranty?
Different manufacturers have varying clauses in their product's warranties. One brand might void your warranty once you have disassembled the unit, and another might not.
In the case of Seville Classics Tower fans, they strongly advise their users to not disassemble their products.
However, disassembling the unit will not necessarily void your warranty. Your Seville Classics Tower fan's warranty will only be revoked once there is obvious mishandling, damage, or alteration by the user.
To Wrap Up
Seville Classics Tower Fans can be cleaned thoroughly by disassembling the body of the unit. However, the body of the fan has multiple parts, and it can be intimidating to attempt to take it apart.
In this article, we discussed the proper method of disassembling and cleaning a Seville Classics Tower Fan, as well as another method you can follow if you do not want to disassemble it.
Make sure to follow the instructions carefully so that you can reassemble the tower fan and use it again.
Made it to the end? Check out some of our other related posts!
How To Clean My Blizzard Fan & Blades [Step By Step Guide]
Do Duct Booster Fans Work To Increase Airflow [Are They Worth It]?