
Humidifiers can ease problems caused by dry air, but it’s important to keep them clean and well-maintained. If you're not sure how to disinfect your humidifier, you're in luck! We researched this for you, and here is what we’ve found.
Although it is important to refer to the manufacturer's instructions for details on your humidifier model, this disinfecting technique will work for most models. All you have to do is follow these easy steps:
- Disassemble the humidifier.
- Create a vinegar and baking soda solution.
- Scrub with a soft brush.
- Clean the water tank.
- Rinse and disinfect.
- Allow to air dry.
Disinfecting the humidifier is not difficult to do even though you have to disassemble the unit itself. These easy-to-follow instructions will make it even simpler. Continue reading as we delve into the disinfection procedure as well as necessary points to consider when cleaning.
![modern-air-humidifier-houseplant-on-table, How To Disinfect A Humidifier [With Or Without Bleach]](https://hvacseer.com/wp-content/uploads/2022/11/How-To-Disinfect-A-Humidifier-With-Or-Without-Bleach.png)
Step By Step Guide
Before disinfecting the humidifier you'll have to prepare the following:
- Vinegar
- Baking soda
- Bleach
- Bottle
- Soft brush
- Towel or paper towel
- Water
After preparing the necessary tools and cleaning aids, you might as well start with the basics:
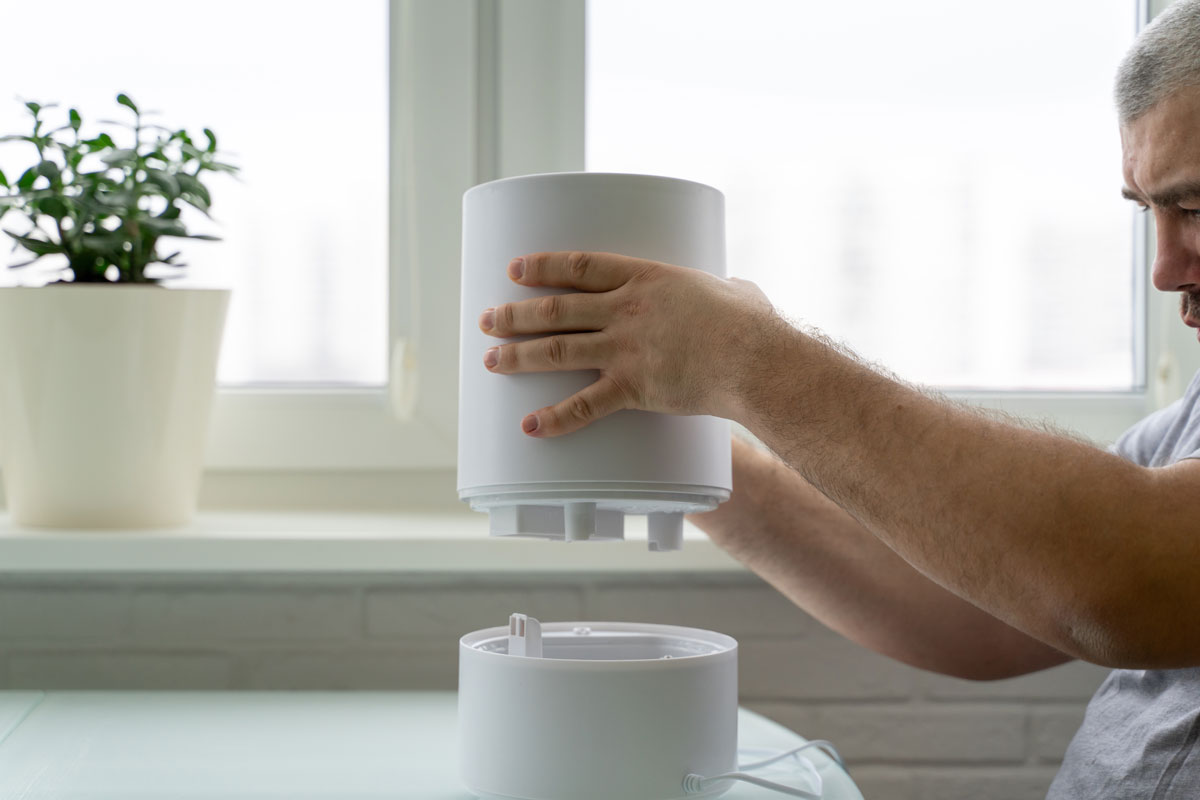
1. Disassemble the humidifier
To begin, disassemble the humidifier by separating the water tank from the rest of the machine. To avoid electrocution, make sure the equipment is turned off and disconnected from the power source.
If your machine has an air filter, remove that as well. When necessary, disassemble all detachable pieces to ensure a thorough cleaning.
2. Create a vinegar and baking soda solution
Next, combine vinegar and baking soda to make an effective cleaning solution. Vinegar breaks down baking soda to release carbon dioxide gas. When cleaning, this gas helps eliminate dirt and grime.
In a bottle, combine one cup of white vinegar, one cup of warm water, and a half cup of baking soda. To mix the components, thoroughly shake them together. You'll clean the humidifier tank as well as any detachable parts using this liquid solution.
With baking soda and just enough white vinegar to make a paste, make a thicker cleaning solution. Apply it to parts that cannot be immersed in water, such as the base and mechanical components.
3. Scrub with a soft brush
Apply the baking soda paste with a cleaning brush, taking extra time to scrub at the nooks and crannies of the base. The paste should be dry enough so that it does not harm the device. Allow at least 10 minutes for the baking soda paste to rest before scrubbing again with a cleaning brush. To eliminate any residue, wipe dry.
Scrub any mold and mildew stains from the detachable pieces using the same cleaning process. Apply the paste directly to the mold-prone areas on the tank cap, filter, or output nozzle.
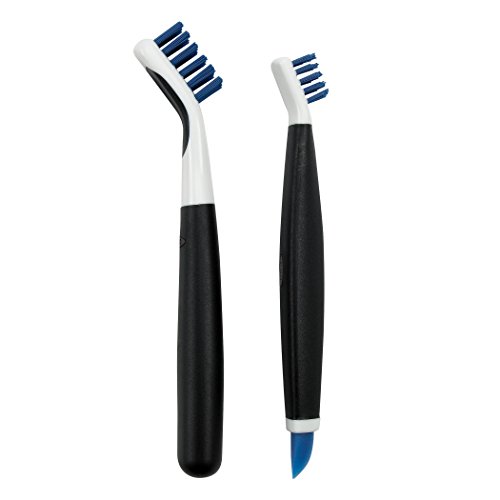
Click here to see this OXO deep clean brush on Amazon.
4. Clean the water tank
Set aside the humidifier's tank, and directly pour the liquid vinegar solution into it. Swirl the solution around to ensure that each surface is well-coated with the cleaning solution. Allow it to soak for at least twenty to thirty minutes.
The vinegar solution functions as a natural cleaning, removing debris from the water tank's bottom. Scrub away some of the dirt at the bottom of the water tank using a scrub brush if needed.
A different, stronger type of cleaner might be harmful since the liquid from the water tank is sprayed into the air. To ensure that your family is safe, use a vinegar solution. Mold and mildew growths, as well as the stains they leave behind, can be eliminated using vinegar and baking soda.
If you don't want to use vinegar, you can check out this alternative: How To Clean Humidifier Without Vinegar [Step By Step Guide]
5. Rinse and disinfect
To prepare the tank for disinfection, completely rinse away any vinegar residue after cleaning the humidifier with vinegar. Vinegar is known to react negatively with a variety of cleaners, so make sure your tank is totally clean before disinfecting it.
To disinfect a humidifier tank, use a bleach solution. If you don't have bleach, you can use rubbing alcohol instead. Fill the tank with your choice of disinfecting solution and swirl it around to thoroughly clean each area. Allow at least 10 minutes for the disinfectant to eliminate any remaining bacteria.
Don't forget to disinfect the base by wiping it with your preferred disinfectant. Soak all waterproof parts in the disinfecting solution as well, including the wick filter. Take a cotton bud dipped in disinfectant to clean small areas like the spout where water vapor comes out for a thorough, deep clean.
6. Allow to air dry
Let the parts air dry before reassembling them. You can either leave them in a drafty area to dry or wipe each part dry before reassembling the unit.
When you clean a humidifier, you eliminate any mold or bacteria that has accumulated on it. Keeping the unit dry during storage further helps in preventing the growth of harmful microorganisms. When all parts have completely dried, you can now resume using your humidifier.
How To Maintain Your Humidifier
The best way to maintain your humidifier is to clean it regularly. Some tips to bear in mind are as follows:
- Deep clean once a week. With regular use, it is best to apply the deep-cleaning method mentioned above to ensure that mold spores and germs do not contaminate the air you and your family breathe.
- Each time you turn on your humidifier, dump and rinse off any standing water in the basin. This kills any bacteria that began to grow inside the unit. It is not necessary to disinfect it daily, although it wouldn't hurt, but it is important to add fresh water.
- Never use tap water. Use distilled water only since the minerals found in tap water, along with water vapor, are also discharged into the atmosphere. The humidifier-using room may then become completely covered in a thin layer of white dust as a result. These minerals also encourage bacteria growth because of the hard-to-remove deposits.
- Clean and drain before storage. It's necessary to deep clean your humidifier after using it for the season and allow it to dry before putting it away. If the appliance has any moist spots when you store it, you'll probably see a lot of mold when you take it out to use it again.
For more insights, you can also read this other post: Is Pink Mold In Humidifier Dangerous?
Where Is The Best Place To Put A Humidifier?
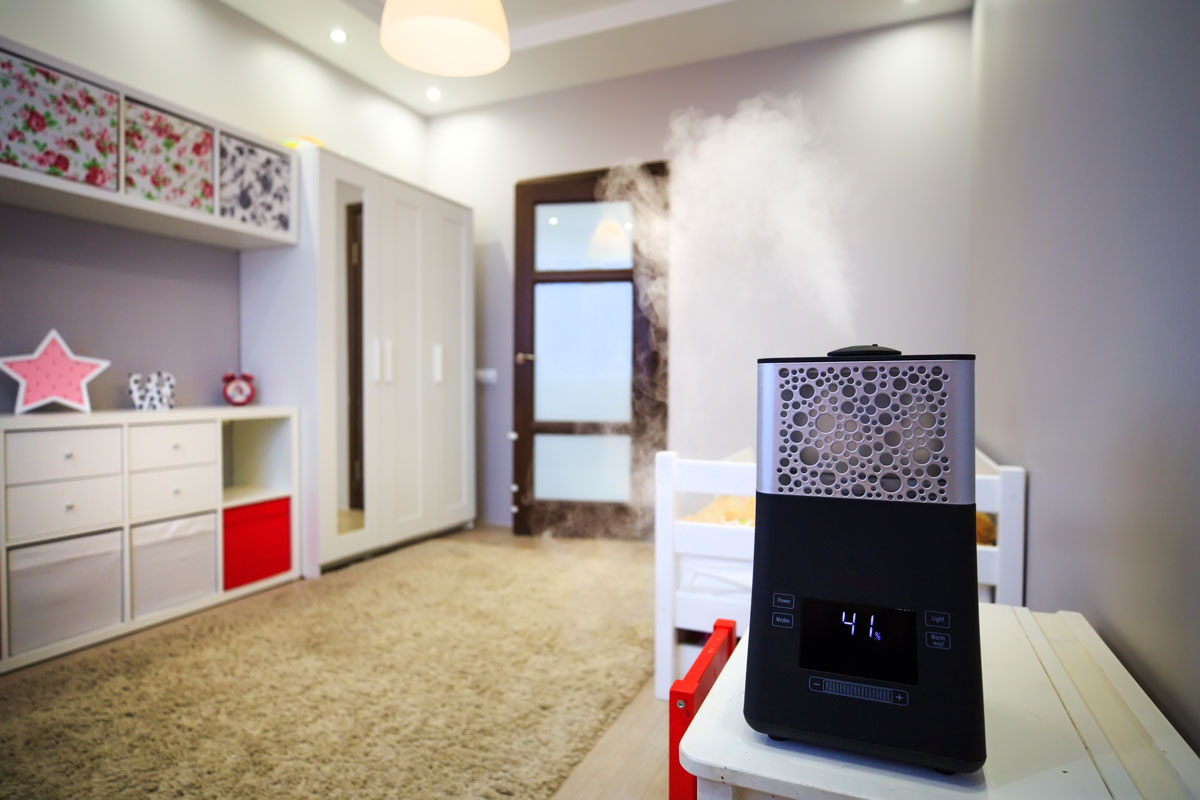
The placement of your humidifier is important for effective use. Placing it in the wrong place can often lead to problems such as mold growth. Here is the best place to put your humidifier in any given room:
- Bedroom: The center of your bedroom is the best location for a humidifier. It should be at least three feet away from your bed, or use a hygrometer to test the humidity levels in your bedroom areas, and then position it in the space with low humidity levels. Place a small humidifier on your bed stand to help you sleep better and prevent morning dry mouth. To prevent water damage to your furniture, place a cloth or a tray underneath your humidifier.
- Living room: If you spend most of your time in your living room, the dry air can make you prone to allergies. A humidifier will add moisture to the air, enabling you to maintain your ideal humidity levels. Put your humidifier in the center of your living room for even moisture distribution. Consider the size of your space as well as the humidifier as fungus and mold will grow in a small room with a large humidifier.
- Baby room: Humidifiers can be a nice addition to your kid's room to help avoid allergies and dry skin. When installing a humidifier in a nursery, keep it three feet away from the bed or cot. Because children like to play with things, you should put the humidifier somewhere high up that they can't reach, such as a dresser or a shelf.
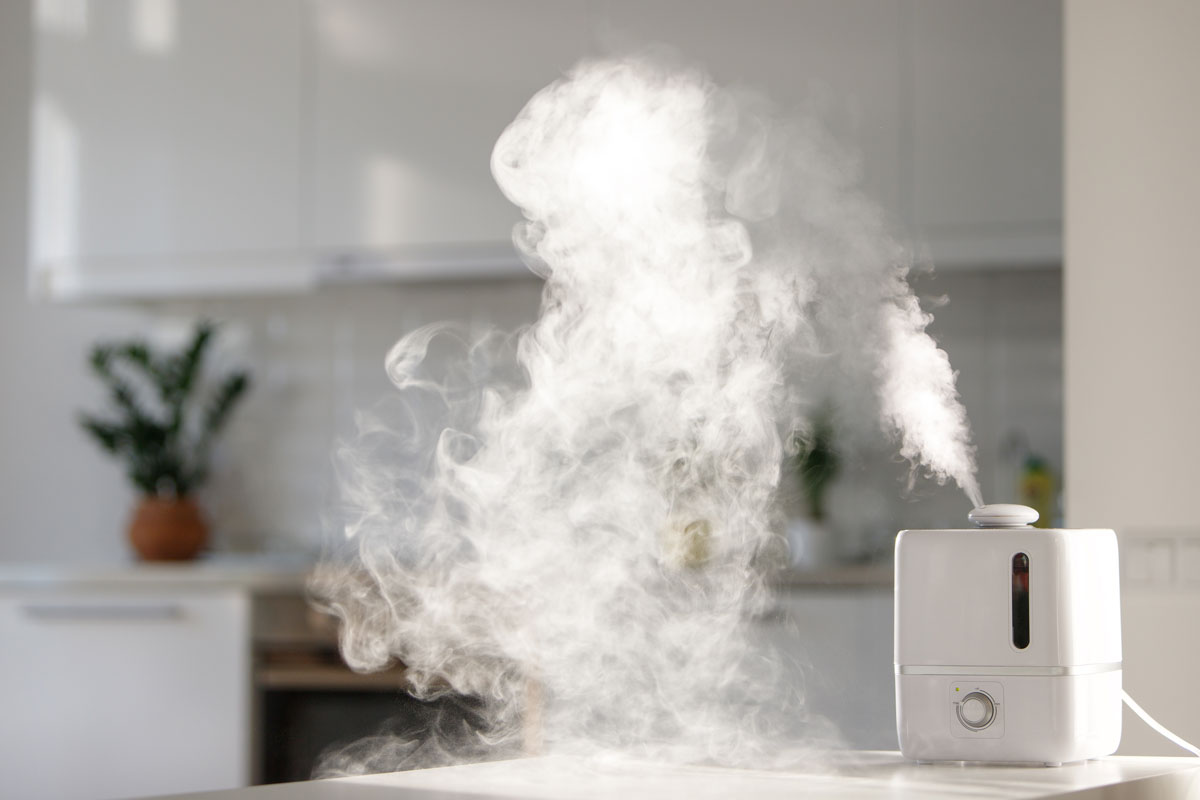
How Long Does It Take For A Humidifier To Work?
You must be patient for a humidifier to work. They usually take 10 to 15 minutes to warm up. This is because the heating elements require some time to boil the water, and only then does the humidifier begin to release moisture.
After that, it will take between 3 and 24 hours to refresh the air in that space. The capacity of the appliance, room size, and the structure of the room will all affect the output.
In Closing
A humidifier is not only used for moisturizing air in order to make your living conditions more comfortable. It also helps us alleviate symptoms of a variety of health conditions.
Remember that disinfecting your humidifier is important for a better experience. Follow the disinfecting techniques to keep your surroundings as well as your health and well-being in good shape.