
Flaring is one way to securely connect copper tubes. So if you're looking for ways to do it, we got the answers for you! We researched how to flare copper tubing and here is how to do it.
Here is a step-by-step guide for flaring copper tubing:
- Cut the copper tube. If possible, avoid using a hacksaw in favor of a tube cutter because a rough cut will prevent a proper seal.
- Using the blade on the rear of your tube cutter, ream the cut end of the tube. Make sure the diameter is the same as it was initially.
- Place the copper tubing into the flare form. Make sure the tubing you use has the correct diameter and leave about 1/16" of tubing hanging out.
- Time to secure the nuts. Tighten the nearest nut manually before tightening the far nut to ensure that the block grips the tube tightly enough.
- Make the yoke fit the flare block. To properly engage the block, check that the yoke's slots are in the proper location.
- Screw the reamer's screw firmly. To ensure that the reamer is completely seated in the tube, retighten it before loosening it again.
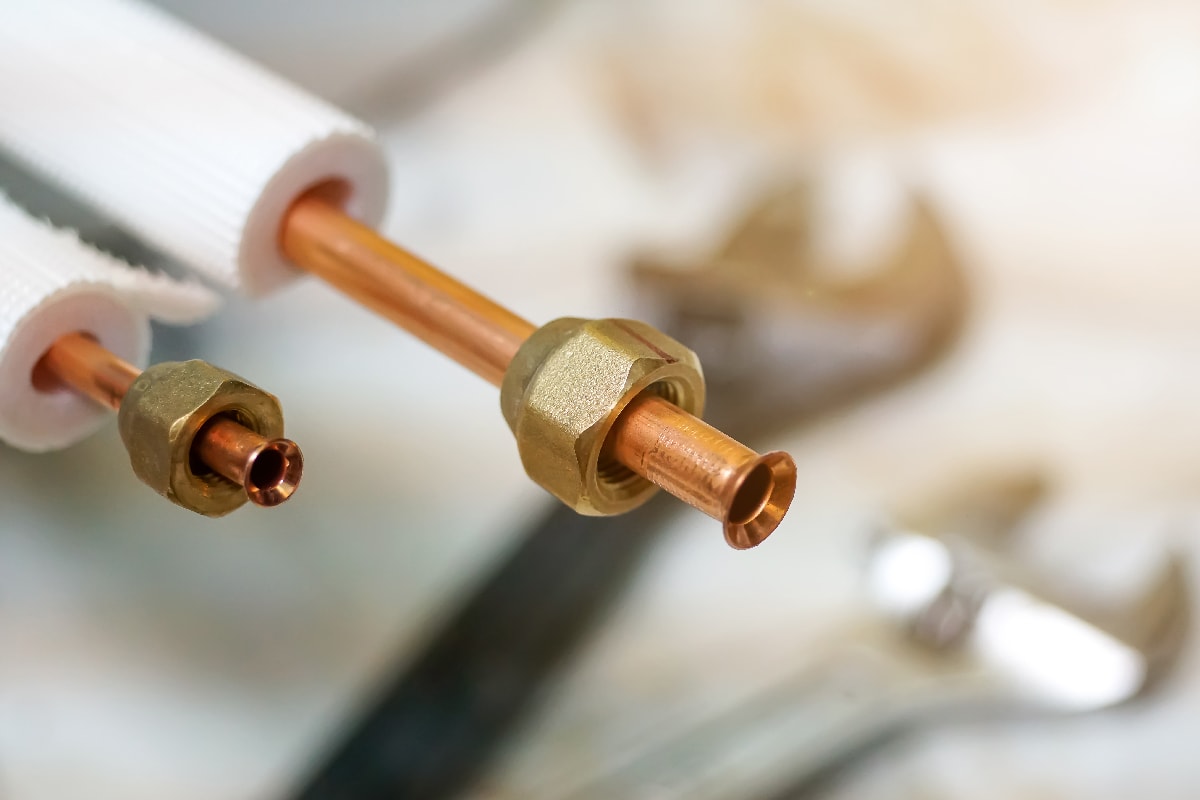
- When ready, take the tubing out of the flare form and secure it to the fitting. To ensure a snug fit, tighten the nut while you are keeping the fitting's flared end in place. Following that, check for air leaks.
Keep reading as we discuss when you should flare copper tubing and the benefits of doing so. Additionally, we'll cover what causes flare connection leaks and their effects. We'll also share some tips to properly flare your copper tubing. Moreover, we'll discuss the flaring tools commonly used in flaring copper tubing and how to use them.
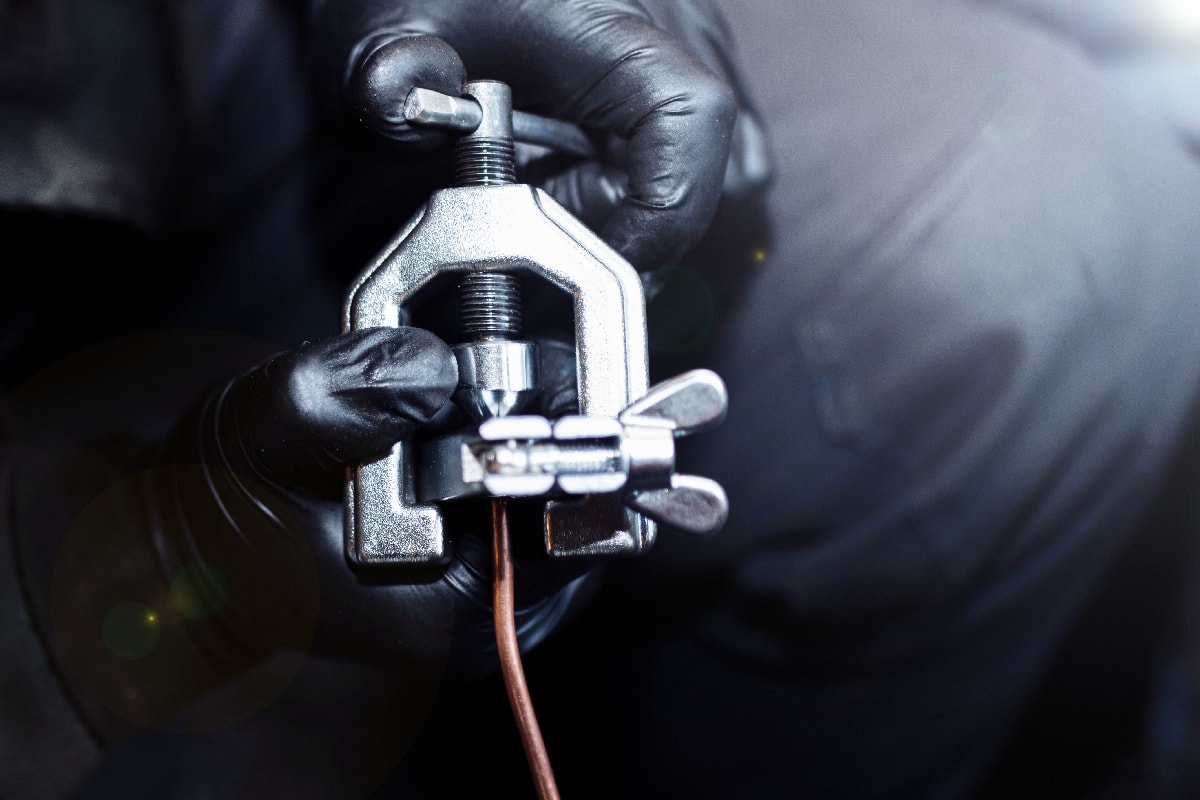
![A man flaring copper tubes using bar-type flaring tool, How To Flare Copper Tubing [A Detailed Guide For Beginners]](https://hvacseer.com/wp-content/uploads/2022/09/How-To-Flare-Copper-Tubing-A-Detailed-Guide-For-Beginners-e1664054233326.jpg)
When To Flare Copper Tubing?
A mechanical joint may occasionally be required or chosen even though a copper tube is typically linked by soldering or brazing. Flared fittings provide an alternative when:
- An open flame is undesirable or unfeasible.
- Water supply applications.
- Copper tubes are utilized for fuel, propane, or natural gas.
- Refrigerant lines connect the air conditioner and heat pump parts.
What Are The Benefits Of Flaring?
Here are some of the benefits of flare connections:
- They provide a dependable seal that is vibration-damage resistant due to the relatively large contact area they create.
- They secure vital connections in fuel oil and gas lines as well as secure high-pressure connections in refrigerant lines, among other lines.
- Flare connectors, as opposed to compression fittings, are tough to rip apart.
- Flare connections offer an advantage over conventional plumbing connections in that they can be taken apart and put back together repeatedly.
What Causes Flare Connections To Leak?
A flare fitting can leak for various reasons, including:
- a bad flare;
- pipe burrs; and
- an improperly sized flare.
Moreover, overtightening is the most frequent cause of leaks.
What Happens When You Don't Properly Flare Copper Tubing?
If you don't properly flare your copper tubing, it can result in possibly pointless and expensive repairs. If your plumbing flare connection leaks, it may result in flooding on certain parts of your house and water damage to your property.
Additionally, a leaking gas line caused by incorrectly flared copper tubing can pose serious safety concerns and can spark a fire if not dealt with immediately.
Tips To Properly Flare Copper Tubing Connections
Following these guidelines can help you properly flare pipes and tubing:
Ready The Copper Tubes
The pipe or tube should be cut to the required length. Using a pipe reamer, deburring tool, or sharp knife, remove any rough edges from the end.

Click here for this pipe reamer on Amazon.
Allow Some Space
Make sure the end of the pipe or tube stands out a little as you insert it into the appropriate hole of the clamp.
Firmly Tighten The Clamp
The flaring tool will simply force the pipe or tubing through the clamp if you haven't fastened it firmly enough. To guarantee that your pipe or tubing is securely positioned, tighten the wingnuts down completely.
Adjust Your Hands If Necessary
The flaring tool should remain in the pipe or tubing without needing to be held, so shift the hand that is holding it to the lever and slowly rotate it. The clamp should now be held by the hand that was previously holding the pipe.
Don't Excessively Flare The Tube
Don't go overboard when flaring your pipe or tubing's end. The end of the pipe or tube will be overextended and rendered useless by excessive flaring. Additionally, you might unintentionally divide the copper.
Use Proper Tools For The Job
Use a suitable tool, such as those provided by various manufacturers of tubing/piping tools, to create a flare joint. Utilize a tool with a flare angle of 45º and a diameter that matches the outside diameter of the tube being flared.
What Types Of Flaring Tools Are Used To Connect Copper Tubing?
1. Bar-Type Flaring Tool

The most common flaring tool for copper tubing is the bar-type tool. To adequately accept various types of pipe and tube sizes, this tool comes with various bit types.
Here are some of its characteristics:
- It is the most widely used flare device. It is created for tubing flaring in confined spaces.
- This has a straightforward design and is simple to use. These dies have several holes drilled so that they may fit tubing with a diameter ranging from 3/16" to 5/8".
- Hardened alloy steel was used to make this instrument. To grab the tubing, it is divided into two pieces.
- Both sides of the bar have two butterfly nuts installed. These serve as a connection point for the bar's parts and as a source of pressure for holding the tubing.
To use this flaring tool, insert the tube in the appropriate location for its size. Measure the height needed for flaring before extending the tube's end from the hole's surface. Alternately, it's preferable to adhere to manufacturer recommendations.
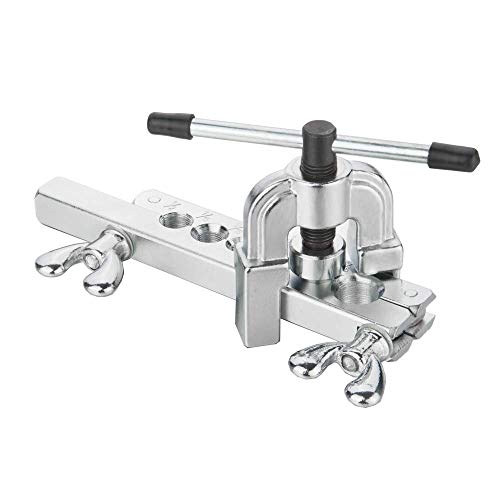
Click here for this product on Amazon.
2. Tube Expander Tool
The tube expander is yet another instrument for flaring copper tubing. For use on various sizes of tubing, it contains several different-sized heads.
All you need to do is insert the tool's end into the tube after attaching the appropriate-sized head to the tool. Until the tube is entirely flared, squeeze the handles.

Click here for this product on Amazon.
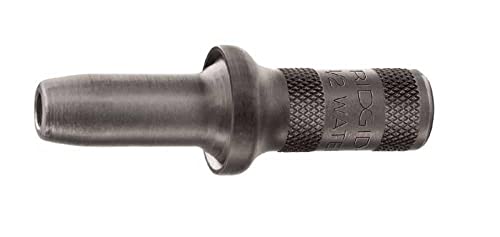
3. Hammer Flaring Tool
To flare your copper tubing, you can also utilize hammer flaring tools. Swaging is another name for hammer flaring. On Type K copper water tubing, 45-degree flares are frequently made using them.
Click here for this product on Amazon.
How To Flare Copper Tubing Using A Hammer Flaring Tool?
To flare copper tubing using the hammer-type flaring tool, you can follow this brief guide:
- Wear protective eyewear and gloves at all times. In a clamp or vise, secure the tube. Properly cut the copper tube with a tubing cutter.
- Remove burrs or other difficulties from the cut end of the tube using the reaming blade. To remove the burrs from the outside of the tubing, you can alternatively use a flat file.
- Before flaring, make sure the nut is on the tube. After that, you won't be able to get it on there.
- To make it simpler to flare the tube, grease the flaring tool's shank and shoulder with potable oil. After that, put it inside the tubing.
- Repeatedly strike the flaring tool using a soft brass hammer. After each blow, rotate the tool a little. Continue until the flare reaches the coupling nut's edge.
- Inspect the tubes to make sure the two surfaces are free of flaws and scratches. Restart if you notice any anomalies.
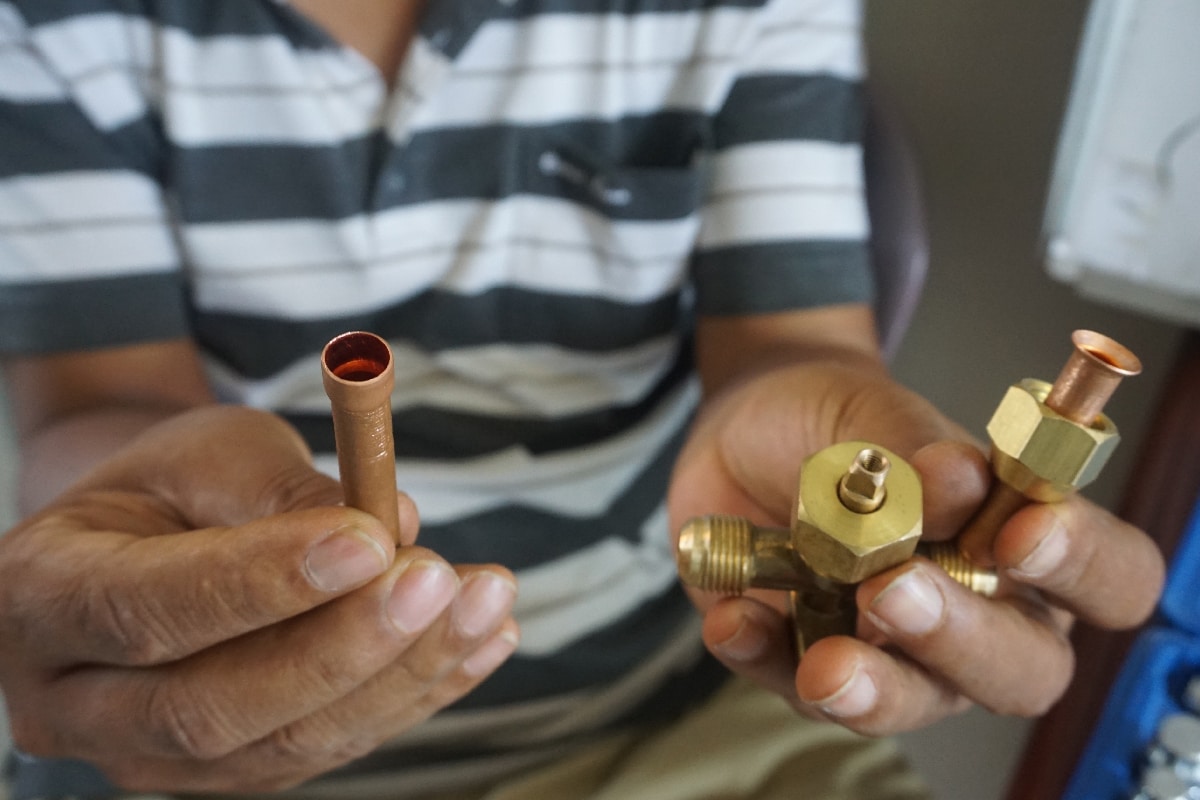
- Tighten the coupling nut using your hands while securing the flared end of the tube to the connector.
Swaging Vs. Flaring: What's The Difference?
Although both of these techniques serve the same purpose- to gradually open up a tube's end so that new connections can be made, they are different from each other. Here are some of their differences:
- For one, the main distinction is that flaring has a different form and is shallower. At the tube's end, it fashions a funnel. On the other hand, swaging is deeper, and you can increase the diameter further down the tube to form it into a flute.
- The fact that flaring is most frequently employed for softer metals like copper and aluminum is another distinction. More rigid metal tubing can be flared, although it may be necessary to anneal the metal first to make the tube's end more pliable. For some hard and soft metals, swaging is a useful alternative.
Final Thoughts
Flaring copper tubing is a straightforward task and can be done even by a beginner. However, you need to make sure that you properly flare your copper tubing to avoid leaks that can cause serious damage to you and your property.
Additionally, there are many flaring tools available, but the bar-type, hammer-type, and tube extenders are the most common flaring tool types used for copper tubing.
If you enjoyed this post, you can check out our other posts here: