
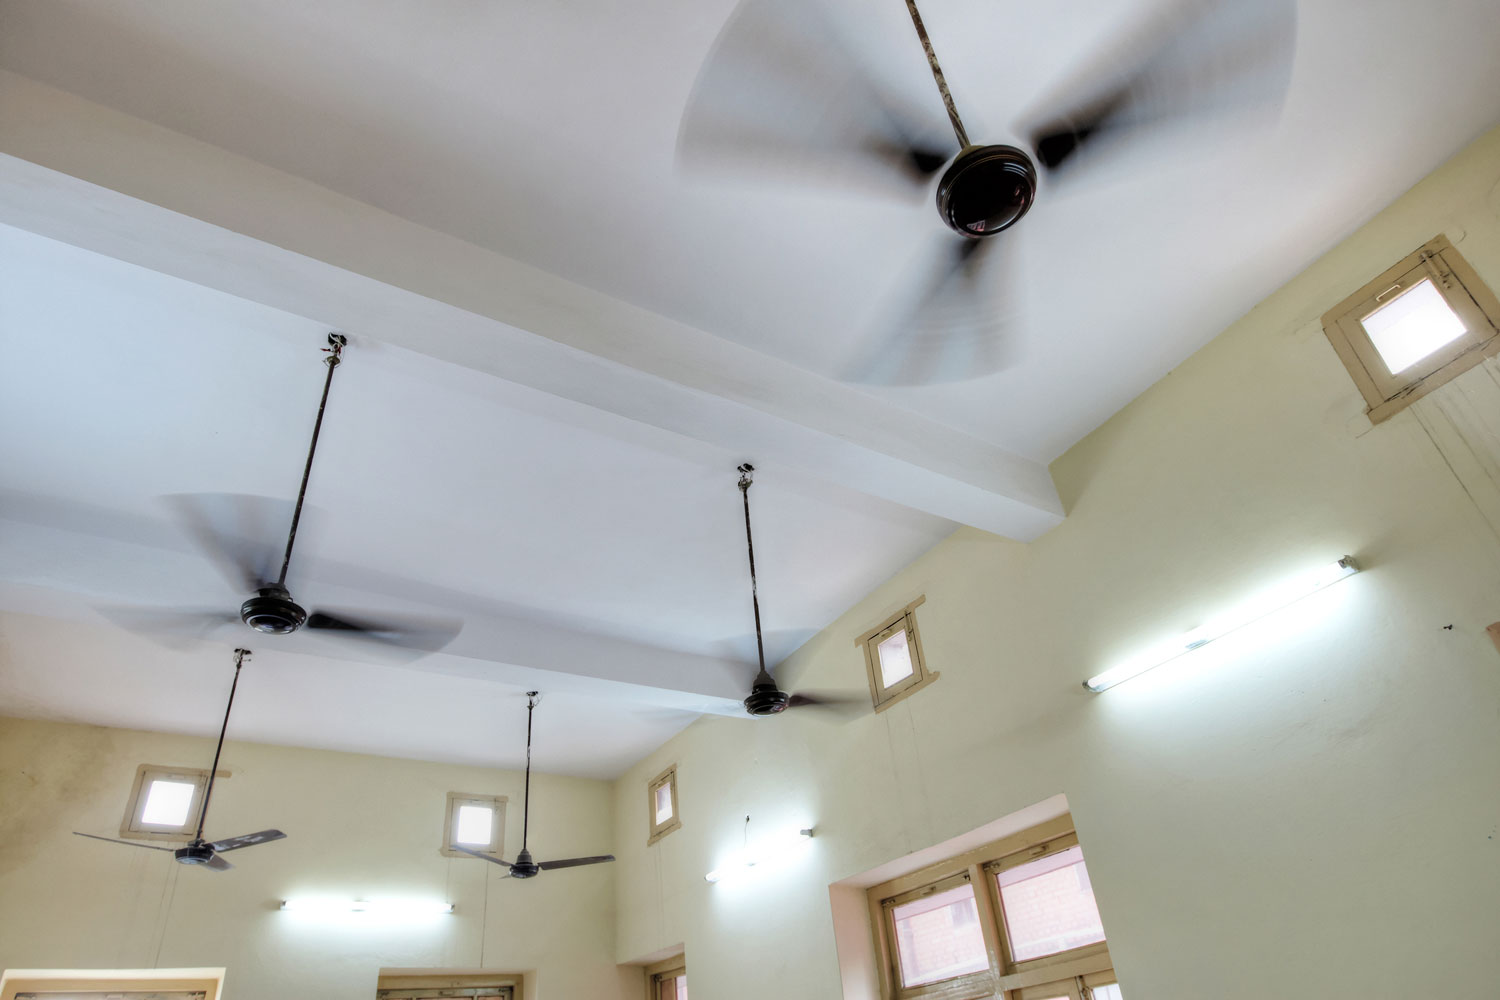
Ceiling fans are indispensable appliances that provide the whole family with a nice temperature and languid breeze, especially during humid days. But over time ceiling fans may start spinning inefficiently due to a lot of factors.
Every home needs to make sure that its fans, together with the aircon, are in perfect shape to beat the scorching summer heat. To do so, we did research to help you increase the speed of your ceiling fan.
There are several ways on how you can increase the speed of your ceiling fan, whether it's an old or new model. Perform these regularly as a form of maintenance:
- Clean the blades thoroughly.
- Lubricate the bearings of the fan.
- Check if the blades are imbalanced.
- Check the pull chain switch.
- Inspect the speed regulator.
- Check the capacitor.
A good ceiling fan does not only make your living room, kitchen, dining area, or outdoor space cozy and stylish, but it also allows you to save energy in the long run. By giving your fans regular checkups, you can rest assured that your home is one step away from becoming summer-proof!
Read on to learn more about how you can improve your ceiling fan's performance.
How to Increase Ceiling Fan Speed
When your fan starts showing signs of bad or erratic spinning, do the following:

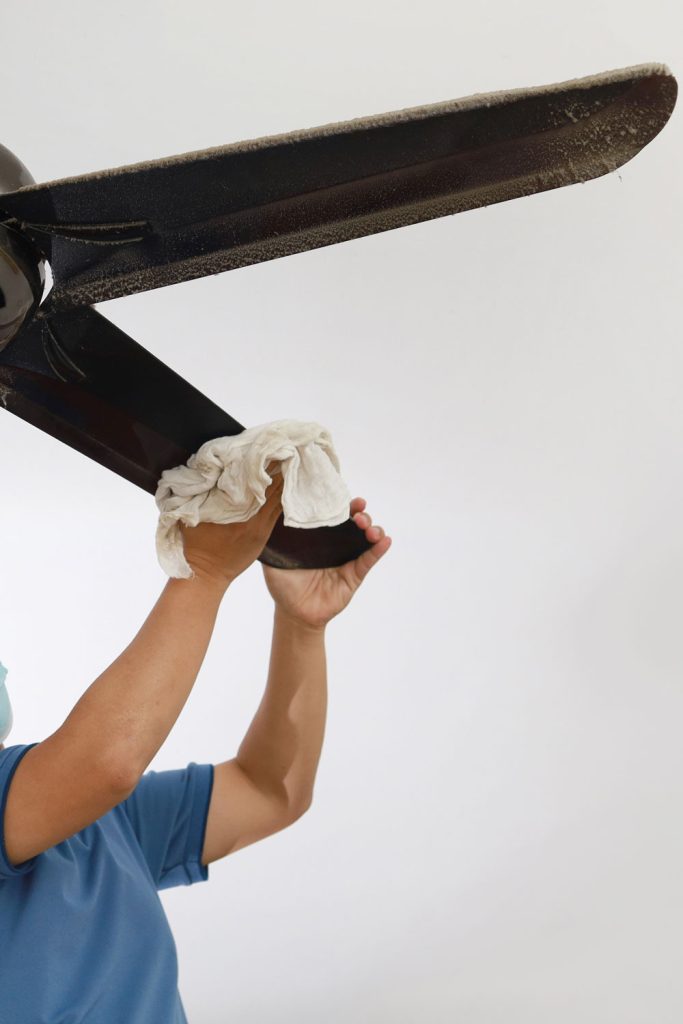
1. Clean the blades thoroughly
Over time, dust and dirt accumulate on the surface of the blades of a ceiling fan.
Mounted high above your head, cleaning that appliance can sometimes be daunting and messy. Some homeowners even skip that part! But seriously, this dirt buildup can add weight to the blades, enough to slow down the spinning.
Get a dry cloth first then a wet one to clean the blades. Preferably, use an old pillowcase for wiping so you can catch the dirt.
Carefully reach the fan using a sturdy ladder. Slide a blade into the pillowcase and wipe off the dust. Finally, wipe the surface again using a wet cloth for complete cleaning!
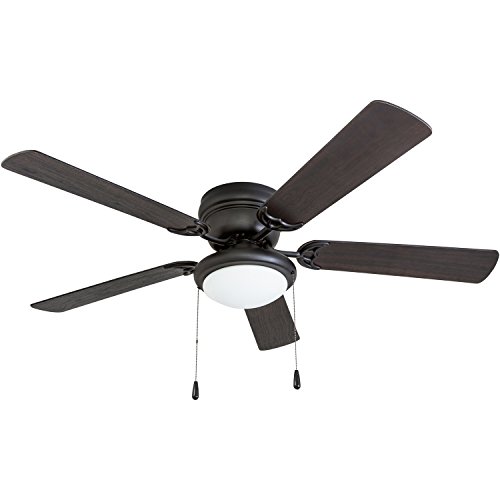
Check out this elegant matte black ceiling fan on Amazon!
2. Lubricate the bearings of the fan
Appliances that have rotating parts generally need lubrication for them to work efficiently. Poor lubrication on fans can cause erratic spinning, overheating, and worse, fire.
Some ceiling fans are self-lubricating with their built-in oil reservoir, and some require a specific kind of oil applied at a certain frequency. To lubricate your fan, locate the small hole, usually on top of the motor.
Use a lubricant bottle with spout for easy oiling. Around 1-2 ounce is the recommended amount of oil to pour into the oil hole. Use a non-detergent lubricating oil with a weight of 10, 15, or 20. The use of 3-in-1 oil is not advisable.
To learn more about oiling ceiling fans, visit our article: Do Ceiling Fans Need to be Oiled?

Ready to oil your fan? Check out this lubricant for Hunter Original Fans on Amazon.
3. Check if the blades are imbalanced
Have you ever found your fan wobbly and squeaky? It must be imbalanced. What causes imbalances in the fan blades?
When your fan shows these irregular motions and sounds, there might be misalignment of blades, loose fan mounting, or severe accumulation of rust and dust. The poor quality of the blades can also make a fan wobbly.
To fix these imbalances, check if the blades are firmly screwed into the blade holder. Make sure as well that the blade holder is tighly attached to the fan flywheel. If wobbling still persists, it's time to check the alignment of the blades.
To fix the alignment, use a yardstick with one end on the ceiling to see if all the blades are angled similarly. Afterward, slightly bend the blade holder until all the blades are in line with one another.
There are also balancing clips and adhesive-back weights available on the market to help you adjust the weight of the fan blades equally, hence, eliminating the wobble.
If any of these steps do not solve the shaking problem, consider replacing the blades or the ceiling fan itself, especially if it's already out of style.
4. Check the pull chain switch
Some ceiling fans operate with a pull chain switch which is attached to a toggle type switch inside of the fan housing. It turns the fan on and off and also adjusts its speed.
Test whether or not the speed of the fan motor changes each time you pull the chain. If not, the spring mechanism inside the switch might be malfunctioning. Replacing the pull chain switch is the best solution.
To save you headaches, we recommend you to buy a new switch ($7-$15 per piece) instead of repairing it. With intricate wiring surrounding the switch, repairing is such a tedious work.
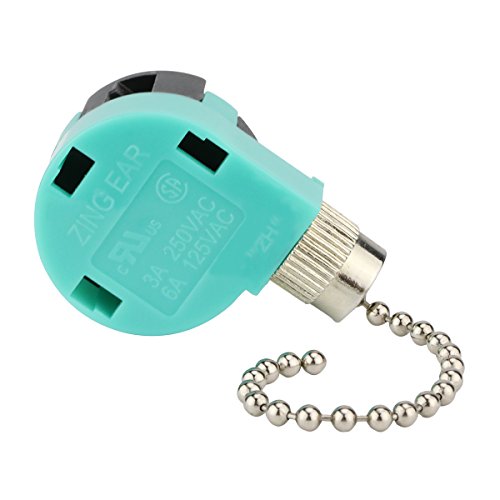
Planning on replacing your old pull chain switch? Check out this product on Amazon.
5. Inspect the speed regulator
Another way to adjust the speed of your fans is by controlling the speed regulator installed on a wall. Unlike the pull chain switch, this regulator is not limited to the predetermined speed settings such as low, medium, and high.
In fact, the regulator can provide a full range of speed from off to fastest, hence, giving you the perfect airflow experience anytime of the day or year.
6. Check the capacitor
Capacitors regulates the amount of electricity used to run the motor of a ceiling fan. Therefore, any fan won't work without this crucial component. A humming sound or a burning smell from the fan can be an indicator of a faulty capacitor.
If the fan does not respond to the desired speed, check the capacitor which is usually a black box in the fan's switching house. Get either a multimeter (aka multi-tester) to test your capacitor.
How Do I Test a Ceiling Fan Capacitor with a Multimeter?
There are two types of multimeter: analog and digital. Both have similar usage but differ in terms of the need to charge or discharge a capacitor.
Testing using an analog multimeter
- Turn off the fan then take the capacitor from the fan.
- Charge it to full capacity by connecting it to a DC voltage source (e.g., battery).
- On the multi-tester, set the analog meter on Ohms. Then choose a high range of Ohms.
- Connect the multi-tester's leads to the capacitor's terminals.
- Note the reading on the device. If it's an open capacitor, you will notice no movement or deflection. If it's a short capacitor, there's a very low resistance. On the other hand, the capacitor is in good condition if the reading initially shows low resistance then gradually goes up to the infinite.
Testing using a digital multimeter
- Discharge the capacitor by connecting a resistive load (e.g., light bulb, power resistor) to the capacitor’s terminals.
- Set the digital multimeter to 1000 Ohms.
- Connect the multi-tester's leads to the capacitor's terminals.
- Note the numbers displayed in the device. The screen will then display "OL" which means there's inadequate amount of continuity or there's no flow of electricity. The capacitor is in good condition if the numbers displayed is consistent after every test.
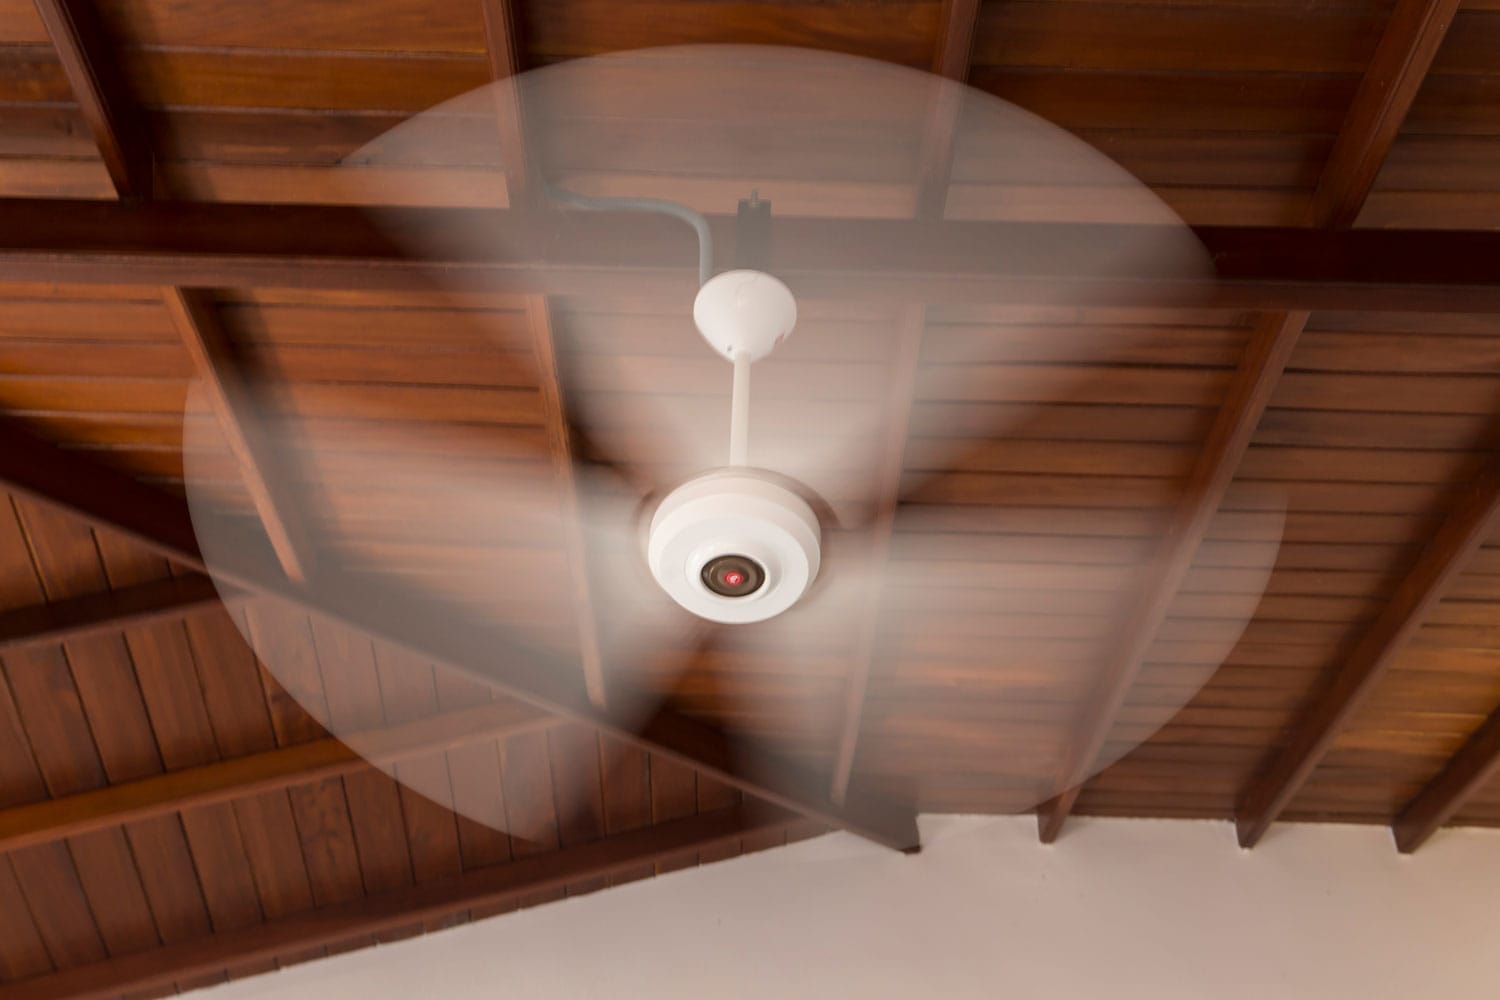
Which Way Should my Fan Spin in Summer or Winter?
A ceiling fan needs different spinning directions depending on the weather, and it can be done using the fan's main controller.
During summer, the fan should rotate counterclockwise to create a downdraft, spreading a cool breeze downwards. By setting the direction of the fan blades this way, you can augment the cooling power of your AC.
Conversely, the spinning should be clockwise during winter to create an updraft, causing the warm air to circulate well around the room. By turning on your ceiling fan set in this direction, you can save roughly 15% on your heating cost.
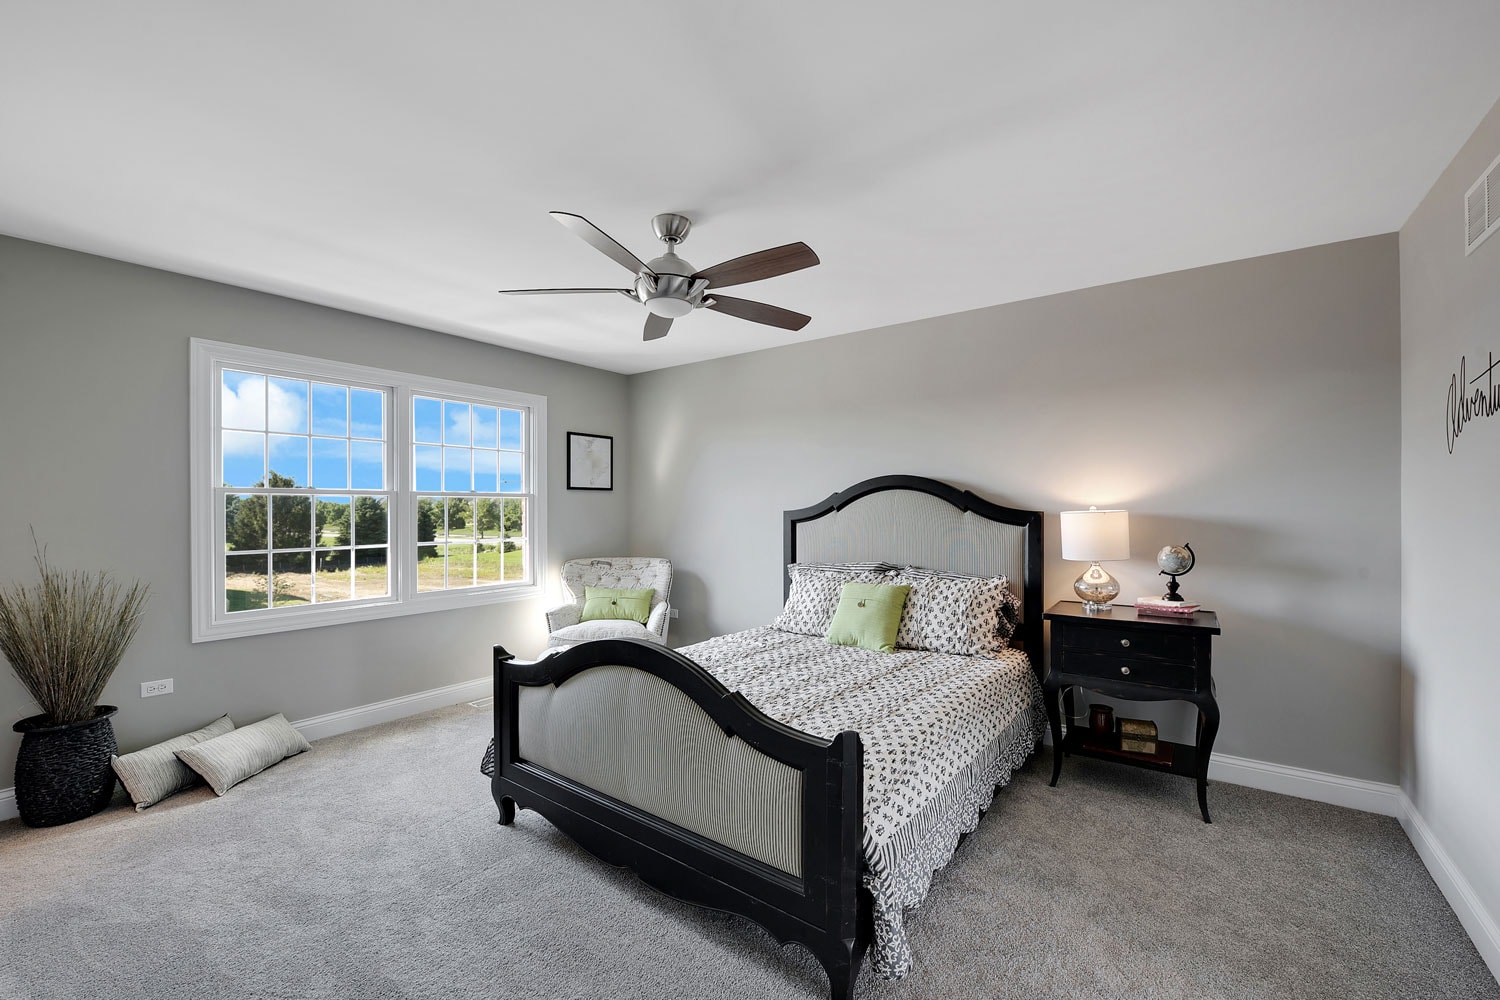
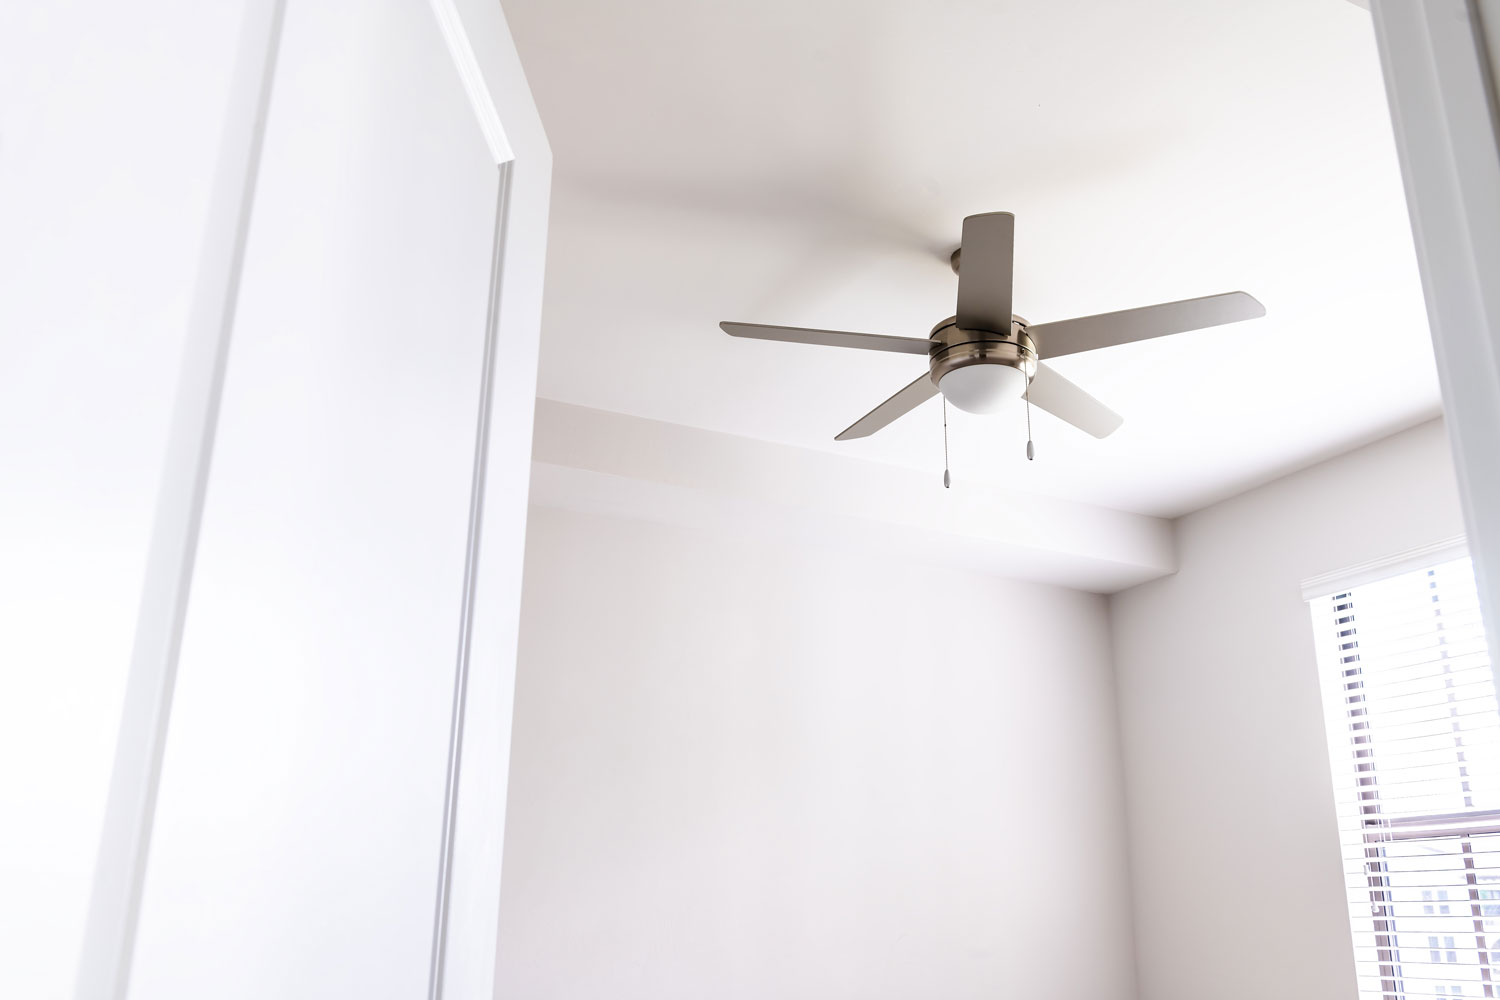
How to Improve a Ceiling Fan's Airflow
Increasing the speed of your ceiling fan isn't the only way to achieve that wind chill effect. Engineers suggest choosing the right size, shape, and contour of the fan blades depending on the size of a room.
The larger the size of the blades, the greater the volume of air they can move. For a large living room, for instance, a blade with 60-inch length or higher is ideal. For bedrooms and kitchens, consider buying blades with 42 to 48-inch length.
The distance of it from the floor is likewise important to consider. At least six feet from the floor is the ideal height of a ceiling fan to maintain a nice air circulation.
Wrapping Things Up
Ceiling fans help improve airflow inside your home for all seasons.
Like in any other moving appliances, performing regular maintenance tasks on ceiling fans ensures that they will run seamlessly as a provider of the much needed comfort during the hottest and the coldest seasons of the year. Now, increasing ceiling fan speed proves to be easy and achievable!
If you find this article helpful, take a look also at these related posts from us: