As a homeowner, you may want to install a Rinnai tankless water heater but wonder how to go about it. Luckily, we have researched the topic for you, and here is what we found.
The following is a step-by-step guide for installing a Rinnai tankless water heater:
- Get the needed materials
- Remove the old water heater
- Install the new water heater
- Connect all pipes
- Inspect the newly installed heater
If you want to install a Rinnai tankless water heater, it is important to have a good understanding of the process before you get started. Keep reading to get detailed information on installing a Rinnai tankless water heater.
How To Install A Rinnai Tankless Water Heater
It is important to thoroughly read the instruction manual for the tankless water heater before beginning the installation process. When setting it up, follow the instructions carefully. Here are the steps:
Step 1: Get The Needed Materials
After reading the user's guide, prepare the tools and equipment needed to complete the task. Most supplies and hardware required to set up are included inside the shipment box.
You will need a flathead screwdriver, shut-off valve, pliers, Phillips screwdriver, drill and drill bits, pipe cutter, adjustable wrench, and pressure valve.
Also, you need to know the local building codes to ensure that a tankless water heater and CSST pipe can be installed in your house.
Click here to see this pressure valve on Amazon.
Step 2: Remove The Old Water Heater
Turn off the water supply to your home and disconnect the old unit from the water supply line. Next, disconnect the device from the power supply.
To turn off a Rinnai heater, remove the plug from the wall outlet. Make sure the existing wiring and plumbing are not tampered with in the process. Otherwise, you will need to get a replacement which will increase the duration and cost of the job.
When you have disconnected the water heater from all of the power and supply lines, you can then dispose of the old unit following your location's disposal laws.
Click here to see these shut-off valves on Amazon.
Step 3: Install The New Water Heater
Find the right spot for mounting your new water heater. To ensure that everyone in the house has a steady hot water supply, the heater should be placed close to where it will be frequently used.
Go ahead and install the heater. Mount it to the wall following the manufacturer's instructions. Use the included hardware and ensure that it is securely attached to the wall and receives adequate support.
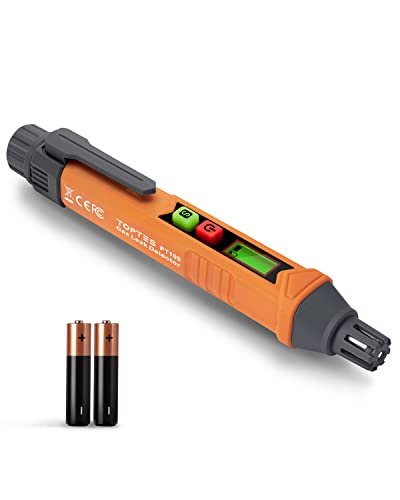
Turn on the gas and ensure that all connections are secure. Use a gas sniffer to make sure there are no gas leaks or loose connections.
Click here to see this gas sniffer on Amazon.
Step 4: Connect All Pipes
Link the water heater to the pipes that provide heated water to each room. Those are the inlet and outlet fittings for your water heater.
While the water line is connected to your mounted unit, use hanger brackets to keep the pipe from touching the wall or other surfaces. Set them near the base of the structure.
If an installation schematic is included with your machine, refer to it to see how the pipelines should be connected.
Step 5: Inspect The Newly Installed Heater
Inspecting a newly installed water heater is important for everyone's safety in your home. Verify that all wires have been connected correctly and are plugged into the appropriate terminals.
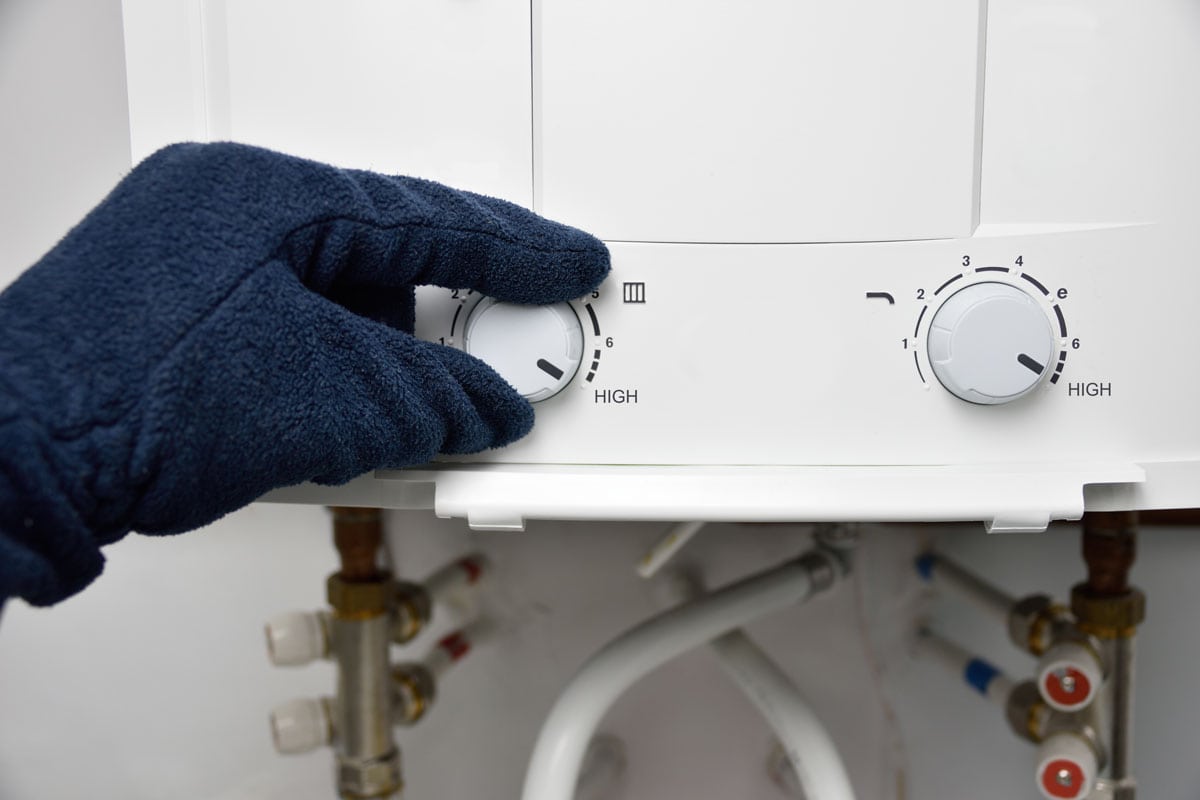
Then, activate the heater. Next, adjust the temperature settings. Maximum settings can cause your heater to become dangerously hot, so you are advised not to use them.
You should also check the temperature and rate of heating of all the hot water taps in your home to ensure they are functioning properly. If necessary, adjust the temperature settings.
Click here to view this Rinnai tankless water heater on Amazon
Where To Install A Rinnai Tankless Water Heater
Installation of your Rinnai tankless water heater can be done in various places. However, putting your water heater inside the house is the safest and most reliable option.
Most Rinnai tankless water heaters are compact and unobtrusive, making them ideal for use in tight indoor spaces like pantries, basements, and kitchen sinks.
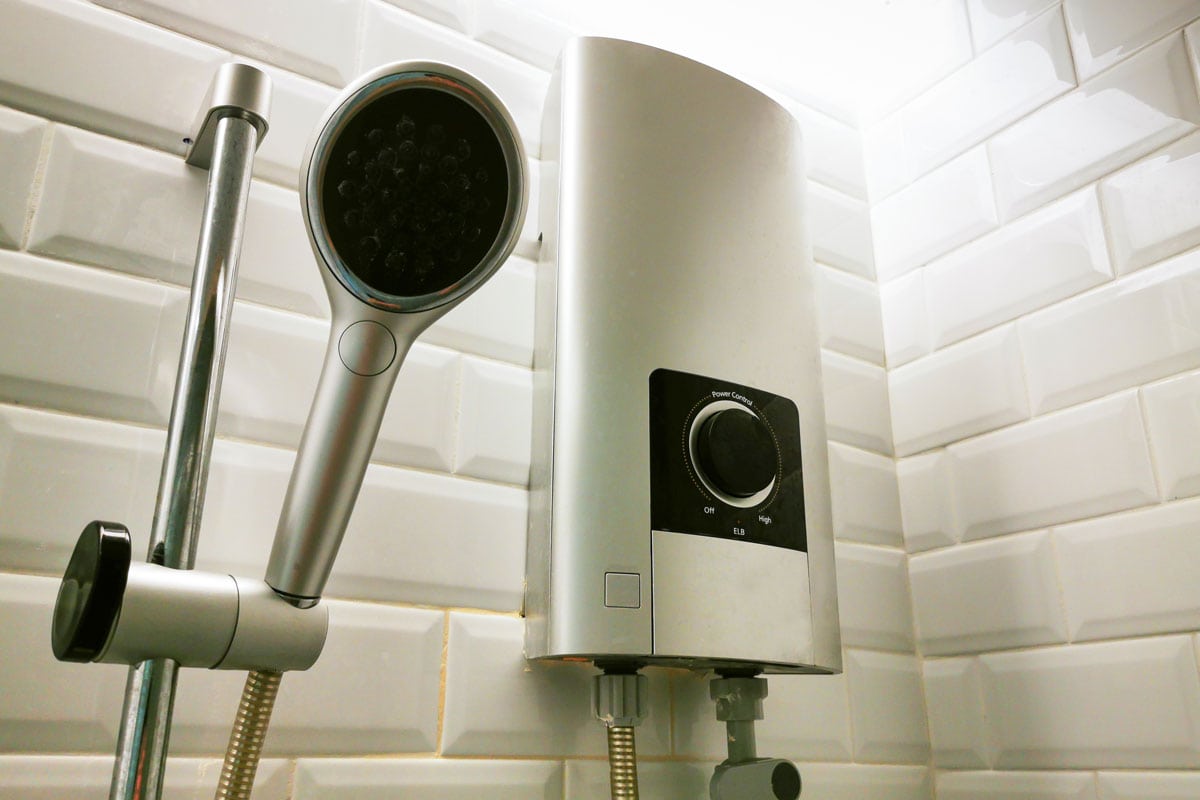
Tankless water heaters perform more efficiently when installed close to the fixtures or appliances that will be using the heated water. Locating the water heater as close to the shower as feasible will produce the most efficient hot water for the bathroom.
The water heater's performance will decrease significantly if you install it outside or in a location far from the house. Also, this will subject the unit to harmful elements like sunlight, rain, and pests.
How High Off The Ground Should A Rinnai Tankless Water Heater Be?
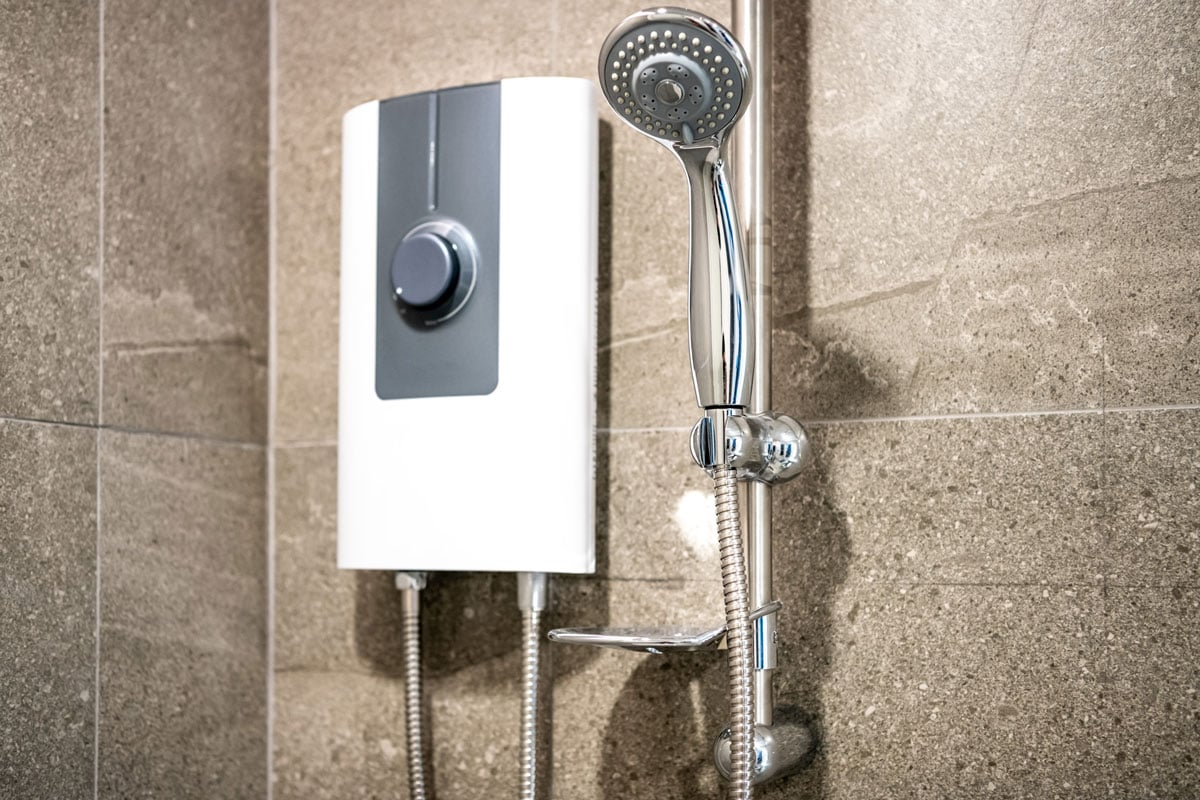
According to the National Fuel Gas Code, a tankless water heater must be at least 18 inches off the ground. This regulation is in place for your protection in case of an accident near your Rinnai heater that could cause a fire or an explosion.
Water heater installation and maintenance safety were the primary motivations for creating the Uniform Plumbing Code, which includes these regulations.
It is important to remember that the 18-inch requirement in the Uniform Plumbing Code is measured from the floor to the heater's lighting mechanism, not the bottom of the unit itself.
Make sure that the stand you use to elevate your heater 18 inches above the ground can support the weight of a full tank, not just an empty one.
Although the 18-inch rule is included in the Uniform Plumbing Code, local regulations may differ. Before beginning installation, make sure to verify regulations with the appropriate local authorities.
Do Rinnai Tankless Water Heaters Use A Lot Of Electricity?
A Rinnai tankless water does not use a lot of electricity. Tankless water heaters are significantly more efficient than typical heaters, which may need to run continuously for several hours to meet demands. Tankless heaters only require two to 30 kilowatt-hours of electricity for daily heating operations.
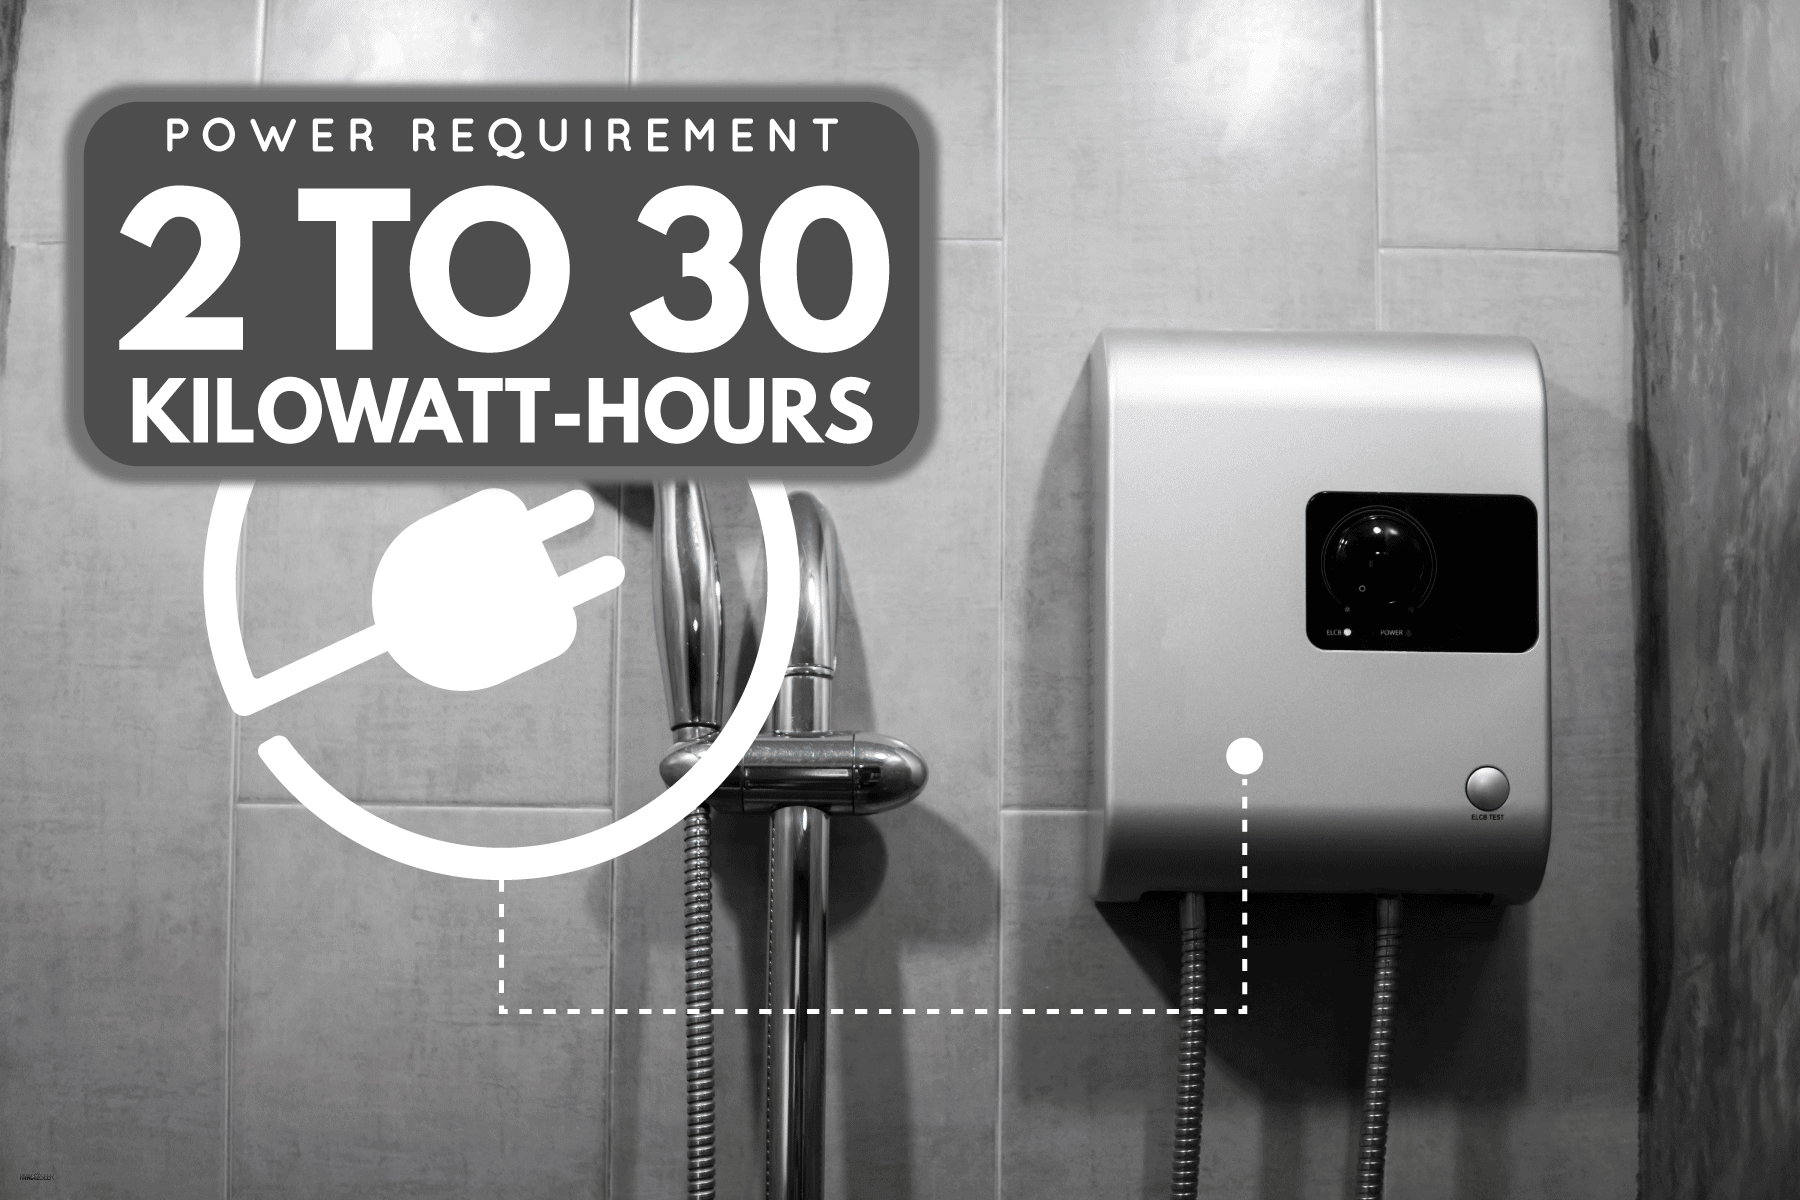
Although the Rinnai tankless water heater has a larger wattage than any other typical piece of household equipment, this doesn't necessarily mean higher monthly electricity costs.
The Department of Energy estimates that tankless water heaters can reduce a household's annual energy consumption by 24–34%, which translates to savings on utility bills.
How Much Does It Cost To Install A Rinnai Tankless Water Heater?
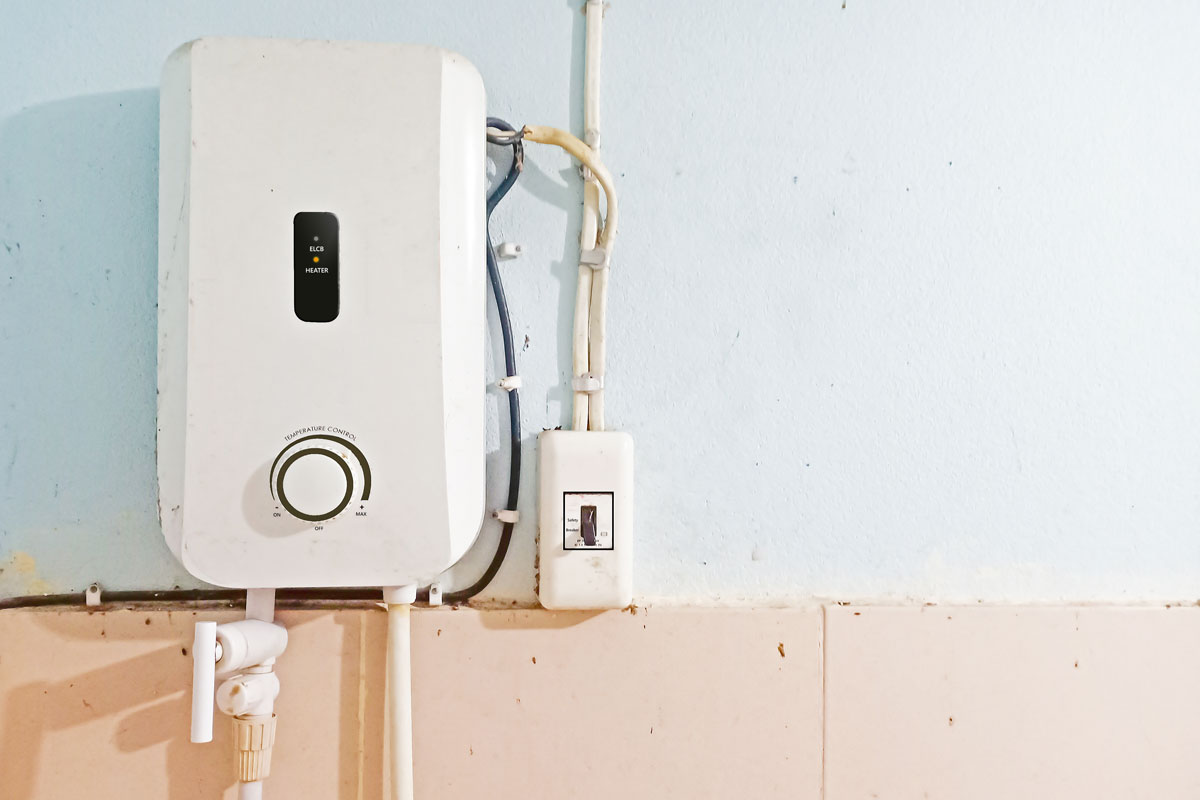
There is no specific cost of installation for a Rinnai tankless water heater. On a national average basis, the cost of installation ranges from approximately $1,500 to $3,200.
The cost of the units typically ranges from $500 to $2,000, while the cost of installation often adds another $500 to $1,500 to the overall price.
However, the total cost of installation is determined by several factors, including the size and type of the home, the amount of manpower required, and the location.
How Long Can A Rinnai Tankless Water Heater Last?
The only way to estimate how long a unit will last is by looking at its typical usage and upkeep. This makes maintenance a deciding factor in how long your tankless heater last.
If well-maintained and cared for properly on an annual basis, your Rinnai tankless water heater should have a lifespan of up to 20 years on average.
To Wrap Up
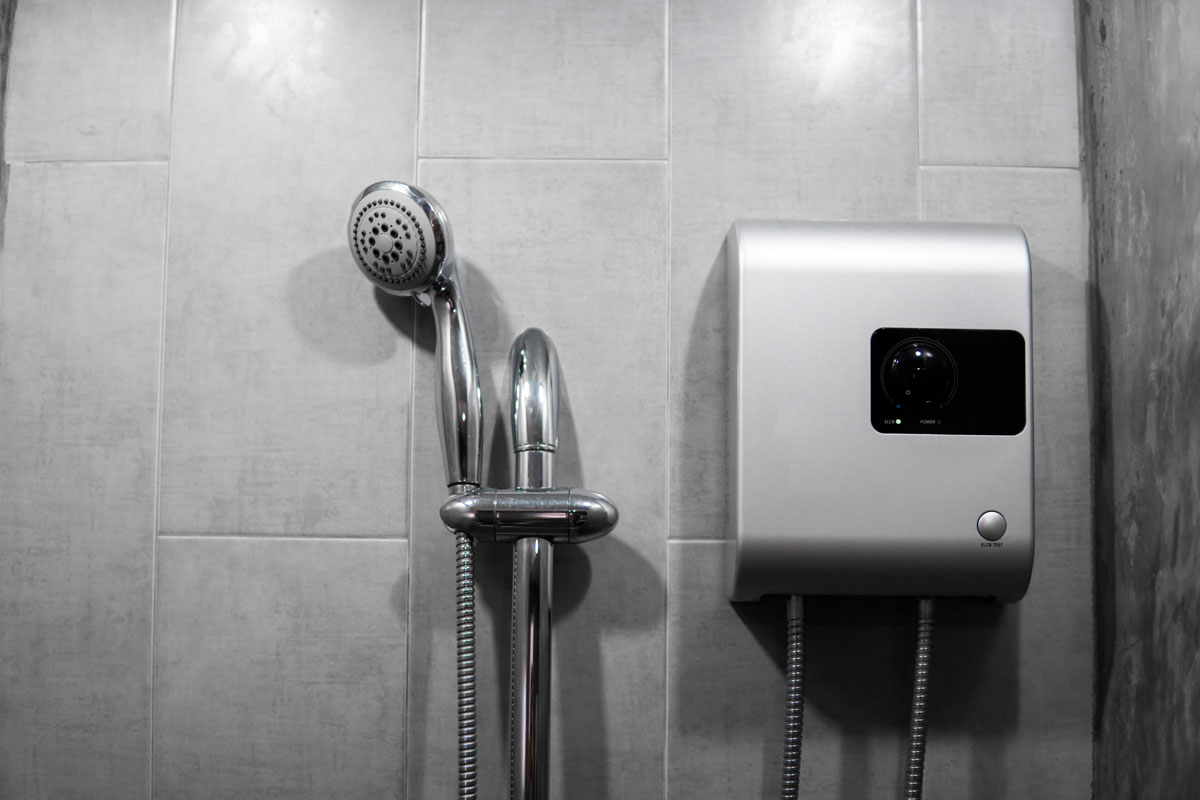
To install a Rinnai tankless water heater, all you need to do is prepare the tools and materials, remove the old unit to give way to the new water heater, connect all pipes, and inspect the newly installed heater. Don't hesitate to call a professional if you cannot install the water heater.
If you enjoyed reading this post, here are similar articles you may like:
Where To Install A Tankless Water Heater


