
Wood-burning stoves are at the top of the game for keeping a home warm during cold seasons. Investing in one of these is probably the best choice you made for your house. We will guide you on installing it correctly with the information we got from researching this. Shall we start?
These are the steps to installing a wood burning stove:
- Determine the location to put the wood-burning stove.
- Install a non-combustible floor pad and wall protection.
- Cut a hole in the ceiling for the stovepipe.
- Install the roof flashing.
- Assemble chimney pipe section.
- Install the storm collar and rain cap
- Connect the stove and chimney pipe
- Install a damper
- Conduct a test fire
We will elaborate on each step in a little while, along with how you can install a wood-burning stove through a wall. After that, we will also answer some of the most frequently asked related questions on this topic. If you want to learn them, keep on reading.
![Modern bright living room with wood burning fireplace, How To Install A Wood Burning Stove [Inc. Through A Wall]](https://hvacseer.com/wp-content/uploads/2022/06/How-To-Install-A-Wood-Burning-Stove-Inc.-Through-A-Wall.png)
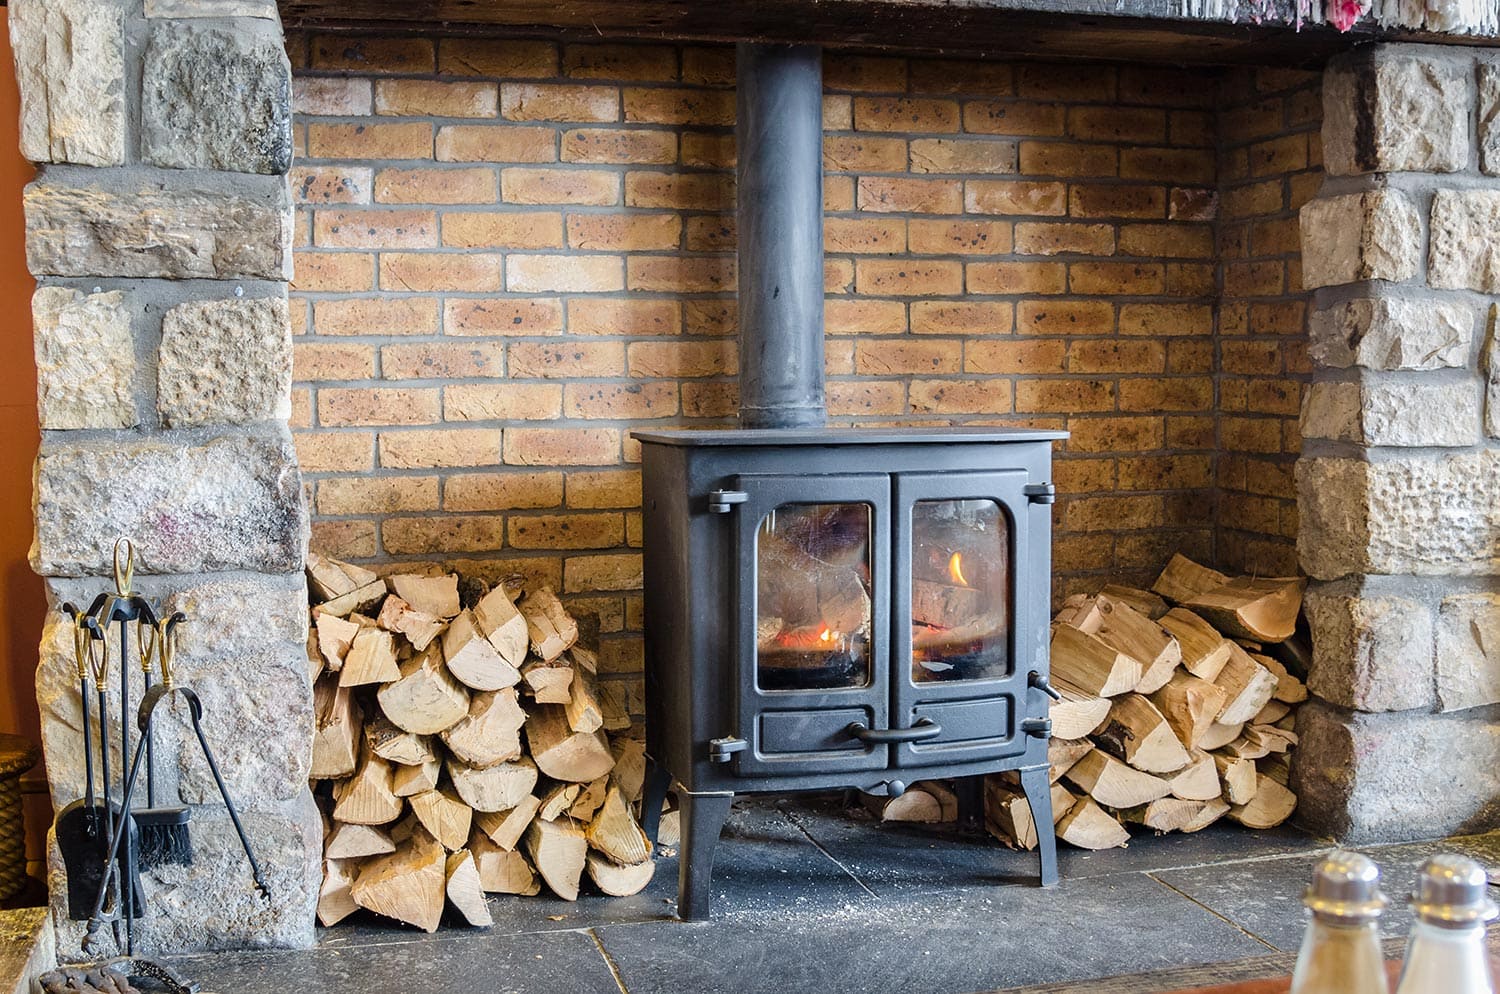
Installing A Wood Burning Stove
Before anything else, keep in mind that it is better to have a professional install the wood-burning stove since it involves fire which can be dangerous to everyone in your home once installed inappropriately. Also, this kind of installation requires local government permission.
If you are doing it yourself, you need to have the wood stove inspected by a certified inspector after installing it. However, if you are hiring a Heat Equipment Testing and Approval Scheme [HETAS] registered technician, you do not need permission anymore.
How To Install Wood Stove Through A Ceiling
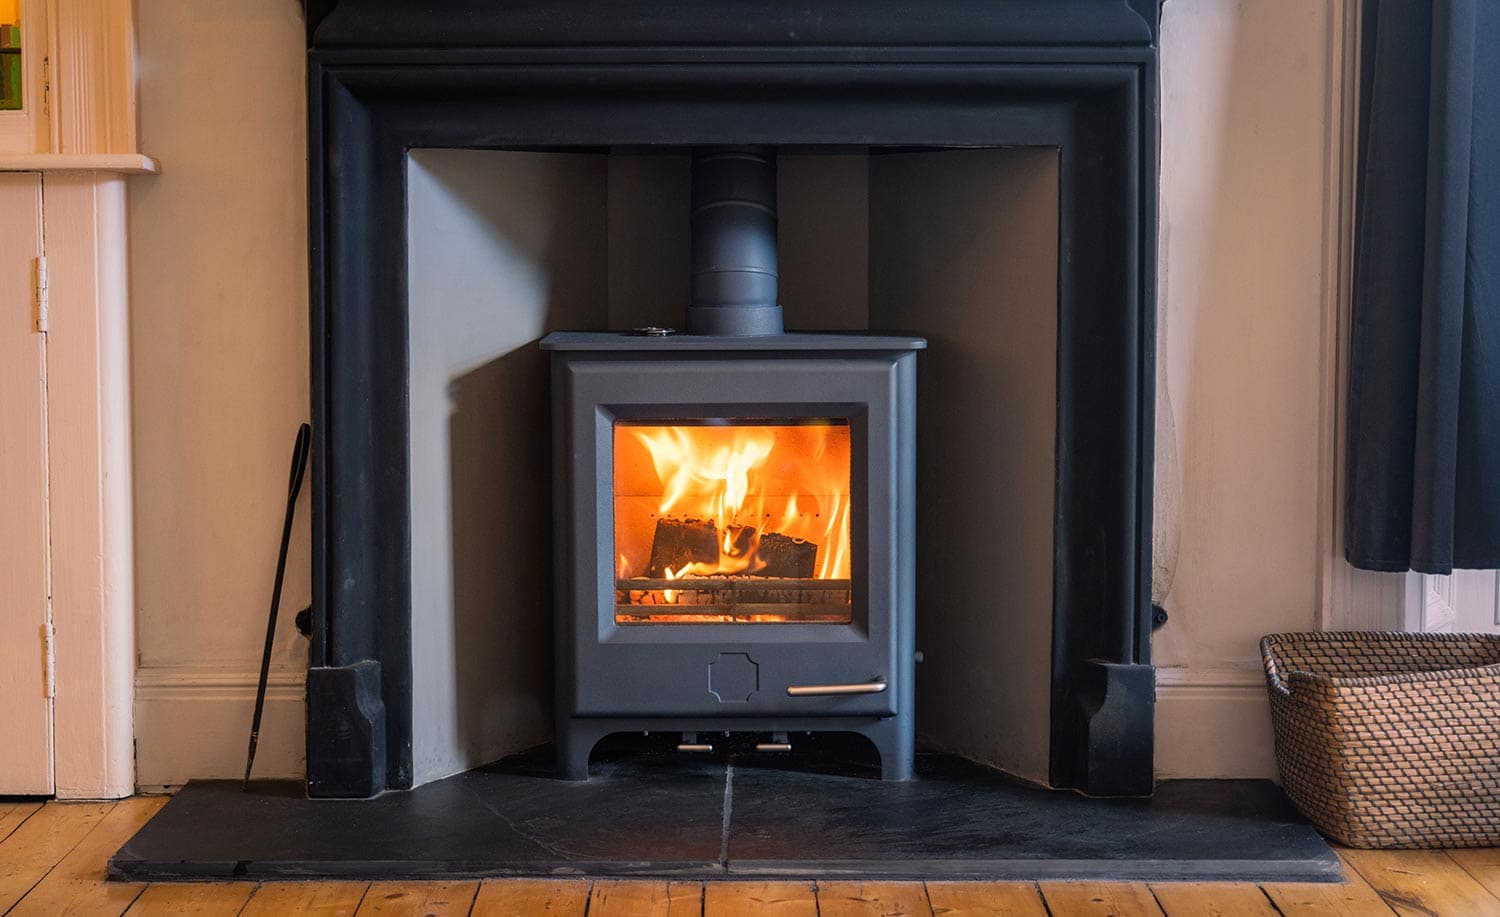
Step 1: Decide The Location Of the Wood Stove
There are two points you can consider when deciding where to situate your wood stove. First, which part of the house do you want to be the warmest? Usually, these areas are the living room, kitchen, or dining room, where everyone gathers to spend time together.
Second, you can locate it in a spot where it can distribute warmth throughout the other parts of the house.
Step 2: Install The Floor and Wall Protection
After deciding where to put the stove, look at the type of floor, and you'll locate it. Is it combustible or not? Ask the stove manufacturer for the details about the materials you will need for the floor protection and the exact position to put the appliance since you have to ensure it meets the requirements of UL 1482.
UL 1482 includes the required size of the floor protection. From the stove, the protector must extend 18 inches [300 mm] in front, 8 inches [200 mm] on the sides, and 8 inches [200 mm] also at the back.
When it comes to the wall protection, you are required to install a non-combustible hearth pad if the distance of your stove from the wall is less than the clearance area below:
- Side wall - 18 inches away from the stove
- Back wall - 18 inches away from the stove
- Corner - 12 inches away from the stove
If it is equal to or more than the distance above, you do not need to put any protection on your wall.
Step 3: Cut A Hole In The Ceiling
After the wood stove is settled in place, locate the spot perpendicular to the exhaust collar using a laser level. Make sure that the size of the hole cut is the same as the ceiling chimney pipe. If the pipe will pass through another level of the house, install a fire stop joist shield. It provides enough fire protection when heat passes a floor.
For the attic, place an attic insulation shield. This prevents objects from coming in contact with the pipe. Continue the cutting off of the hole through the ceilings and floors until you reach the roof and while you are at it, make sure to remove the parts of insulations that may touch the chimney pipe.
Step 4: Install The Flashing On The Roof
Pull up the shingles halfway around your roof using a pry bar once you have a hole in your roof. Slide the flashing under the popped-up shingles and hold it in place once it's in the correct placement. Put a little silicone at the base of the flashing, then press it tightly.
Start securing it with a ½ nail on the outer edges and inner portion. After that, apply more silicone on every nail head you inserted and around the flashing base, including the parts of the shingle ridges as you go all over it.
Step 5: Assemble The Pipe Section
Now that the stove area, holes, and roof flashing are done, you can start assembling the chimney pipes. Chimney pipes require a different number of screws. Look for the manufacturer's instructions for the product you purchased.
Using a male universal adapter, connect the stove pipe to the chimney pipe since it must be transitioned before the first ceiling. As your pipe extends to the roof, stabilize it with a wall standoff for every 8 feet above the support box. It should stretch out 3 feet above the roof if installed in the peak section. A few feet higher than the roof if the chimney pipe goes through the lower side.
Step 6: Install The Storm Collar And Rain Cap
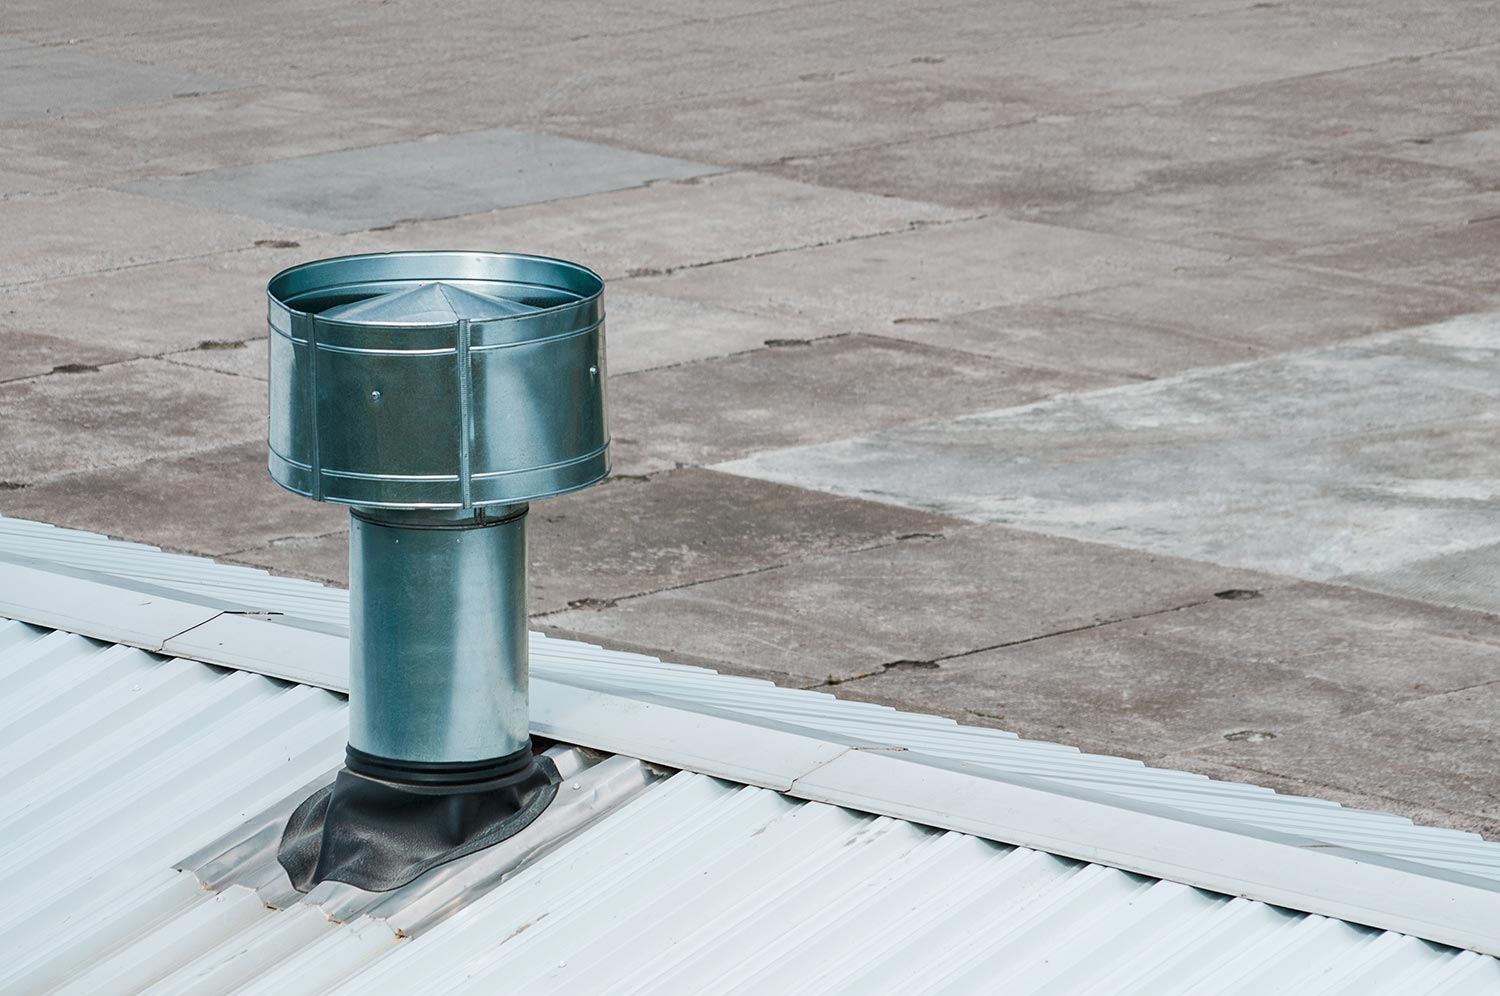
Trim the storm collar according to the needed length and wrap it around the chimney pipe at the top of the flashing. Slide the tab in between the designated gap to lock it. Next, get a high-temperature caulk and seal it around the collar and the pipe to ensure no water will get through. Clamp the rain cap around the top of the pipe.
Step 7: Install The Stove Pipe
Connect the stove and chimney pipe using a single or double wall stove pipe. If your stove stands close to the wall, you should use a double wall stove pipe since it is air-insulated and does not radiate heat like the single wall stove pipe.
Step 8: Install the Damper On The Pipe
If your stove is not EPA rated and has no pre-assembled damper section, install a damper by drilling two holes in the pipe. Place it inside the pipe and run its rod along the damper flap and holes you drilled to lock.
Step 9: Conduct A Test Fire
Light a small fire and check if there is no smoke from the wood stove door when you open it. If there isn't, then that means it's working properly.
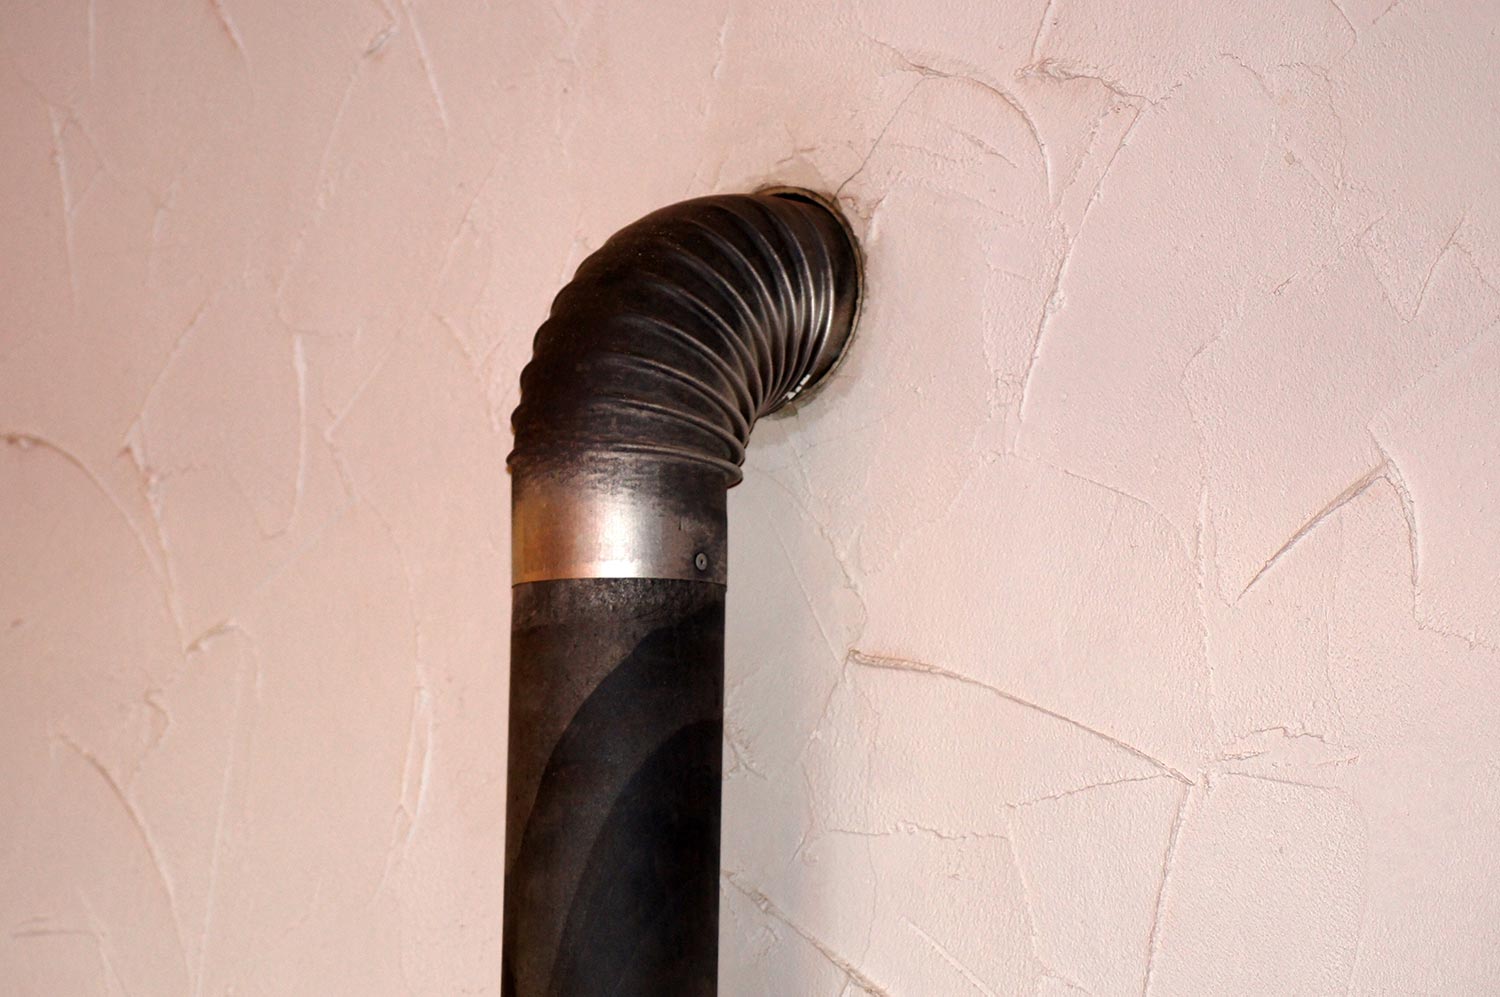
How To Install Wood Stove Through A Wall
Here is a simple procedure on how to install a wood stove through a wall using a kit.
- First, install wall protection behind the stove and plywood on the part where you will cut a hole.
- If you have a combustible floor, lay floor protection, like a heat-resistant pad.
- Next, measure and draw a circle as a guide when you cut it with a jigsaw. On the outer side of the wall, follow the pattern from the previous cut you did.
- Attach the thimble on each side of the hole and seal the gaps with fire-rated caulk and fire block foam.
- Prepare the clean-out tee before installing it on the outer portion of the wall.
- Put the triple wall chimney sections above it. You can use an additional bracket to stabilize the pipe. Make sure that the chimney pipe is at a minimum of 3 feet taller than the roof and 2 feet taller than anything within 10 feet.
- Put the cap on top of the pipe.
- Put the stove over the floor protection.
- Start installing a single or double wall stove pipe. Make sure that it is leveled.
- Insert it into the thimble to connect to the chimney pipe outside.
Learn how to install a wood stove through the roof here: "How To Install A Wood Stove Chimney Through The Roof."
How Much Does Wood Stove Installation Cost?

The cost of having a professional install your wood stove depends on many factors like the ventilation parts, the materials that will be used, your local labor cost, and the type of wood burner you purchased. However, here is the estimated price range of the installation:
- Lowest cost: $1,500
- Average cost: $3, 250
- Highest cost: $5,000
How To Maintain A Wood Stove
Maintaining your wood stove even when you are not using it can help keep the warmer functioning properly until the next cold season. Below are some tips for preserving the performance of your wood burner stove.
- Avoid burning anything other than woods
- Do not build big fires inside the stove
- Clean the ashes away to keep the burner's air ventilation clear
- Check if your house needs insulation. A well-insulated room can keep trap warmth
- Call a professional to inspect your wood stove
Learn more about wood stoves here: "Should You Leave Ashes In A Wood Stove?"
In Conclusion
Installing a wood burner stove requires professional help. Especially if you're not confident about your installment skills. It may cost more, but it's worth it to guarantee that it is assembled correctly and you do not need to hassle over the local government permissions.