
A well-ventilated bathroom helps make a bathroom comfortable and clean by bringing in fresh air. Good ventilation reduces airborne viruses and mitigates damage or mold growth. You might need to install a bathroom fan to improve your bathroom ventilation. Not to worry! We've researched the steps to do this to create a step-by-step guide for you.
To install a bathroom fan, follow these steps:
- choose fan size
- locate the vent route
- locate where to mount the fan
- determine the fan's power source
- gather your tools
- prepare the area
- install the fan
It's always best to consult a professional if you are uncertain of your DIY skills for this type of job, as it does entail properly sizing, mounting, and wiring a ventilation fan. However, if you're up to the task, stay with us to learn the details of how to perform each step. We'll also discuss the benefits of using bathroom fans and what to do if your bathroom is not adequately ventilated.
![bathroom-ventilation-fan-modern-interior-design, How To Install A Bathroom Fan Where One Does Not Exist [Step By Step Guide]](https://hvacseer.com/wp-content/uploads/2022/10/How-To-Install-A-Bathroom-Fan-Where-One-Does-Not-Exist-Step-By-Step-Guide.jpg)
Considerations For A Bathroom Fan
Determine the size of the fan you need. To determine which fan is appropriate for your bathroom, you need to calculate your bathroom’s CFM (cubic feet per minute) rating. To determine the CFM, multiply the room’s cubic footage (length x width x height) and divide the number by 7.5.
Decide where to best put the fan. The location is usually the area that produces more moisture, typically close to the shower or tub area.
Pick where to vent the fan. Vent location should agree with the building or area code requirements of your area. Exhausted air terminal points must be sent outdoors.
Benefits Of A Bathroom Fan

From improving air circulation to eliminating unwanted odors, a bathroom fan also draws out moisture to prevent mold from growing. The use of a fan can prevent costly repairs such as rusty fixtures, warping wood, and peeling paint at the minimum.
And with COVID-19 and other airborne illnesses, keeping a well-ventilated space is now a priority to safeguard our health. It prevents pollutants and reduces airborne contaminants in your bathroom space. If you are ready for the benefits a bathroom fan can offer, below is a step-by-step guide on getting the job done.
How to install a bathroom fan
Choose Fan Size
When choosing your fan, check which size you should get. To choose, you should determine the square or cubic footage of your bathroom
- Length x Width x Height = Cubic Feet
- (Length x Width x Height) / 7.5 = Number of CFM (round up to nearest 10)
- For example, (6 feet x 8 feet x 8 feet)/7.5 = 51.2 (round up to 50)
After you get this measurement, pick the CFM closest to the measurement of your bathroom, which in this case, is 50 CFM.
Fans are rated by CFMs and sone. This information can be found on the fan’s box.
- CFM (cubic feet per minute) measures the airflow and how strong is the fan’s draw.
- Sone measures the sound of the fan. The higher the number, the louder the fan.
Locate The Vent Route
Placing the vent is important for ventilation to work efficiently. A bathroom fan must be mounted vertically close to the ceiling and expelled outside of the home.
Also, determine where to run the duct. The optimal placement should be the shortest and most direct route from the fan housing to the outside. Make sure that it won’t be stretched too tightly as well.
There are four optimal placements: directly through the roof, through a wall, through a gable vent, and eaves of the soffit vent.
Locate Where To Mount The Fan
Always keep in mind that a fan’s main purpose is to eliminate odors, aerate the space, and reduce damage to existing bathroom fixtures. So pick a suitable spot where it produces humid, wet air, like between the shower/tub, toilet, and door. Of course, pick a spot where it’s aesthetically pleasing but where the fan could also do its work efficiently.
You'll also need to ensure the fan can access the power source and then tie it into the ventilation route.
Determine The Fan's Power Source
Choose whether to run the bathroom fan with its own independent circuit or install it using a shared electric circuit load with the existing appliances in the bathroom. It’s always best to use the existing switch.
Fans that come with lights can be operated using a double switch. If unsure of how to do this, call a professional electrician.
Gather Your Tools
Some tools you’ll be needing:
- Step ladder
- Power drill
- Screwdriver
- Combination pliers
- Foil duct tape
- Framing square
- Flexible duct pipe
- Pencil
- Screws
- Wire nuts
- Safety goggles
- Mask
- Additional: roofing cement, roofing nails
Prep The Area
When tackling this project, be sure that the working area is free of obstructions like furniture or any accessories. Remember to cover glass mirrors or fixtures with newspaper or old drapes. Make sure you have proper lighting and if needed, do this with a companion.
Installing The Vent Fan
Your newly purchased bathroom fan comes with installation instructions. Always read through and follow the manufacturer’s instructions before diving into the process.
- Mark the exterior opening for your fan. Trace the vent cap along the point where you want to place the fan. After marking, drill a hole to create the exterior open point where the new fan housing should be placed. This will be your reference hole.
- Measure the fan housing. When doing this step, make sure to turn off the power to the bathroom before touching any wiring or terminals.
- Now find the reference hole from the exit vent and measure the length and surrounding area to fit your ventilation duct.
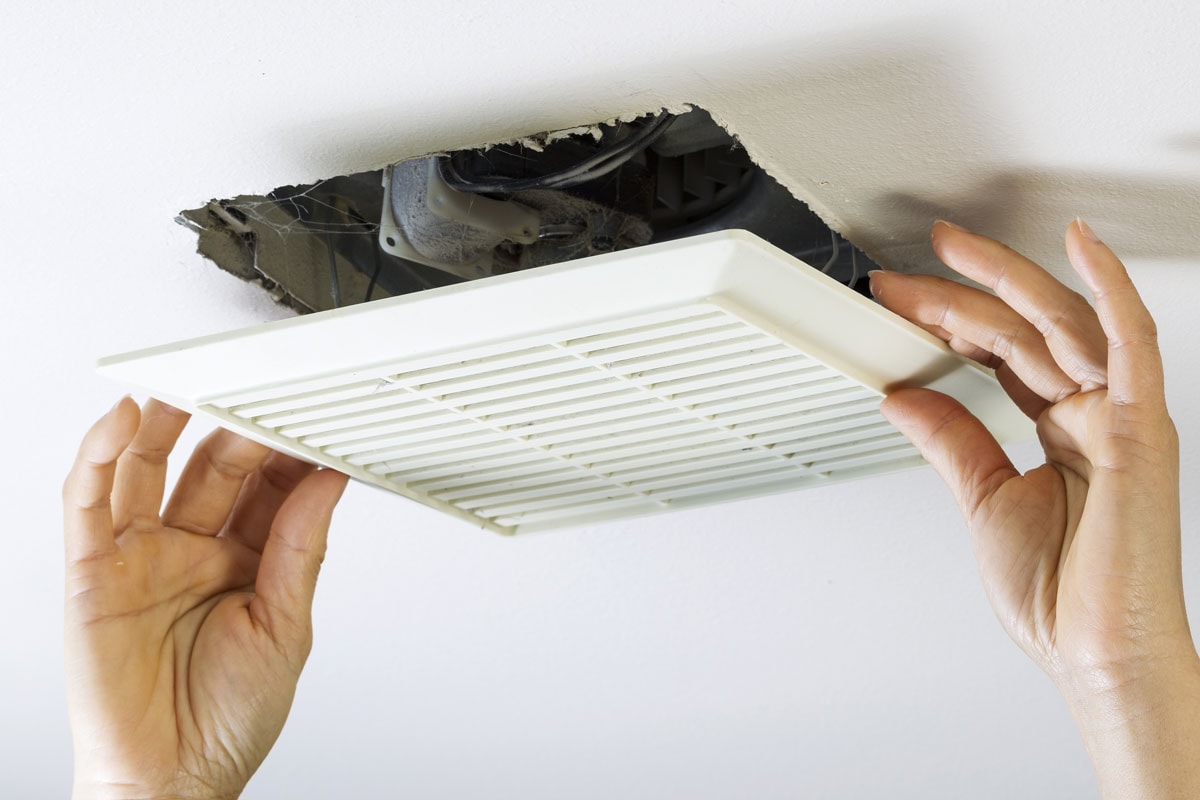
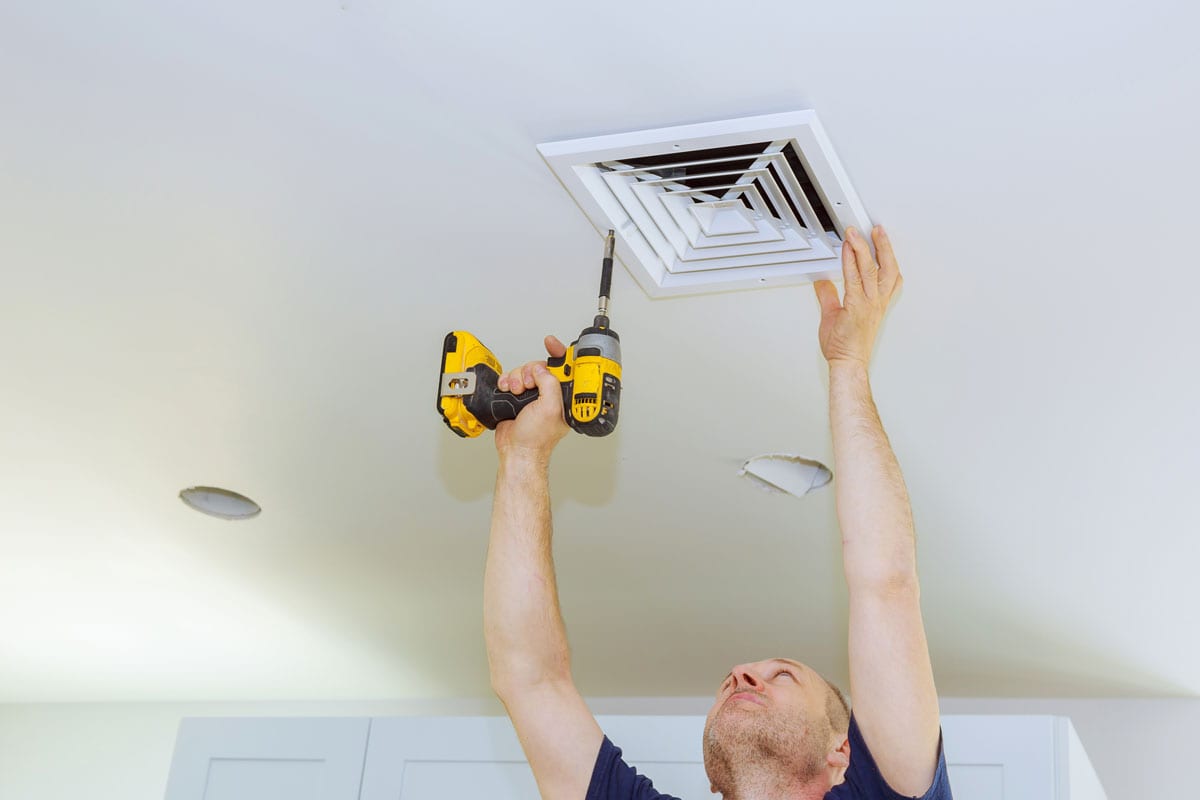
- Return to the bathroom. Measure the intake port. Secure the bathroom fan into the hole. Secure housing to the ceiling joists using the housing brackets with screws that come with the fan.
- From the inside, install the flexible pipe by routing the hose from the fan to the vent. Secure the tubing with foil tape or fasteners which came with the fan. Always ensure that it runs smoothly and directly as possible. Avoid any obstructions or winding pathways to the exit vent. This ensures that air circulates and vents air efficiently.
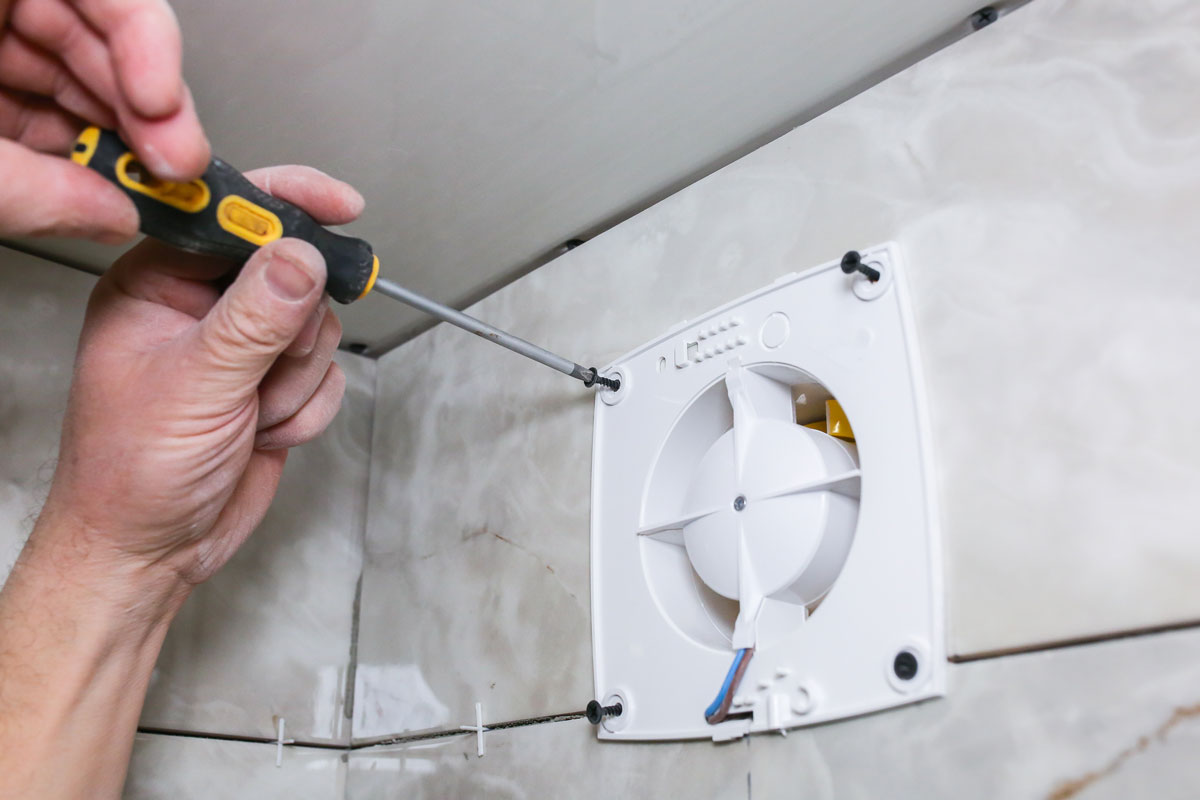
- Prepare the wiring and wire the fan to the electrical circuit load.
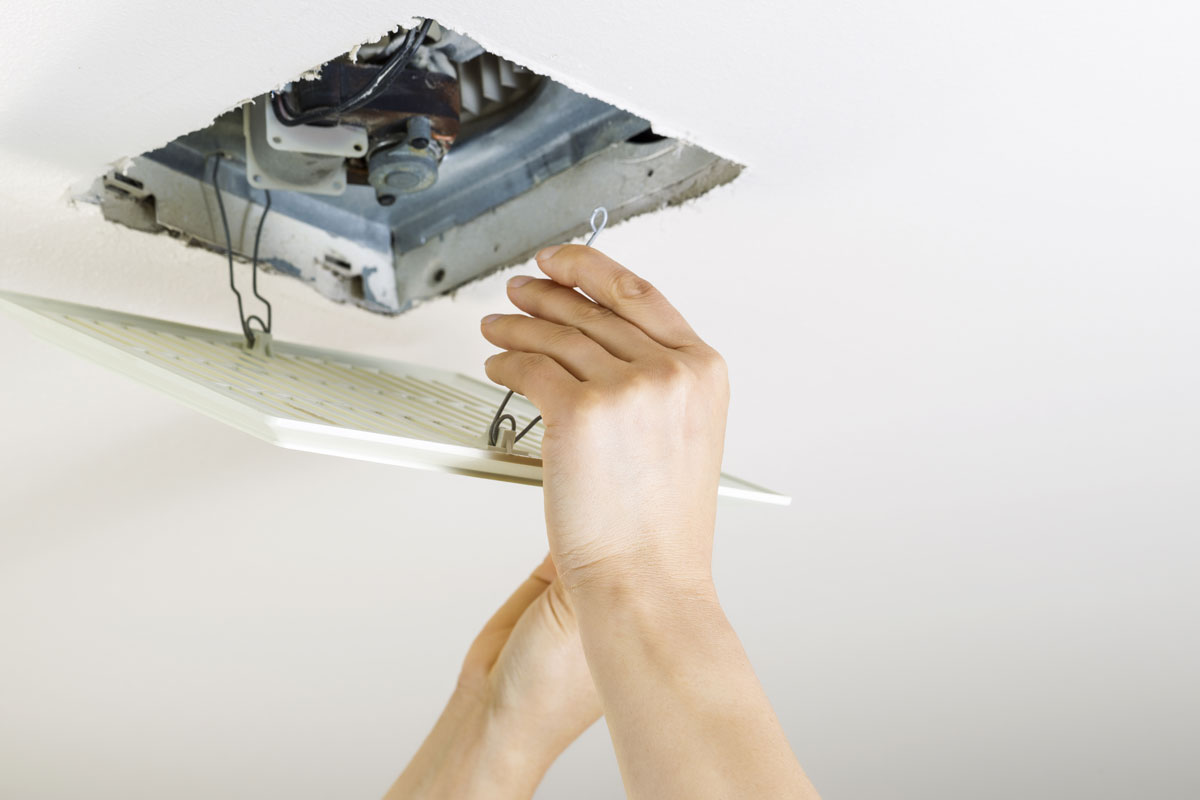
- Attach the grille and secure it into the slots in the fan housing.
- Turn the circuit breaker on and test the fan to check if it works.
Can you vent a bathroom fan into a plumbing vent?
A bathroom vent should never be vented to a plumbing vent. Section M1505.2 of the International Residential Code or IRC says that exhausted air from the bathroom must be vented outside, and venting it into a plumbing vent violates Section M1051.1 of the IRC and poses health and safety risks related to sewer gas. Not to mention unpleasant smells which could circulate inside the house.
What to do if there is no fan in the bathroom?
If the house design happens to have no bathroom fan, there are still ways to keep the bathroom humidity to a minimum. The most common solution is to open bathroom windows and the door to keep the bathroom dry and let out the steam.
Always mop floors and wipe down walls after use. Use a dehumidifier to absorb excess moisture. After you use the bathroom, use a standing or tabletop fan to circulate air. Choose to clean with cleaning agents that disinfect and fight bacteria and mold.
How do you keep a windowless bathroom fresh?
Windowless bathroom? No problem. Here are ways to freshen the room:
- Take advantage of cleaning sprays and agents that prevent mold and mildew growth.
- Maintain a cleaning routine is the best tip for keeping the bathroom clean and fresh smelling.
- Make sure to have regular bathroom checkups. Check for leaks, signs of mildew, the beginning of any rust on bathroom fixtures, or the warping of wooden furniture and address the problem(s) early on.
- Installing a hygrometer to measure a room’s humidity is also a good idea to check for humid, wet air inside the bathroom.
- Put a fan by the doorway to circulate air.
- Freshen the air with some potpourri or bathroom scent sprays.
- Add houseplants to your bathroom decor, as they can dehumidify and brighten a dark, dreary space.
Conclusion
This DIY project is no easy feat, but some fan kits come with manufacturer’s instructions that will make the installation easy. If the process, however, of wiring and cutting seems too complicated, hiring a pro to do it for you will put you at ease.
Looking for more guidance on bathroom fans and ventilation? Check out our related posts:
How To Vent A Bathroom Fan Through The Wall [Complete Guide]