
Improving the air circulation around your home can be a daunting task sometimes. Do you want to install a ceiling fan in your space but don't have any existing wiring and don't know where to start? Well, we've done plenty of research and have the answers waiting here for you.
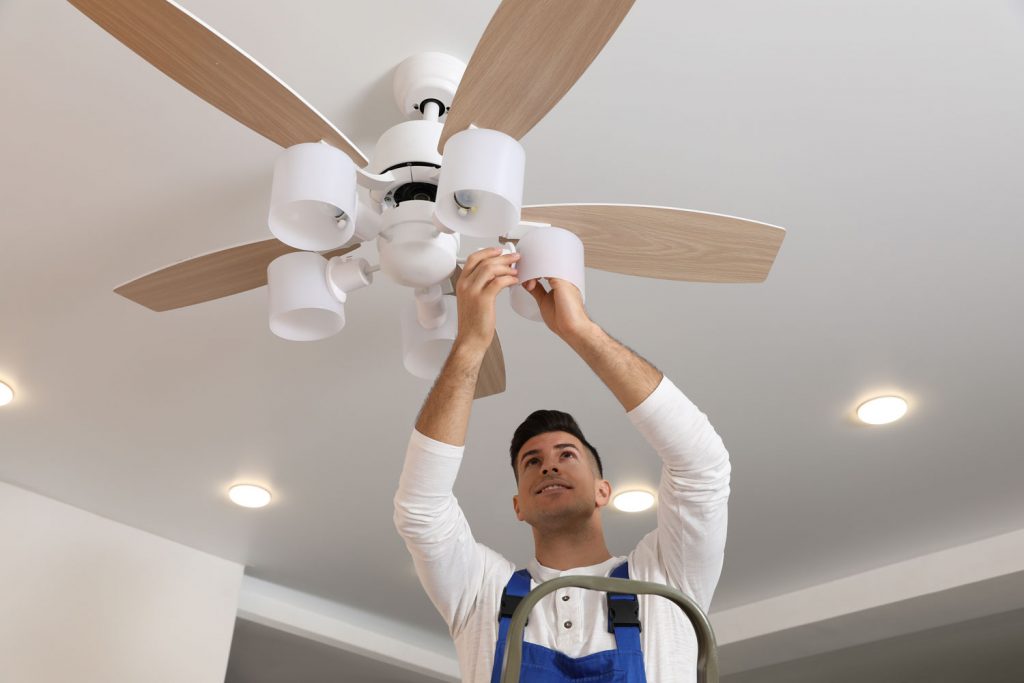
The only safe way to install a ceiling fan without existing wiring is to hire a professional electrician. From there, they will follow these general steps:
- Find the power source.
- Install a larger junction box.
- Run wiring to the fan.
- Run wiring to the new switch.
- Install the fan and switch plate.
- Turn on the electricity and test the new fixture.
As we get into this post, we will discuss ceiling fans and how to install one without existing wiring. Whether you're planning a remodel or need better air circulation, we're here to help you out. With that said, let's dive right into this post!
How To Install A Ceiling Fan Without Existing Wiring
Once again, we recommend you do not do any wiring or install a ceiling fan yourself. We say this because house wires can have a dangerously high voltage, which can seriously harm you.
Therefore, DIY electrical work puts you at risk of severe personal shock and injury, so it's best to reach out to a professional before starting any projects.
1. Find The Power Source
The first step is to locate a working light switch or power source near where you plan to install your ceiling fan. This will be your new fan's switch location, so try to find a place that is easily accessible.
You also want to make sure to turn off the power to this switch and keep it off for the duration of this project.
2. Install A Larger Junction Box
Next, the electrician will remove the old switch junction box and install a larger one in its place. The larger box should be big enough to hold one or two additional switches.
Once the old junction box is removed, it's a common practice to use the new junction box to trace out a perfect size and level area of drywall. The drywall is cut to fit the larger box, ensuring that the adjacent stud and any wires are intact. Cutting either of these make for difficult problems to fix.

Check out this junction box on Amazon.
Generally, a flush-cut saw, or a drywall saw is used to make the larger junction box hole. Remember, the hole only needs to be large enough to fit the back of the junction box; the ears are designed to hold on the front side of the drywall.
3. Run Wiring To The Fan
Next, the electrition will run the wires to your new ceiling fan. Generally, 14/3 wires are the most appropriate for this job.
It's also usually better if an electrician has access to the attic during a ceiling fan installation, as this will make their job easier. On top of that, a quicker installation process means fewer labor costs for you, so this can be beneficial in many ways.

View these 14/3 wires on Amazon here.
This job is much easier if you have attic access above your switch and the new location for the ceiling fan. If there is no attic access, expect a much larger estimate from the electrician. Without attic access, a significant amount of drywall repair becomes necessary.
With Attic Access
With attic access, the first step is determining where the new junction box should go. Generally, you can measure from known points both in the home and in the attic, making this process a bit easier.
Then, a hole is drilled through the top plate directly above the new junction box. Ideally, this hole needs to be about 1/2-inch large or large enough to fit one or two new wire runs.
This hole makes it possible to fish the wire/wires down the stud bay to the new junction box. Ensure that there is also plenty of wire length to reach the new fan location. Once run, it is prudent to fill the hole with fire block foam to keep your home up to fire code.
Remember, it is vital to wear proper breathing, eye, and body protection when in an attic. Usually, this includes a respirator, a full bodysuit, and workman's glasses.
Without Attic Access
If you do not have attic access, it's necessary to cut access holes in your drywall near each framing element that is in the way. Usually, this means two holes at the top corner above the new switch box and another hole at each obstructing ceiling rafter.
These holes make it possible to drill through the framing elements and fish the 14/3 wire from the new switch box to the new fan location.
4. Run Wiring To The New Switch
Next, the electrician will connect the existing power to the fan wire through the new switches. In addition, they will also join the ground wire, which protects the fan from electrical surges, and the neutral wire, which completes the power circuit.
Again, this can be extremely dangerous, so try to leave any electrical work to a professional.
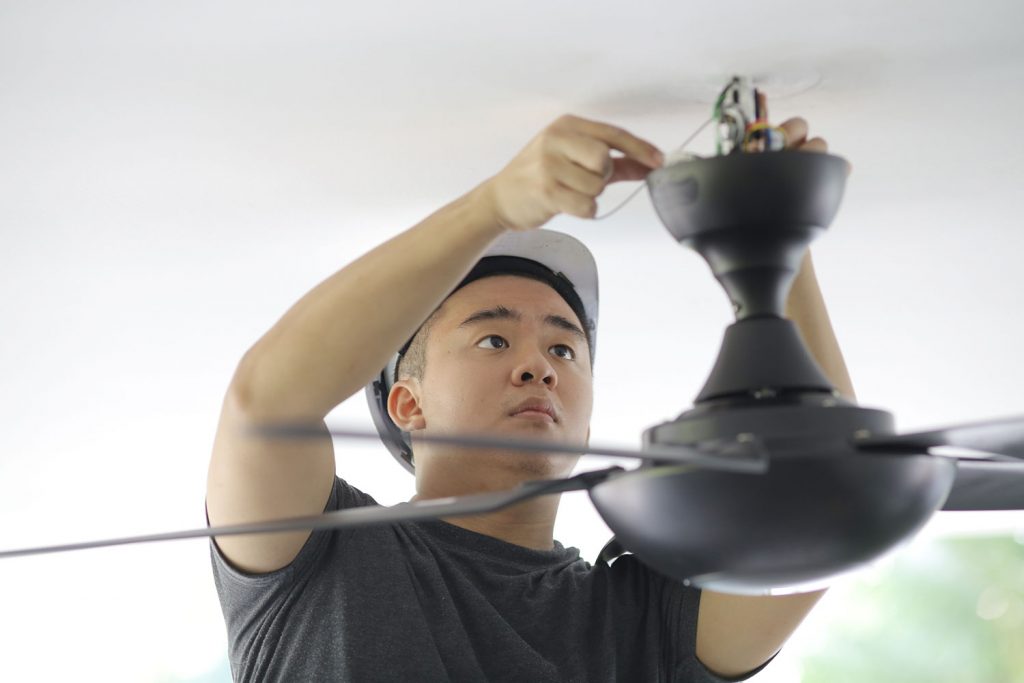
5. Install Fan And New Switch Plate
Now that the fan is wired, it's time to complete the installation. Usually, this means affixing the fan to the junction box so that it's flush with your ceiling material, although this can vary depending on the box/electrician.
It's also important to finish the new switch junction box by putting a compatible switch plate onto the box's front, covering any wires that may be showing.

See this switch plate on Amazon here.
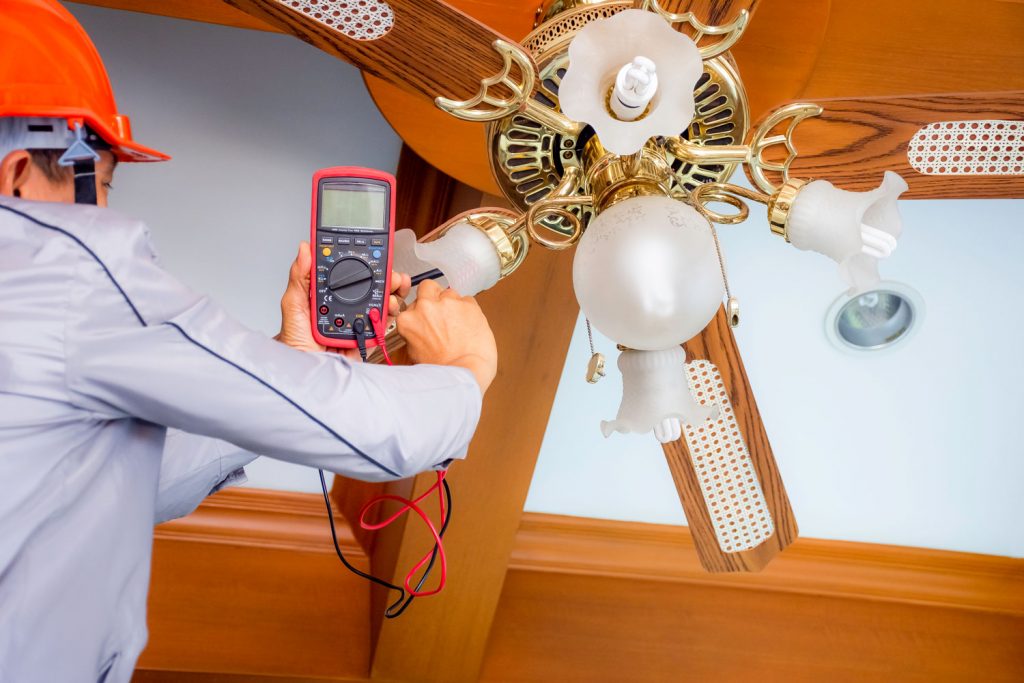
6. Test The Ceiling Fan
Finally, you want to test your newly installed ceiling fan. To start, you want to turn the power back on to the circuit, which should allow your fan to start moving air.
That said, you might have to pull down your fan's string or press the switch on your wall to get things going, so this can might be slightly different depending on how a ceiling fan is configured.
How Much Does It Cost To Install A Ceiling Fan Without Existing Wiring?
The price of this project depends on local wages, material costs, and your home's configuration. Due to these factors, you can expect to pay between $350-$2,000 to install a ceiling fan without existing wiring, so this can be an expensive process.
Of course, you could end up spending much less than $2,000 to have your new fan wired into your ceiling, so everyone will be different.
Can You Install A Ceiling Fan Without An Electrician?
Although possible, it's generally best to hire a trained electrician to install a ceiling fan. According to The National Center for Construction Education and Research (NCCER), every state has a governing system for licensing electricians.
These license requirements are put in place to keep people safe from the risk of shock and electrical fires, making them very important. Again, it's better to pay someone to correctly install your ceiling fan rather than risk your safety, so unless you know your stuff, try to avoid doing any installations.
Can You Install A Ceiling Fan Without Attic Access?
As we mentioned above, installing ceiling fans without attic access is possible. However, this process is much more complex than installing a fan with attic access and requires significant drywall repair.
Can A Ceiling Fan Be Added To Any Room?
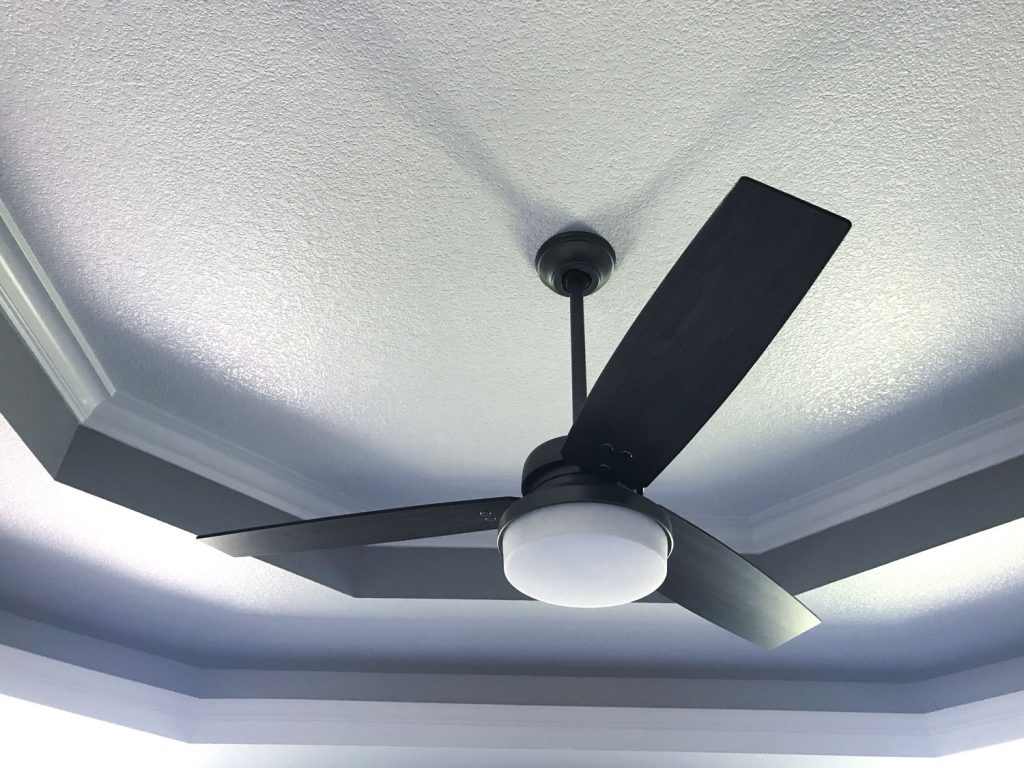
As long as your ceiling fan isn't obstructing anything in the room, it will be okay to install. That said, if you have lower ceilings and don't want to potentially have someone get hit by your fixture, you might want to avoid the idea altogether.
Again, this will come down to your space and home layout, but in general, a ceiling fan should be okay to install in most rooms.
Do You Have To Have A Switch For A Ceiling Fan?
No, you don't necessarily need to have a switch for your ceiling fan. Many fans feature pull strings instead of an actual switch, while others may be remote operated, so there are a few options you can usually choose from.
With that said, you will need to have wiring run to your ceiling fan, regardless of it's turned on, so make sure to have an electrician do that.
To Wrap It All Up
Whether you want to install a ceiling fan somewhere without existing wiring or upgrade your current fixture, knowing how to do this can be tricky. It's best to have an electrician install a ceiling fan somewhere without pre-established wiring because this can pose a safety hazard if you aren't experienced with this type of project.
It's also worth noting that hiring an electrician to install and wire a ceiling fan can cost anywhere from $350-$2,000, so you might want to request a quote from a few different companies before making any decisions.
Regardless, make sure to find a ceiling fan that fits your space, and don't forget to check if your new fan's location is accessible from the ceiling.
Before you go, be sure to check out these helpful related HVAC posts down below!
How To Reverse Ceiling Fan Direction