So you just came from the store and bought your very own Toshiba Portable Air Conditioner. You're all giddy and excited to try it out. There is a problem, however, you don't know how to install the thing. Worry no more! We did in-depth research to help you figure this out.
The first thing you have to note when installing the air conditioner is, choosing the right location. Make sure that the unit is on an even surface and at least one foot from the wall on all sides.
After you've chosen a good location, follow these steps.
- Prepare the exhaust hose assembly.
- Install the exhaust hose assembly to the unit.
- Prepare the window slider depending on your window specifications.
- Connect the exhaust hose assembly to the window slider.
You may now turn on your portable air conditioner and set the desired temperature.
Now that you know the basic steps of installing your portable air conditioner. Let's dive into particular detail on each of those steps, shall we? This will not only give you a better understanding of each component. You will also be able to prevent any unnecessary errors during installation. Let's get started!
Tools And Accessories
All the necessary accessories needed during installation will be included when you purchase the A/C unit itself. Some common hand tools which are normally found in every household will also be needed.
Make sure that all of these accessories were packed together with your A/C unit:
- Unit adaptor
- Exhaust hose
- Window slider adaptor
- Bolt
- Window slider A
- Window slider B
- Adhesive foam seal A
- Adhesive foam seal B
- Non-adhesive foam seal C
- Security bracket and two screws (one set)
- Drain hose (for heat pump mode)
- Drain hose adaptor (for heat pump mode)
- Remote control (not available in some models)
If one or more items are missing, contact the retailer where you bought your unit. You may also directly contact Toshiba's customer support to resolve the issue.
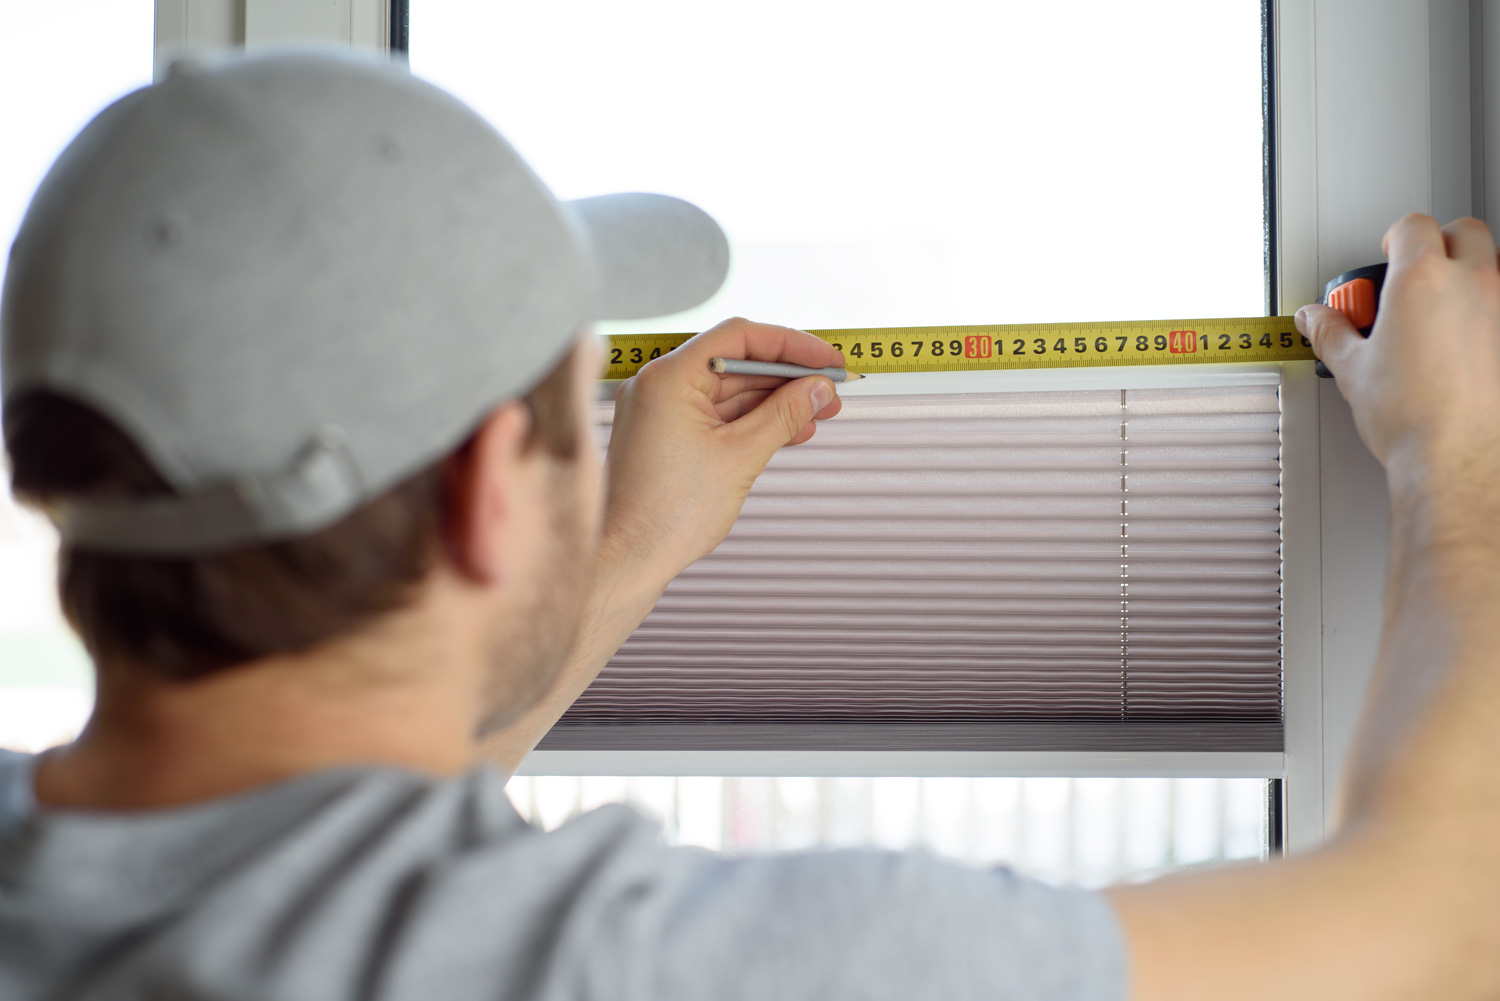
You will also be needing the following hand tools for the installation. Don't worry; you likely already have these in your home:
- Philips screwdriver
- Tape measure or ruler
- Scissors or any cutting edge
- Saw (optional, used for shortening window adaptor on narrow windows)
Once you have checked and accounted for all the accessories and tools needed, you are now ready to do the installation.
Installing The Portable Air Conditioner
Installing the Toshiba portable air conditioner is as straightforward as it gets. You can install the unit even if you didn't undergo any prior training.
1. Prepare the Exhaust Hose Assembly
You can do this by connecting the window slider adaptor and unit adaptor into the exhaust hose. You will hear a clicking sound signaling a proper connection.
2. Install the Exhaust Hose Assembly to the Unit
This can be achieved by inserting the unit adaptor of the exhaust hose assembly into the air outlet. Make sure the unit adaptor is properly inserted in the grooves around the air outlet.
3. Prepare the Window Slider Depending on Your Window Specifications
If the length of your window requires two window sliders, adjust to the proper length (make sure they fit snugly) and fasten using the provided bolt.
4. Connect the Exhaust Hose Assembly to the Window Slider
You can do this by taking the window slider adaptor of the exhaust hose assembly and connecting it to the window slider. Make sure that it is connected properly; you will hear clicking noises signaling a proper connection.
Take note, however, that there will be slight variations on installation depending on the type of window you have.
Type 1: Hung Window Installation
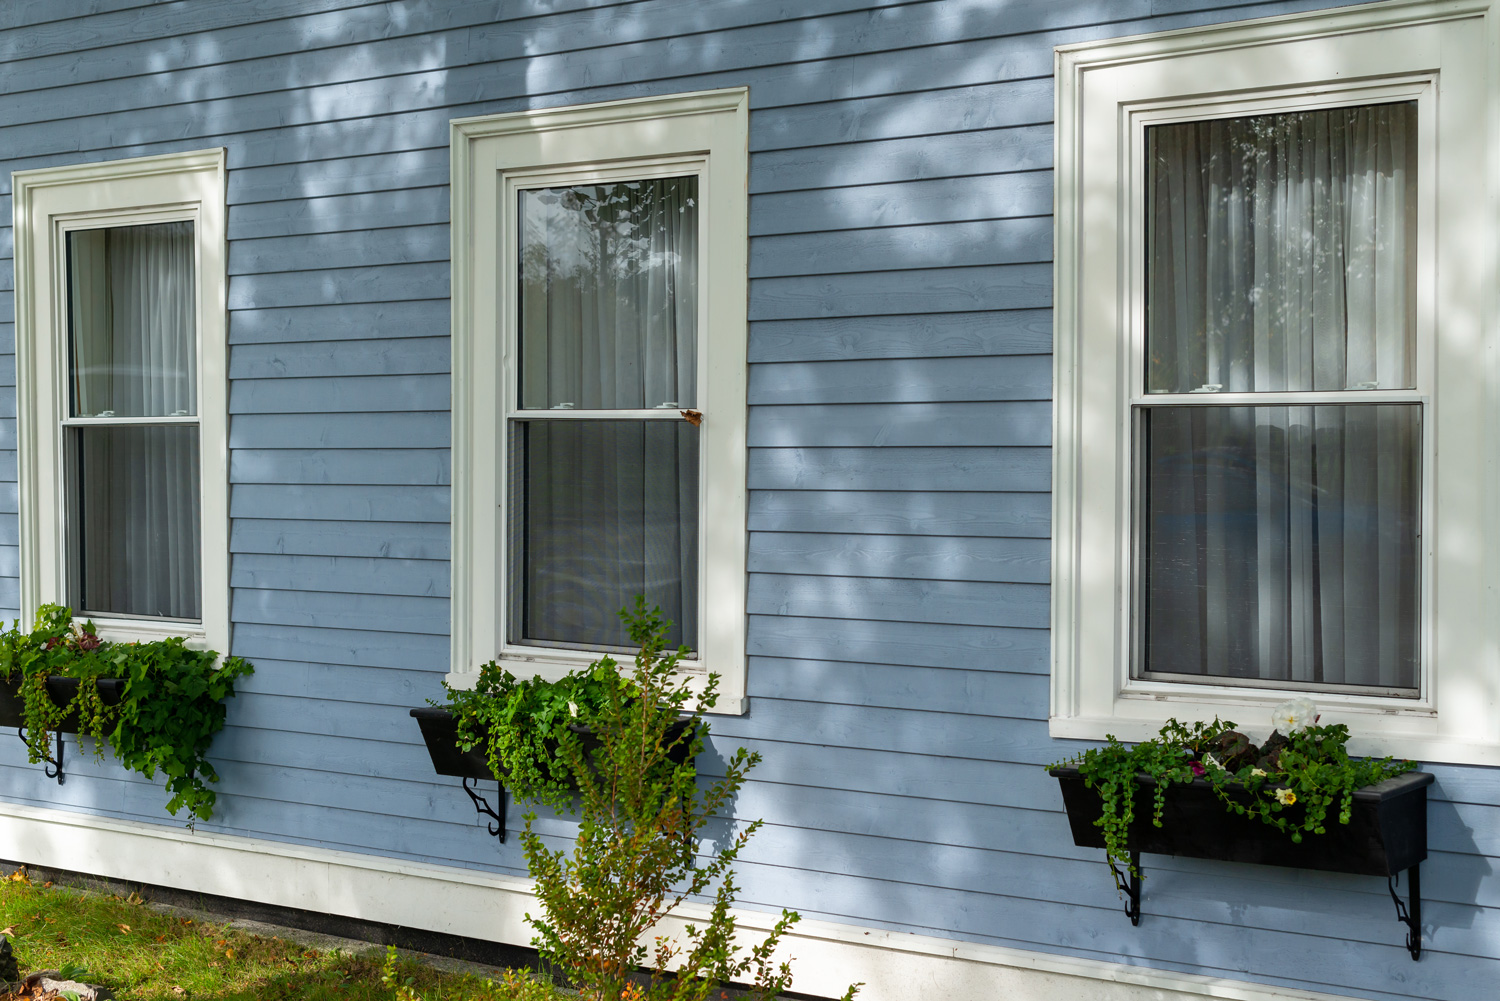
- Cut two lengths of foam seal A using the width of the window as a reference. Use the height of the window slider as a reference for the two cuts on foam seal B. Attach the cutouts to the window sash and frame to create a seal.
- Install the window slider horizontally into the opening. Make sure the slider and the foams seals create a snug fit. Use the lower portion of the window.
- Cut foam seal C to match the width of the window. Insert the foam between the glass and window frame to create a seal. This will prevent insects and outside air from getting inside the room.
- You may opt to install the security bracket that came with the unit. Attach the bracket on the frame to stop the lower window panel from being opened.
- Connect the window slider adaptor into the hole of the window slider.
Type 2: Sliding Window Installation
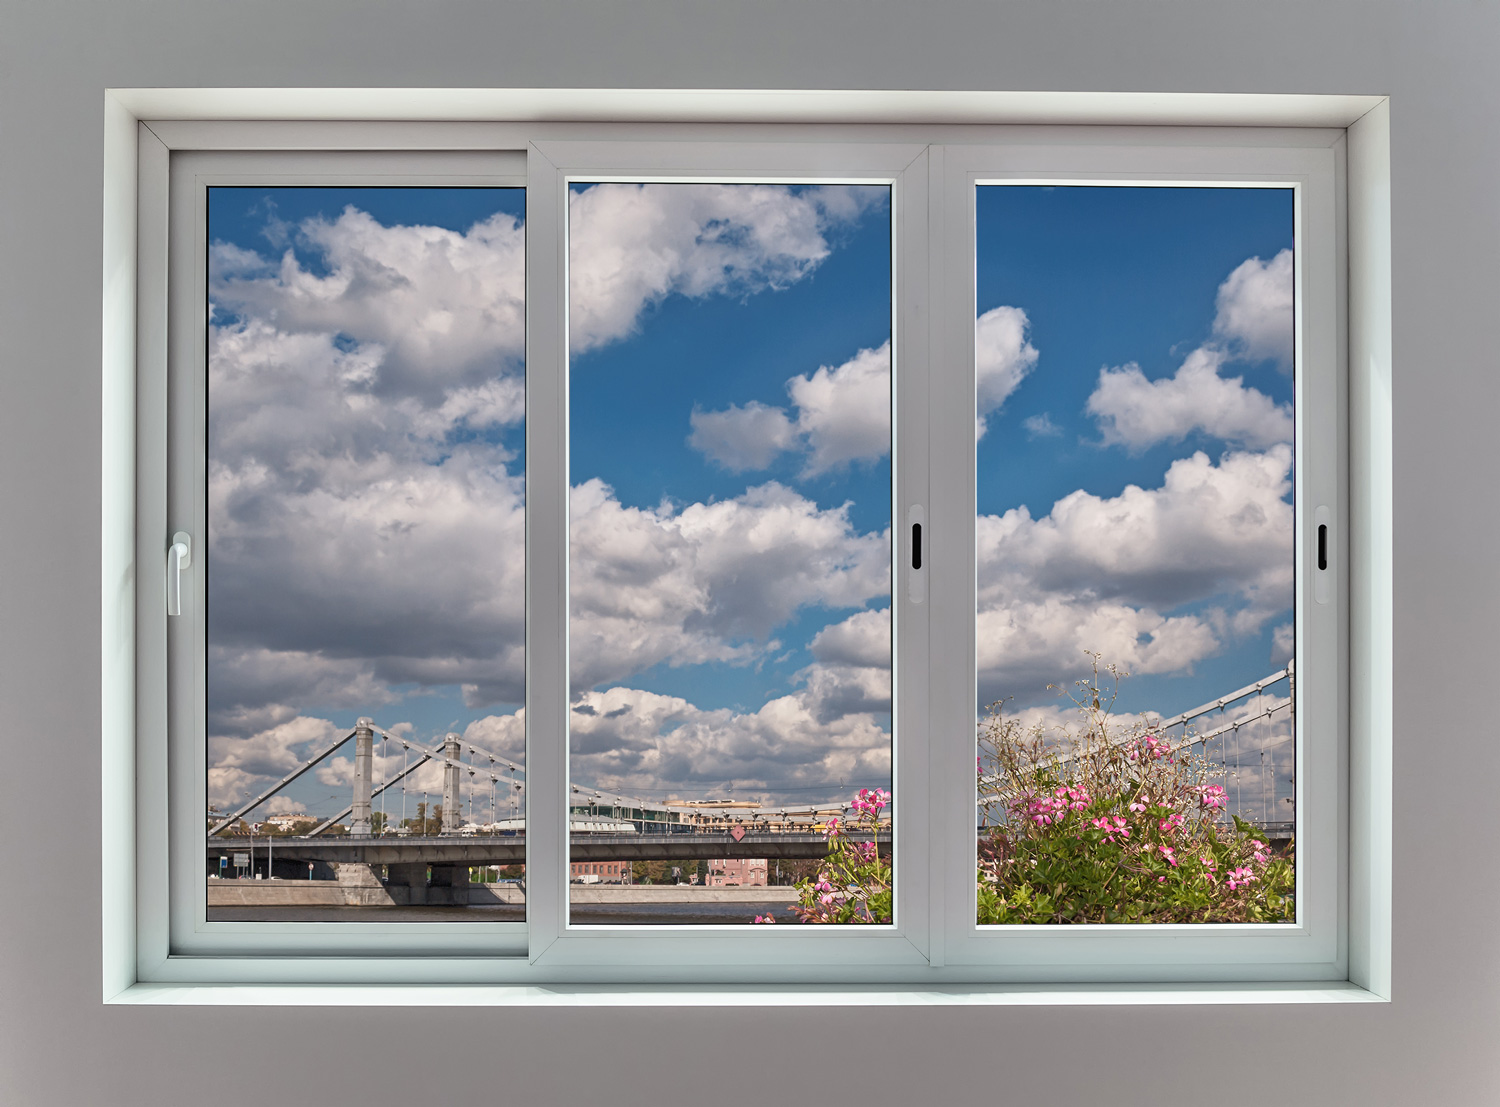
- Cut two lengths of foam seal A using the height of the window as a reference. Also, cut two lengths of foam seal B using the height of the window slider as a reference. Then, attach the cutouts to the window sash and frame to create a seal.
- Install the window slider vertically into the opening. Make sure the slider and the foams seals create a snug fit. You can use either the left or the right side of the window.
- Cut foam seal C to match the window height. Insert foam seal between the glass and window frame to create a seal.
- You may opt to install the security bracket that came with the unit.
- Connect the window slider adaptor into the hole of the window slider.
Care And Cleaning
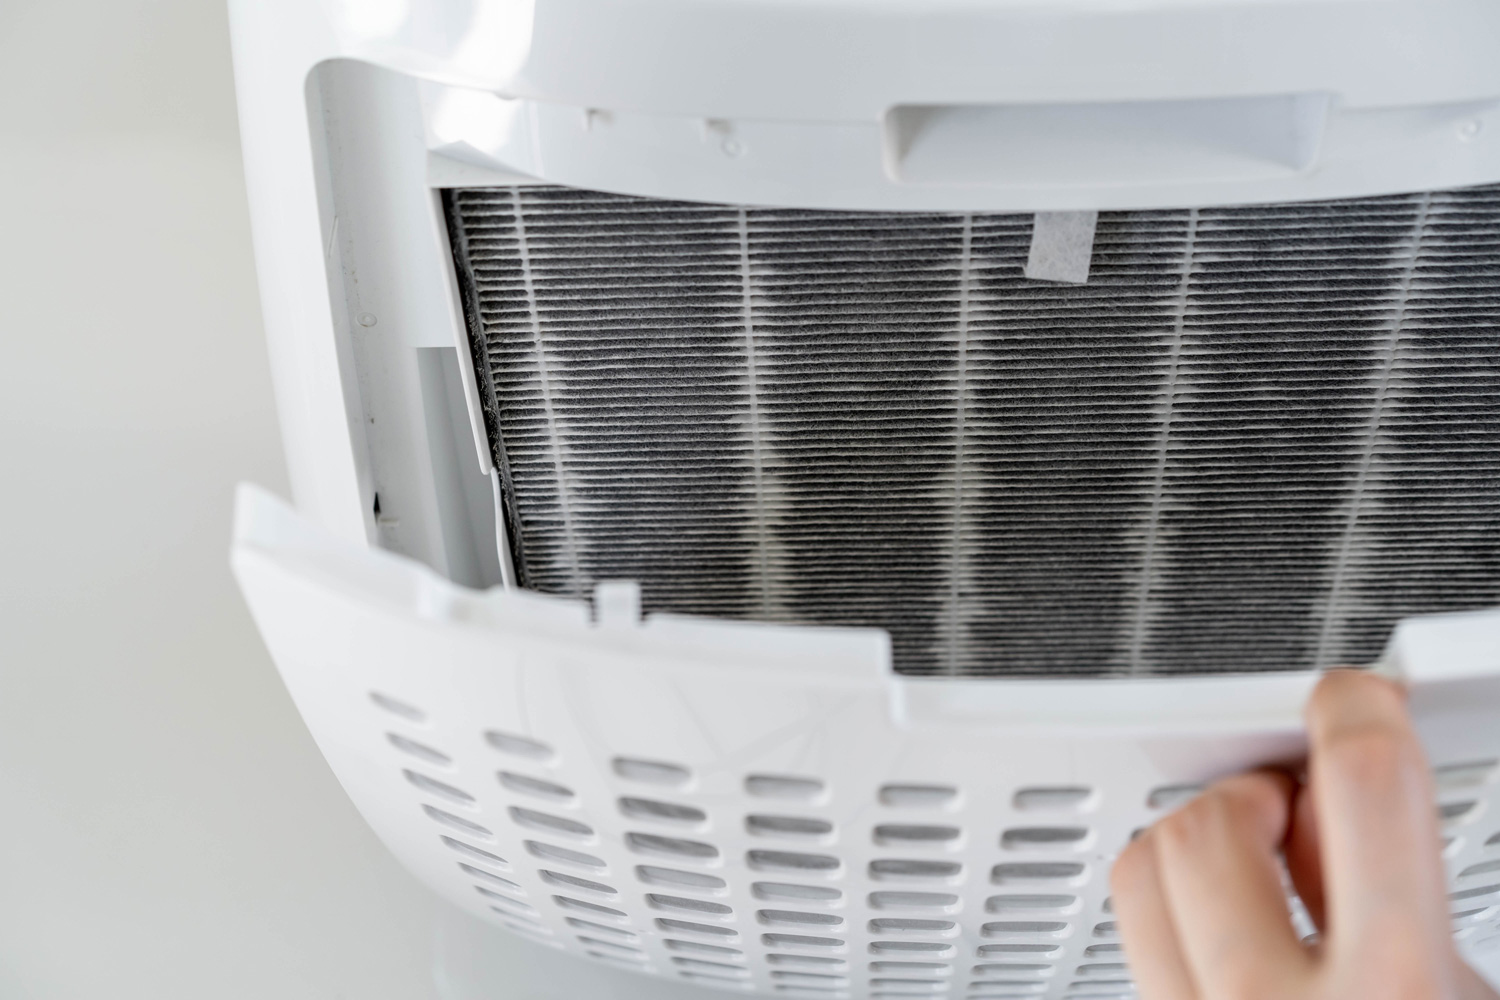
Regular cleaning and maintenance of your portable air conditioner can save you a lot of money in the future. Not only does cleaning keeps the components in good working condition, but you also get to spend less on electricity costs.
Before you start cleaning your Toshiba portable air conditioner, make sure it is turned off and unplugged from the socket. Cleaning the unit while plugged in can cause short circuits and permanent damage.
Air Filter Cleaning
To clean the air filter located at the back of the unit, pry out the upper and the lower filters from their grilles. Take note that some units will have screws securing the filters. Make sure to remove the screws first before prying out the filters.
Once the filters are taken out, you may clean them with mild soap and water. You may also air blow the filters to remove dirt and debris. Before placing back the filters, make sure that they are completely dry as moisture can lead to electronic damage.
Grille Cleaning
For households with pets, make sure you periodically inspect the grilles and wipe them down to prevent fur build-up. Toshiba also recommends that portable air conditioner owners perform cleaning at least every two weeks. This will maintain optimal performance from the unit.
Are Toshiba Portable Air Conditioners Any Good?
Toshiba is a household name when it comes to home appliances. They produce a lot of quality and reliable products that fit into many home types. When it comes to their portable air conditioners, however, there is one concern that potential buyers should take note of, the noise.
A lot of reviewers complained that the Toshiba portable air conditioner is very loud when running. A product review from the site TopTen Reviews measured the noise level and recorded a concerning 54 decibels while running the unit. This is certainly on the higher side for its cooling performance.
When it comes to cooling performance, the Toshiba portable air conditioner delivers to its promises. When used for its recommended size, the 10,000 BTU unit can cool and maintain temperatures of 17 degrees Celsius or 62 degrees Fahrenheit for a room up to 300 square feet in size.
To see the Toshiba Portable Air Conditioner on Amazon, click here.
How Much Does It Cost To Run A Portable Air Conditioner?

A 10,000 BTU portable air conditioner costs about $0.14 per hour to run. If you use a portable air conditioner for 8 hours every single day, your monthly operational costs will be $33.60. The actual cost, however, will entirely depend on the varying electricity prices of every state in the US.
This monthly electricity cost is comparatively cheaper than running a conventional type of air conditioner. In perspective, an average central air conditioner can cost as much as $4.18 for every 8 hours of usage. That is $125 in energy costs when used for an entire month.
To Wrap It Up
For its compact size and portability, the Toshiba portable air conditioner provides its users with a lot of freedom while providing a cool and comfortable breeze. The installation process of the unit is also very straightforward. And the $395 price tag makes it a compelling option for potential buyers.
However, before committing to buying one of these. Make sure that you choose the correct BTU rating for the room size where you're installing the unit, for this could have a significant effect on the cooling performance and the lifespan of the unit.
If you found this article insightful, check out these awesome articles about portable air conditioners:
How Big Are Portable Air Conditioners?
How Long Does A Portable Air Conditioner Take To Cool A Room?

