
Are you designing a rest house, and you’re wondering how to insulate a roof without an attic? Or perhaps you’re renovating and wanted to try something different but weren’t sure how to install insulation on a roof without a ceiling? We did extensive research on this to bring you the best answer.
Follow the steps below to install insulation on your attic-less roof:
- Remove any old insulation from the roof deck and rafters.
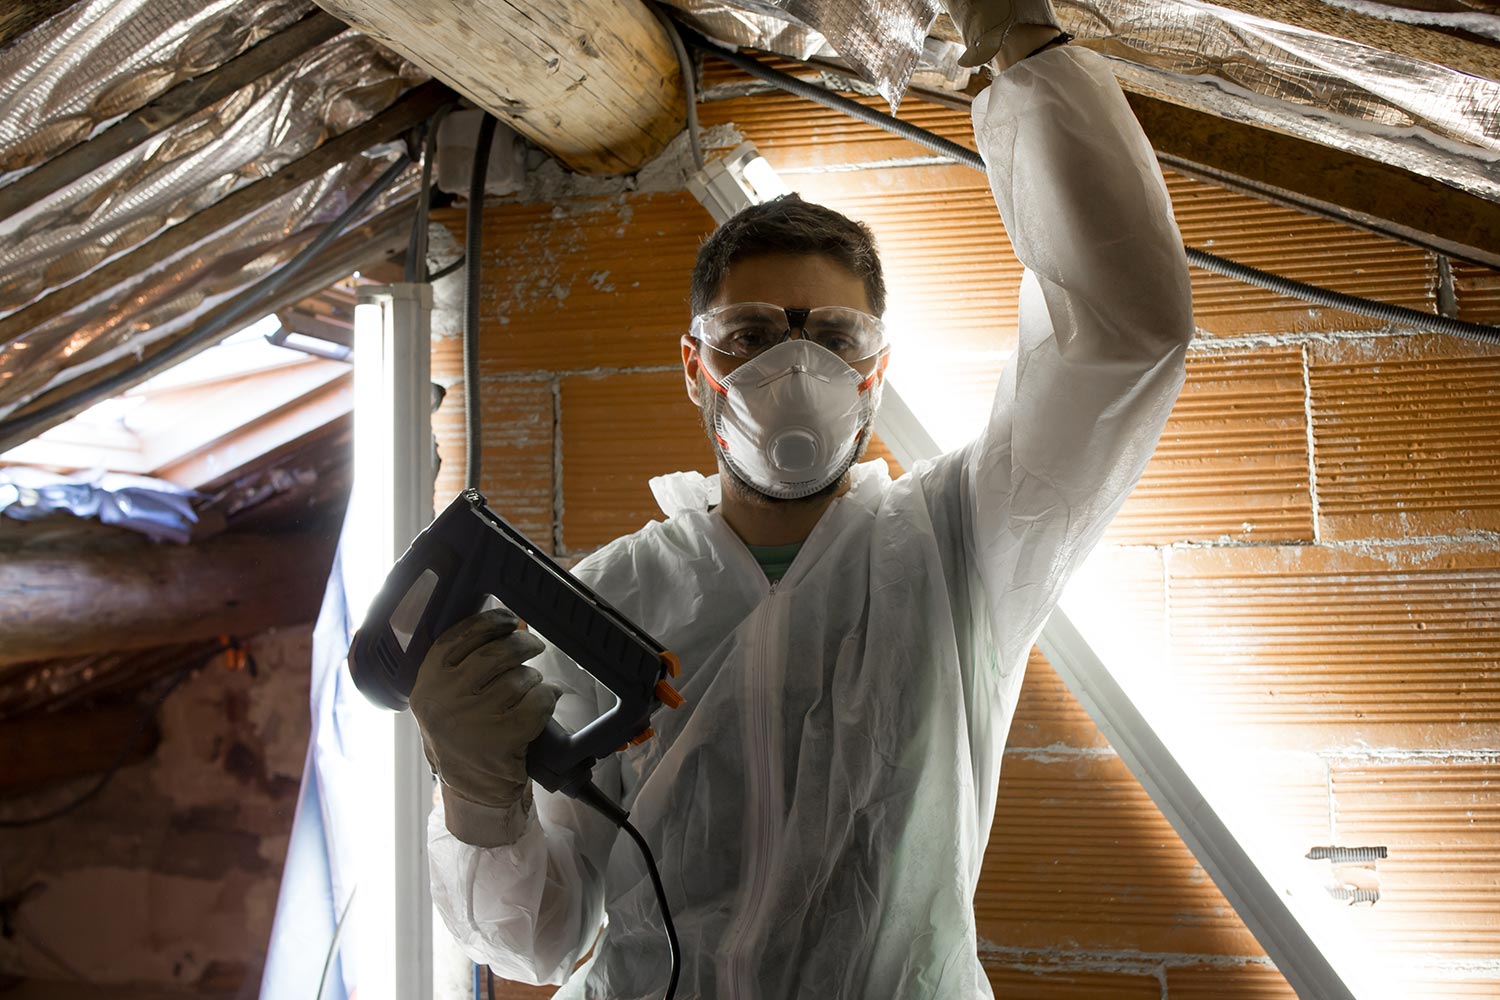
- Get a professional to apply closed-cell spray foam on the surface of the roof deck until the entire area under the roof deck is covered with foam.
- Wait for the spray foam to settle.
- Install drywall over the insulation.
Keep in mind, however, that closed-cell spray foam is very expensive. Only a professional who knows how to handle the ill effects of closed-cell spray foam can install it in your home. Additionally, there is the issue of off-gassing. If you’re looking for a cheaper alternative that can be just as effective, we might just have that option for you in the succeeding sections. Read on!
How to insulate a roof without an attic?
Installing insulation for a roof without an attic can be tricky. The attic serves as a secondary layer that prevents the transfer of heat to and from the living area of the house.
Without an attic, the insulation that you will install should be more than adequate to seal any possible leaks at the roof level because there is no attic insulation to take care of whatever gets through.
This is why closed-cell spray foam is a popular choice for insulating roofs without attics like cathedral ceilings. It acts as a moisture seal and insulation at the same time. We will talk about some alternative insulations that are not as expensive as closed-cell spray foam.
Materials and tools to be used
We listed all the materials and tools that will be used in the installation before moving to the steps. Keep in mind that it is important to wear the safety equipment that we listed below to protect yourself while working on this project.
Required safety equipment
Batt insulation like fiberglass produces dust that can irritate the skin, eyes, nose, mouth, and throat. The equipment below can provide the protection you need against batt dust.
Additionally, these items can also protect you while doing the carpentry side of the project:
- Sweatshirt or any long-sleeved shirt
- Face mask
- Eye protection
- Gloves
Recommended measuring, trimming, and fastening tools
Most of the insulation materials should be trimmed to match the measurements on your roof. The tools below can be used for measuring, trimming, and fastening insulation:
- Cardboard cutter
- Scissors
- Measuring tape
- Polyethylene tape
- Staplegun
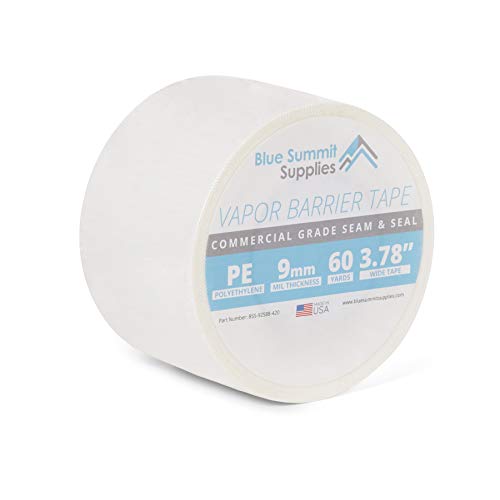
Try this 180-feet roll of 9mm polyethylene vapor barrier tape from Blue Summit Supplies. Check it out on Amazon.
Insulation materials
These are the insulation materials that will be used. The exact measurements are dependent on the measurements inside your house:
- Baffle rafter vents
- Faced fiberglass batt
- Rigid foam boards
- Can of spray foam
- Silicone caulk

Try this 12-ounce can of Loctite Tite Foam insulating foam sealant. Check it out on Amazon.
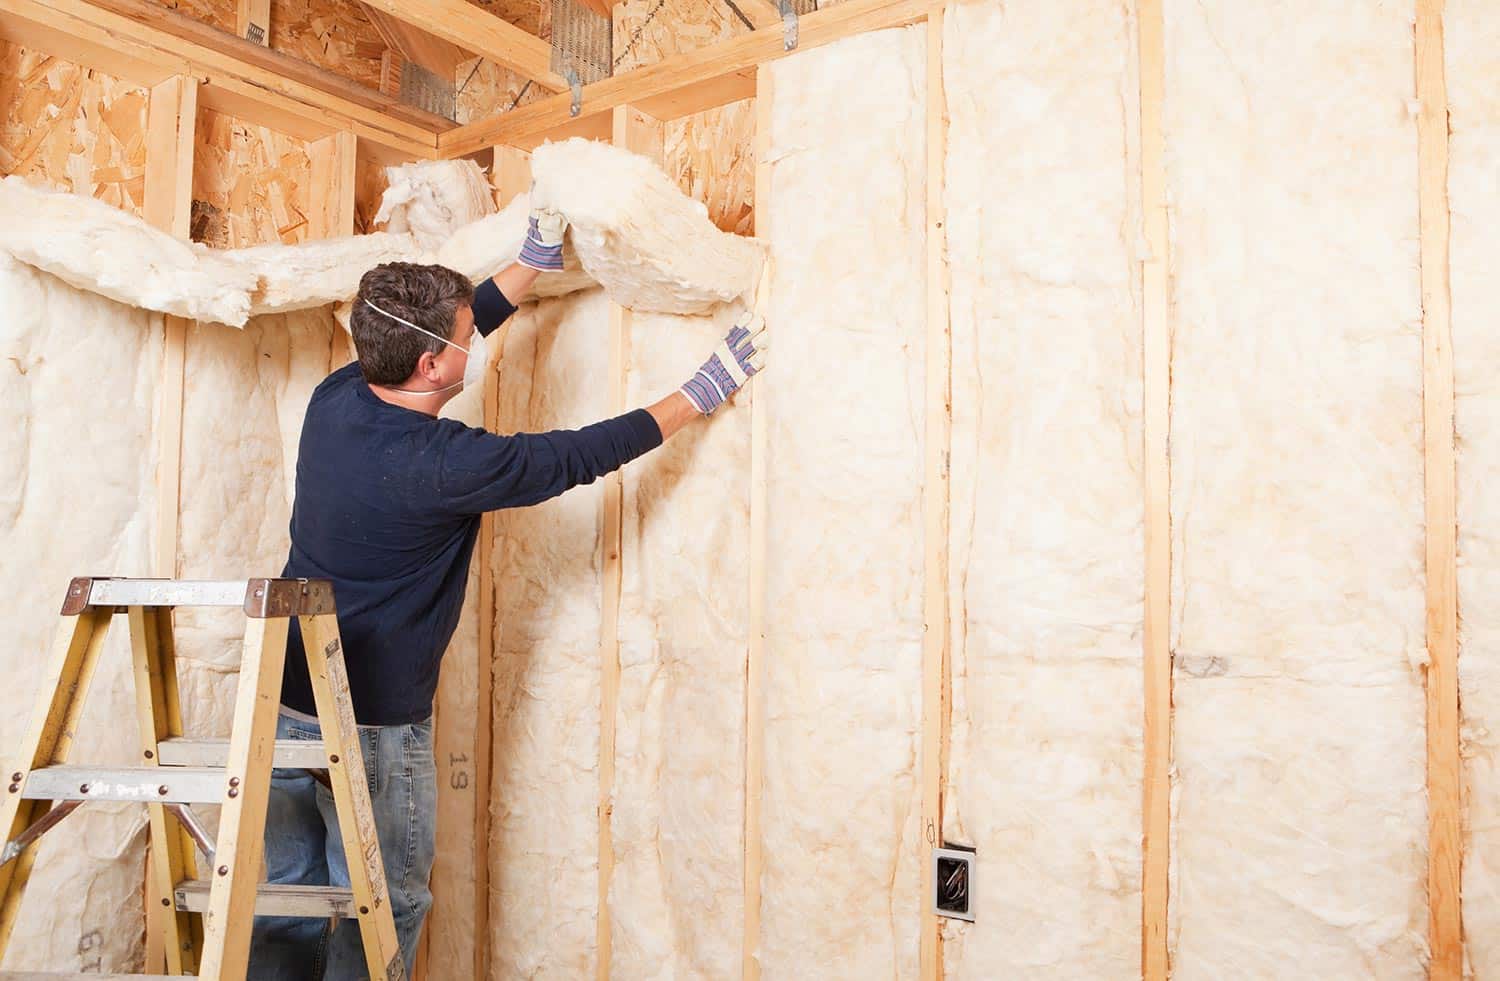
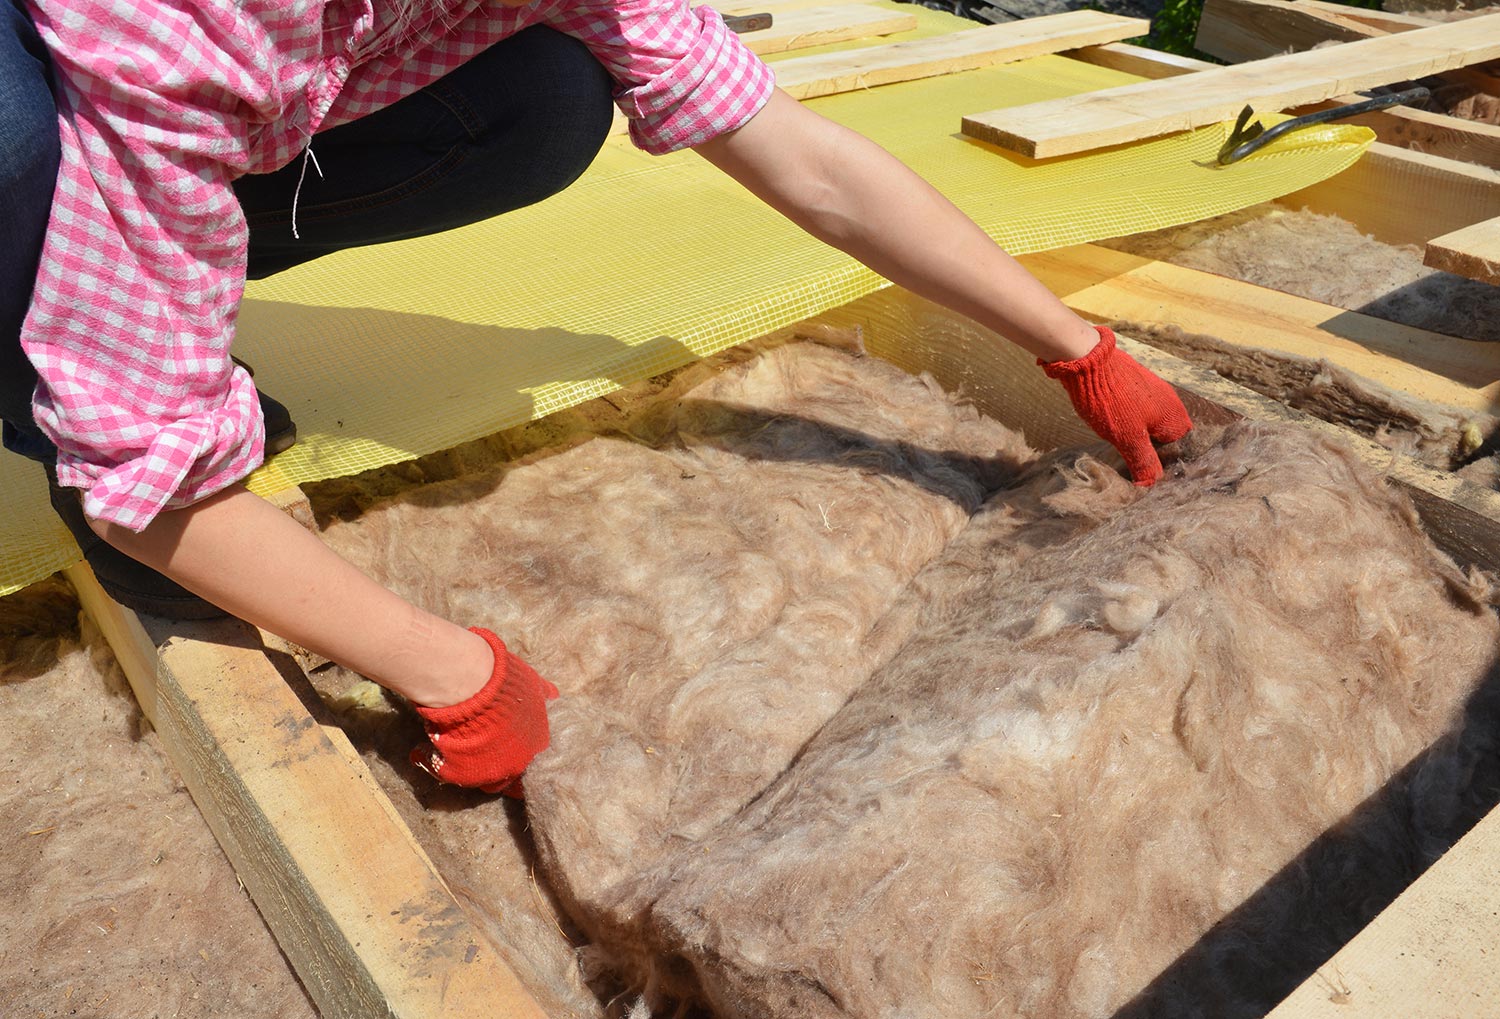
Batt insulation
This section will walk you through the steps to install alternative insulation on your roof without an attic.
How to install faced fiberglass batt on a roof without an attic?
A fiberglass batt is the ideal insulation if you have rafters that are wide enough to hold the thickness of the batt that you will need. The R-value of the fiberglass batt is dependent on its uncompressed thickness.
Thus, if you need a high R-value, you will need a thicker fiberglass batt. A thick fiberglass batt will need a wider rafter to be able to hold the thickness of the fiberglass batt without compressing it too much.
Compressing the fiberglass batt too much reduces its R-value.
Baffle rafter vent installation
- Measure the distance between your rafters. The baffle rafter vents should have a width that is roughly equal to this value. If you can’t find baffle rafter vents of the exact size, pick a slightly bigger one.
- Measure the vertical distance from the wall plate to the bottom of the roof deck.
- Take one of the baffle rafter vents and measure a distance of one and a half to two inches from one end. Trim the two edges of the baffle rafter vent perpendicular to the long side.
- Fold the trimmed end to make a 90-degree angle.
- Measure a distance from the first pair of cuts that is equal to the vertical distance from the wall plate to the roof deck. Trim the edges at this point, similar to the first pair of cuts.
- Place a 2-inch fold of the baffle rafter vent on top of the wall plate. Make sure that the soffit vent or the eaves vent is not getting blocked. Secure the baffle rafter vent with the staple gun.
- Repeat the same steps until you have covered the entire bottom area with baffle rafter vents.
- Place the next layer above the first. Let the next baffle rafter vent overlap the first one by an inch.
- Use polyethylene tape to seal the two baffle rafter vents.
- Follow steps eight and nine until you have covered the entire roof deck with baffle rafter vents.
Faced fiberglass batt installation
- Trim the fiberglass batt to fit the space between the rafters. The side with the paper moisture retarder should face the living areas of your house.
- Open the flap of the fiberglass batt and fasten it to the rafters with the staple gun. Apply a staple every six to eight inches. Let the paper flap overlap with the adjacent fiberglass batt.
- Use the polyethylene tape to seal the edges of the fiberglass batt that overlaps with each other and the flaps on the rafters.
- Keep applying the fiberglass batt until you have covered the entire roof area.
- At this point, it is up to you if you want to install drywall over the installation, shiplap, etc. Apply your choice of finish, and you’re done.
Mineral wool batt option
Instead of using a fiberglass batt, you can use a mineral wool batt instead. However, the first thing you need to consider is the weight of the mineral wool.
It might be challenging to install and keep in place because of its weight. You can use polyethylene sheets to help you keep it in place until you can install drywall.
Rigid foam insulation
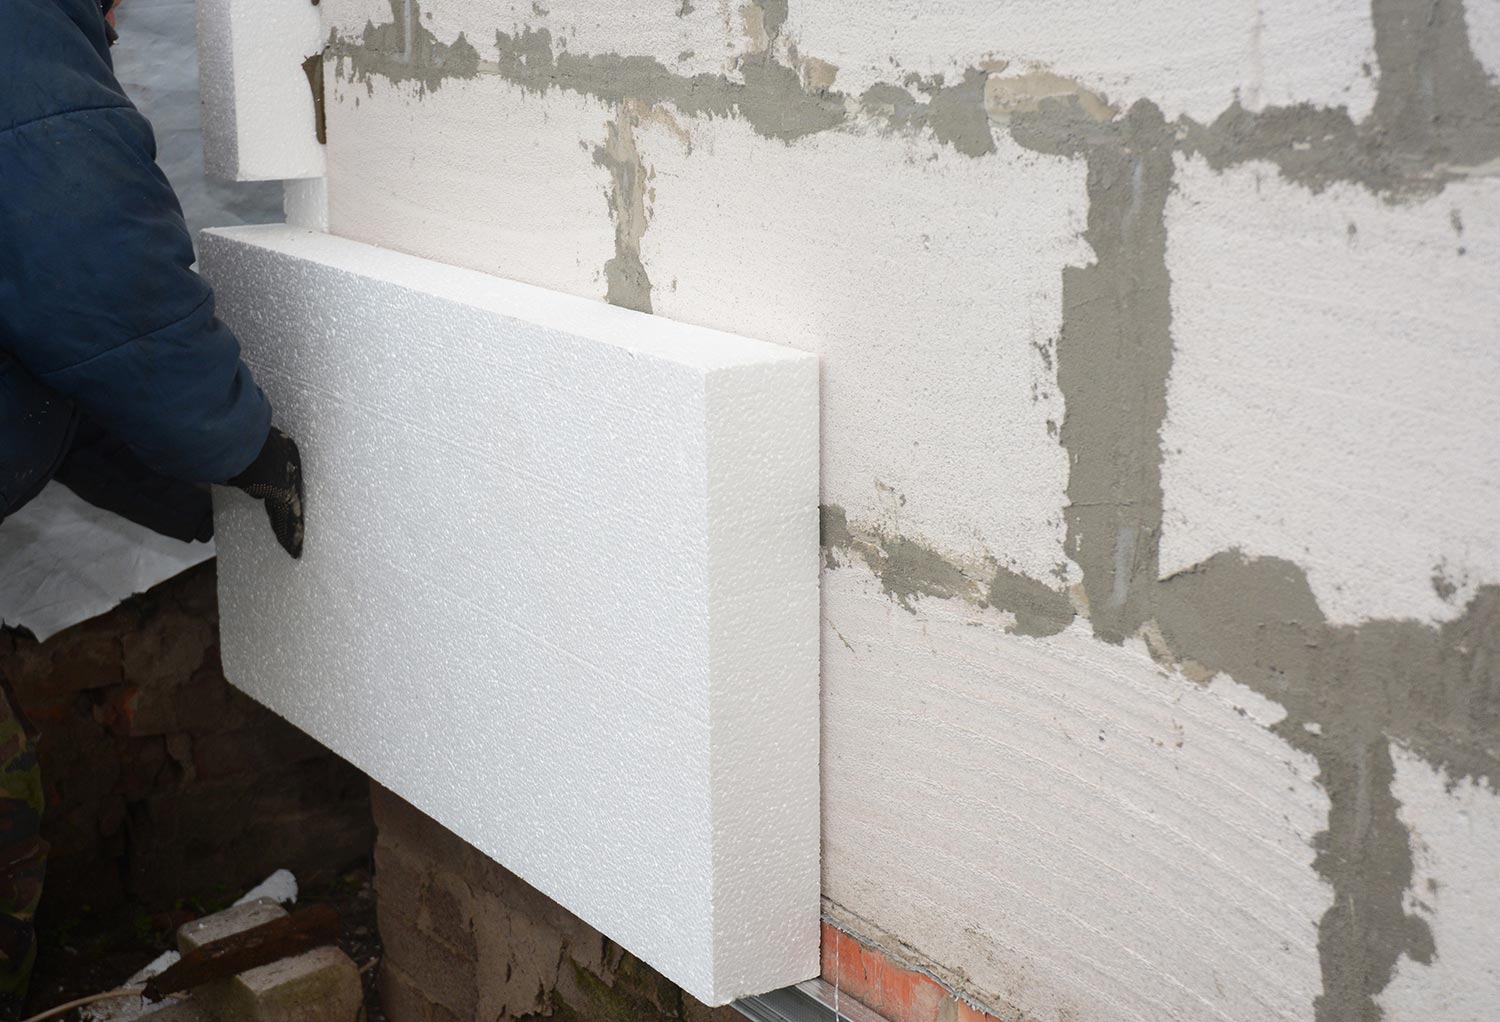
One of the advantages of rigid foam is a higher R-value per inch of thickness. This makes it ideal for houses in areas that experience extreme temperatures.
The initial steps to install the rigid foam board are similar to the installation of the fiberglass batt. You can follow the same steps for installing the baffle rafter vents. After you complete the installation of the baffle rafter vents, proceed to the steps below to install the rigid foam.
Rigid foam installation
- Measure the distance between the rafters. Deduct an inch and a half to half an inch from this measurement. Trim the rigid foam based on the modified measurement.
- Insert the rigid foam into the cavity between the rafters. Position the rigid foam to have equal space from its sides to the rafter. You can use the polyethylene tape to temporarily keep it in place.
- If the thickness of the rigid foam is not enough to match the width of the rafter, place multiple rigid foams on top of each other until you get the thickness to match the width of the rafters.
- Use the can spray foam to fill the gap between the rigid foam and the rafters until you have covered all the spaces in between.
- Add another rigid foam as needed. Leave a space of one and a half-inch to two inches between the first and the second rigid foam.
- Fill the space between the rigid foams with the can spray foam.
- Repeat the same steps until you have covered the entire roof area.
- Let the can spray foam settle overnight in the spaces between the rigid foam and the rafters.
- Trim any excess spray foam with the cardboard cutter. If you need to add more can spray foam after discovering gaps between the rigid foam and the rafters, you will need to let it settle overnight and trim it the next day.
- Install the drywall over the insulation, and then apply your choice of finishing.
Post installation
Once you have completed the drywall installation, install the necessary electrical outlets so that your ceiling can support the installation of lighting fixtures. Each time you drill a hole in the drywall for electrical wiring, you will need to fill the edges of that hole with silicone caulk to create a tight seal.
You do not need to seal any electrical installation that will not create any hole in the drywall that covers the insulation.
Flat roof insulation
Insulating a flat roof follows the same steps as the rigid foam insulation that we outlined above. The only difference is that the rigid foam insulation can be installed on top of the flat roof.
The topmost roof cover will be installed over the rigid foam installation.
Alternate insulation material for flat roof insulation
Composite insulation materials can also be used on the flat outer wall, similar to how rigid foam was prepared. Simply position the composite layer evenly on the outer roof layer before installing the final outer layer.
Conclusion
Installing insulation for a roof without an attic requires a slightly different technique that takes into consideration the absence of an attic. The popular option is closed-cell spray foam, although other options can be used that are not as expensive.
If you enjoyed this article, you might enjoy the following articles too: