
Are you making changes to your house that will increase your energy efficiency and thus save you money on energy usage, and insulating the roof rafters in the attic is part of that project? Or perhaps you’re planning to turn the attic into a bedroom? We researched how to do it right to bring you the right answer.
Follow the steps below to install insulation for your roof rafters:
- Measure the length and the distance between the rafters.
- Purchase baffle rafter vents with the width of the distance between your rafters.
- Install the rafter vents between the rafters.
- Install insulation like fiberglass batt between the rafters.
- Install foam boards over the fiberglass batt and the rafters.
We will talk about the steps above in detail in the succeeding sections. We also included information that you might want to know before deciding what type of insulation to use for your attic. Read on!
How To Insulate Roof Rafters In The Attic
Before we jump to the detailed description of the steps above, let us list down the materials that you’ll need:
- Stapler
- Measuring tape
- Cutter or scissors
- Baffle rafter vents of the right size
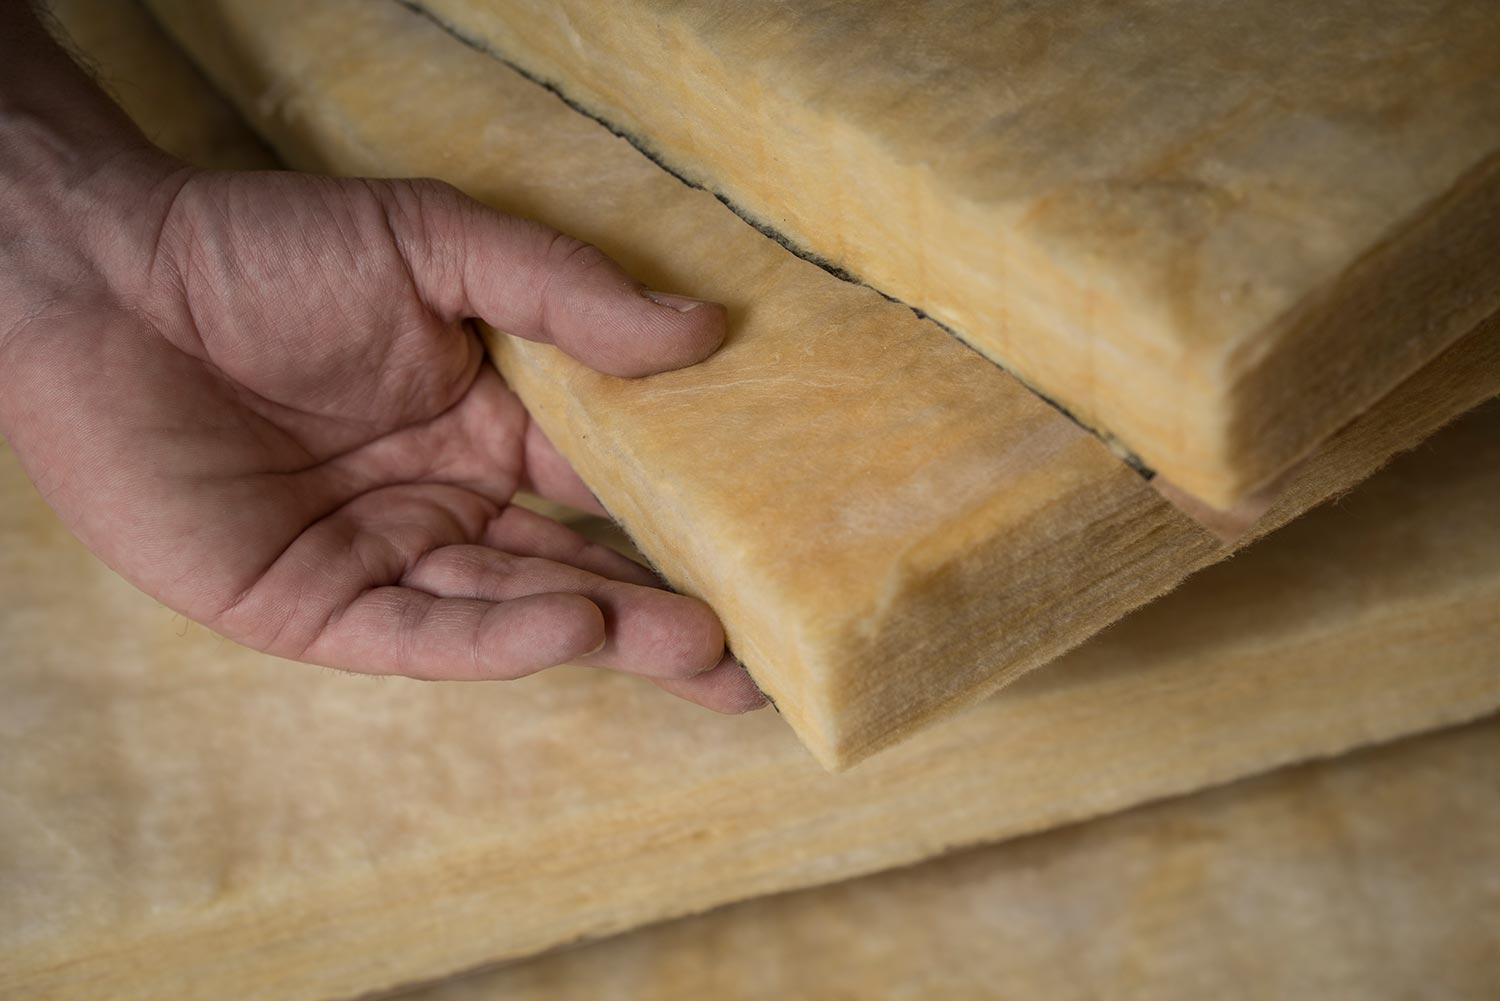
- Fiberglass batt
- Foamboard
- Spray foam
- Hammer
- Roofing nails

If you need a staple gun for the baffle rafter vent, the YeaHome Stapler Gun with 4,000 staples is available on Amazon. Check it out through this link.
1. Measure the length and the distance between the rafters
This is an important step because you’d want to have baffle rafter vents that fit the space between the rafters.
Take this opportunity to make sure that the distance between your rafters is consistent. Take note if there are rafters with different distances between them. If the difference in distance is not too big, then it shouldn’t be a problem.
Measure the overall length of the rafters so that you would have an idea of how many baffle rafter vents you will need to purchase to cover the area that you are insulating.
2. Purchase baffle rafter vents with the width of the distance between your rafters
If you cannot find a baffle rafter vent that has the same width as the distance between your rafters, pick one that is closest. Slightly wider baffle rafter vents are preferable to smaller ones.
The sides of a slightly wider baffle rafter vent can be bent inward so that it will fit between the rafters. Make sure to purchase enough baffle rafter vents to cover the space from the bottom of your rafters all the way to the top.
3. Install the baffle rafter vents
Follow the detailed steps below to install your baffle rafter vents:
- Measure the distance that is vertically perpendicular from the edge of the base of the ceiling, where it opens to the soffit vent or the top plate up until you touch the bottom of the roof deck.
- Measure an inch from one end of the baffle rafter vent.
- Make a small cut on opposite sides at the 1-inch mark. The cut should be just enough so that you can bend the baffle rafter vent forward, opposite the curve.
- Measure a distance from the 1-inch cut that is equal to the vertical measurement that you took from the roof.
- Make another pair of small cuts on opposite sides just enough to allow you to bend it forward, like what you did at the 1-inch mark.
- Install the folded end and line it up to the end of the ceiling edge, where it opens to the soffit vent or the top plate. The fold of the baffle rafter vent should be towards you. Fasten the folded 1-inch end to the base of the ceiling with the stapler. Make sure that you are not covering the opening to the soffit vent. The soffit vent helps the attic to cool down in summer and allows moisture to evaporate in the attic.
- Position the next segment that you measured and folded vertically from the end that is stapled to the floor. Fasten the edge to the roof deck using the stapler.
- Do the same thing for the rest of the bottom of the other rafters.
- Install the next baffle rafter vent on top of the first with at least an inch of overlap. Seal the overlap between the two with the spray foam to make an air seal.
- Repeat the previous step until you have installed enough to reach the top of the roof deck, connecting it to the eaves vent.
Follow these same steps until you have completely covered all the spaces between the rafters with the baffle rafter vent.
Our article here explains whether the soffit vents can be covered with insulation material or not.
4. Install the fiberglass batt between the rafters
Follow the steps below to install the insulation:
- Using your previous measurements, trim the fiberglass batt so that it would fit between the rafters.
- Install the fiberglass batt between the rafters. They should fit snugly between the rafters without the need for any fastener.
- Keep installing the fiberglass batt until you have filled the space between the rafters all the way to the top of the roof deck.
- Seal any opening going into the attic with spray foam.
- If there are windows in the attic, seal any gaps with the spray foam.
- Install the fiberglass batt on the attic walls until you have covered the entire wall with the fiberglass batt.
5. Install foam boards over the fiberglass batt and the rafters
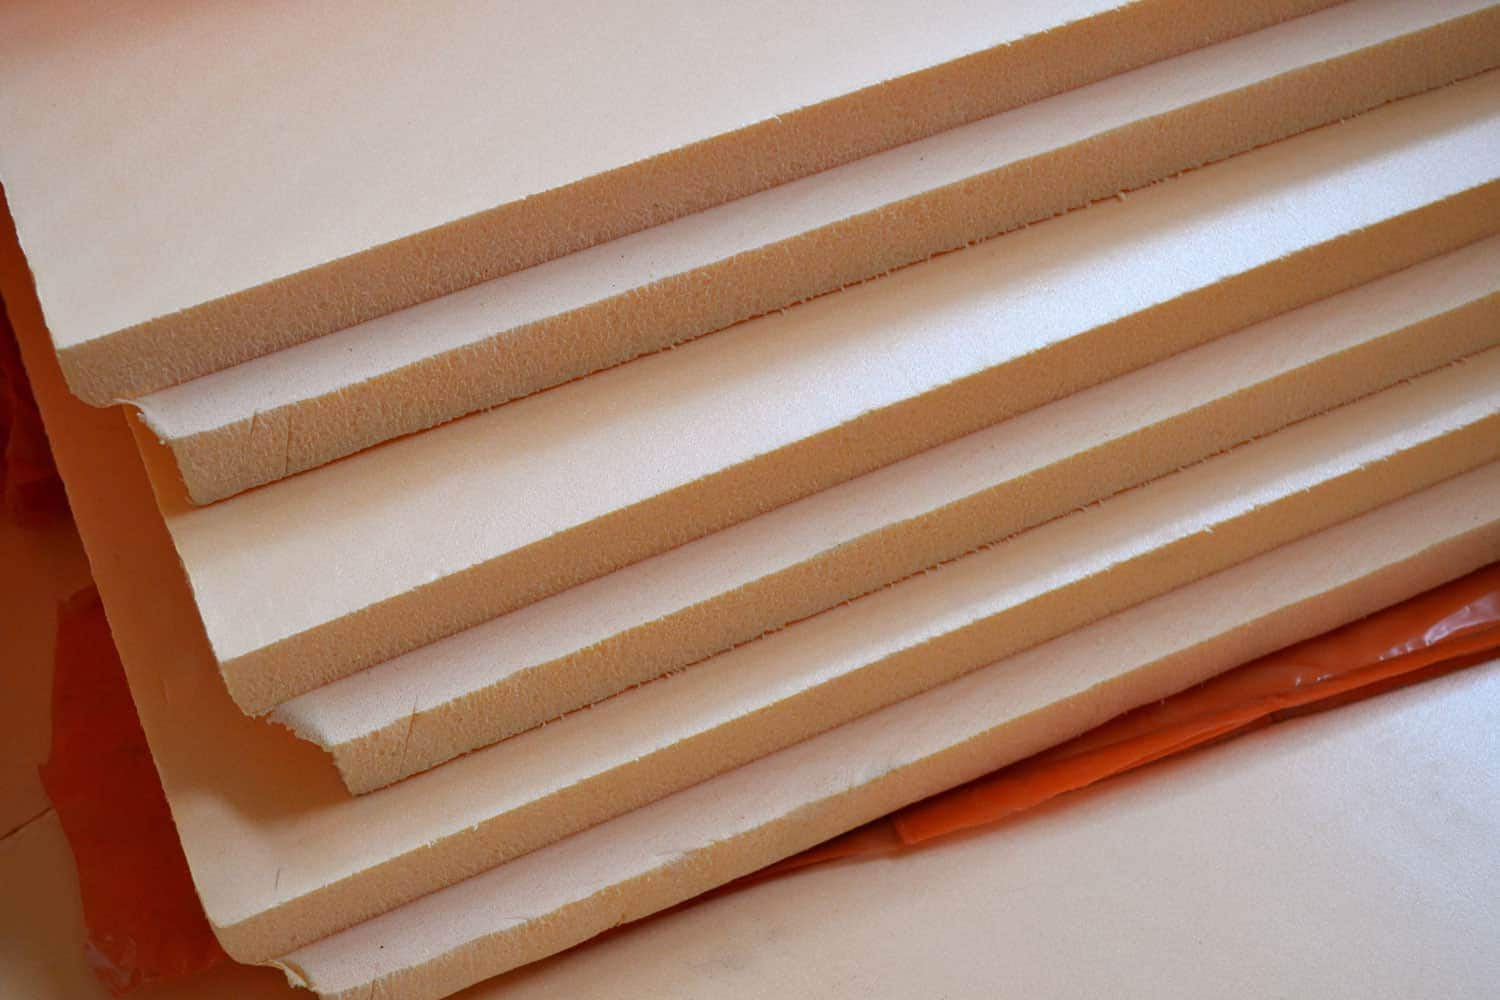
- The side with paper or foil should face the living area when you install the foam boards. Fasten it to the rafters with roofing nails.
- Keep installing the foamboard until you cover the entire surface of the roof deck.
- Install the foam board over the fiberglass batt on the attic walls, making sure that the paper or foil side is facing the living area.
- Seal the edges of the foam board with spray foam to create an airtight seal.

If you're looking for spray foam, Red Devil expanding polyurethane sealant foam comes in an 8-oz can. Check it out here, on Amazon.
Alternative insulation materials
If your roof rafters need a higher level of insulation, the fiberglass batt might not be enough. Additionally, if you’re looking for more eco-friendly insulation, then the fiberglass batt might not be the one you want.
Polyurethane spray foam insulation
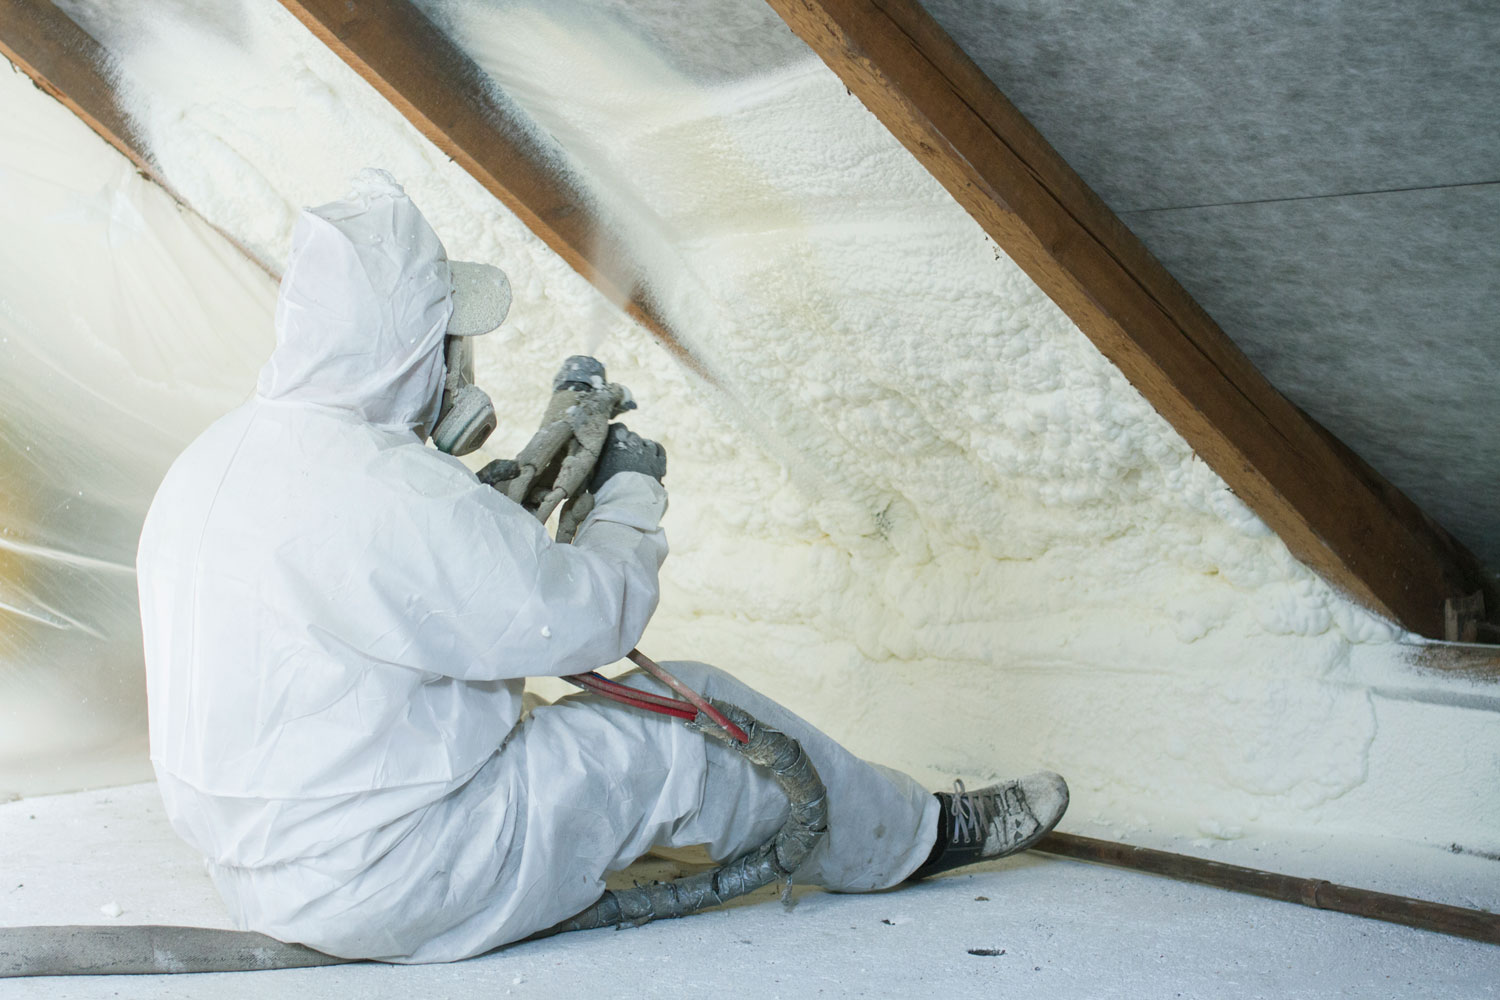
You can spray this type of insulation on the underside of the roof. It can help reduce energy bills by up to 20%.
However, chemicals in the spray foam have been linked to health concerns like asthma and lung disease. Because of this, the EPA published a ventilation guideline to make it safer to install polyurethane foam spray.
Soybean-based spray foam
This alternative has a similar R-value as the polyurethane spray foam. It has the added benefit of not having harmful chemicals like MDI.
Castor oil-based spray foam by Icynene
This is another chemical-free spray foam alternative. It is also a spray foam that has earned the USDA’s BioPreferred status because of its renewable components. It is water-blown and is free of HFCs and PBDEs.
Mineral wool
Around 75% of mineral wool insulation comes from recycled materials. It is a naturally fire-resistant material. Mineral wool insulation is also an excellent sound dampener.
Denim insulation
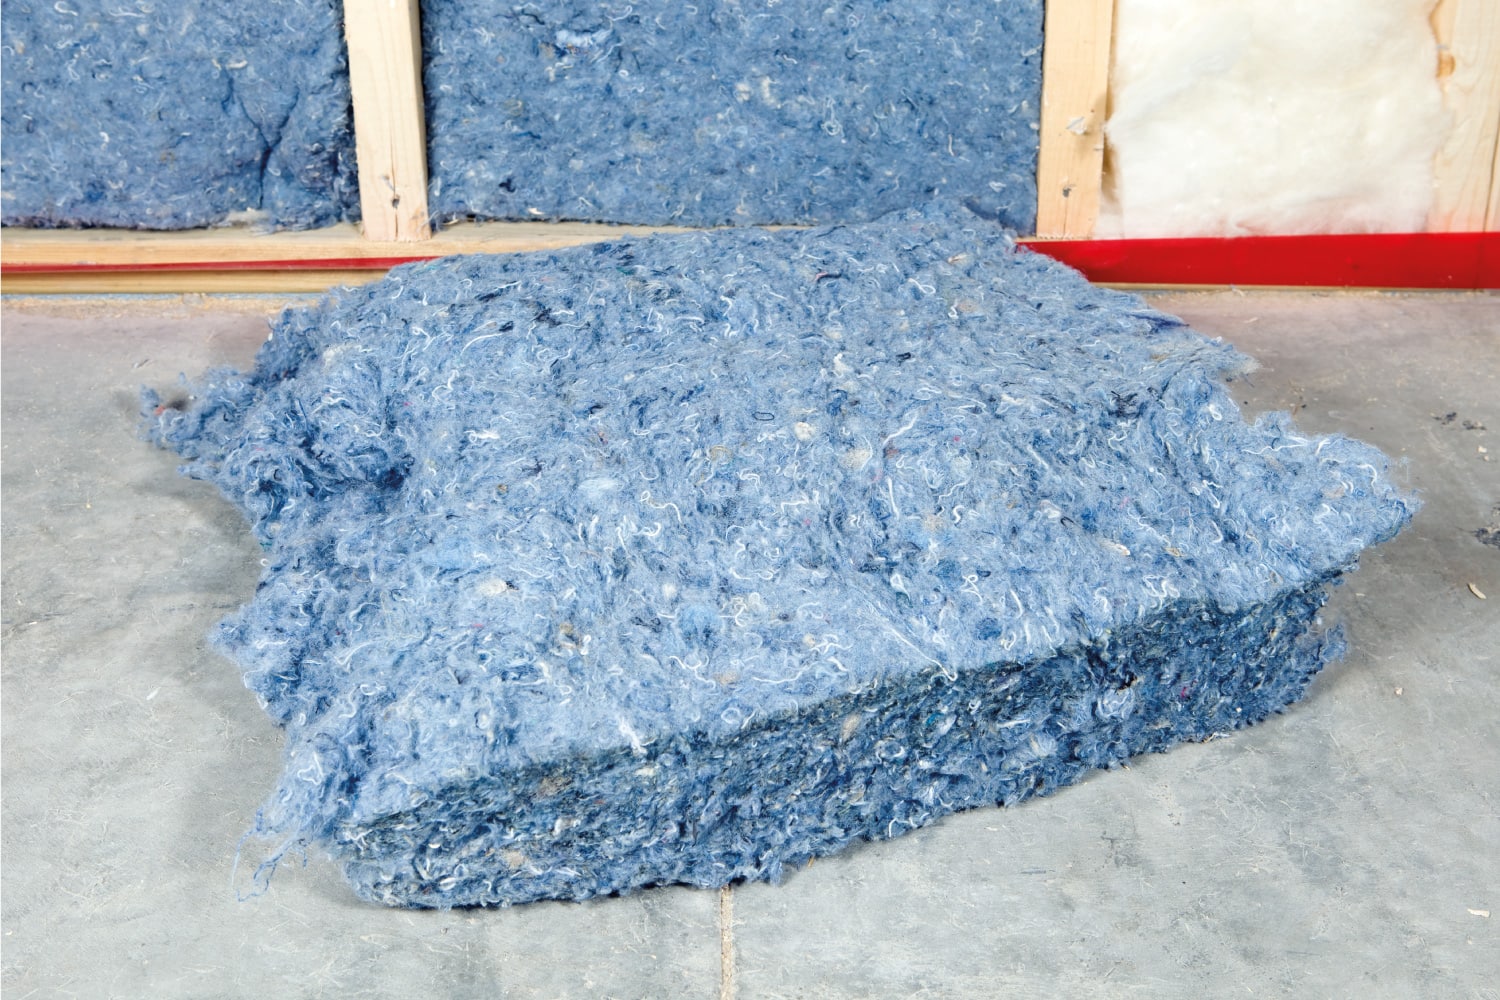
This insulation is made from recycled (yup, old jeans) and sustainable materials. It needs less energy to manufacture and doesn’t contain any harmful chemicals.
Denim insulation comes in the form of batts like the fiberglass batt. It can be treated to effectively repel insects.
Sheep’s wool
Insulation made from sheep’s wool can help purify the air inside your house by drawing air into its fibers. It can also help regulate humidity by absorbing moisture—without getting damp. It doesn’t contain any toxic materials or chemicals.
Cellulose spray
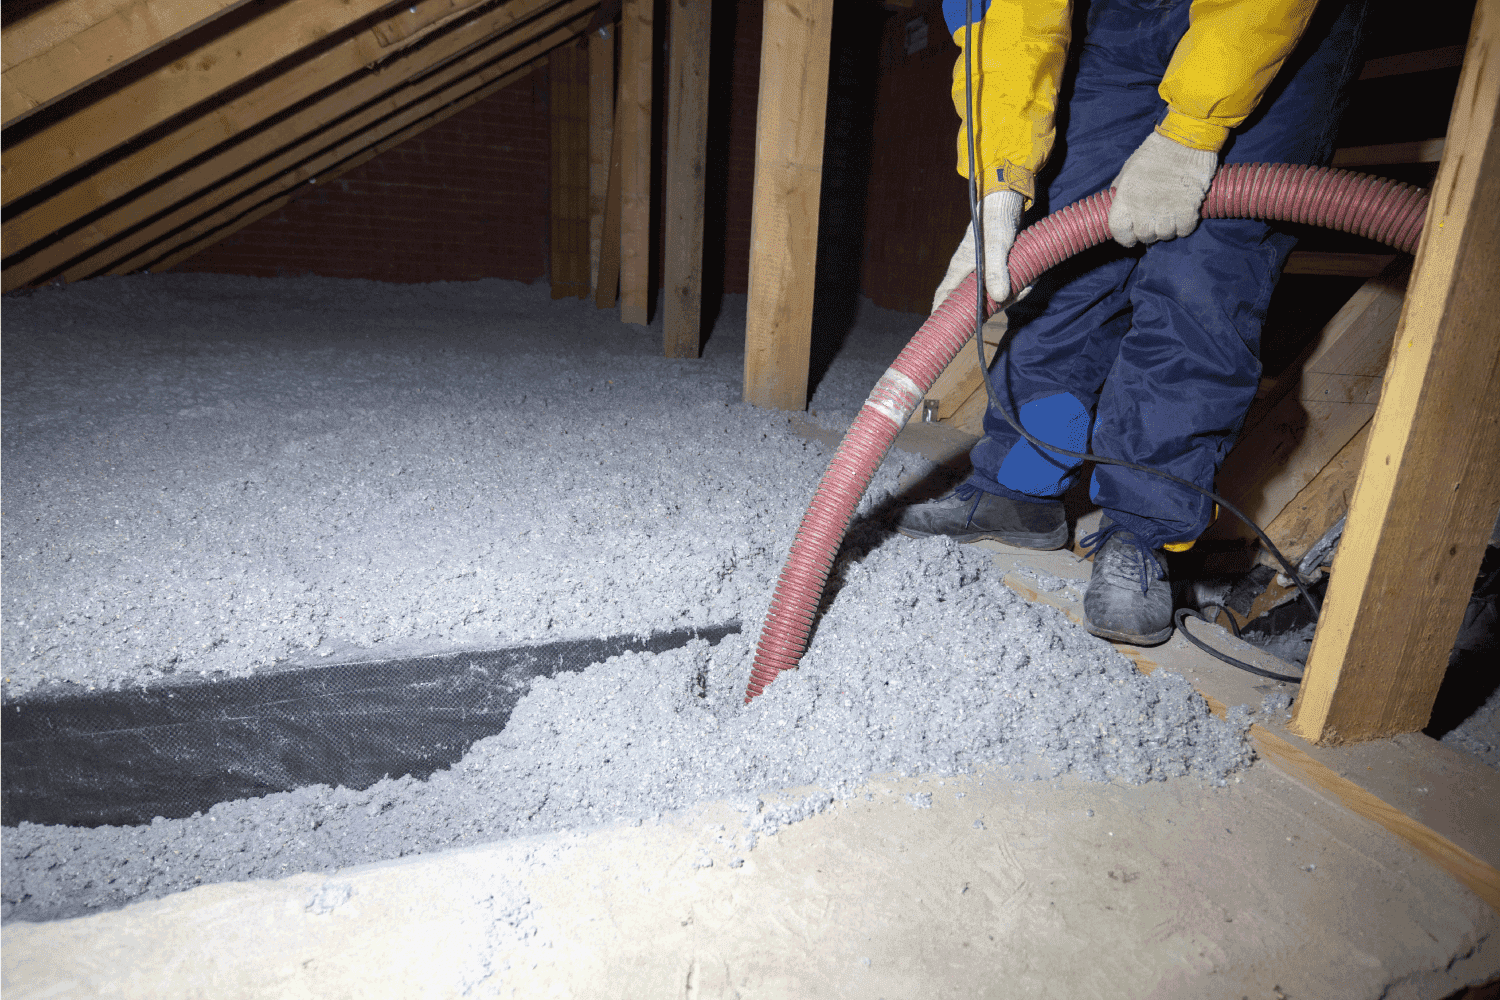
Cellulose spray is made from 85% recycled paper. It is the most environmentally friendly option currently available. Because of its spray form, it can get into small spaces and seal air leaks.
We have an article here about other uses of R13 insulation.
How much does it cost to insulate a 1,500 square foot attic?
Now that you have detailed instructions on how to insulate your roof rafters, you might be wondering how much it would cost you to insulate your attic.
The average cost of an attic installation is between $1 to $7 per square foot. That total includes all the needed materials and the cost of labor—if you hire a contractor to insulate the attic for you.
The price of insulating an attic can change based on the type of insulation material used. The labor cost can also change based on the insulation material to be used as well.
Conclusion
Insulating the roof rafters can be the start of a bigger project in the attic. However, choosing the insulation material to use can be a very important decision because it can greatly influence the total price for the installation project.