
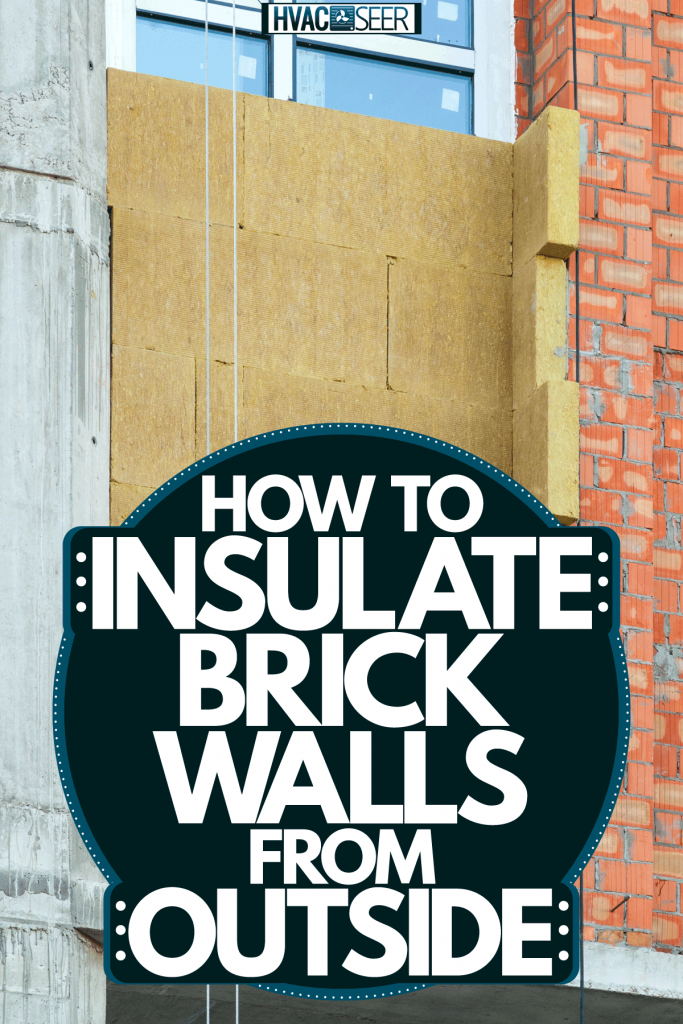
If you live in a home that's made of brick, you may be interested to know what options are available when it comes to external insulation. Why? Perhaps you're pressed for space on the inside of your home, or you'd rather not deal with internal insulation. So how do you insulate brick walls from the outside? We've researched a couple of methods to do this, and in this post, we will go over them.
Depending on the setup of your home and your personal preference, you can typically use one of two different methods to insulate the brick wall of a house. They are the following:
- Use blown-in insulation
- Install spray foam
Insulating your home's brick exterior can help to improve its energy efficiency and make it more comfortable during months with extreme temperatures. Before deciding on which insulation method is best, it's a good idea to develop an initial budget to determine how much you're willing to spend for the job. Bear in mind, insulation and labor costs can vary drastically depending on the method that you use.
Contents
Ways To Insulate Brick Walls From Outside
If you're unfamiliar with masonry work, it's best to hire a contractor to perform this task for you. However, if you are, you may be able to do this project yourself in some cases. Note that you will need a ladder and professional tools to install the insulation, and it can be a challenging project to take on.
Method 1: Use Blown-In Insulation
Things you'll need:
- Blow-in insulation
- Blow-in insulation machine
- Circular saw
- Hammer
- Injection mortar
1. Find the studs
It's best to use a stud finder to find the best places to cut the initial hose. Be sure to find a quality stud finder, as cheap or low-quality ones won't work on the brick.
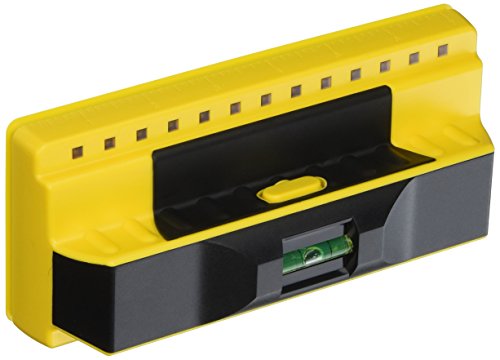
Check out this stud finder on Amazon.
2. Cut holes in the brick
Use a hole saw to cut holes at the top of the walls of the brick. The hole should be about 1 to 1 1/2 inches wide and big enough to fit the mouth of the blower holes. If you are performing this for the first time, know that you may need to go slowly at first to get a feeling of how to best cut into the brick wall without damaging the sheetrock behind it — it'll be just inches away. But keep in mind that you can always repair any holes in the sheetrock with plaster or a mesh repair kit if they are too large.

Check out this hole saw set on Amazon.
3. Install the insulation
Next, insert the blow-in machine tube through the holes and start the machine. Make sure the tub goes as far down the wall as possible, as you'll be installing the insulation from the bottom up. This is simply a general overview of how to perform this process. Need a visual? Check out the process here:
Method 2. Install Spray Foam
Things you'll need:
- Brick sealer
- Work gloves
- Mildewcide cleaner
- Dust mask
- Rubber gloves
- Power washer
- Mortar mix
- Mortar mixer
- 5-gallon bucket
- Drop cloths
- Pump sprayer
- Paint roller Eye protection
1. Prepare the area
Start by covering the area around the brick with a tarp or drop cloth. You don't want to get the sealant on your grass, plants, or sidewalk.

2. Clean the brick
The first thing you'll want to do is clean the brick. Start by scraping away any peeling or flaking paint using a paint scraper. Also, pull away any vines that may have grown on top of the bricks. You can use a weed trimmer or a pair of pruners to do this. Make sure that the surface of the brake is completely free of any rocks, dirt, or leaves.
Next, apply a mildew remover to the brick. You can apply this using a scrub brush with an attachment wand or a power washer. If using a power washer, be sure to keep the spray hose at least 6 to 8 inches away from the brick.

Check out this power washer on Amazon.
Spray the brick from the top-down, moving in a left to right motion. Next, allow the brick to dry for anywhere from two to three days before moving on it to the next steps. Also, it's worth noting that it's best to do this when the average temperature outside is at least 50 degrees Fahrenheit. However, you don't want to perform this task at temperatures over 90 degrees, as it can affect the drying time of the mortar sealant.
3. Inspect and install mortar
Next, take a look at the entire brick surface. Note any areas where the mortar is chipped, broken, or has a large gap. Then prepare your mortar mix (if you don't have a pre-mixed solution) in the bucket and mix it until it's the right consistency. Next, take your trowel and apply the mortar to all damaged areas or any areas where the motor seems a bit thin.

4. Apply a sealant
Next, don your protective equipment and then pour the brick sealant into your pump sprayer. Starting from the top of the home, stand at least a few feet away from the brick and spray the surface with the sealant. Be sure to spray in a left to right motion. You can also use a paint roller for this application, though you'll cover the area much faster when using the sprayer.
However, you can go back over the surface with the roller when you add an additional coat to the brick. Allow the sealant to dry for the recommended time and then apply a second coat per the manufacturer's instructions.
When applying the second coat, be sure not to let in the sealant pool on any areas of the brick. And if you notice this, take your paint roller and go over it to spread the sealant evenly across the brick. The pooling will cause bubbles on the brick's surface that will eventually break, leaving open areas gaps in the finish.
5. Clean up
After applying the second coat of sealant, take your mineral spirits and clean up any areas around the brick wall that may have been sprayed accidentally. Be sure to keep your protective equipment on during this time, as working with mineral spirits can be hazardous. It's also helpful to check the manufacturer's instructions for the best ways to clean up the sealant.

Find this mineral spirit on Amazon.
Benefits of insulating the exterior of a brick home
Insulating the outside of your home comes with many of the same benefits as insulating the interior. Let's look at the most common reasons why people choose to do it.
Reduction in Energy Bills
The main or biggest benefit of insulating the exterior of your home is simply the cost savings. Ensuring that heat remains inside your home can dramatically reduce your neg pills anywhere from 15-35% a year. And though external wall insulation may not be as inexpensive as other methods, it definitely pays for itself at some point.
Prevents damage from precipitation
If you live in a part of the US that's prone to heavy precipitation in the summer or winter months, you know the importance of good insulation. External wall insulation can help prevent melted ice, heavy rain, and snow from finding their way to the interior of your home. The more layers you have to your home's exterior structure, the better it will be protected from potential water damage from weather conditions.
It's helpful and saving floor space
If you're looking for a way to improve your home's insulation but don't have much interior room to work with, this can be a great option. Insulating the brick exterior is a less intrusive process, and you don't have to worry about dealing with mechanical fixings and moving structural components on the inside of your home.
Now, let's take a look at a few downsides of insulating the exterior of a brick home.
Potential moisture damage
One of the biggest issues with adding insulation is potential moisture problems. Condensation can become an issue as a result of thermal bridging and air leaks. If you live in an especially cold or humid area, this is a concern that should be considered beforehand--especially if you don't have any vapor barriers inside your home.
Lack of waterproofing
Remember that brick itself is not waterproof, meaning that water will pass through it once it reaches it. This is why weep holes are necessary. If the brick is insulated without being sealed, it could pose a serious issue with mold, mildew, and other growth on the exterior of the brick surface.
This is why often, it's best to have a professional insulate the exterior brick surface of the home. Not only can they anticipate issues with moisture and condensation, but they can also offer the best recommendations to prevent or minimize them.
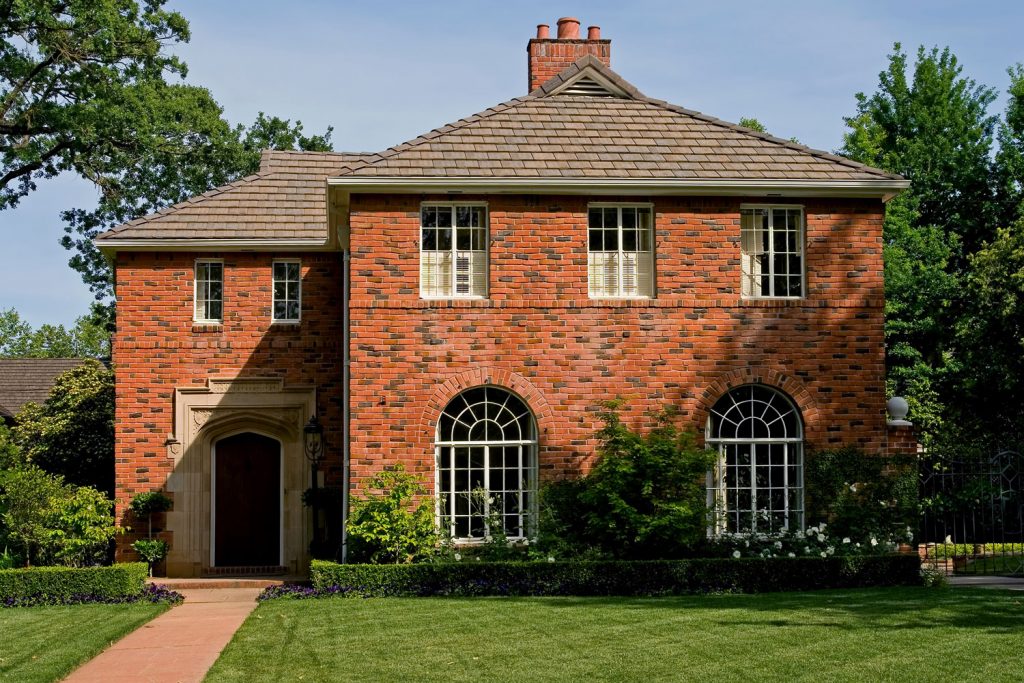
Does brick insulate better than siding?
Brick is naturally thicker than vinyl siding, and as a result, it does offer a better layer of insulation than siding. However, if you have proper insulation on the interior of your home, it really doesn't matter if you have brick or vinyl siding.
Also, you can always add additional insulation to your home. The more important factors to worry about regarding energy preservation are cracks in the siding, crevices in open gaps in the ductwork, and drafty spaces in areas such as basements for attics.
How much does it cost to insulate exterior walls?
It depends on the type of installation that you choose and the method that you use. If you go with a contractor, you may pay anywhere from $1,000 to over $3,500 for exterior wall insulation. Keep in mind that this is an involved process, and you'll be paying anywhere from $0.30 to over $2.00 for the insulation itself.
What is the best insulation for brick?
The most commonly used insulation for brick is fiberglass insulation. For example, if you have a small hole in the brick, you can stuff it with blanket or batt insulation and then cover the area with mortar. If there are only small gaps and cracks in the brick, you can apply mortar to this area and then apply a sealant. For larger coverage, blow-in insulation is typically chosen.
Wrapping Things Up
We hope this post has explained the methods you can use to insulate exterior brick walls in your home. Exterior insulation methods should be considered with a specific budget in mind, as this project can get pretty pricey. However, going with a licensed contractor can help you find the best method to use for your home.