
Your fireplace might let in cool air when not in use. If you want to insulate the fireplace but do not have any idea how to, then that is about to change! We have researched this for you, and here is what we found out.
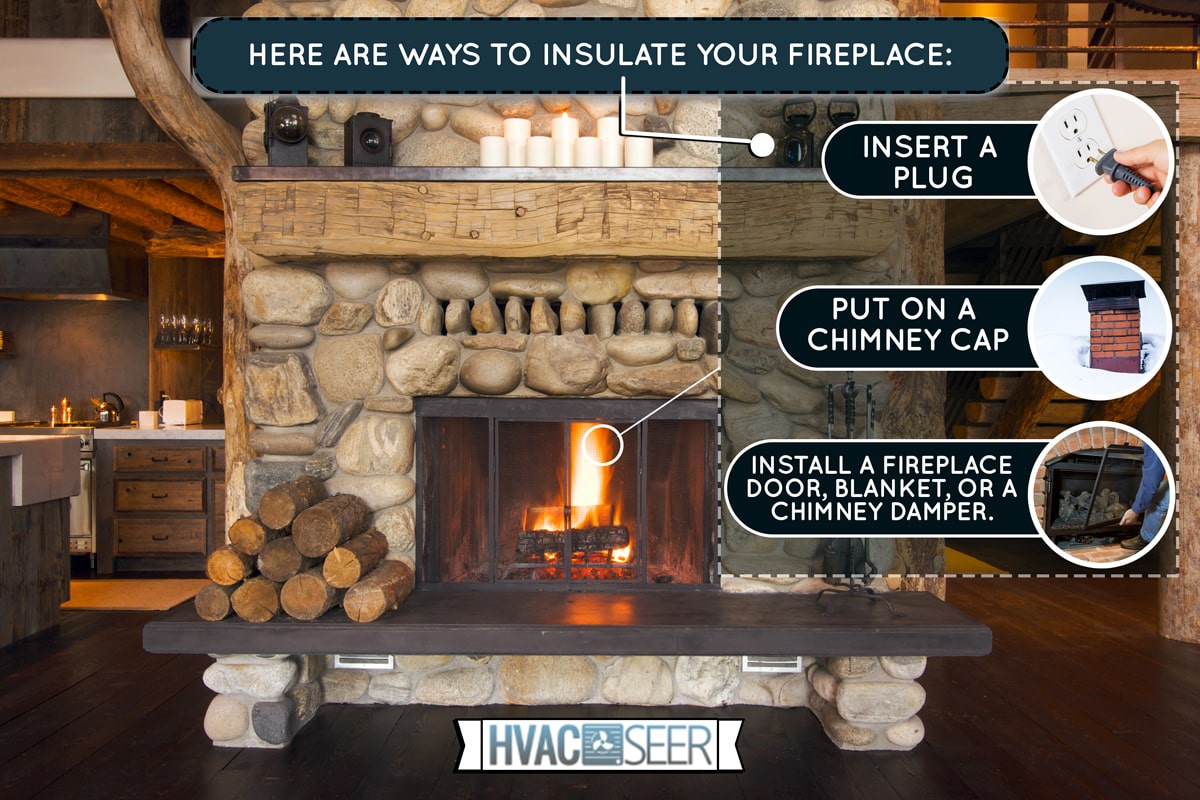
There are numerous ways to insulate your fireplace, depending on your preference. You can either insert a plug, put on a chimney cap, or install a fireplace door, blanket, or a chimney damper.
To help restrict the cold air from entering your fireplace, we will thoroughly discuss how you can do each insulation method mentioned above. Also, without a roaring fire, the appearance of your fireplace may look dull. So, let us also share some decorating tips. So, keep reading below!
Ways To Insulate A Fireplace That Is Not In Use
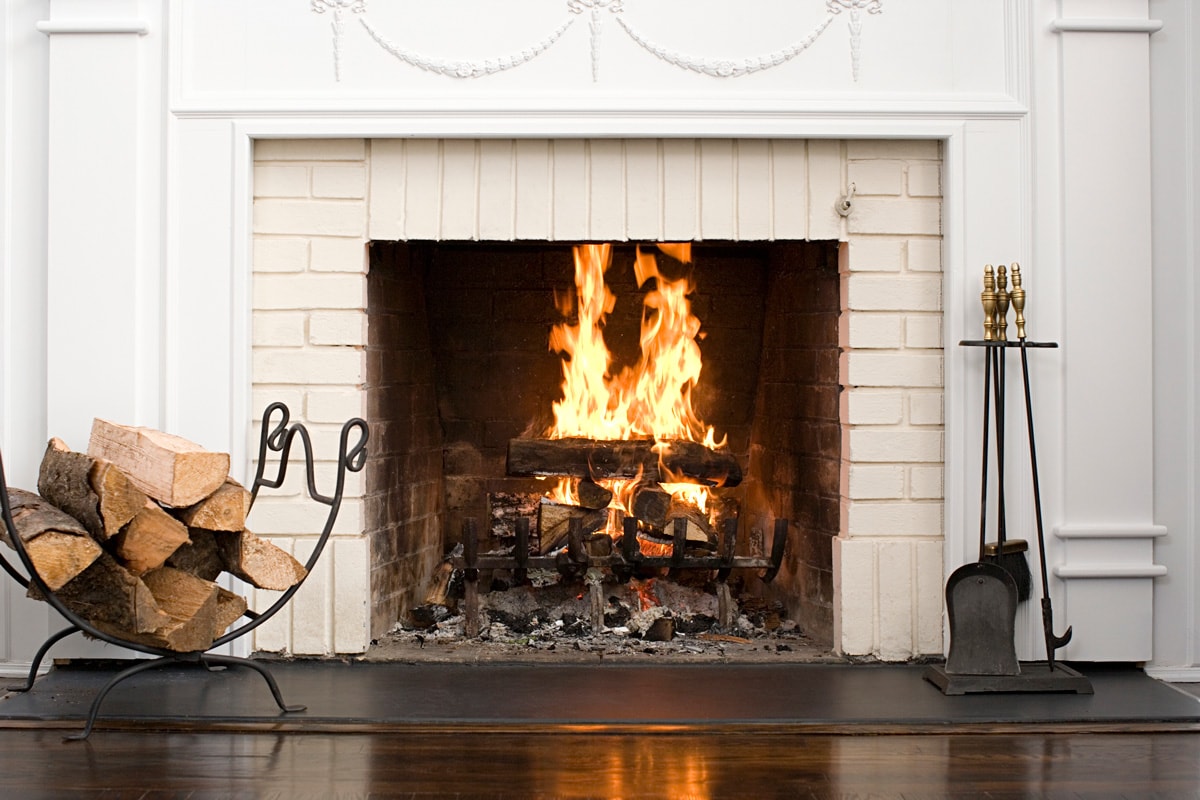
You might insulate your fireplace to keep the heat inside to save some money on gas and electricity. Or, might be preventing a leak of cool air. Either way, these tasks range from easy to difficult, depending on your DIY skills and knowledge.
We will focus on three of the methods that we have mentioned above. Starting with plugging your fireplace.
Insert a Chimney Plug or 'Pillow'
The first method that we will talk about is probably one of the easiest. If you have heard of plugging a fireplace before, then you must be familiar with the term "chimney pillow." A chimney pillow blocks the air or debris that can enter your home through the chimney void.
No, it is not the soft cushion you lay your head onto when you sleep. It looks like an inflatable ball in a shape of a pillow and is transparent in color. The durability and other features are possible due to multiple layers of treated tri-laminate.
How to Size a Chimney Pillow
Before we begin the installation, you must first learn how to get the proper size. All you need to do is to measure the length and the depth of the space where you will insert the pillow by using a foldable carpenters ruler. The ideal spot is where the blockage can stay in place, has no hardware in the way, and is at least 6 inches high.
Refer to the measurement you got to determine the right size. You can buy larger than the size you need rather than smaller.
How To Install A Chimney Pillow
Here is a simple procedure on how to install a chimney pillow:
- Start inflating the pillow only halfway.
- Insert it in the firebox on the measured spot used to size the pillow.
- Push it in to make sure that it is situated where it should be.
- Once locked in place, continue to blow through the tube until the pillow is fully inflated.
- Hide the tube by tucking it in.
Make sure that there are no sharp objects or edges in the firebox to prevent the pillow from any damage or deflation.

Check out STORMGUARD's fireplace pillow on Amazon.
Affix a Chimney Cap
On the second method, you'll go up to the roof. Chimney caps are made to guard the chimney's opening. They prevent outside intruders such as animals, snow, and rain from entering.
Just like the chimney pillow, you need to get the right size for this. To do so, get the width and length of the flue using a tape measure—use the diameter if it is circular. Do not forget to take down notes of the measurements as a reference for your purchase.
What is the Best Material for a Chimney Cap?
You might also encounter different materials. Here they are, including price ranges:
- Galvanized (least durable) - $35 to $200
- Stainless steel (highly durable and requires little maintenance) - $50 to $500
- Copper (corrosion-resistant and requires regular maintenance) - $150 to $550
If you want a suggestion which you can consider, the most popular and best choice is stainless steel. Once you select a material and cap, you can either have it installed (may range from $75 to $1,000) by a professional or by yourself. Below is how you can do it.
For Single-Flue:
- Get a ladder to climb to your roof.
- Align the cap on the flue.
- Slowly, slide it down. There should be at least a 15 centimeters distance between the flue opening and the top of the cap.
- Using a screwdriver or a power drill, attach and secure the cap by making sure the screws around are tightly held in place.
For Multi-Flue:
- Clean the dirt and dust off the crown using a stiff-bristled brush.
- Encage the flue with the cap.
- Locate all the holes meant for screws on the bottom part of the cap.
- From each cavity, drill a hole smaller than the actual screws down the crown.
- Remove the cap first to put caulk on the outer edges of the crown.
- Put the cap back, making sure it is sitting over the caulk, and the holes are aligned.
- Press the cap down so the caulk can hold it firmly.
- Drill down the screws to lock the cap in place.
Do not have a flue but wants to have a chimney cap? Learn how here: "How To Install A Chimney Cap Without A Flue."
Fireplace Door
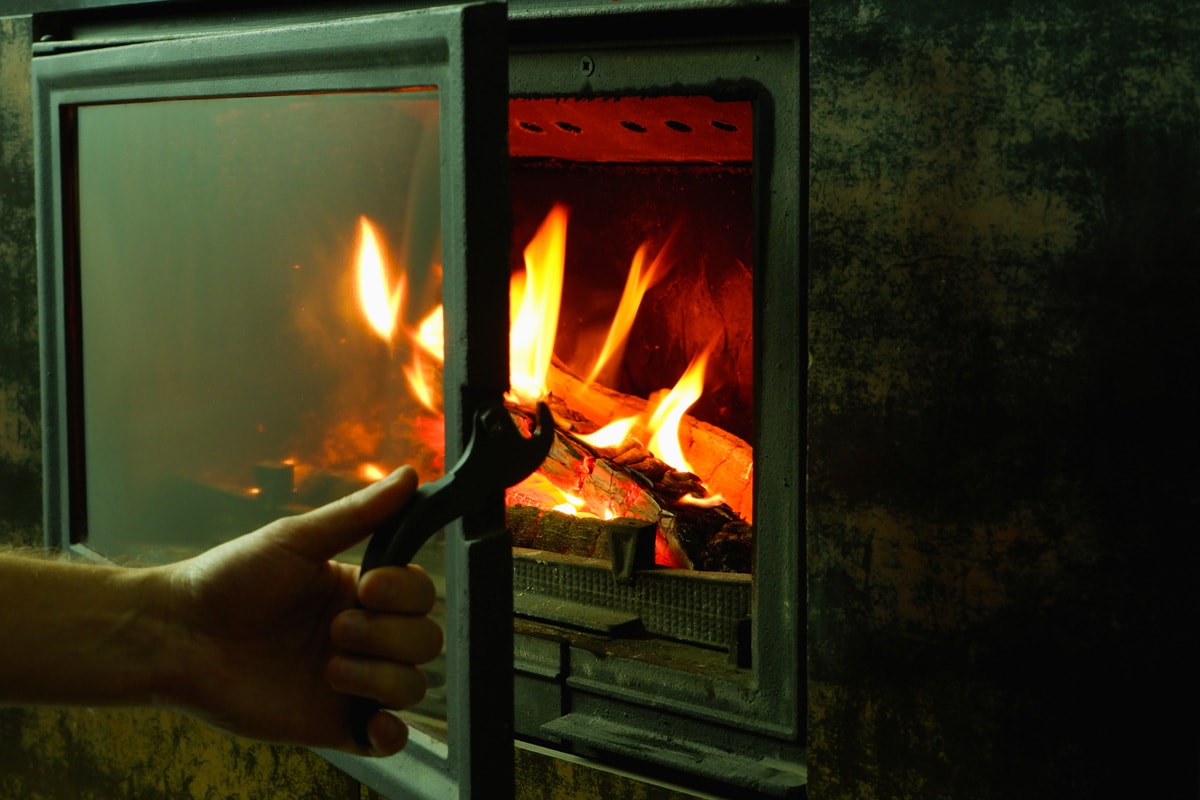
Just like how you will enclose the entrance of a home, why not put a door on your fireplace? With this method, you can simply shut the doors off to prevent any air or dirt from coming out of your fireplace.
Just like the rest, you should also measure the opening of your fireplace to get the best door size. Whether you are done buying a kit or not, here is how you can have it installed:
- Locate and install the lintel clamp at the top of the door.
- Screw down the L-shaped bracket at the bottom part of the door.
- Place the door on the spot where you will situate it on the fireplace.
- Look for the screw holes and mark them.
- Carefully set aside the door again.
- Drill down the hole marks and remove any specks of dust that are present from the activity before inserting the lead anchor.
- Attach fiberglass insulation on the sides and top of the door's frame.
- Put the door back on the fireplace.
- Secure them in place by screwing down the brick and using a clamp on the lintel.
Want to learn more about fireplace doors? Read this: "Can You Close The Glass Doors On A Fireplace?"
Designing Ideas For Unused Fireplace
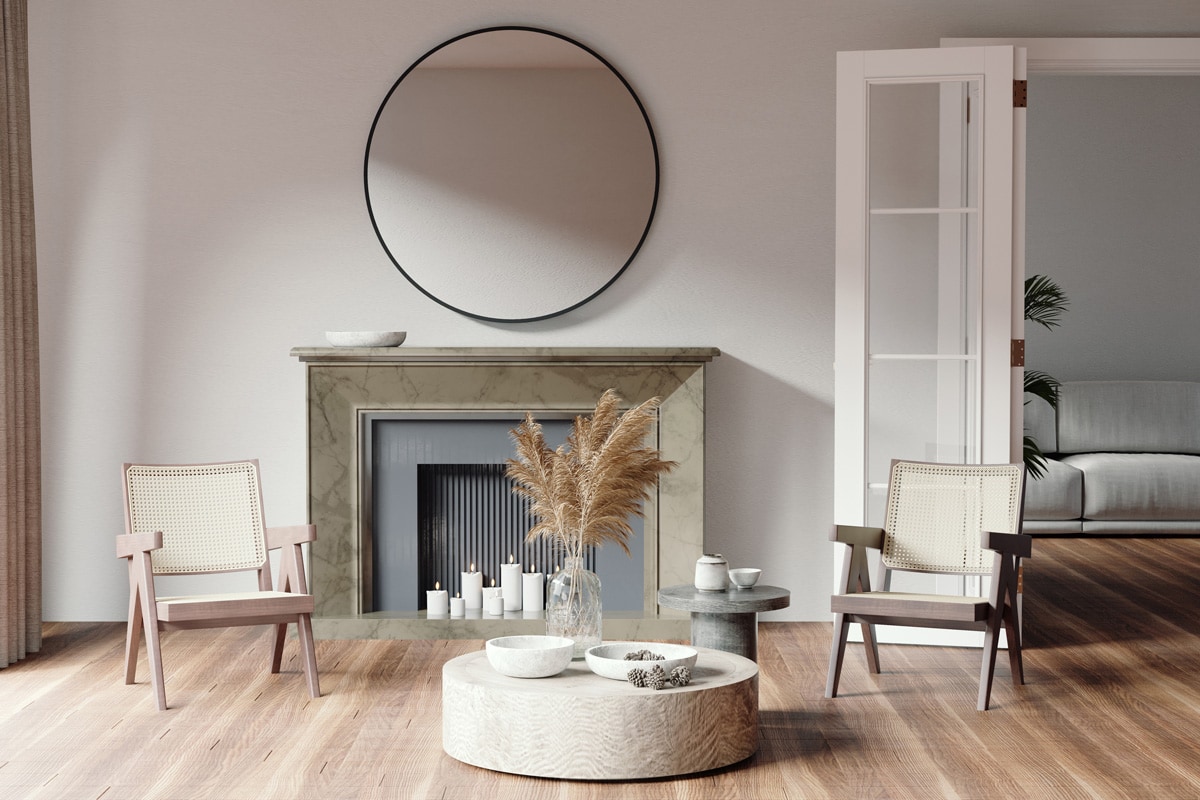
After you insulate your fireplace, you can extend the effort to make the spot pretty. Here are some designs that homeowners did with theirs. They can surely inspire you in your next renovating project.
Secret Garden
If you are a plant person, you can turn your fireplace into a secret garden. Incorporate some paintings that will match the green, nature theme and you can eventually have an oxygen-producing spot in your home.
Wood With Lights
Filling the fireplace space with wood is also a good idea to remain a warm feeling. To imitate the yellow light from the fire, you can put twinkle lights around it.
You can even color the outer side of the wood log with different colors to add a playful touch or match your theme.
Wine Cellar
If you are running out of space for your wine collection, you can turn your fireplace into a cellar. You can save money by installing a new one and also maximize the space that is not being used anymore.
Pet House
Turning your unused fireplace into a pet house is also a very nice idea! Your dear pets can have their spot inside your home without taking more space.
Storage
Sometimes, some home accessories or decorations can take up space in your home. By making the fireplace into their oasis and placing them there nicely and strategically, it will serve as a multi-functional hole. The baskets won't be getting in the way anymore.
Book Shelf
Book lovers will opt for this one. Make your fireplace a shelf and set up a chair and coffee table, maybe a lamp will also work. Just like that, you have your very own reading nook.
Conclusion
There are different ways to insulate your fireplace when not in use. You can put a chimney cap and damper, install a fireplace door, and block the firebox with a chimney pillow.
They can all be a DIY project if you have the needed knowledge and skills to install them. However, make sure that you get all the appropriate tools and materials as well as the sizing.
If you are planning on closing them permanently, there are lots of designs that can re-purpose the spot.