
Are you planning to build a sauna, and you’re wondering how to properly insulate it? We researched this question to deliver to you the best process to install insulation for the floor and walls of a sauna.
The steps below are for insulating the walls of a sauna:
- Install a layer of Tyvek on all outer walls.
- Put the exterior wood panels over the Tyvek layer.
- Install batt insulation on the inner wall.
- Put two layers of polyethylene sheets on top of the batt insulation, covering the entire inner wall.
- Install a layer of radiant barrier over the polyethylene sheets.
- The inner wood panels come in next to the radiant barrier.
The succeeding steps are for insulating the floor of a sauna:
- Place an even layer of a waterproofing membrane on the floor. Make sure you don’t cover the drain.
- Install radiant barrier on the floor.
- Install the wooden floorboards over the radiant barrier.
The steps are simple, but there is a depth of information behind each one. We will discuss the details behind each step in the succeeding sections. Read on!
How To Insulate Sauna Floor And Walls
Even though we divided the steps of insulating the walls of a sauna and insulating the floors, the process should be connected. The radiant barrier on the floor should create a continuous barrier around the sauna's interior.
The steps to accomplish this are integrated into the sections for insulating the floor and the sauna walls.
One thing that is important to note here is that the steps are an ideal match for installing insulation while the sauna is just getting built. Even so, these steps can be adapted to insulate a sauna that is already built with very little tweaking needed.
Materials Needed
- Tyvek (the amount you need depends on the total area of the outer walls)
- Foam can spray
- Galvanized nails
- Water-based adhesive
- Hot animal glue
- Unfaced fiberglass batt
- Face mask
- Goggles
- Gloves
- Protective clothing
- Polyethylene sheets
- Staple gun
- Radiant barrier
- Aluminum foil tape
- Polyethylene tape

Click here to see this product on Amazon.
You might need this SmartSHIELD radiant barrier and reflective insulation roll with foam core.
Detailed Steps To Insulate Sauna Walls
Before you insulate the walls of a sauna, make sure that all electrical sockets are sealed with foam can spray. Seal any gaps in the window and door frames with foam can spray.
Moreover, make sure that the glass you will use—in windows or doors—is tempered glass. Ordinary glass can crack or break under the heat of a sauna—especially once insulation keeps the heat inside.
1. Install a layer of Tyvek on all outer walls
Tyvek is a breathable yet waterproof material. It prevents liquids, bacteria, molds, fiberglass, asbestos, and lead from passing through. However, it still allows water vapor to permeate it.
Installing Tyvek on the outer wall creates a moisture barrier that prevents outside moisture from getting into the walls of the sauna.
Fasten the Tyvek using the staple gun. Seal the overlapping Tyvek layers with water-based adhesive.
2. Install the exterior wood panels on all the outer walls
Install the outer wood panels over the Tyvek layer. Use galvanized nails to fasten the outer wall with the frames.
Use the foam spray to seal around the electrical outlets and any holes where the wirings pass through. Any wiring that comes from the walls—like the electrical power supply going to the heater—should be protected by a pipe that is also insulated. The connection of the pipe to the wall should be sealed with the foam spray.
Before proceeding to install insulation, make sure to wear protective clothing, gloves, goggles, and mask.
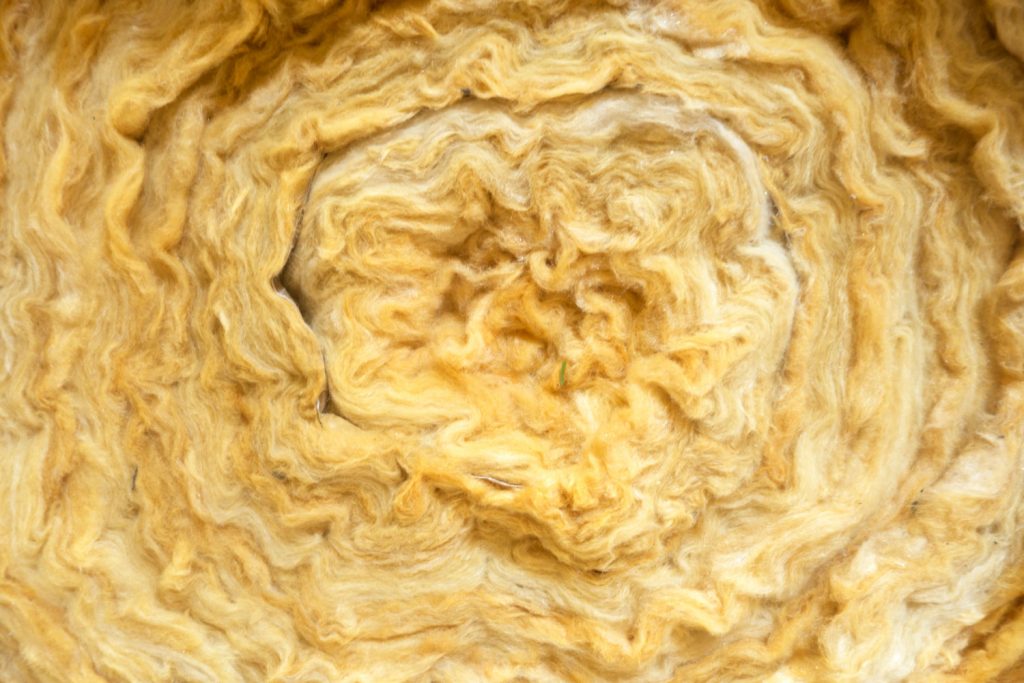
3. Install insulation between the wall frames
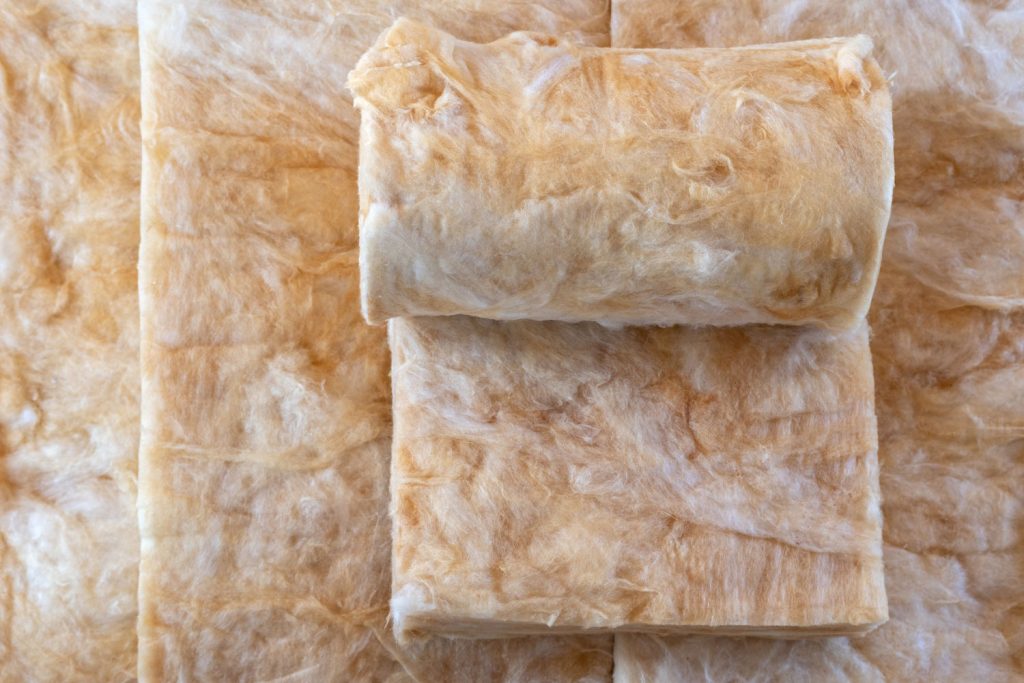
Fiberglass batt is the most common insulation used in the US, while mineral wool is more commonly used in Europe. When purchasing your batt insulation, make sure to pick the unfaced version.
Trim the batt insulation based on the distance between the wooden wall frames. Install the batt insulation snugly between the wooden wall frames.
Repeat this step until you have covered the entire inner wall with batt insulation from the floor to the roof.
We have an interesting article about the lifespan of fiberglass insulation here.
4. Install two layers of polyethylene sheets
Install a layer of polyethylene sheet on top of the batt insulation. Fasten the polyethylene sheet with the staple gun. Seal the edges of the sheets with polyethylene tape.
Repeat until you have covered the entire wall with polyethylene sheet.
Install the second layer of polyethylene sheet over the first one and fasten with the staple gun. This will serve as your moisture barrier from water coming from inside the sauna.
5. Install a layer of radiant barrier
Install a layer of radiant barrier over the polyethylene layer to reduce the transfer of heat coming from the sauna to the inner wall. Fasten the radiant barrier using the staple gun.
Seal the gaps between the radiant barrier with the aluminum foil tape.
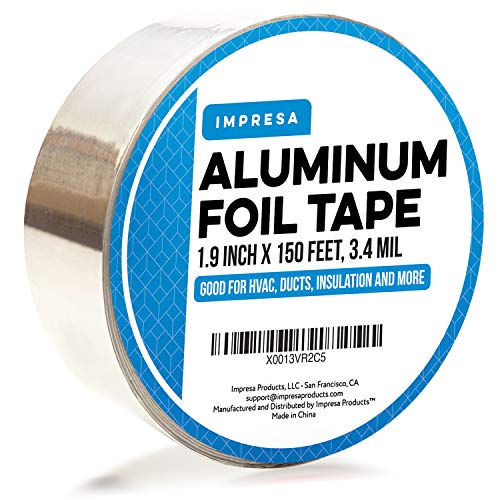
Click here to see this product on Amazon.
The Impressa Aluminum Foil Tape professional/contractor grade should work well.
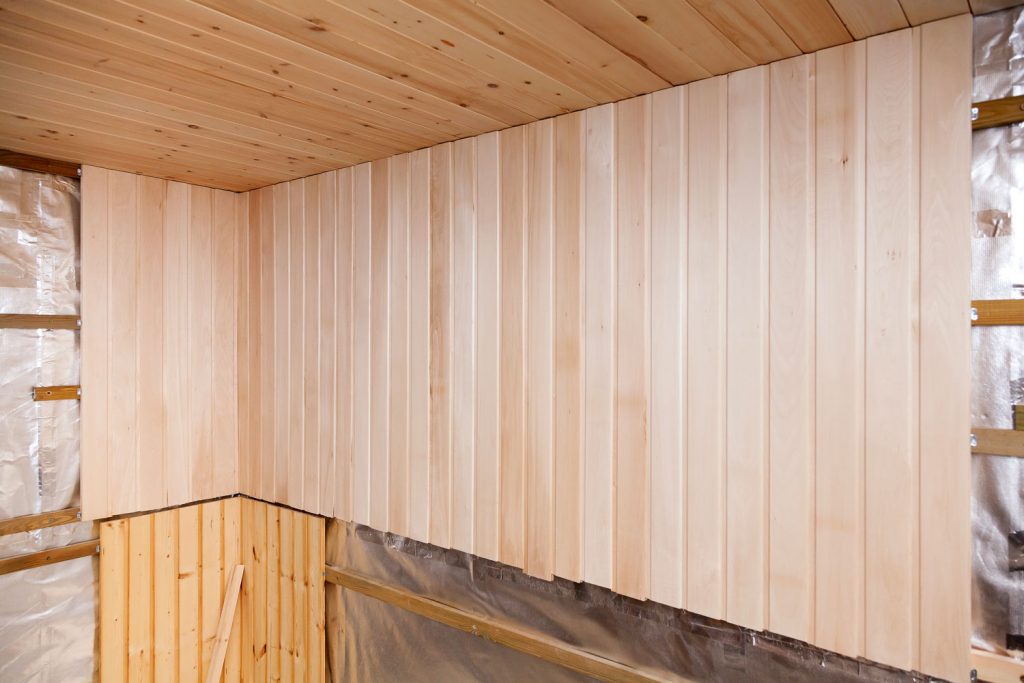
6. The inner wood panels come next
Install the wall panels only after completing the floor insulation.
When measuring the wall panels, reduce the total length by a quarter to a half-inch. This is to give the wood room to expand and contract as it gets exposed to the heat of the sauna.
Cedarwood panels are the most popular wood panels used for the interior wall of the sauna.
Detailed Steps To Insulate Sauna Floor
Install insulation on the floor only after the drain (if you decide to install a drain) is complete. Sauna drains usually use a pan that will catch excess water dripping from a gap on the elevated wooden floor.
Check our article about how thick concrete floor insulation should be.
1. Place an even layer of a waterproofing membrane on the floor
This should be installed on top of the subfloor. Make sure not to cover the drain if you have one. Wait for the waterproofing membrane to dry.
2. Install radiant barrier on the floor
Install a radiant barrier on top of the waterproofing membrane on the floor. Use hot animal glue to fasten the radiant barrier in place.
Seal the edge of the radiant barrier where it connects with the radiant barrier of the wall. Use aluminum foil tape to seal the edges.
3. Install the wooden floorboards over the radiant barrier
If you’re going to have large spaces between your floorboards, you will need to install a plyboard over the radiant barrier so that the radiant barrier will not be visible through the slits on the floor.
Install the floorboards on top of the plyboard.
Make sure that the length of the floorboards is a quarter of an inch to half an inch shorter than the wall-to-wall length of the floor. This is to give it an expansion allowance.
Additionally, the floorboards should be installed under the layer of wooden boards on the wall. This is to cover the gaps between the floorboards and the wall.
How To Insulate The Roof Of A Sauna
Now that you’ve completed the installation of the floor and wall insulation inside the sauna, the only thing left would be to insulate the roof. And we have the steps to insulate the roof of your sauna, right here, for you.
- Install a layer of Tyvek on the roof rafters under the roof deck. Cover the entire roof area with a layer of Tyvek. Fasten the Tyvek using the staple gun.
- Measure the distance between the roof rafters.
- Trim the fiberglass batt based on your measurements above.
- Place the fiberglass batt between the roof rafters. Make sure that they fit snugly into the space between the rafters.
- Repeat step number 4 above until you cover the entire roof area.
- Put a layer of polyethylene over the roof rafters and the fiberglass batt. Secure the polyethylene sheet in place using a staple gun.
- Seal the polyethylene sheet to each other with polyethylene tape.
- Place the second layer of polyethylene sheet over the first one. Secure the second layer using the staple gun.
- Similar to the first layer of polyethylene sheet, seal the polyethylene sheet using polyethylene tape.
- Install a layer of radiant barrier over the polyethylene sheet. Seal the radiant barrier to each other using aluminum foil tape.
- Make sure that the radiant barrier on the roof connects with the radiant barrier on the walls. Seal them with aluminum foil tape.
Installing The Sauna Ceiling
Install the ceiling over the radiant barrier. Similar to the wall and the floor, the length of the boards that you will use for the ceiling should be a quarter of an inch to half an inch shorter than the actual length.
In Closing
Insulating the sauna helps retain the heat within and makes it energy efficient. And the steps to install insulation can be quite simple for an average DIYer.