
Keeping the heat from entering or escaping your home helps save energy consumption. That is why installing exterior window insulation while still building your home is the best practice. To help you in this project, we have compiled easy-to-follow steps from professionals on how to insulate your windows from the outside.
For this step-by-step installation guide, we will go with the standard zip window insulation system.
- Prepare the tools and equipment for installation.
- Measure the pre-framed rough opening.
- Cut the insulating window buck.
- Dry-fit the window buck before installing and sealing.
- Nail the tongue and clamp the corners.
- Seal gaps around the window buck.
- Install the windows.
- Flash the window jambs and headpiece.
- Put interior sealant.
- Complete installation with insulation panels.
As you read along, the subsequent articles will cover the full details of the installation and other methods of exterior window insulation. If this interests you, then keep reading!
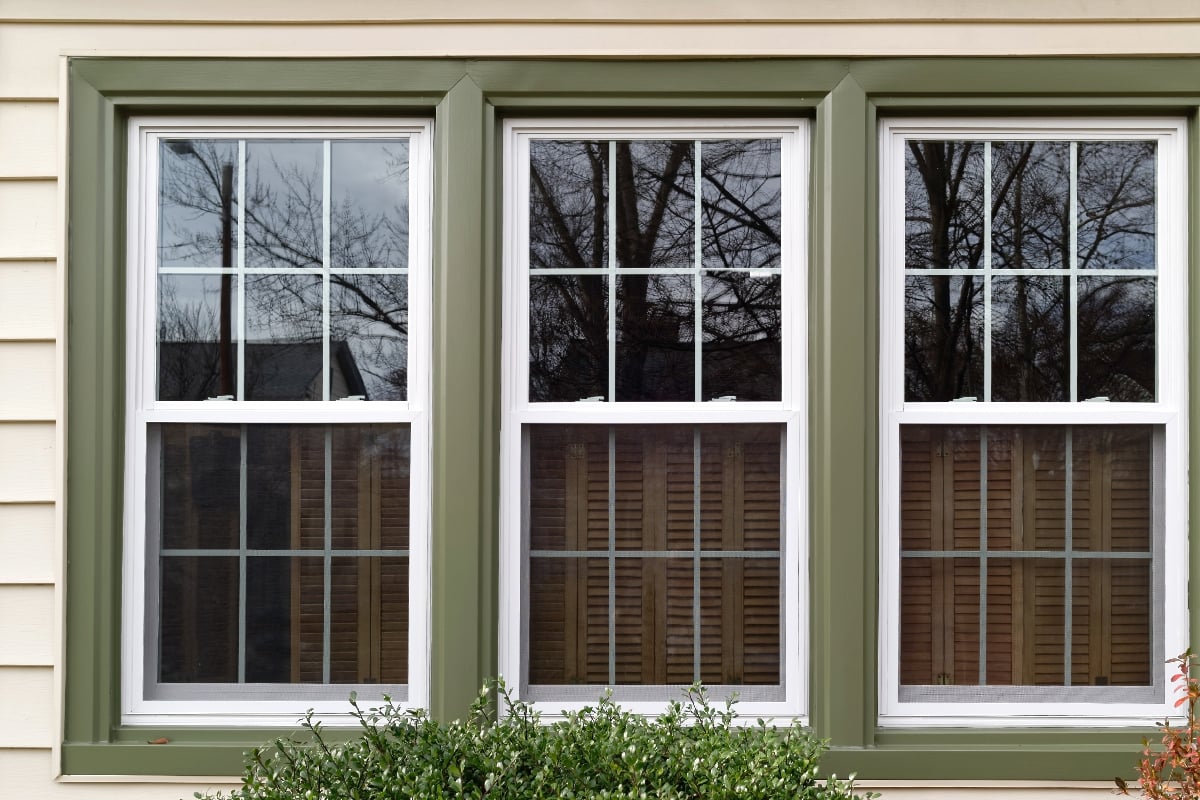
How To Seal Windows From Outside The House
When building your house, make insulating your windows an integral part of the construction. The benefits transcend from physical comfort to lowered energy bills. One way to effectively insulate the window from the outside is the use of a standard zip system.
For this installation, the window buck is coated with a waterproof resin that outperforms wood in strength, longevity, and flashing ease. Follow this detailed guide on how to mount it and completely insulate your window:
1. Prepare the tools and equipment for installation.
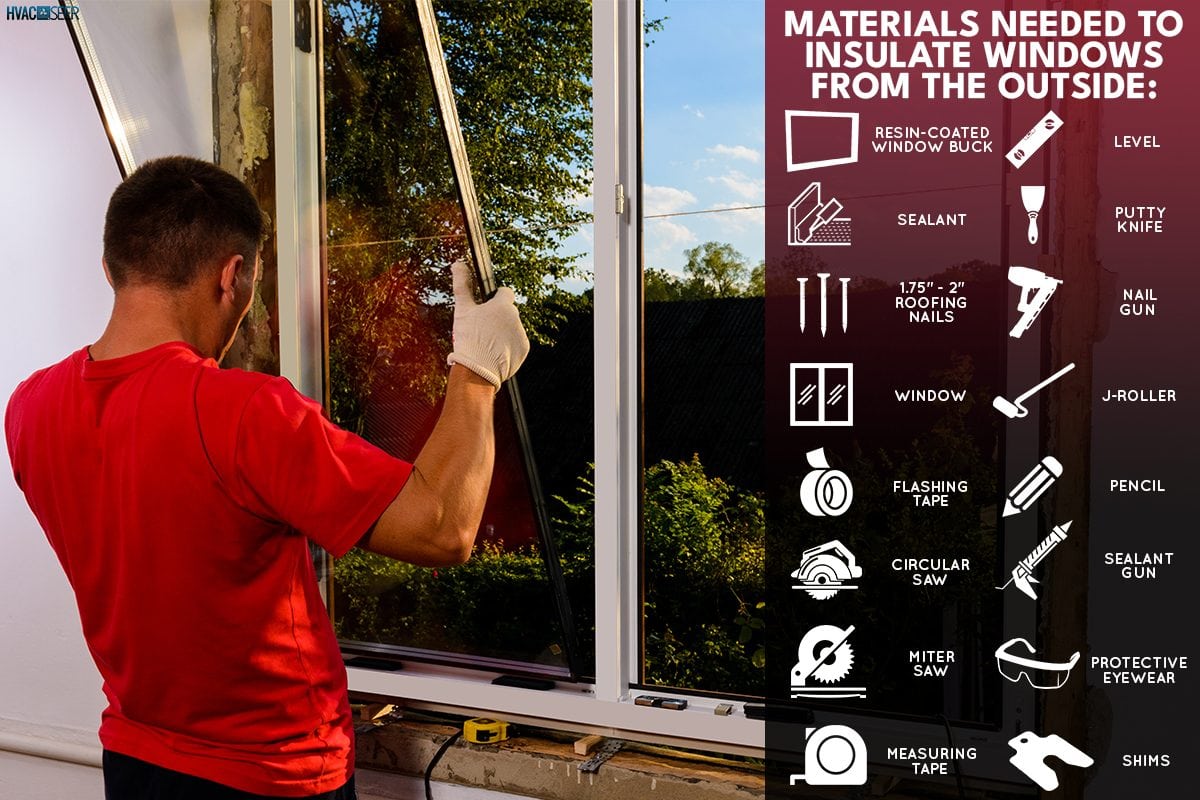
The following materials need to be on hand at the start of the installation:
- Resin-coated window buck
- Recommended sealant
- 1.75" - 2" roofing nails
- Window
- Weather-resistant barrier (WRB) flashing tape
- Continuous insulation
- Circular saw
- Miter saw
- Measuring tape
- Level
- Putty knife
- Nail gun or hammer
- J-roller and paddle
- Pencil
- Sealant gun
- Protective eyewear
- Shims (if applicable)
2. Measure the pre-framed rough opening.
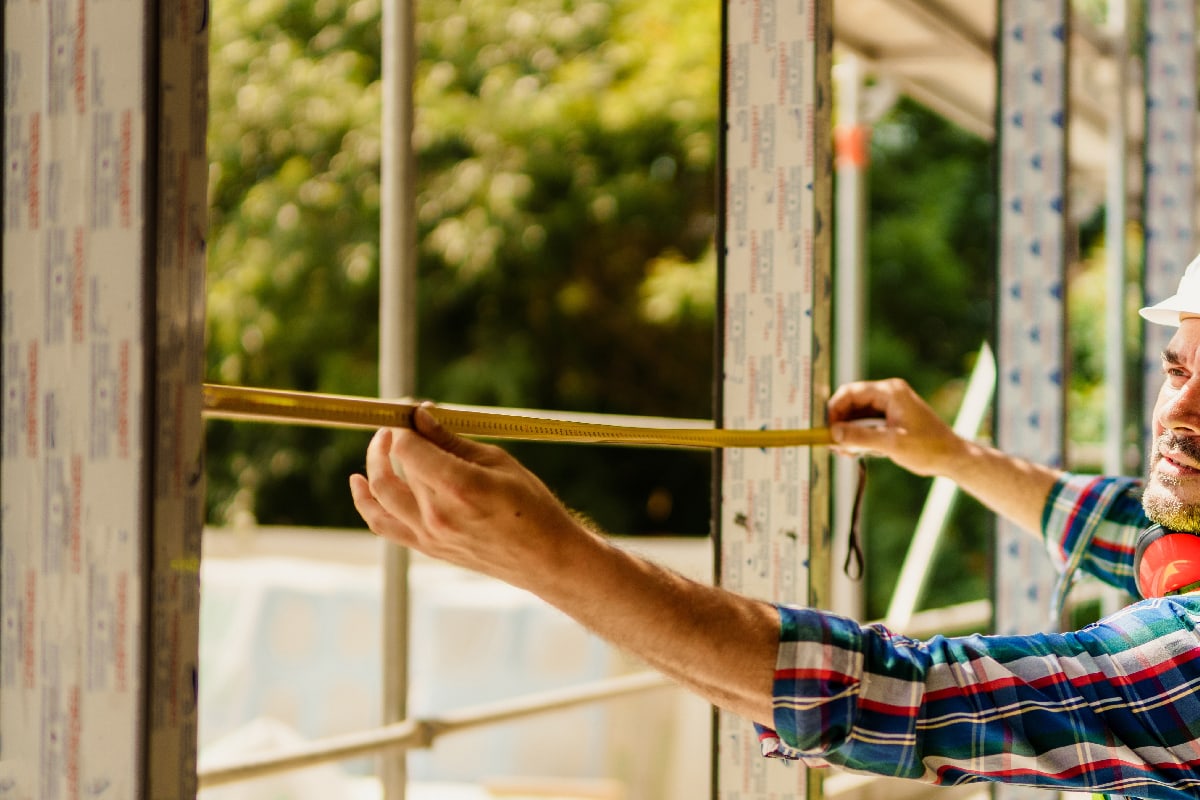
In measuring the pre-framed rough window opening, make sure that each side has a half-inch excess space than what the window manufacturer recommends. Level each side and adjust as needed.
3. Cut the window buck.
Before cutting your window buck, plan your cuts carefully. Using a miter saw, cut each end at an angle of 45º. The corners at each rough opening side should be cut 1/16" - 1/8" short to allow sealant application at the seams.
4. Dry-fit the window buck before installing and sealing.
Before applying the sealant on the window buck, dry-fit each side to ensure correct measurement. Apply the recommended sealant at the back of the window buck per the manufacturer's instruction.
Install the buck on the sill. Firmly push the buck's total length along the opening on all sides. Make sure all the sides are aligned and you achieve 100% ooze-out for effective sealing. Add sealant as well on the mitered ends of the buck.
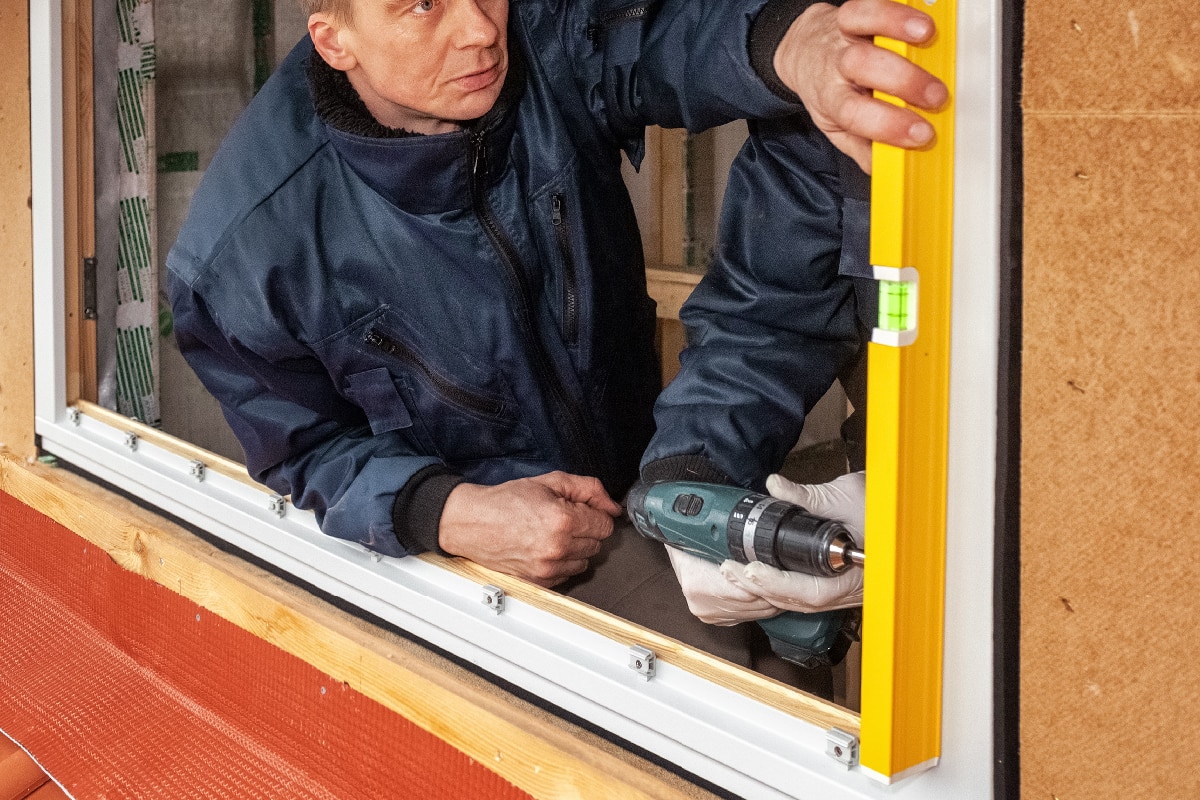
5. Nail the tongue and clamp the corners.
Once the window buck is well seated on the sill, nail it in place with a 1.75" nail at 10" - 12" inches apart. If the gap between the mitered corners is at least 1/4", you will need to apply sealant on the gap and wait until it is cured. While waiting for the sealant to cure, clamp the corners tightly with 2-inch nails.
6. Seal gaps around the window buck.
Apply the sealant again between the buck and the sheathing. Seal the entire length of the buck and make sure there is 100% ooze-out, otherwise, keep applying the sealant to fill the voids. Smooth and remove excess sealant with a putty knife.
7. Install the windows.
Fasten the windows against the window buck following the manufacturer's instructions. The screws or nails must penetrate 1.25" into the stud for sound structure.
8. Flash the window jambs and headpiece.
Apply flashing tape along the window jambs from top to bottom. The tape must cover the nail or screw head and the transition area between the window buck and wall sheathing. Using J-roller and paddle, smoothen the tape along the entire length of the jambs to ensure a tight seal.
Repeat the flashing process on the window's headpiece. Extend the tape at least 2" past the jamb flashing on both ends.
Allow the headpiece flashing to completely seat on the surface by making 2 cuts on the extended end of the tape. The cut should follow the lines of the window buck. Press the first flap on the face of the buck and along the curve of the jamb to the sheathing. For a single effect, bring the second flap down the side of the jamb.
Seal properly the head flashing with the roller.
9. Put interior sealant.
To complete the air and water sealant, applying a back dam on the interior of the window is required. Seal the transitions between the window buck and sill, and the buck and window.
10. Complete installation with insulation panels.
Install the continuous insulation panels. Make sure that the panels are the same thickness as the window buck so that they are completely leveled with each other when attached. If you plan to make use of a rain-screen wall, make sure your buck has an additional thickness of 0.5".
In installing exterior window insulation, do not forget to wear eyesight and hearing protection devices. Also, remember that integrating best practices in these types of installations is the responsibility of your contractor.
How To Insulate Windows Of Old Homes
Exterior window insulation is not only for new homes. If you live in an old home, it is likely that you already have passive or manual HVAC systems in place. However, you can improve your energy savings by adding or improving your window insulations. Try either applying caulk around the outside of your window frame or using storm windows.
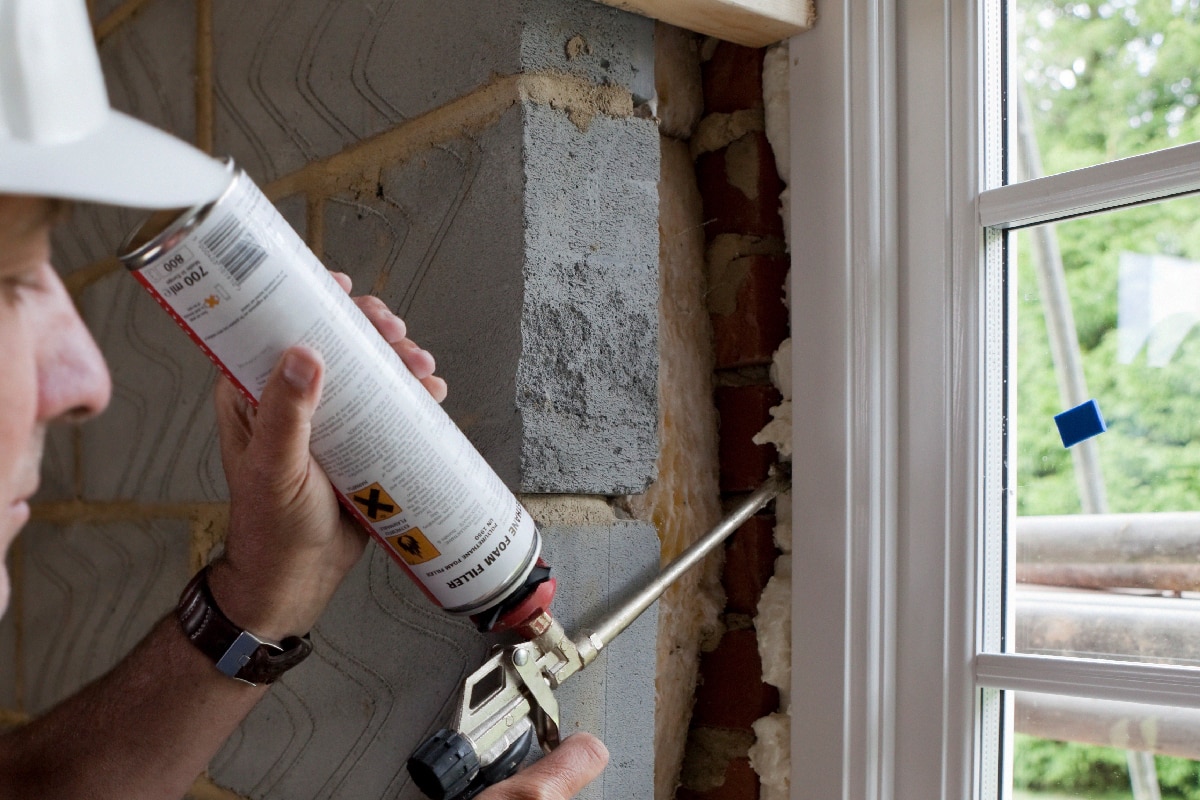
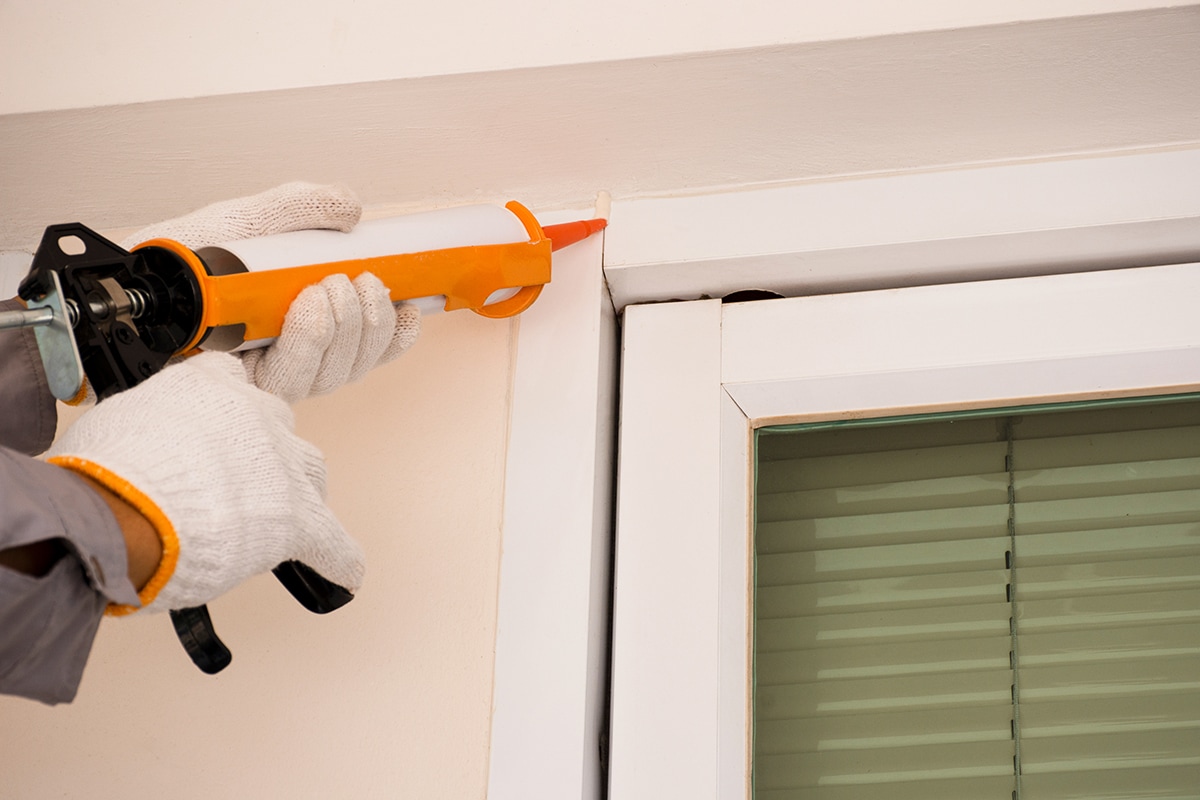
Using caulk
When insulating old houses, it is important to be to do an energy audit and find air leaks. One of the most common locations of air leaks is windows.
To effectively insulate windows from the outside, it is best to use siliconized latex caulk. Since you will be applying it outside, the odor that comes with the product won't be a bother. While these types of caulk are more expensive than others, they will last longer under the elements, and it is very easy to apply. Follow this very simple guide on how to do it:
- For this, you can use a dripless caulk gun. Cut the spout of the caulk container. The further you cut from the nozzle tip, the thicker the caulk will become.
- If your container has a seal, remove it using the caulk gun's puncher.
- Then, load your container on the gun.
- Point your nozzle at an angle, and squeeze the trigger as you move down the side of the window.
- With your finger, smooth the caulk into the joint between the window frame and wall. Allow the caulk to cure for at least 3 hours.
- You can also apply the caulk inside the window for more effective sealing. Be sure to clean your hands and tools of the caulking material after application.
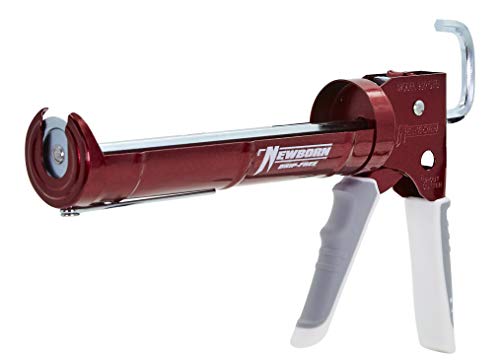
Avail this caulk gun on Amazon.
This caulk gun has other convenient features like a built-in spout cutter, quick-release trigger, seal puncture rod, and a ladder hook.
Here is a video you can watch for a visual demonstration.
Installing storm windows
Another type of exterior window insulation that EPA promotes is storm windows. Here is a DIY guide you can follow for this installation:
- Prepare the materials you will need which are the storm window, tape measure, screwdriver, putty knife, caulk, and a caulking gun.
- Dry-fit the storm window into the opening. The screw holes should land on the wood or any solid surface around the window.
- Hold the gun at an angle and apply caulk on the joint of the headpiece and jambs, but not the bottom sill. This is because you need to keep the weep hole clear for effective moisture drainage.
- Position the storm window into the opening. Make sure that that top part is snugly fit.
- Secure the storm window by drilling the screws at the top corners first.
- Adjust the bottom expander of the storm window so that it meets the bottom sill. Use your putty knife to press the expander tightly and evenly against the windowsill.
- Check that the installation of the storm window is correct. There should be a 1/16" gap between the window and the frame. If everything checks out, then secure the remaining screws.
Before installing the storm window, ensure the following:
- The window and surrounding surfaces are dry and any leaks or damages around the window are fixed.
- Before ordering your storm window, get the measurement of your windows first. Measure the top, bottom, and middle in the interior part of your window casing. You also need to measure the top casing to the bottom sill. In taking these measurements, round the figures to the nearest 1/8". Should it be that horizontal measurements are uneven, take the smallest figure among the three.
In Closing
Installing exterior insulation for your windows can be a meticulous process. But there are also quick solutions you can take to get your windows sealed and insulated from the outside. When you are in doubt about undertaking projects such as this, you can always seek help from professionals.
Other related topics:
How To Weatherproof Windows With Plastic Wrap [A Step-By-Step Guide]
How To Insulate Old Windows Without Replacing Them