
If you need to install a plumbing loop vent but don't know how to do it, keep reading. We've researched the topic to bring you the best information and suggestions regarding this process.
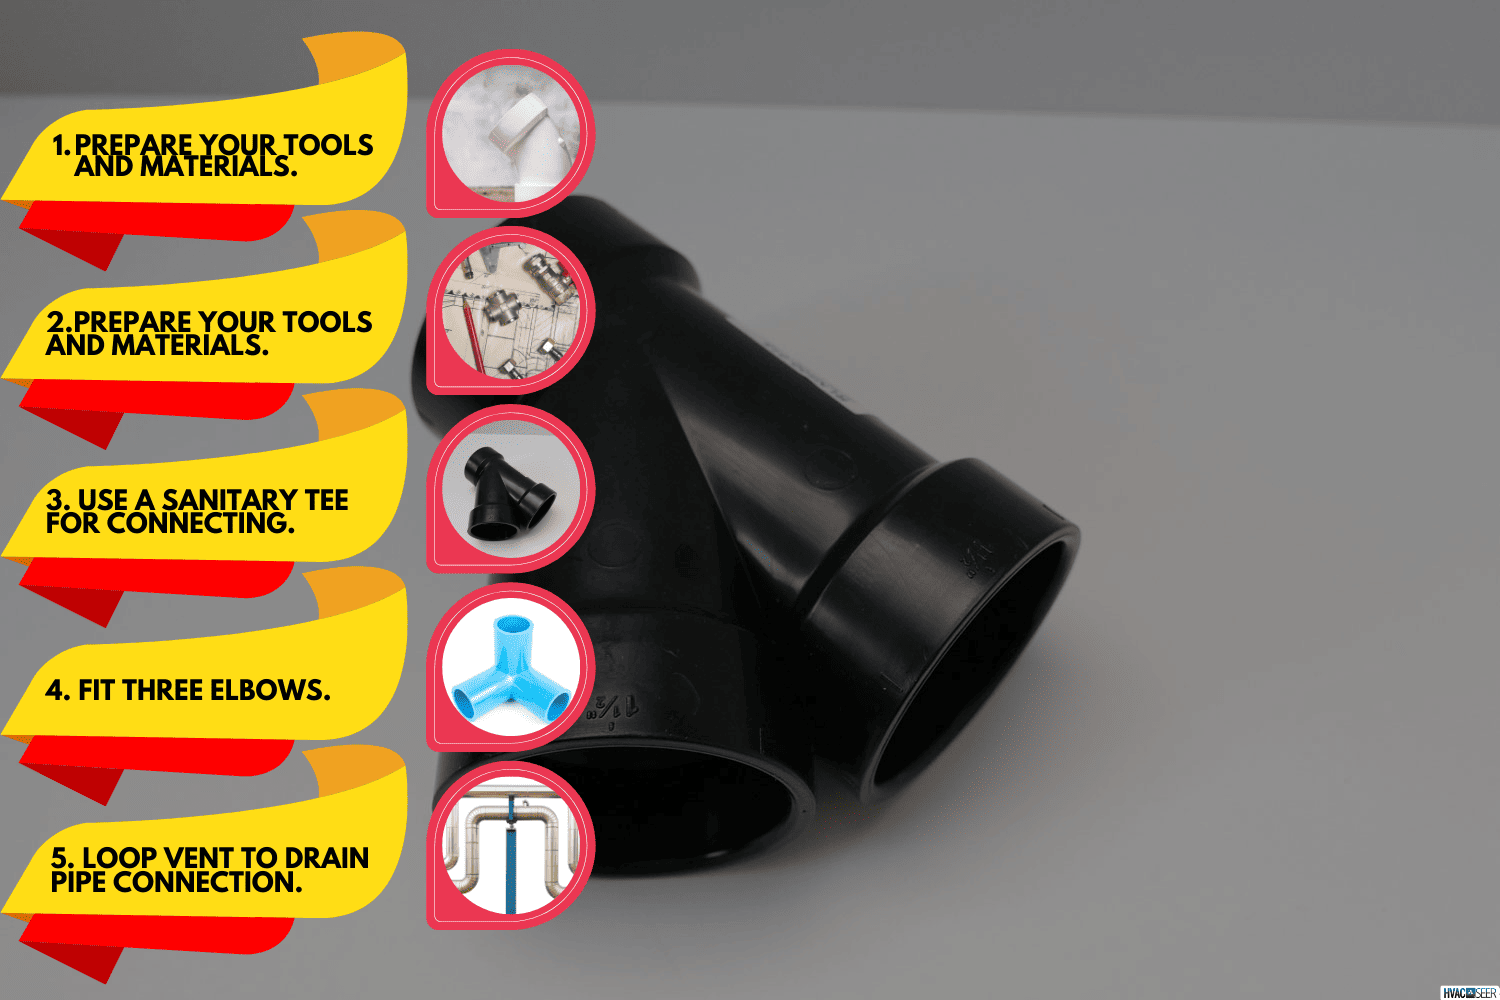
A plumbing loop vent is a "trap" inside a cabinet that's made by using a P-trap and vent pipes. Here are the steps for creating a plumbing loop vent:
- Prepare your tools and materials.
- Measure and cut the pipe.
- Use a sanitary tee for connecting.
- Fit three elbows.
- Loop vent to drain pipe connection.
In this post, we'll cover each step in the process. We'll also discuss other types of vents and their functions. Keep reading for more details.
How To Make A Plumbing Loop Vent
Plumbing loop vents help with house ventilation. Note that creating a plumbing loop vent can be difficult. These loops have a pneumatic pressure of 249 Pa or a one-inch of the water column.
Planning for each pipeline is essential when building a loop vent for plumbing requirements. This is due to the need to properly link the three elbows to the drainage and vented pipes to form the upside-down "P."
The following procedure is also done to make and install plumbing loop vents for sinks. The procedure is comparable to that of residential equipment that calls for venting.
Conventional methods will be used to create a plumbing loop vent for the bathroom and toilet. However, repairing it might need a skilled plumber.
You can watch this video to learn more about plumbing loop vents.
Here are the steps for making the vent.
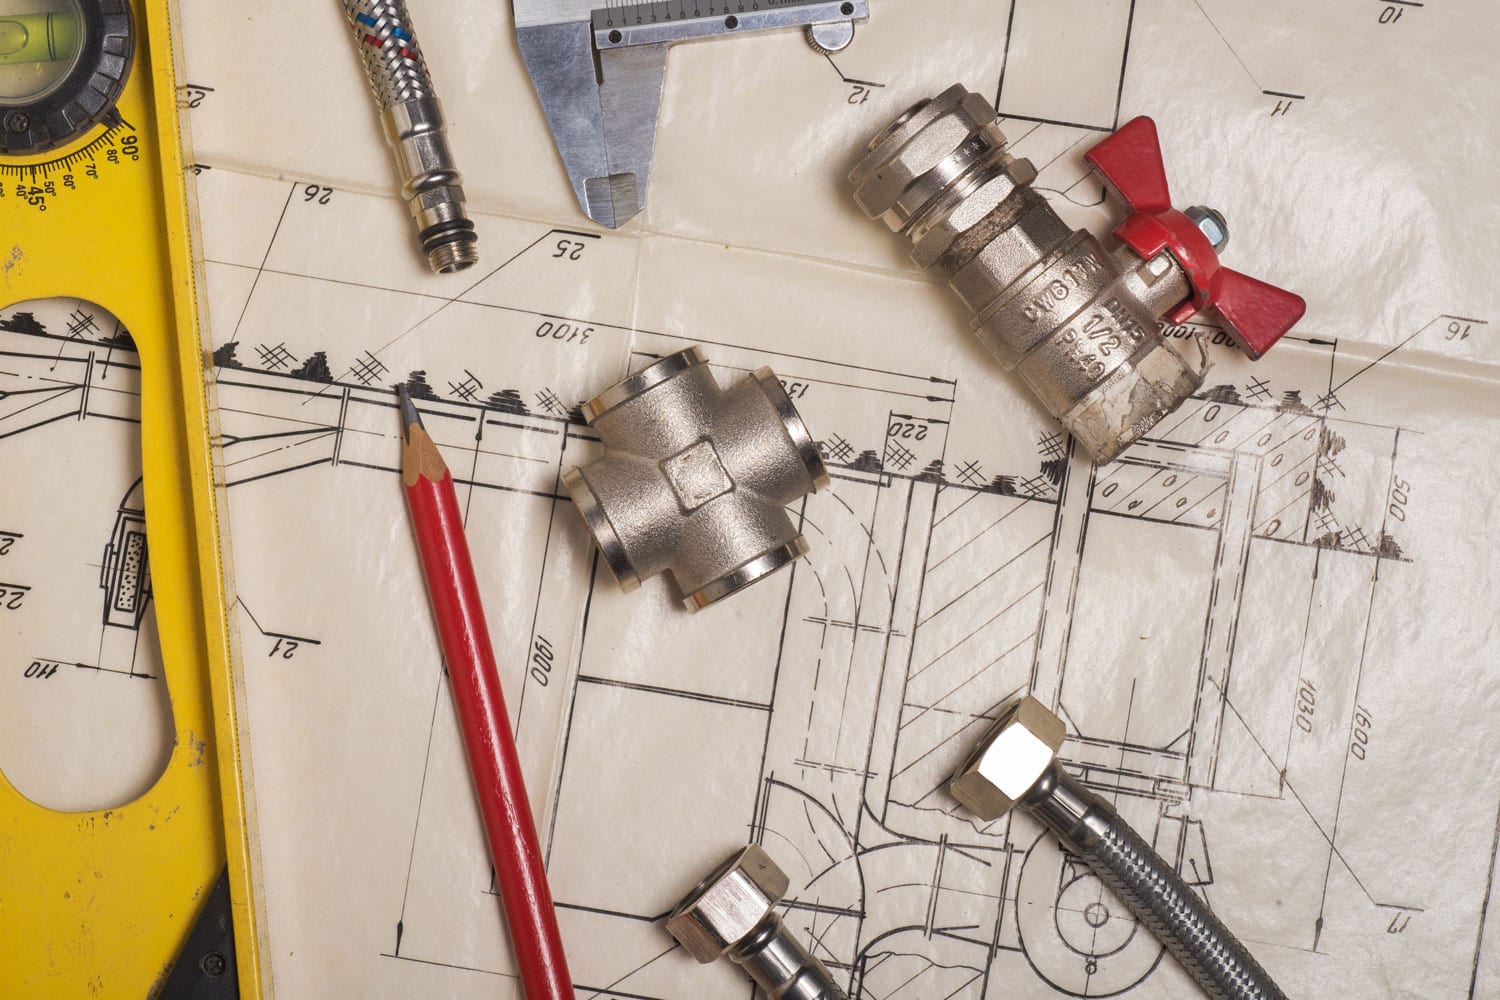
1. Prepare Your Tools And Materials
You will need the items below to complete the job.
- 90° (1) and 45° (2) Y-fitting elbows
- Polyvinyl Chloride (PVC) vent pipe for plumbing
- Measurement tape
- Hacksaw
- Vent tee and sanitary
- Piping cement
Disconnect all water system connections going to the sink in the kitchen cupboard. Make a diagram and identify each component of the loop vent.
Make sure the dimensions on the diagram are accurate and adhere to plumbing codes. Additionally, specify the kinds of elbow and tee that need to be fixed.
2. Pipe Measurement And Cutting
Starting at the vent hole, measure the distance from the drainage to the trap exit. Your diagram's dimensions should be added. They ought to be separated by at least 6 inches.
The distance between the P-trap and the stack vent should be measured. The vent is about 6 inches above the P-trap, so use the tape measure to measure the distance from the top of the vent to the floor.
Mark the areas you'll be cutting with a pen and allow room for the connectors. Once you've done that, cut the pipe using a hacksaw. Then, use sandpaper to get rid of the burrs.
3. Sanitary Tee For Connecting

Attach a sanitary tee to the P-trap and the plumbing loop vent. Additional joinery can be done thanks to the sanitary tee.
Join the drain pipe and sanitary tee by pointing the slanting side downward. To ensure leak-proof connections, glue the vent utilizing plastic pipe cement.
Create the loop after attaching the sanitary tee to the P-trap and downwards to the drain pipe. Attach a section of the pipe vertically to reach the required height. Above the P-trap, the usual height is 6 inches.
4. Fit Three Elbows
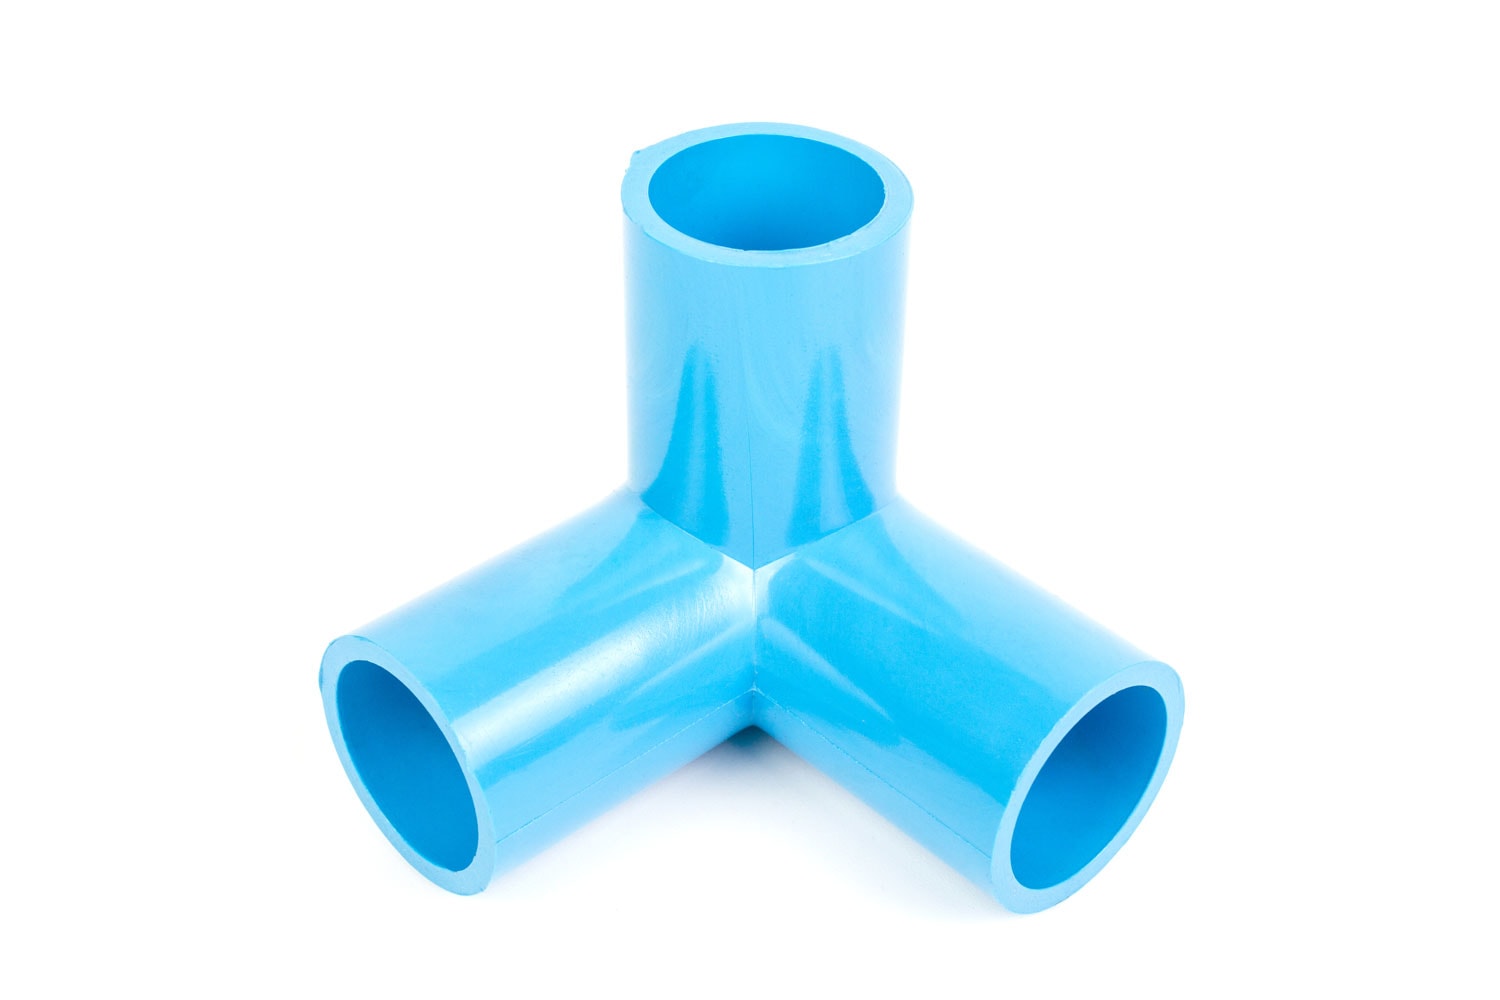
Insert two 45-degree elbows and one 90-degree elbow into one side of the sanitary tee. Make sure you choose the side that will pass between horizontal pipes and a vent tee to reach the vent.
Next, join a 45-degree elbow to the extension pipe's vertical part. Then attach a 90 degree elbow to the top of a 45-degree elbow to curve the loop.
To make the upper loop, fix a second 45-degree elbow pointing downwards. Use glue to secure the joints to make sure they are watertight. With the proper code lengths, the upper end of the loop must contact the underside of the tabletop.
Take a piece of PVC pipe and secure it to the lower portion of the 45-degree elbow. Place a vent tee on the ground to connect the loop to the stack vent.
There should be a slope to the ground to enable air and waste circulation. Use a 90 degree elbow or a Y-fitting to connect a section of pipe to the stack vent.

5. Loop Vent To Drain Pipe Connection
Next, join the horizontal pipes, gaskets, and other parts to the floor drain line. To give the pipeline its sloping position, join a segment of it to the vent tee's remaining aperture using a 45-degree elbow.
Use a 45-degree wye to complete the loop connection at the junction for the drainage pipe. The plumbing fixtures which link to the drainage upstream must all function properly.
Afterward, ensure that none of the pipes are broken before testing them out by turning on the water supply. To prevent leaks, each pipe ought to be sealed securely. This component is crucial to prevent water from entering the dry vent.

Check out this 45° wye on Amazon.
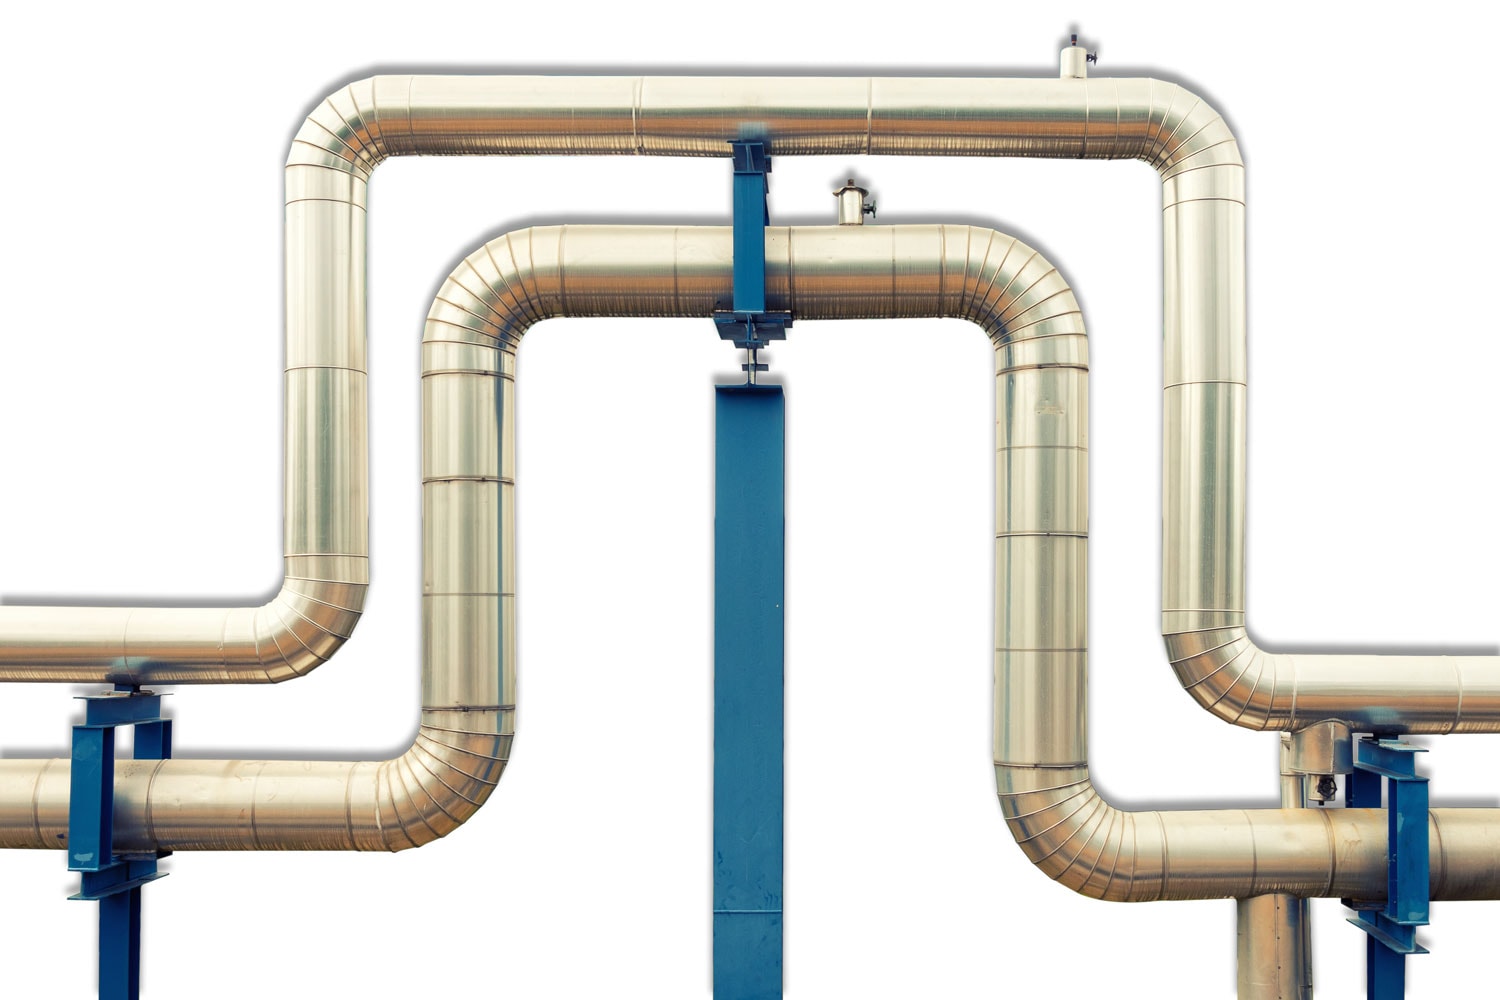
Various Methods Of Venting
The drainage system is designed to give you access to clean water and eliminate waste. The system must be capable of ventilating and draining properly in order to accomplish these tasks.
Each time you use a plumbing appliance, the vent pipes work to ensure that water and waste are appropriately channeled down the drainage pipes. Below you can learn about different venting methods.
Individual Venting
Each trap, as well as the trap fixture, may have its own vent. The specific vent needs to be connected to the fixture drainage of a trap or trapped fixture that needs to be vented.
Wet Venting
Both horizontal and vertical wet vents are acceptable for this type of venting technique. Each fixture in a pair of bathrooms that are on the same floor level may be vented both horizontally and vertically.
Its most downstream drainage connection to the horizontal branch drain is where the horizontal wet vent begins. This continues along the path of the flow inside the drain pipe to the junction of the dry vent.
The vertical wet vent should be regarded as the fixture's vent and run from the dry vent's connection to the lowest fixture drain.
Waste Stack Venting
Any fixture that discharges to a waste stack must have a vent. The waste stack must be vertical. Offsets between the lowest fixture drainage connections and the topmost fixture drainage connections are not allowed.
Each fixture drain needs to have its own connection to the waste stack. Urinals and bathrooms cannot discharge into the stack.
Combination Waste And Vent
The use of a drain and vent system to service a fixture is not permitted, with the exception of floor drains, sinks, bathrooms, and drinking fountains.
Medical sinks and kitchen waste processors cannot discharge into combined drain and vent systems.
During installation, the single vertical pipe of a combination drain and vent system must connect the fixture drain to the horizontal combination drain and vent pipe. The greatest maximum difference is eight feet.
Circuit Venting
A relief vent must be installed when connecting to circuit-vented horizontal branches receiving discharge from three or more bathrooms. Dirt or debris discharged from higher horizontal branches is collected by a drainage stack.
The relief vent must be installed and connected to the circuit vent's most downstream fixture drain, the horizontal branch drain between the stack and that fixture.
The relief vent may be used as a drain or branch for fixtures within the same branch intervals as the circuit-vented fixture. A relief vent may only receive a maximum discharge of four fixture components.
Common Venting
Two traps or trapped fittings may be vented as a shared vent through a single opening. The trapped fixtures being jointly vented must be situated on the same floor. The interconnection can be on the same level or a different level.
Conclusion
To make a plumbing loop vent, you need to have the proper tools and dimensions for the pipe. You should then attach the sanitary tee and fit three elbows to loop the vent to the drain pipe connection.
Connecting the loop vent using the instructions in this post should result in a successful installation.
If you found this post helpful, check out these related articles: