
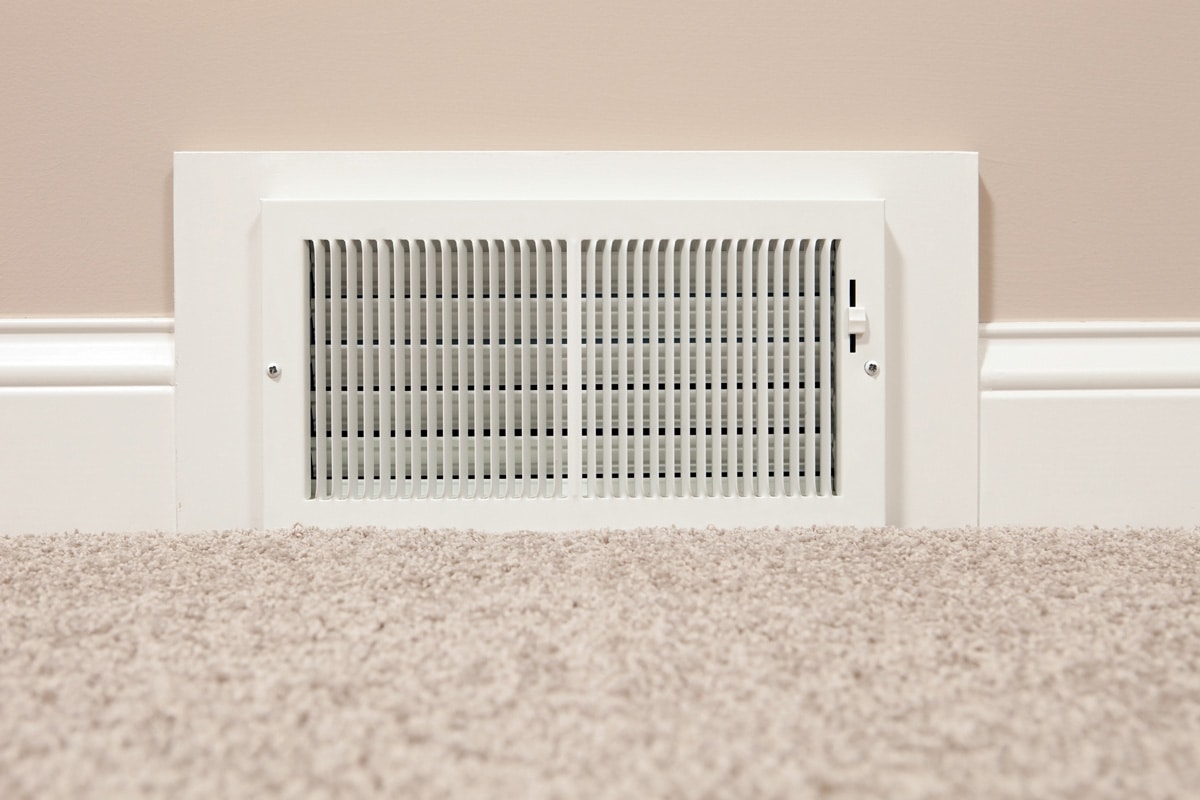
Toe kick vents are a great solution for redirecting the flow of air from your HVAC system. You might want to place furniture over a vent and wonder how you can avoid covering your system's air ducts. If you want to make your own toe kick vent, look no further. We have done the research to give you all the important information you will need.
The best way to make your own toe kick vent is to buy a Toe Ductor kit. You can order one online. Below is a step-by-step guide to help you install the vent properly.
- Remove the old air vent grille.
- Attach the vent tube to the opening on the metal sheet with a hose clamp.
- Apply sealant along the edges of the metal sheet and press it firmly over the air vent on the wall.
- Install screws at the edges of the metal sheet.
- Attach the front end to the vent tube with a hose clamp.
- Place the furniture over the vent tube, making sure that the furniture has been altered to allow a tube to run underneath it.
- Secure the front end of the vent tube under the furniture.
- Screw the toe kick vent grille over the front vent tube.
Toe kick vents can be easily installed with only a few tools. Continue reading as we discuss all the necessary details you will need in order to install a toe kick vent at home.
![Cold air return grille on wall sitting on hardwood floor, How To Make A Toe Kick Vent [Step By Step Guide]](https://hvacseer.com/wp-content/uploads/2022/11/9.-How-To-Make-A-Toe-Kick-Vent-Step-By-Step-Guide.jpg)
Can I Make My Own Toe Kick Vent At Home?
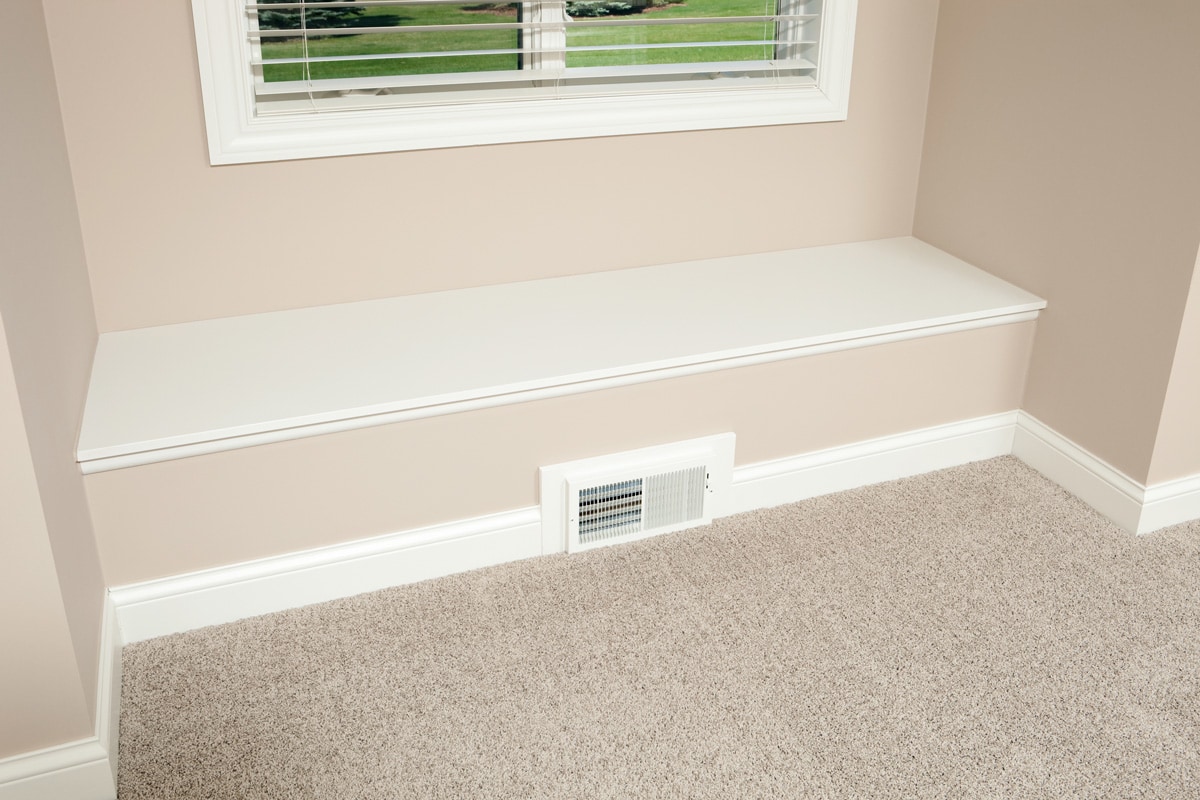
A toe kick vent redirects the air from your HVAC vents through a tube. It does not require additional space.
In fact, the tube is designed to run under a piece of furniture, saving you space. This type of vent allows you to freely use up all the space in a room without having to leave a significant portion just for an air vent grille.
The best way to make your own toe kick vent at home is by using the kit produced by Toe Ductor. Toe Ductor has patented its toe kick vent design.
You can order the kit online and build your own toe kick vent at home. The kit has all the necessary materials for installation. You can also contact the seller in order to get a metal sheet with customized sizes.
How Do I Install A Toe Kick Vent?
Once you receive the toe kick vent kit, you should be able to install it without professional help. You will only need a few tools as well as the kit.
Below is a comprehensive step-by-step guide to help you make a toe kick vent.
Tools
- Drill or hammer
- Screwdriver
- 9 screws / 7 nails, 2 screws
- Toe Ductor kit
- Silicone sealant
- Cartridge gun

Click here to shop for a toe kick vent kit on Amazon.
Remove The Old Air Vent Grille
The air vent grille is the ventilation cover located in front of your air vent. Remove this cover and the screws or nails around the grille.
Make sure to remove the fasteners properly. Avoid leaving any dents or bumps on the surface around the previous air grille. The metal sheet that will cover the air vent hole needs an even surface to keep air from leaking out.
Attach The Vent Tube To The Metal Sheet
The two largest pieces in the toe kick vent kit are the metal sheet with a protruding opening in front and the vent tube. You will need to attach one end of the vent tube to the opening on the metal sheet before placing the metal sheet over the air vent hole.
It is important to attach the vent tube to the metal sheet's opening before you fasten the metal sheet over the air vent hole.
This is because you will have very little space left to squeeze the vent tube into the opening if the metal sheet is already attached just a few inches off the floor.
Use the hose clamp in the kit to fasten it securely. Make sure that the vent tube is connected to the metal sheet's opening without leaving any gaps between the surfaces of the materials. This will ensure that no air will spill through these tiny spaces.
Attach The Metal Sheet Over The Air Vent Hole
As we mentioned before, make sure that the metal sheet will be attached to a flat, even surface. Once the surface around the air vent is prepared, apply the sealant of your choice around the corner edges of the metal sheet.
Once the sealant has been applied, place it over the air vent hole. Make sure that the opening of the metal sheet is positioned in the middle of the air vent hole. The vent tube must be extending outward and not inserted into the air vent hole.
Install The Screws/Nails At The Corners Of The Metal Sheet
There are screws provided in the toe kick vent kit, but you can also use nails. Any fastener can be used to secure the metal sheet in place. This will support the sealer in keeping the metal sheet in place.
Attach The Front End Into The Vent Tube
Similar to the process of attaching the vent tube to the opening of the metal sheet, attach the front end of the vent tube. This will also require you to use a hose clamp to lock both materials in place.
You should be looking at a vent hose with a metal mouth attached to the front end. This front end will have two curvatures extending outwards on both sides.
Place The Furniture Over The Toe Kick Vent
Before placing the furniture over the toe kick vent, make sure that an appropriate space has been allotted for the size of the toe kick vent tube.
This means altering the furniture in a way that allows the toe kick vent hose to pass through underneath it. Otherwise, you will be flattening the hose and rendering the whole device nonfunctional.
Once you have properly positioned the vent hose underneath, secure the front end of the vent hose to the opening on the bottom of the furniture.
The two curvatures extending outward on both sides of the front end of the hose should be bent into the surface of the furniture, acting as hooks for the tube.
Attach The Toe Kick Air Grille
Once the front end of the vent tube has been hooked into the furniture, you can attach the grille over it.
Again, screws are provided in the kit but you use nails if that works better for your furniture. Make sure that the grill is secured in place over the front end of the vent hose.
Watch this video for more details on the process.
What Size Is A Toe Kick Vent?

A toe kick is the indented space on the bottom of a piece of furniture. Toe kicks are commonly found in kitchens, but you can place a toe kick vent anywhere it is needed.
On average a toe kick would be 3.5 inches tall and up to 10 inches wide. However, this depends on the toe kick space available. Below are common sizes of toe kick vents.
- 2 x 10 inches
- 2 x 12 inches
- 2 x 14 inches
- 3 x 10 inches
Toe kick vents are indented because the front end of the vent tube needs to be secured in place behind it. This means that toe kick vents can only be used on wall surfaces and not on the floor.
To Wrap Up
Toe kick vents are a good solution for redirecting airflow at home when you want to utilize the space in front of an air vent. Toe kick vent kits are available online so you can install one on your own at home.
In this article, we discussed the step-by-step process for installing a toe kick vent at home.
Make sure to get the correct measurements of your air vent before purchasing the toe kick vent. A toe kick vent that fits your air vent well will be easier to secure than an ill-fitting one.
Made it to the end? Check out some of our related posts!
How To Vent A Bathroom Fan Through The Wall [Complete Guide]
Does A Laundry Room Need Ventilation? [Complete Dryer Ventilation Guide]