
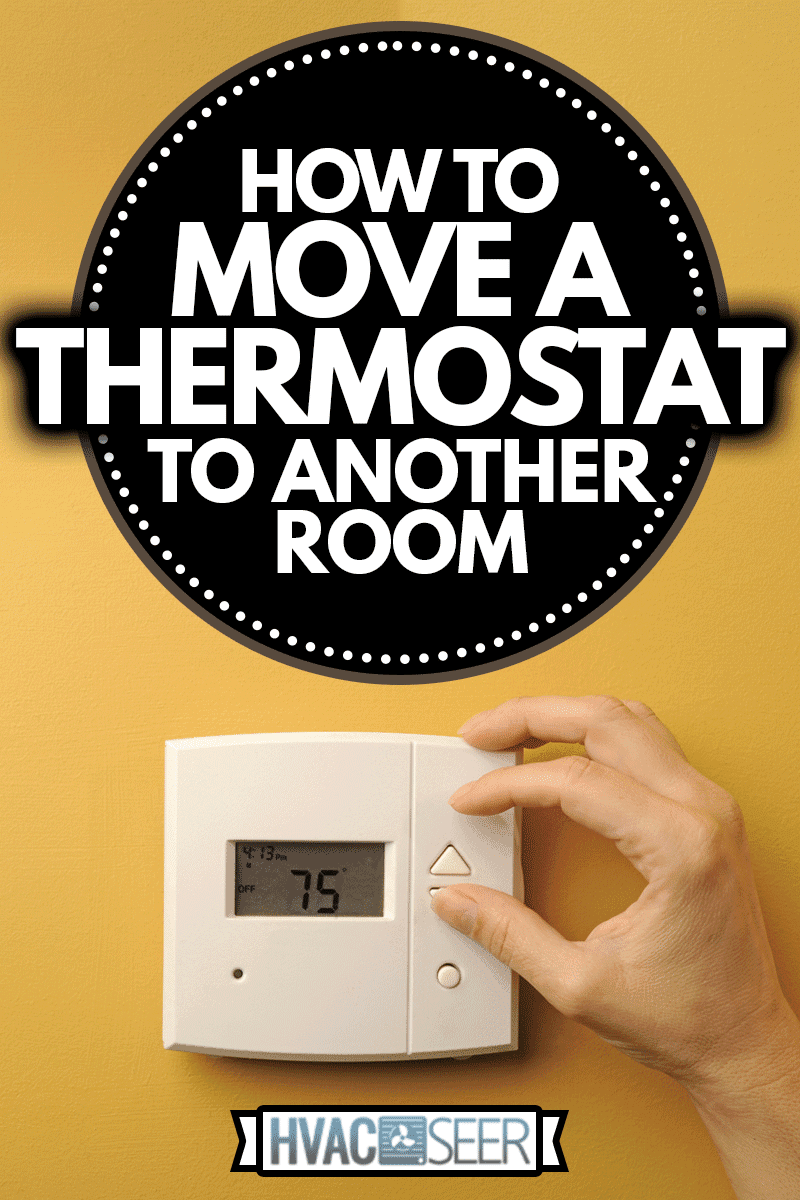
Thermostat location occasionally imparts a large impact on home comfort, HVAC system runtime, and utility bill cost. Therefore, you are wondering how to move a thermostat to another room. In this post, we combine up-to-date research and industry professional knowledge to answer your question.
To move your thermostat to another room, follow these general steps:
- Choose a new location for the thermostat
- Turn thermostat power off
- Remove thermostat
- Run wires to the new location
- Install the thermostat in the new location
- Repower the thermostat
- Repair the old thermostat location
Keep reading the rest of this post for details on each of the above steps. Step four, how to run the wires to a new location, varies greatly depending on how far you want to move your thermostat and your electrical proficiency. We also answer several questions related to this post.
Contents
- 1 1. Choose New Location for Thermostat
- 2 2. Turn Thermostat Power Off
- 3 3. Remove Thermostat
- 4 4. Run Wires to New Location
- 5 5. Install Thermostat in New Location
- 6 6. Repower Thermostat
- 7 7. Repair Old Thermostat Hole
- 8 Can I move my Nest thermostat to another room?
- 9 How much does it cost to move a thermostat?
- 10 What should room thermostats be set at?
- 11 What is the healthiest temperature to keep your house?
- 12 In Closing
1. Choose New Location for Thermostat
It is very important where you place the thermostat in your home. This device is in charge of telling your furnace or AC system when to turn on and when to turn off. Generally, thermostats only sense the temperature where they are located.
This means that if your thermostat reaches temperature, it will turn off no matter whether the home is comfortable or not. Therefore, you want to place your thermostat in a central location that reflects the average temperature of your home.
Where should you not put a thermostat?
Do not put your thermostat near windows, drafts, in very sunny locations, right above duct registers, near hot appliances, or in an out-of-the-way room that you do not heat or cool. Basically, you want to avoid putting the thermostat anywhere that experiences temperature far outside of your home's norm.
Should the thermostat be in the coldest room?
According to the logic above, you do not want to put your thermostat in the coldest room. If you do this, the thermostat will keep your furnace on long after the rest of your home has reached the desired temperature.
If you do decide to put your thermostat into the coldest room, just remember that room will stay the coldest, and the rest of your home will just get hotter than your thermostat set point.
2. Turn Thermostat Power Off
Whenever you work with electronics, it is very important to turn the power off before touching or messing with any wires. Electrical shock can cause serious harm and even death (although thermostats do not require a ton of power).
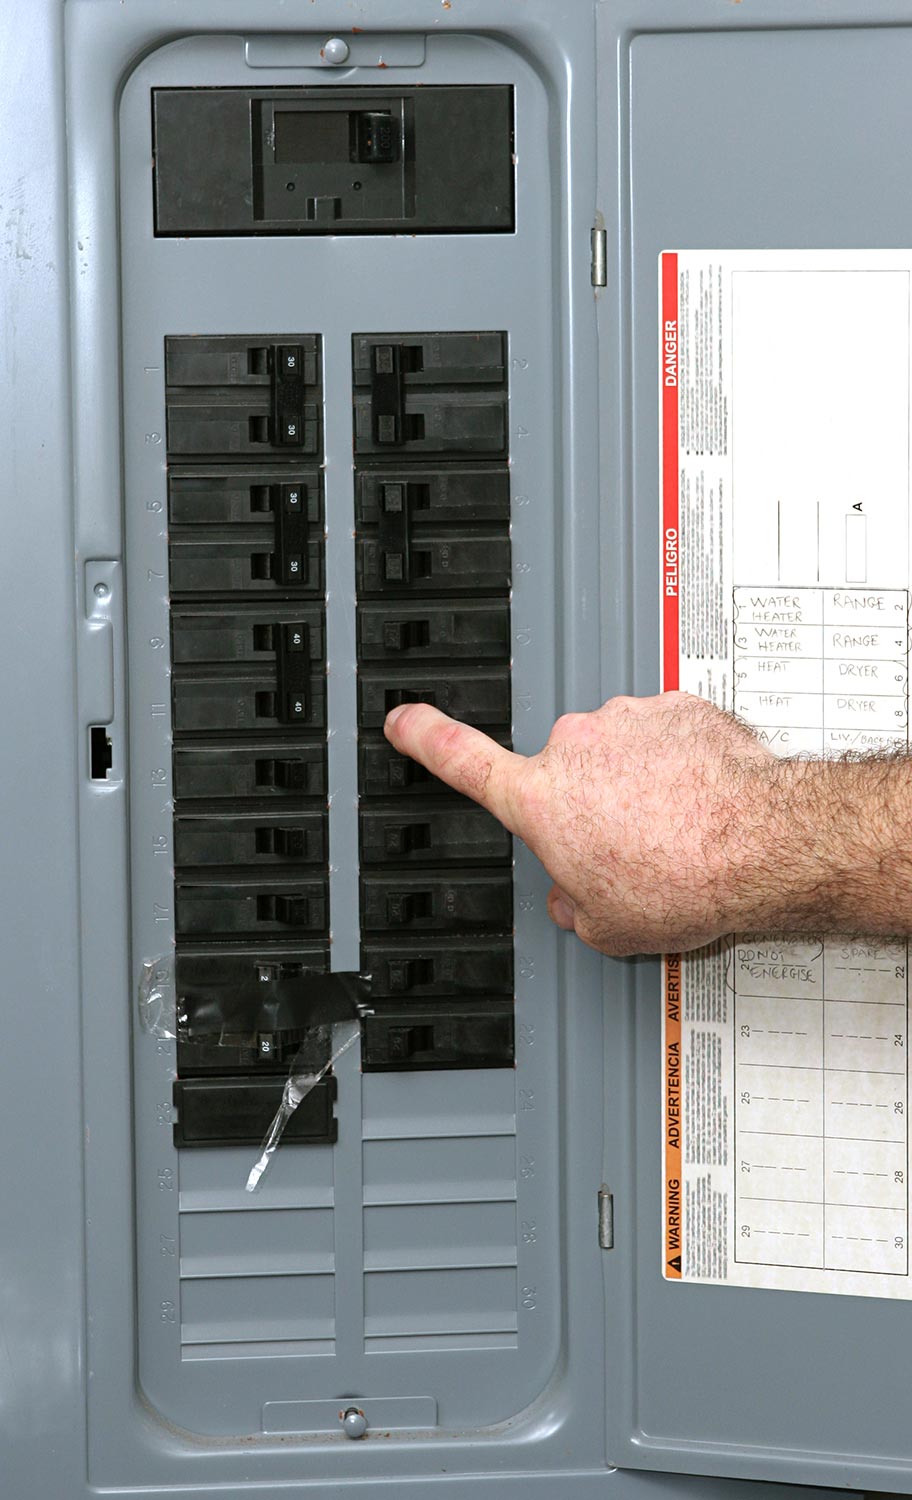
Generally, you turn the thermostat power off at your breaker box. Locate the breaker that you expect is associated with your thermostat and flip it off. Now, ensure you picked the right breaker by attempting to turn the thermostat back on. If there is no power to your thermostat, you are good to go.
Warning—if you are not sure you can turn the power off to your thermostat, do not attempt this project yourself. In fact, if you are uncomfortable with any of the below steps, do not hesitate to call an electrician or HVAC professional to do the work for you.
3. Remove Thermostat
Once the power is off, you can remove the thermostat. Generally, there are a few screws that you have to take out, and then you can easily remove the device. At this point, the wires will still connect the thermostat to the wall.
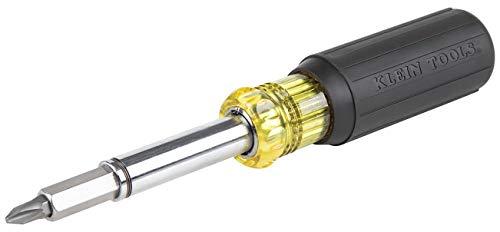
Click here for a multi-head screwdriver on Amazon.
Before proceeding, take detailed pictures of how the thermostat is wired. You will need these for when you go to rewire the thermostat in its new location.
Now, you can unravel the wires using your fingers or pliers. Usually, each wire will be a different color, which is very handy for the rewiring process. However, if you have more than one wire of the same color, use tape to label each wire end so you can reconnect them in their original configuration.
Be sure to remove both the thermostat bracket housing and the thermostat face in this step. Your goal is to leave nothing on the wall.
4. Run Wires to New Location
Now it is time to run those wires to a new location. The difficulty of this step varies greatly based on how far you want to move your thermostat. For instance, if you only want to move the thermostat to the other side of the wall, the job is easy. If you want to move the thermostat across the home, it is much more difficult.
For long thermostat moves, it is recommended that you hire an electrition for the most professional-looking outcome. However, we provide basic directions for how to do that step here.
Moving Thermostat to Other Side of Wall
To move the thermostat to the other side of the wall, you do not need to extend your wires at all. This makes the job much easier.

Click here for a 1" hole saw on Amazon.
Begin by drilling a hole in the wall behind where you want the new thermostat to be. Then use a wire fishing tool to grab your wires and pull them through the new hole. Depending on the type of thermostat housing you have, you might want to install it before or after pulling the wires.
Moving Thermostat a Great Distance
If you need to move your thermostat a greater distance, you will need to be much more clever and resourceful with your wiring. The easiest option is to just run the wires on the outside of your wall in the upper corners of your home and then back down to the new thermostat location.
Other options include running the wires through the attic or through the basement/crawlspace. All of these options require you to make safe electrical splices, and for you to use the proper gauge of wire for the distance traveled.

Click here for a wire fishing tool set on Amazon.
If you do run the wires through the crawl or attic, you will also need to be able to pinpoint where to drill holes in your ceiling or floor. You can do this to hit the wall cavity or, for an easier option, just in front of the wall.

Click here for cable clips on Amazon.
Using conduit, junction boxes, wire nuts, wire fishing tools, and other electricians' hardware and tools makes the final job more professional, simple, and long-lasting. Again, unless you are very comfortable doing the electrical work yourself - call a professional if you want to move your thermostat a great distance.
Poorly run electrical wiring can lead to thermostat failure, fire, and other electrical problems throughout your home.
5. Install Thermostat in New Location
However far you move your thermostat, once you have gotten the wires to the new location, all you need to do is reconnect the wires in their original configuration. Also, reattach the thermostat to the wall using the screws you pulled from the old location.
Generally, all you need to reattach the thermostat to the wall is a hand or power screwdriver.
This step is pretty straightforward as long as you take good pictures ahead of time. If you forgot to take photos or to clearly label your wires, you might find yourself performing some guessing and checking that runs the risk of blowing your thermostat.
6. Repower Thermostat
Once you have the thermostat hooked up in its new location, you have reached the moment of truth. Make sure that all wire junctions are well connected and separated, and repower your thermostat.
If the thermostat works as before, you are good to go - well done. However, if you immediately blow the breaker or do not see thermostat function, it is time to either call a professional or go back and check all of your work
7. Repair Old Thermostat Hole
To finish, repair the old thermostat hole. Often, the hole is small enough that you only need some drywall filling compound and paint to fix it as good as new. However, sometimes you might actually need to patch the drywall if the hole is too big for the drywall filling compound.

Click here for drywall filler from Amazon.
We advise that you fix this hole ASAP; the longer you wait, the more likely it is to fall into the background and off your to-do list. Even small blemishes like this reduce a home's resale value and coziness.
Can I move my Nest thermostat to another room?
Nest thermostats can be moved from place to place just like a normal thermostat. However, according to this article from Google, they do not recommend you move your nest because it will take a while to recalibrate.
However, if you do move your nest thermostat, simply follow the general directions above.
How do I change the location on my Nest thermostat?
According to this article from Google, take these steps to change the location on your nest thermostat:
- In the app, choose settings
- Select the product
- Select "Where" or "Placement"
- Rename the thermostat on that screen
How much does it cost to move a thermostat?
If you do this at home, moving a thermostat might cost no more than your time. However, if you hire a professional, expect to pay between $150 and $450 to move a thermostat. This price fluctuates based on local wages, the distance you want to move the thermostat, and the type of thermostat.
What should room thermostats be set at?
Set your room thermostats on whatever temperature is the most comfortable for the occupants of the room. Generally, you do not want to swing the temp more than 5 degrees between the night and day because of the extra work your heater will have to take to change the temperature.
What is the healthiest temperature to keep your house?
Usually, the healthiest temperature is whatever makes the occupants the most comfortable. That being said, it is a rule of thumb to keep your thermostat set between 65 and 75 degrees Fahrenheit.
In Closing
In this post, we answered the question of how to move a thermostat. We include detailed step-by-step directions. To conclude, we answered several questions related to this post. Good luck!
To learn more about thermostats, read these great HVAC Seer articles: