
A CoolBot is unlike traditional temperature controllers for air conditioners. This technology helps ACs provide sufficient cooling to spaces without demanding frequent human intervention. But how can you program a CoolBot for it to work efficiently? We researched for you to find the answer, and here’s what we found.
Programming a CoolBot requires a proper installation. After completing the initial setup properly, the steps to set a CoolBot’s automatic temperature control feature are:
- Press the checkmark button on the CoolBot control unit once.
- Choose the desired temperature for the air conditioner by pressing the left or right arrow on the CoolBot control unit.
- Confirm the setting by pressing the checkmark button again.
Take note that some precautions need to be in place before programming a CoolBot. Failure to practice these safety measures may cause costly mishaps. Continue reading as we talk about the CoolBot, its installation procedure, and the programming steps in greater detail.
What Is A CoolBot Walk-In Cooler?
A CoolBot walk-in cooler is a reasonably inexpensive approach to bringing cold air to spaces as compared to using typical central air conditioners in cooling spaces. It doesn’t require the traditional approach to refrigerating, which would otherwise demand a large motor, spacious surface area, and numerous fans to supply sufficient cooling.
This technology also offers additional features that typical air conditioners often don’t have. Some of these extra features include:
- Multiple sensors
- Heating element
- Micro-controller
Moreover, the CoolBot has a system that shuts off the attached air conditioner's compressor when the adjacent space reaches the desired temperature. In turn, property owners can save money as this product can efficiently use the cooling system without the significant risk of energy wastage.
Check out this product on Amazon.
How Do I Program My CoolBot?
Before programming the CoolBot, it's best to ensure a proper installation for this temperature controlling system. In this section, you’ll learn how to install and program your CoolBot properly.
Installing the CoolBot
Make sure that your CoolBot kit is complete. The typical CoolBot packaging should have the following items:
- CoolBot control unit
- CoolBot jumper
- Temperature sensors
- Heater cable
- Data transfer cable
- Mini-USB power supply connector
- Hardware (e.g., screws)
After confirming that your CoolBot system is complete, you can continue with the installation process:
Step-by-Step Guide
- Mount the CoolBot control unit next to the air conditioner with two screws. Don’t mount the CoolBot underneath the air conditioner to avoid water leakage from dropping on the main unit.
- Find the air conditioner’s temperature sensor by checking its owner’s manual or asking its manufacturer. Once found, uninstall it and make sure to remove its plastic clip.
- Lay the air conditioner and temperature sensors together and use aluminum foil to wrap the two cables together.
- Plug the heater cable into the heater jack on the CoolBot.
- Push the air conditioner fins apart carefully. A 1-inch hole should suffice for this step.
- Insert the temperature sensor with a blue cable and a black tip into the hole.
- Guide or route the cables to ensure that the temperature sensor cables won’t become harmed when reinstalling the air conditioner’s front grill.
- Plug the temperature sensor cable into the fins jack on the CoolBot control unit.
- Insert the second temperature sensor with the same blue cable and black tip into the port labeled ‘Room’ on the CoolBot control unit.
- Connect the CoolBot control unit to a power source using the provided power supply cable.
- Reinstall the air conditioner’s front grill while paying attention to the placement of the cables.
- Turn on the power on the CoolBot and test if its features are working as intended.
Programming the CoolBot
Make sure that the air conditioner is turned off before fiddling with the CoolBot’s controls. Otherwise, the AC’s controls may clash with the CoolBot’s commands. After that preparatory step, you can proceed with programming this automatic temperature controlling system:
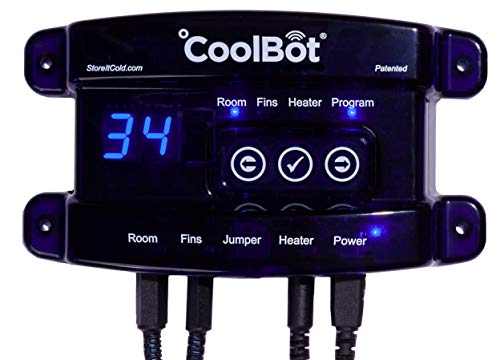
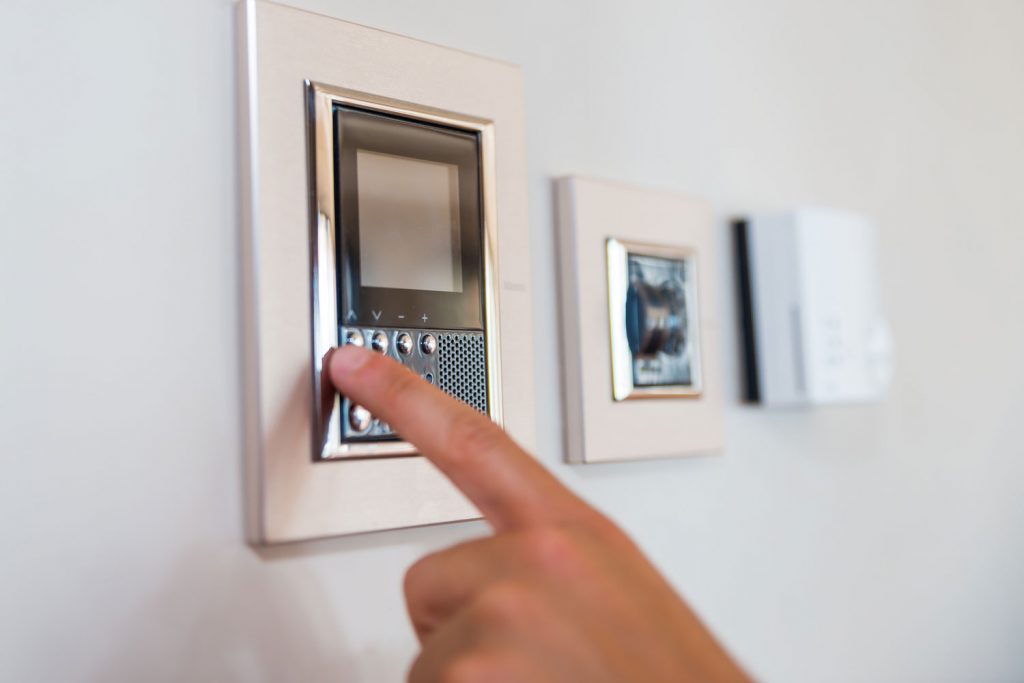
- Press the button with the checkmark on the CoolBot control unit. The current temperature on the built-in display should start blinking.
- Press the right or left arrow buttons to set the temperature of the air conditioner to the preferred value.
- Confirm and save the setting by pressing the checkmark button once.
- Turn on the air conditioner, set it to its ‘Cool’ mode, its fan is on ‘High,’ and set its temperature to its lowest possible reading.
Watch the video below to see the steps to install and program a CoolBot in action:
Additionally, make sure that the air conditioning unit attached to the CoolBot system is working well. If you have a Frigidaire air conditioner that keeps beeping, you can read our post on that matter to find the solution before you can continue with programming your CoolBot.
How To Change The Settings On The Coolbot Pro?
Unlike the standard CoolBot model, the CoolBot Pro can work with the company’s proprietary app. Users can take advantage of the mobile app to control the Pro model’s features.
Start controlling the CoolBot Pro remotely by downloading the app from either the Google Play Store for Android devices or the Apple App Store for iOS devices. Continue with the rest of the procedure after a successful download:
Step-by-Step Guide
- Head to the Settings menu on the app.
- Set the current temperature by adjusting the slider underneath the ‘Set Point’ label.
- Adjust the desired temperature under the ‘Target Temp Range’ label. Make sure that the preferred temperature should be no less than 3 degrees Fahrenheit from the current temperature.
- Use the slider under the ‘Fins Adjustment’ label to adjust the fins’ set point.
- If the attached cooling system has a heating option, you can adjust the heating output delay by adjusting the slider under the ‘Heater Delay’ label.
You can also turn the CoolBot Pro on and off using the app. This function is still on the Settings page. Also, keep in mind that the app doesn't save the adjusted settings automatically. You still need to confirm the new settings by tapping on the 'Confirm' button.
How Do I Reset My CoolBot?
Resetting a CoolBot to its factory default settings may help clear errors. But before you can reset this system, take note that each software update may demand additional steps. For instance, here are the steps to reset a CoolBot from firmware version 6.4 to 6.5:
Step-by-Step Guide
- Press the right arrow until the built-in display shows either 6.4 or 6.5.
- Press the checkmark button five times, which should make the display show ‘P1.’ Confirm this option by pressing the checkmark button again to show a lowercase ‘n’
- Change the letter on the screen to ‘Y’ for yes by pressing either the left or right arrow key. Confirm the option by pressing the checkmark button once.
- Reprogram the CoolBot if necessary.
Take note that doing a hard reset on a CoolBot Pro can also delete its Wi-Fi settings. In turn, you need to re-input the Wi-Fi configuration for its wireless functions to work.
Watch the video below to see a visual depiction of the steps mentioned above:
What Are The Differences Between Coolbot And Coolbot Pro?
As its name implies, the CoolBot Pro is the updated version of the standard CoolBot system. The Pro model has many features that the base unit doesn’t have, most of which are remote functionalities. Some of these wireless features are:
- Monitor and control temperature
- Power on or off
- SMS and email alarms
- Temperature logs
Can You Use A Portable AC With A Coolbot?
At the time of writing, it’s not possible to use a portable or rooftop air conditioner with the CoolBot. Additionally, CoolBot works well with air conditioners from specific brands, particularly Fujitsu, LG, and Mitsubishi.
However, the manufacturers of CoolBot recommend users a WHYNTER portable dual-hose air conditioner if some users want to use this temperature control system with a fairly compact cooling system.
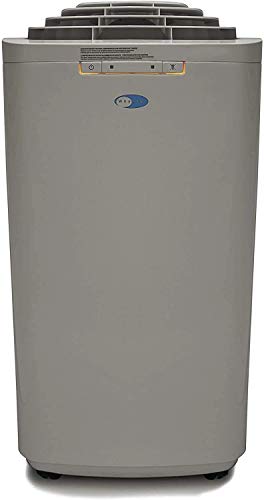
Check out this WHYNTER portable dual-hose air conditioner on Amazon.
Also, ensure that the portable AC unit doesn’t have issues like water leaks. If so, read our post on what could be wrong with a portable air conditioner leaking water to find possible solutions.
Final Words
Programming a CoolBot successfully means supplying the setup with a proper installation. After establishing the correct setup, users can set the desired temperature settings on their CoolBots with the main control unit. CoolBot Pro owners can take advantage of the connected app to program or change the settings remotely.