
Your cellulose has degraded, you need to do some air sealing, or you are ready to install an upgraded product. Thus, you are wondering how to remove cellulose insulation. This post answers your question with up-to-date research and industry professional knowledge.
Generally, remove cellulose insulation with an industrial vacuum and an insulation hose. To accomplish this, follow these basic steps:
- Gain Access to Insulation Area
- Wear Proper PPE
- Aquire Vacuum
- Prepare Vacuum Catchment Bag
- Vacuum Up Insulation
- Scoop or Shovel when Convenient
Keep reading the rest of this post for details on each of the above steps. By reading this guide, you will be able to remove cellulose insulation from any space in your home. To conclude, we answer several questions related to the topic of this post and provide an additional reading list.
Removing Cellulose Insulation
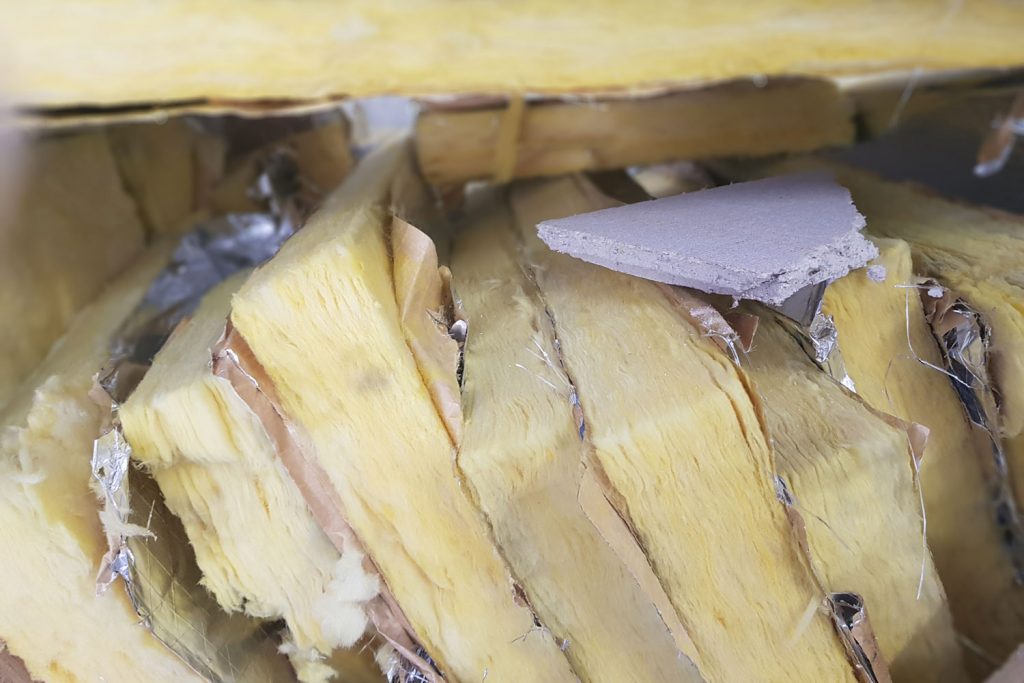
Cellulose insulation will last a very long time if properly installed and protected. However, if this material gets wet, it becomes relatively useless as an insulator attracts pests and must be removed.
Further, it is not uncommon to remove cellulose insulation to install an insulation type with a higher R-value, access the spaces to add air sealing, or redo outdated electrical wiring.
To make cellulose insulation removal easier, consider following these general directions. After these step-by-step written directions, we recommend a YouTube video you should find useful.
1. Gain Access to Insulation Area
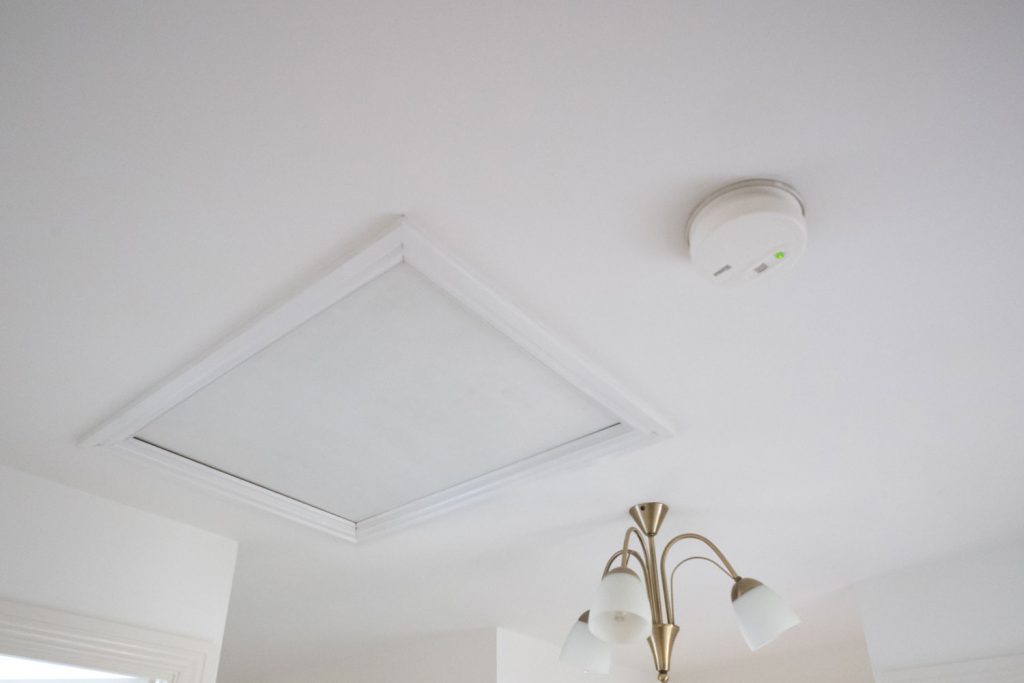
The first step to removing your cellulose insulation is to gain access to the area. Often, this is as simple as entering your attic space. However, other times the cellulose insulation may be within fully enclosed spaces such as walls, vaulted ceilings, and attics.
Large Areas
It is usually easiest to fashion new access to the space for large areas, such as cap-attics and knee-wall attics. These are typically trap-like doors that you rarely open. Ideally, these doors are weather-stripped and insulated on the back because they are next to unconditioned spaces.
When making these access doors, be sure not to compromise any structural framing and avoid cutting any electrical wiring. Consider researching how best to make these doors for the best final product.
Closed Cavities
On the other hand, accessing cellulose in closed cavities such as vaulted ceilings and walls is much more challenging. You will have to drill holes into each framing bay for these projects. You will have to drill two or more holes per bay for broken bays, such as those that go around windows.

Click here for a 4 3/4" hole saw from Amazon.
To drill these holes, use a hole saw that allows your vacuum hose to easily snake through and into the cavity. Save these rounds as they are very useful for repairing the holes later. You can either drill the holes as you reach each bay, or you can pre-drill many holes at the same time.
Hole repair involves glue such as silicone caulk to hold the rounds in place and painting or finishing to match. You can choose to drill the holes from the inside or outside your home. However, it is inadvisable to drill through your roof unless the roofing material is being concurrently replaced.
2. Wear Proper PPE
It is essential to wear eye, breathing, and even body personal protective equipment throughout this process. These include safety glasses, a respirator, and a full-body suit. Old insulation often gets dirty from pests, bacteria, and mold - all things you do not want in contact with sensitive body parts.

Click here for eye and breathing protection from Amazon.
Further, it is beneficial to have a solid headlamp or high-powered work lights if you are working in an attic. Without proper lighting, it is harder to see the insulation and the workspace. This can lead to an incomplete job or personal injury.
3. Aquire Vacuum and Hose
At some point, you will need to get a vacuum with enough power to suck up your cellulose insulation. This requires more suction for cellulose in closed cavities or wet cellulose.
High-powered shop vacuums, high-end vacuum motors, or specialized insulation vacuums can work well. Generally, the better your vacuum, the easier this entire job will end up being. Often, you can rent these vacuums from home improvement stores or equipment rental companies.
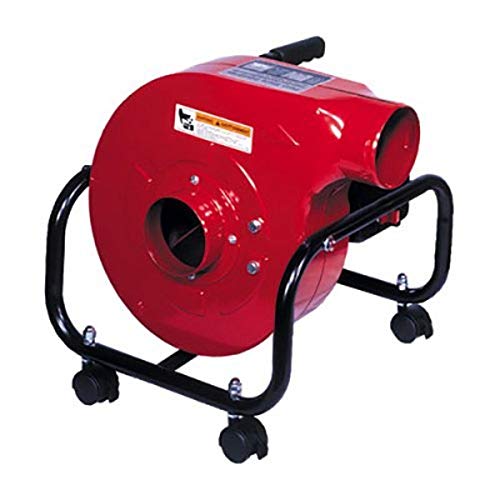
Click here for a high-powered vacuum from Amazon.
Also, you will need to get a vacuum hose that fits your vacuum and is wide enough to move some insulation. Further, the hose needs to be long enough to reach all locations with cellulose from wherever you plan on placing your vacuum. A 3-inch or 6-inch hose is most common for this task.
4. Man Vacuum Catchment Bag
Before you start sucking up the insulation, you need a plan for what to do with it all. The easiest option is to use contractor clean-up bags or specialized bags for your vacuum.
Depending on the configuration of your vacuum, you may need to dump the insulation into the bags, or you may be able to set the vacuum up to spray directly into the bags.

Click here for insulation removal vacuum bags from Amazon.
Either way, bag management makes this job best done in pairs. One worker uses the vacuum hose to suck up insulation, while the other monitors the vacuum. Then, the second worker turns the vacuum off whenever the catchment bag or basin is full.
The vacuum monitor then either empties the vacuumed insulation into a bag, removes the bag from the vacuum, and ties off the entire bag. They then prepare a new bag to catch more insulation. Once done, they turn the vacuum back on, signaling the other worker to continue sucking up the cellulose.
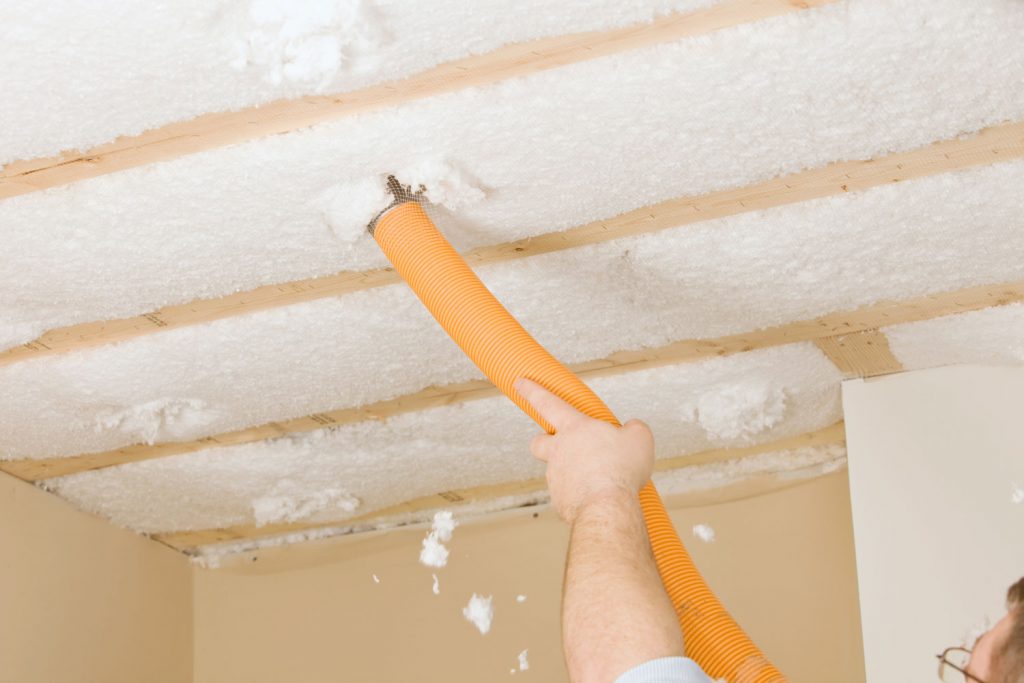
5. Vacuum Up Insulation
Vacuuming the insulation is a relatively straightforward job in open areas such as accessible attics. Just point the vacuum hose into the cellulose and continue moving it to fresh areas of insulation.
Depending on how long your hose is, you may have to get creative with where you place the vacuum. Renting scaffolding may be an option for sucking insulation out of attics high off the ground and difficult to access.
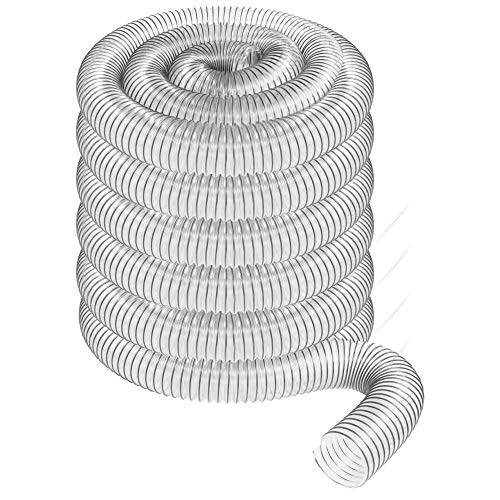
Click here for a 4" 50' insulation hose from Amazon.
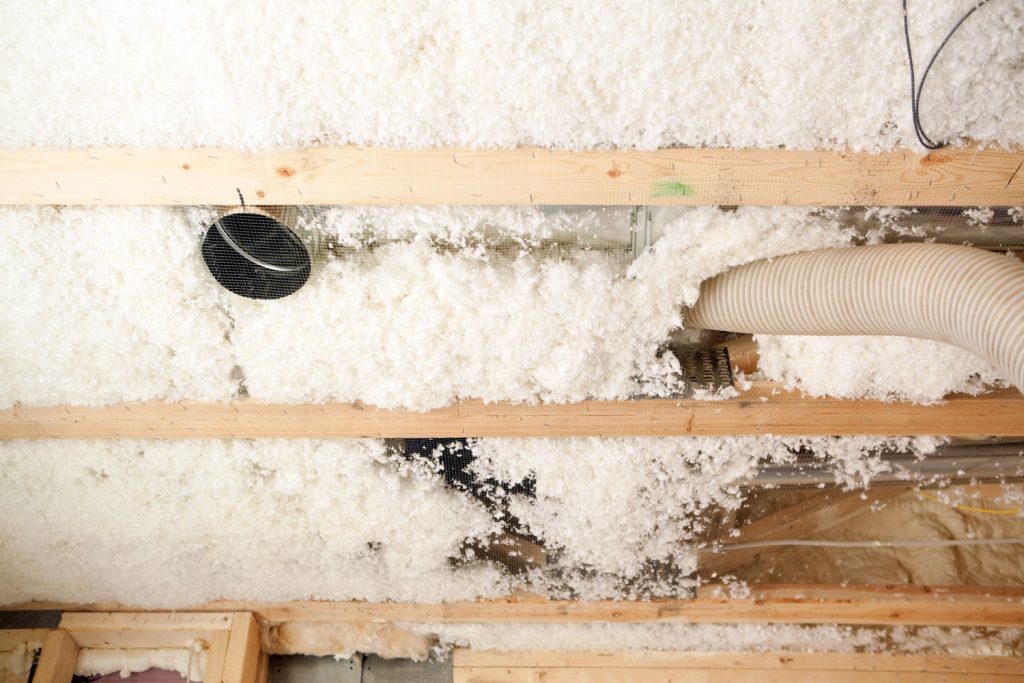
For closed cavities, you will have to slowly feed the hose into the cavity to suck up all the insulation. However, there will always be a little insulation left in the cavity bottom and edges.
If you are trying to dry these spaces out - do not close or refill the cavities until you are certain all has completely dried.
6. Scoop or Shovel when Convenient
In addition to vacuuming, it is sometimes very easy to use a snow shovel, large dustpan, or similar implement to scoop up easily accessible cellulose. Once scooped, deposit the cellulose into a prepared heavy-duty garbage bag.

Click here for a large dustpan from Amazon.
Please take note it is essential to use caution when using these strong tools in tight spaces such as attics. Namely, you do not want to damage the relatively thin ceiling material accidentally. This is a particular danger for older homes with lathe and plaster ceilings.
Depending on how strong your vacuum is, it may be easiest to scoop as much insulation as possible by hand first. Then, use the vacuum to suck up the insulation that has persisted in tight and out-of-the-way locations.
Helpful YouTube Video
Below is a YouTube video of a worker who opted to rent a gas-powered vacuum from a rental shop. While he is sucking up rock wool insulation instead of cellulose, the principles, advice, and technique apply to any loose-fill insulation:
How long does cellulose insulation last?
According to The International Association of Certified Home Inspectors, cellulose insulation will last over 100 years. However, and as mentioned above, this lifespan can be cut very short if pests or water get into the insulation.
Should I remove old insulation from my attic?
Only remove old insulation from your attic if you find that it is in the way of significant air-sealing or electrical work. Generally, if you want to improve your attic's R-value, it is easiest to add more insulation on top of existing insulation.
Further, unless you have very deep insulation and confusing air-sealing or electrical needs, it is usually possible to fix those issues without first removing the old insulation.
However, there are some situations where it is best to remove your old insulation. Namely, if your insulation is very pest-infested [think rodents or insects] and is full of old urine and feces, or if your insulation has gotten very wet.
Can I use a shop vac to remove insulation?
As mentioned above, it is possible to use a shop vac to remove old insulation. That being said, these vacuums, while very handy, generally do not have enough suction power to make this job an easy one. For the best results, rent an insulation-specific vacuum for your job.
How do you remove blown-in insulation from walls?
Above, we recommend drilling holes into your walls and then sucking the insulation out. This is a viable option for most situations.
However, it is also possible to remove the interior wall cladding first and then remove the insulation more easily. This is most appropriate if you are doing a larger scale remodel or outdated wall cladding such as lathe and plaster.
Additional Reading
To learn more about cellulose insulation, read these excellent HVAC Seer articles:
- Does Cellulose Insulation Settle? How Much?
- Does Cellulose Insulation Decompose Or Deteriorate?
- How Long Does Cellulose Insulation Take To Dry?
In Closing
In this post, we provide directions for removing cellulose insulation from both open and closed cavities. To conclude, we offer a helpful reading list and the answers to several related questions. Good luck!
If I’m removing water damaged cellulose insulation that’s been dried from a closed cavity (ceiling) could I just let it all fall onto plastic sheeting and then pick it up by hand and dispose of it that way or do I absolutely have to use a vacuum?