
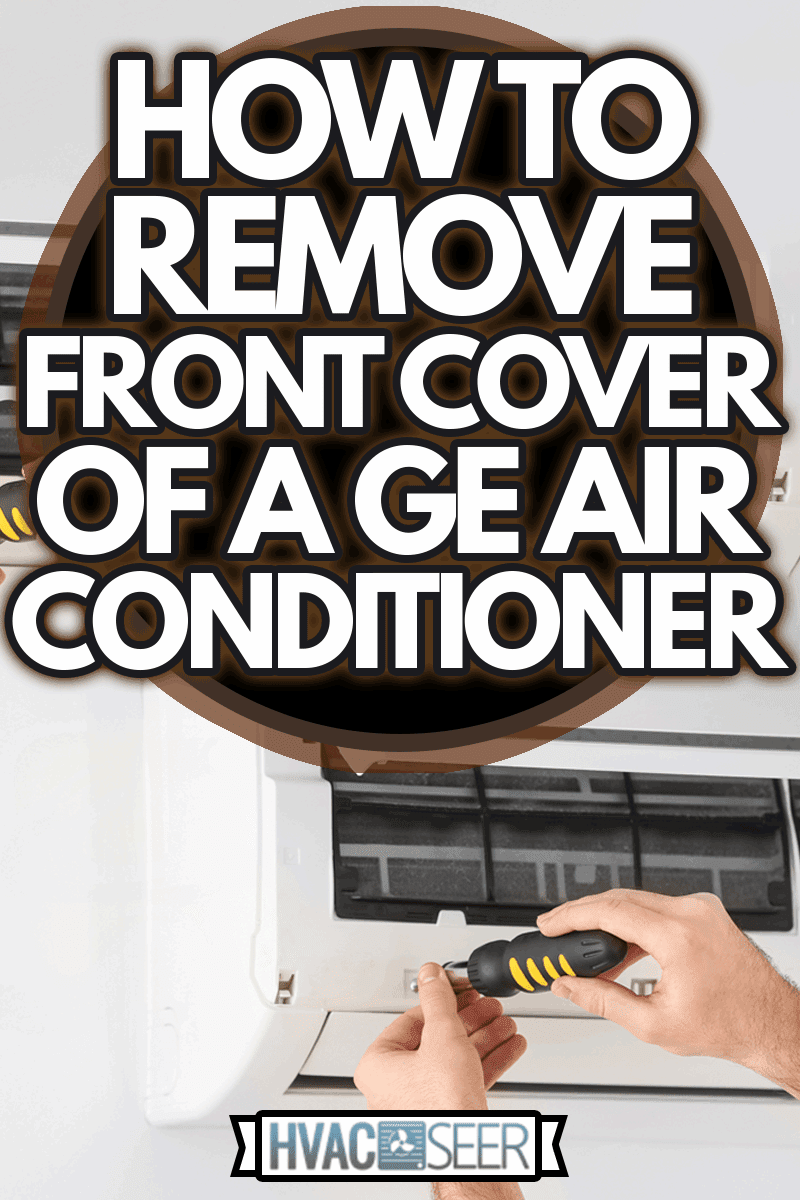
Do you need to clean your General Electric (GE) air conditioner filters but can't figure out how to open the grille and front cover? We scanned through multiple GE manuals and dug up the most relevant information for you. According to GE technicians, here are the steps in removing an air conditioner's front grille:
- Built-in Air Conditioners - Hold the louvers located on the upper corners on both sides and pull them down towards you. Remove the filter, then grasp the bottom of the grille and carefully pull upward to remove the grille entirely.
- Window Air Conditioners - Open the grille by pulling the tab down (located on the upper corners on both sides) until it's at a 45-degree angle. Remove the filter, then grasp the lower portion of the grill and pull upwards carefully to unhook.
- Split System Air Conditioners - Locate the louvers on both corners of the front access panel and pull upward.
Now that you know how to remove the front grille, you may be wondering how to remove the entire front cover to clean the unit further. This procedure is a bit more complicated, so if you want step-by-step instructions, do read on below.
How Do I Remove The Front Of My AC Unit?
GE recommends that air conditioner filters be cleaned at least every 250 hours of use or more frequently as necessary. To access the filters, you will need to remove the front grille of the air conditioner. If you want to clean beyond the filters, you will need to remove the entire front cover of the unit.
Currently, GE offers three types of air conditioners with removable front covers: built-in air conditioners, window-type air conditioners, and split-type systems.
Below are the general instructions on removing the grille and front covers. Do note that different air conditioner models may have different placement of louvers and screws.
Built-in Air Conditioners

Built-in or wall air conditioners are installed through the walls. This means breaking a hole through the wall to fit the unit. It takes much longer to install, but it is ideal for rooms with only one window because it doesn't take up window space.
A built-in air conditioner unit typically only has an entire front grille, unlike window and split types that have a separate access panel for the filters. So when cleaning, you need to disassemble the whole front cover, which will reveal the filters and the chassis.
To remove the entire front grille:
- Turn off the air conditioner and unplug. Never open the front covers while it's running.
- Locate the tabs or louvers at the upper corners of the grille and gently pull them forward towards you.
- Remove the filters.
- Hold the bottom of the grille and pull slightly towards you for about an inch until you feel the security brackets stopping it from moving further.
- Locate the two Philips screws on the top part of the cover and unscrew them. Take note that some models might also have screws at the bottom.
- Grab the rear edges of both sides of the grille and pull forward to release the tabs from the slots that connect it to the metal chassis.
Window Air Conditioners
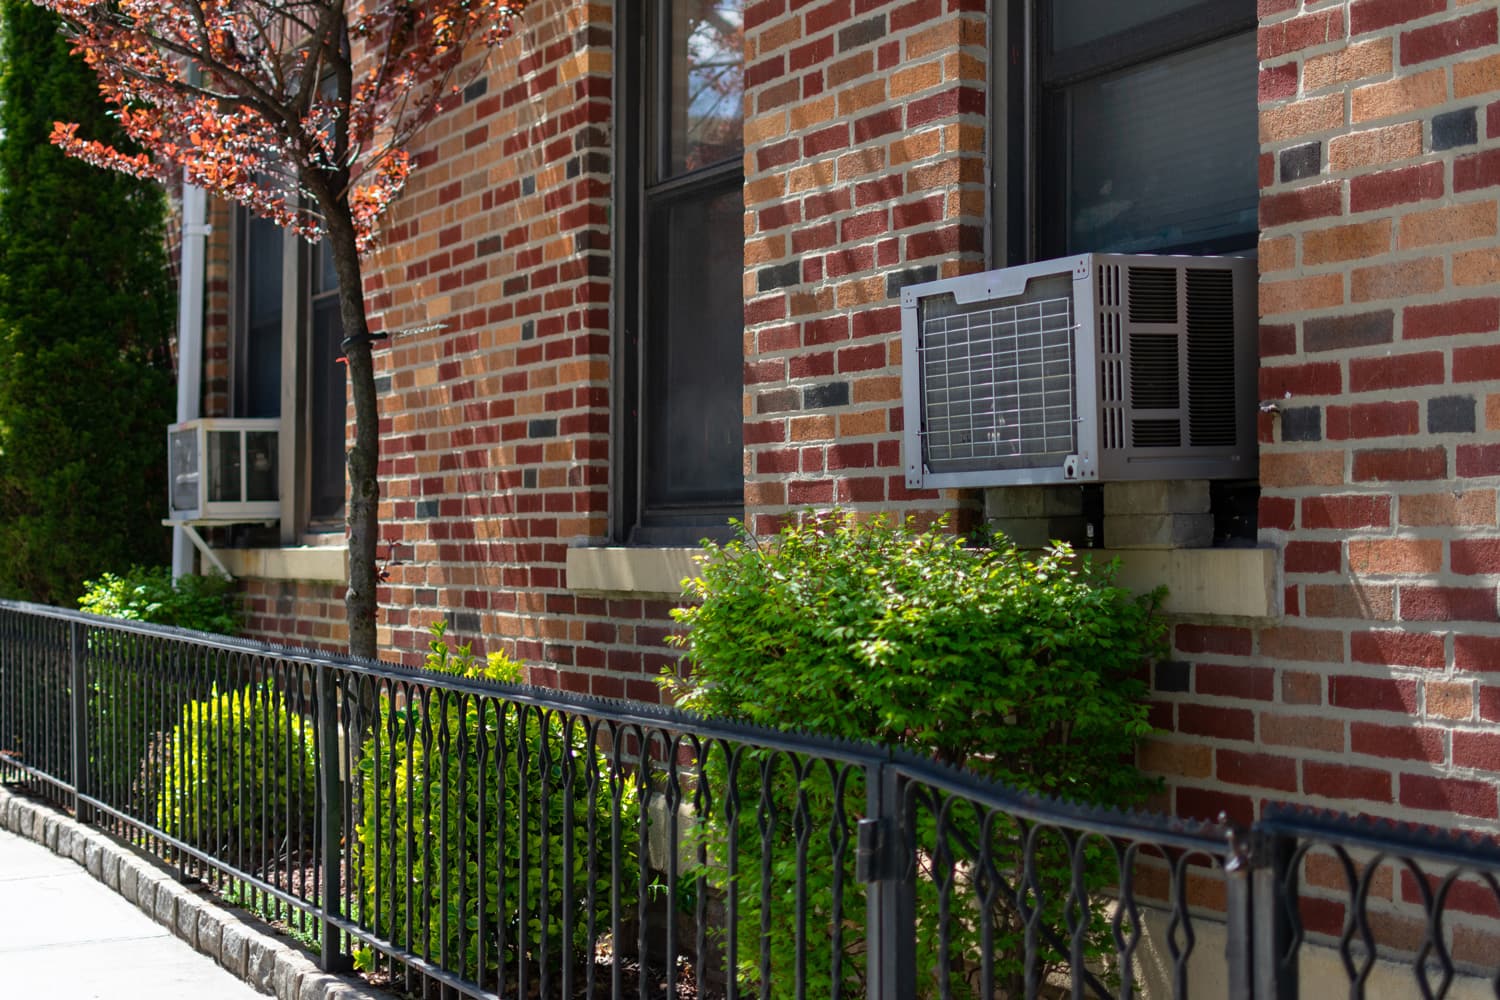
Window air conditioners, as the name implies, are placed on windows because it is a more convenient way to install the unit without having to break open walls.
A typical window-type air conditioner has a front access panel (GE refers to it in their manual as the inlet grille) and the front cover. Below are the instructions on how to open both.
To remove the inlet grille:
- Turn off the air conditioner and unplug.
- Locate the tabs or louvers at the upper corners of the inlet grille.
- Gently pull down towards you at a 45-degree angle.
- Hold the bottom of the grille and pull slightly upward towards you until you hear the security bracket unhinge.
- Remove the filter that you will see inside.
To remove the entire front cover:
- To remove the front frame, use a screwdriver to remove the screws. There should be four screws, but the number depends on the model.
- Remove the frame carefully from the bottom by pushing at the side of the metal chassis to unhinge the front frame.
- Once you loosen the bottom area, try not to pull the upper portion. Instead, raise it upward to unhinged completely.
To help you understand better, check out the video below on how to disassemble a window air conditioner.
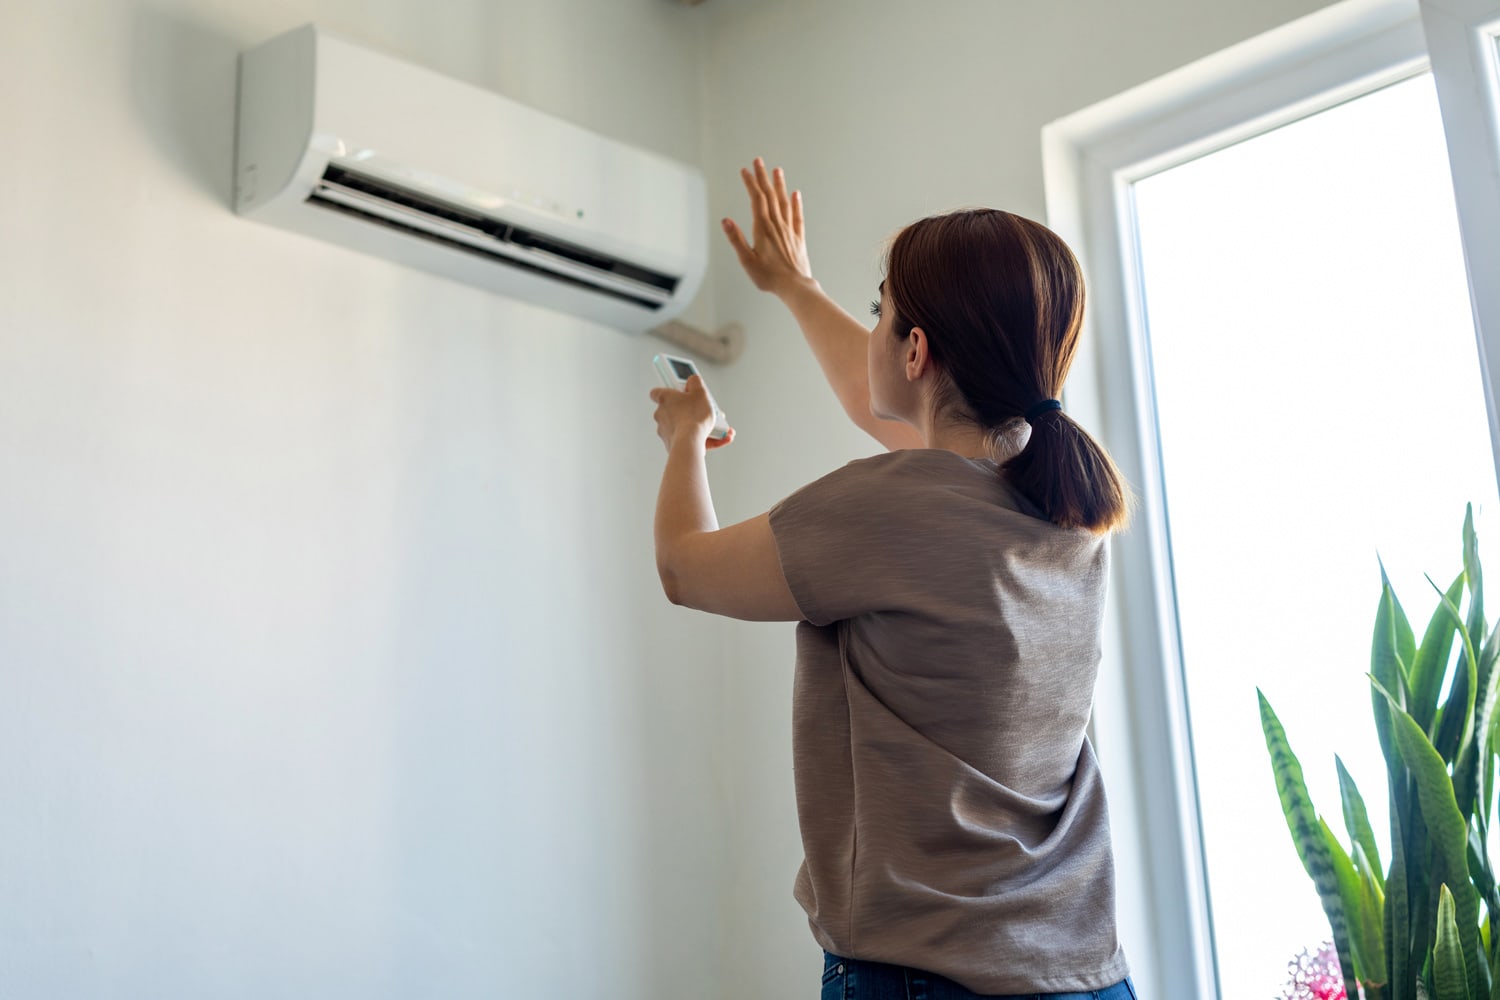
Split Type System Air Conditioner
Split-type air conditioners have a front access panel that's very easy to open so you can access the filter. You simply raise it upwards, and you'll be able to see and remove the filter. However, if you want to remove the entire front cover, you should follow these steps:
- Turn off the air conditioner and unplug.
- Remove the cover tabs (screw covers) located at the bottom area. There should be three to four tabs depending on the size of your unit.
- Remove the screws and set them aside.
- Grab the bottom area and pull carefully to unhinge it from the metal chassis. You usually start at the bottom because the top part is clipped in, so you can't easily pull it out.
- Once you have unhinged the bottom, pull upwards to release the top part, and you should be able to remove the entire front cover.
Here's another informative video on how to do this procedure.
How Do I Replace A Broken AC Front Cover?
When removing the front cover, you need to avoid pulling too much at the hinges to prevent it from breaking. This part can easily break because the front panels are made of plastic, so they are less durable.
Air conditioners have very heavy internal components, such as the compressor and condenser. Thus, the outer covers are made with lighter materials to make the total weight of the unit less heavy.
In case of an accident and you break the front cover, you will need to find a replacement for your specific air conditioner model. You don't need to look further because GE will have them and choosing original parts will ensure durability and reliability. You can inquire about GE parts and accessories directly on their website.
Where Is The Model Number On A GE Air Conditioner?
When you need to replace parts or have your unit serviced by a technician, the most important information you need to provide is your GE air conditioner model number and serial number.
Why is this information important? In the model number alone, your technician and manufacturer can tell the refrigerant type, voltage, capacity, tonnage, and variable speed of your unit. It will be faster for them to troubleshoot any problem or find the exact components you need for replacement.
It's best to know and save this information upon purchasing. But in case you lost it, there are other ways to search for it on the unit itself.
According to GE air conditioner manuals and their website, you will find this information on a sticker located on the left or right side of the unit, under the front cover, or on the front lower edge of the unit.
Some newer models have a QR code that you can scan using your mobile phone or gadget. The scan will redirect you to a browser containing information on the model and the serial number of your specific unit.
How Do You Clean Air Conditioner Filters?
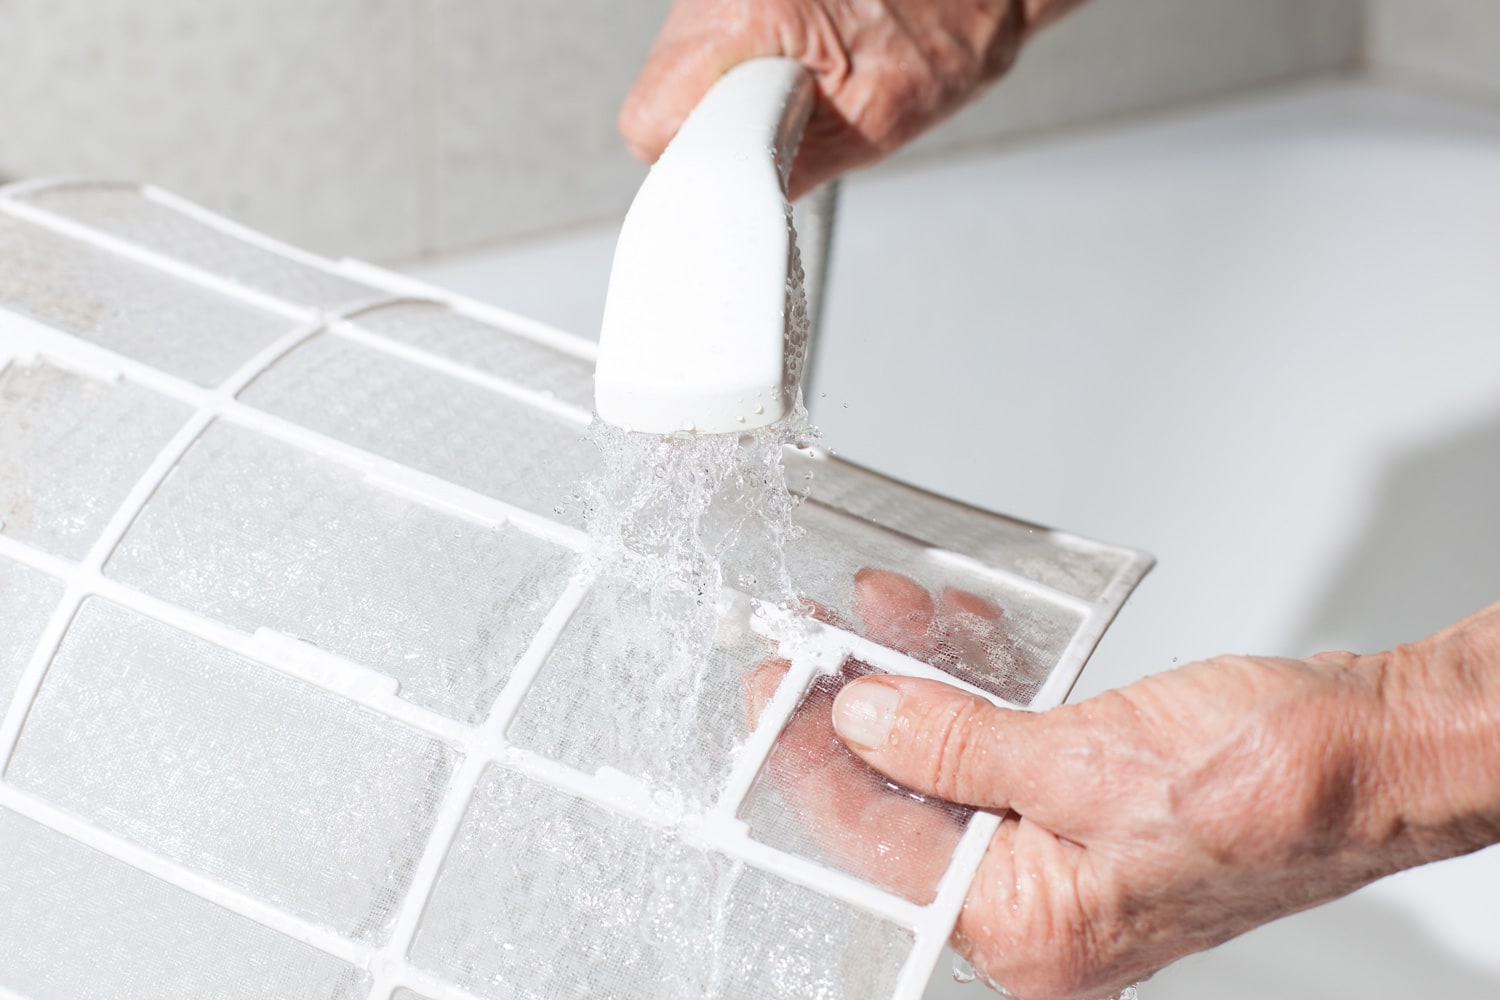
One of the main reasons why you may want to remove your air conditioner front cover is to clean the filters and vacuum/brush the chassis area. After following the instructions above on how to open your front cover, here's how you clean up:
- Filters can be cleaned by vacuuming on a low setting. But for a more thorough cleaning, you can wash it in warm water with a bit of mild soap. Use a soft cloth to brush away the dirt and then set it aside to air dry.
- Using a vacuum on a low setting with the soft brush attachment, vacuum around the chassis in a vertical motion to avoid damaging the pins of the heat exchanger. Vacuuming allows you to clean the hard-to-reach areas.
- Other exposed parts of the unit can be cleaned with a soft dry cloth.
Filter cleaning should be done every two weeks or more frequently if you use the air conditioner regularly. Have the unit tuned up or serviced once a year for optimum performance.
Wrapping Up
When opening the front cover of your GE air conditioner, remove the front access panel and filters first before removing the screws. Always start loosening the hinge from the bottom because the top is usually clipped, so you only need to lift upwards.
Thank you for reading through. If you want to read other articles on how to troubleshoot your GE air conditioner, you can check out more informative articles below:
How To Connect GE Air Conditioner To Alexa Or Google Home?