
Perhaps you've been noticing more moisture problems in your home than before. Upon closer inspection, you found out that your vapor barrier acquired some damage. So what can you do to repair the material, especially if it's behind drywall? We researched the solution for you and here's what we found.
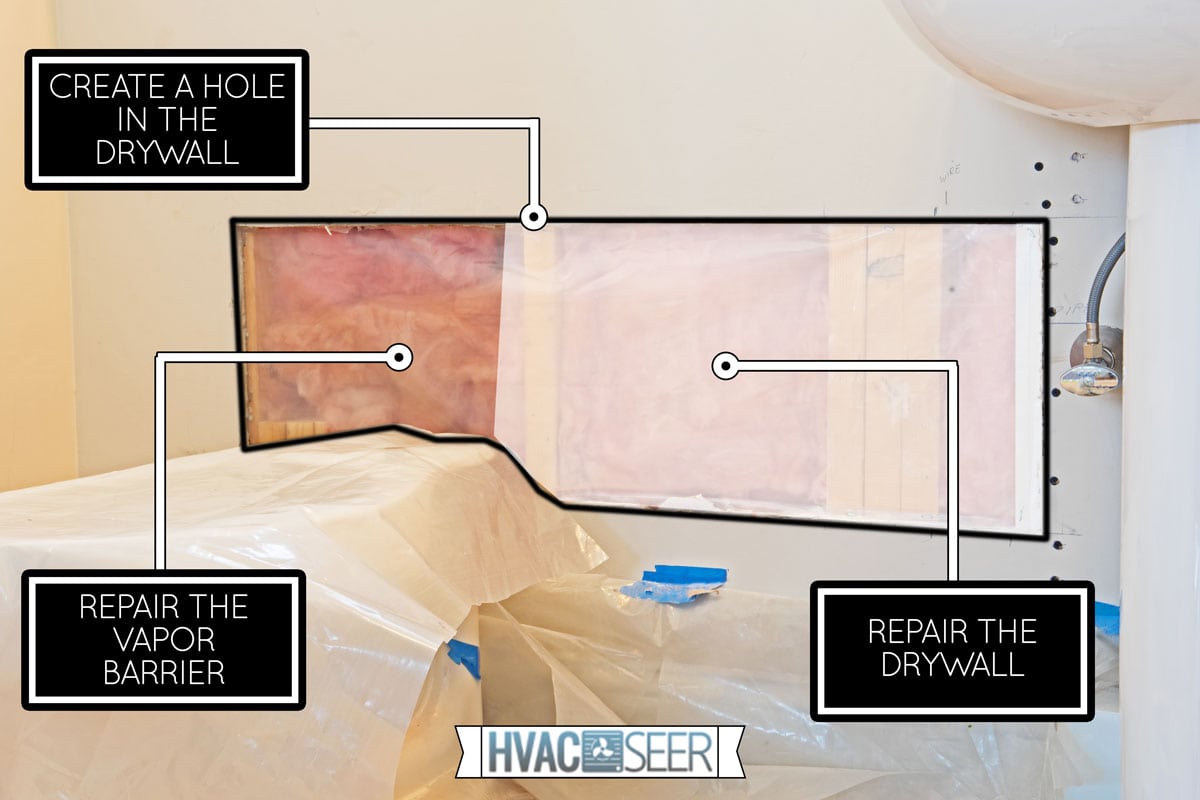
Fixing a vapor barrier behind drywall will typically involve these steps:
- Create a hole in the drywall
- Repair the vapor barrier
- Repair the drywall
It might look like a fairly straightforward repair job. However, you might make mistakes if you miss some essential details. So keep reading as we talk about this procedure in greater detail. We’ll also tackle other practical information that may help you in completing this project with fewer risks of error.
Can You Patch A Vapor Barrier?
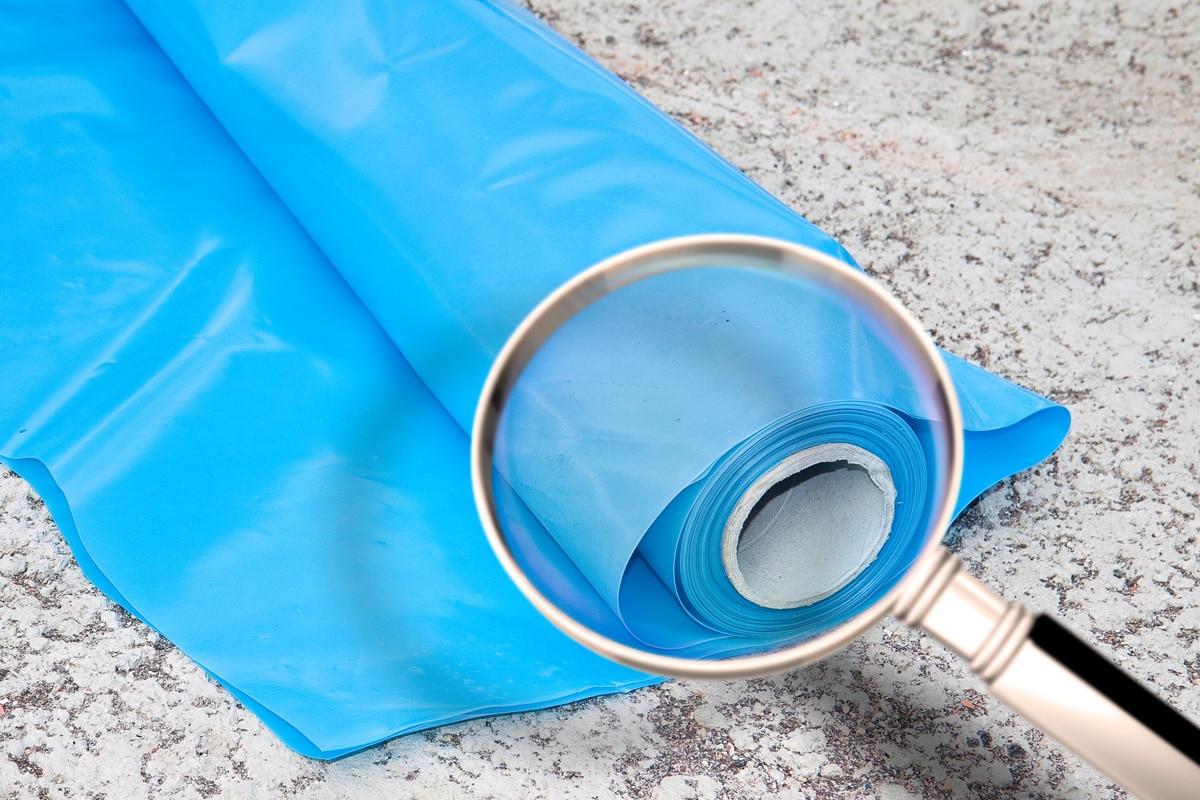
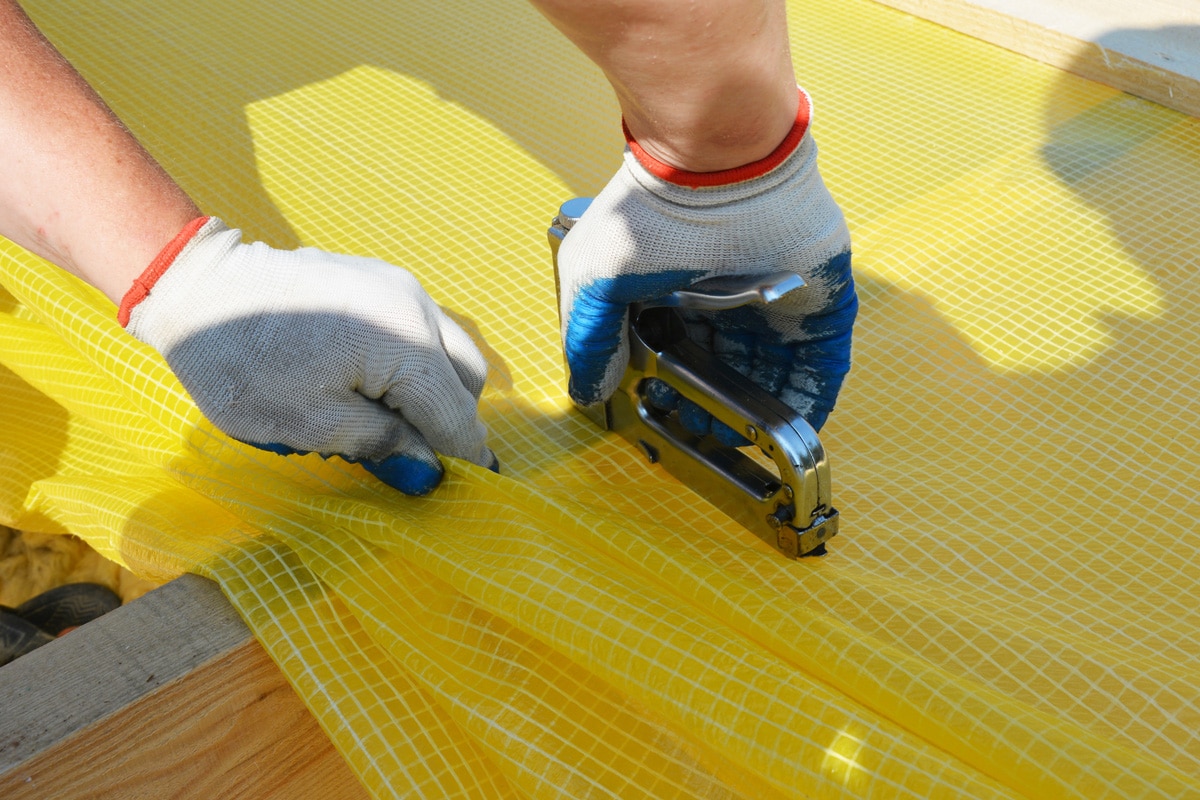
You can patch a vapor barrier to repair it. But if the damaged area is in a challenging location, you may use house wrap or construction tape. However, this solution may only be viable if the location to patch is fairly small. Continue to the next section if you need to repair a relatively large site in your vapor barrier.
If you need help in installing a vapor barrier in a crawl space, read our post on that topic to learn the best steps to follow.
Check out this product on Amazon.
How Do You Repair A Vapor Barrier Behind Drywall?
The first step to repairing a vapor barrier behind drywall is to find the problem area. It's not a good idea to create holes in random places in your drywall unless you're doing a major home renovation project.
So find a spot in your drywall that seems to gather more moisture than others. Then mark that area with a pen or pencil.
Make sure you’re wearing safety equipment for this procedure. For instance, wear a respirator or face mask because you might be dealing with drywall dust.
If you believe that the preparations are complete, continue this repair project by following these steps:
What You’ll Need
- Rotary cutter
- Stud finder
- Utility knife
- Acrylic tape
- Hand drill
- Screws
- Joint tape
- Drywall knife
- Joint compound
- Vapor barrier patch
Step-by-Step Guide
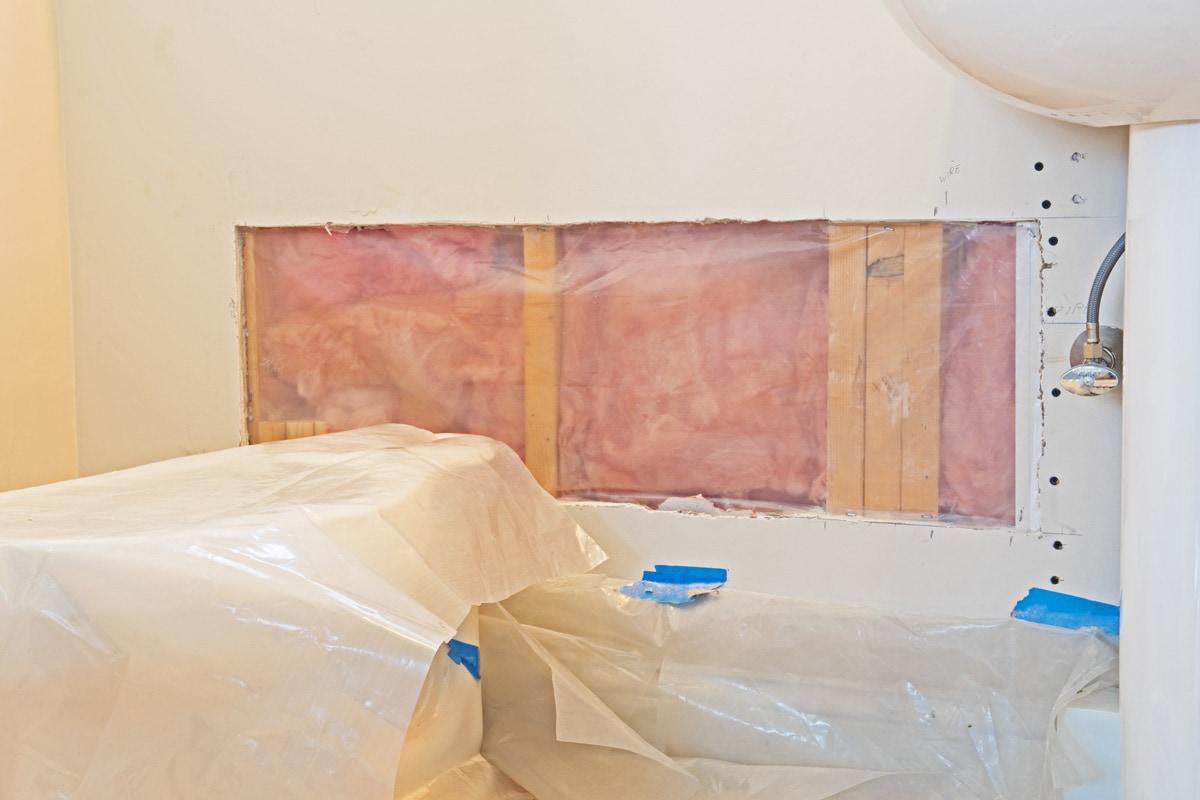
Step #1: Create The Hole In The Drywall
Cut the marked area with a rotary cutting tool. Pay attention to any electrical or plumbing fixtures that you may come across. Take your time in cutting the drywall and stop to check if you hit a seemingly tough area.
You may also use a stud finder for this step. That way, you can mark the areas where the studs reside and avoid them while creating the hole.
Another way to cut the hole is to use a sharp utility knife on the marked areas first. Score the lines up to about halfway through the drywall’s surface. Then, you can use the rotary tool, allowing you to cut the material easier than before.
Don't worry if some parts of the drywall don't come off after using the rotary tool. You can use your hand to smash inside the marked location and pull out the debris.
Step #2: Repair The Vapor Barrier
Use your utility knife to cut a piece of the vapor barrier to size. It’s also wise to use the same material used for the rest of your house. But you may also use a thicker and tougher vapor barrier, especially if that particular section of your home is susceptible to moisture damage.
Use acrylic tape to attach the cut vapor barrier to the hole. You can tape the barrier onto the stud if you need the material to sit on a flat surface. Next, use your utility knife to cut any excess vapor barrier material.
Warning: Don’t make the tape go over uncut drywall. Otherwise, it can become more difficult to replace the removed area.
Step #3: Repair The Drywall
Cut a new piece of drywall to size. Then set it over the hole. Drill screws into the patch to secure it. Make sure that the screws are flush against the drywall piece, or they’ll show when you paint over the material.
Next, apply joint tape over the gaps. Apply joint compound over the patch and tape it afterward with a drywall knife. Let the compound dry completely before painting it with the same color as the rest of the drywall.

Check out this vapor barrier on Amazon.
Watch this video to gain additional insights into finishing this repair operation. Be aware that you shouldn't follow the person on the clip as he replaces his dull utility knife by smashing it against the wall. The dull blade bounced off of the hard surface, which can cause injury. Instead, replace a dull utility knife blade by removing it properly:
Also, the video below will show you how to patch your drywall if you need help with this particular procedure:
After taking a look at the general procedure, you may still believe that you don't have the confidence or the skill to repair a vapor barrier underneath drywall by yourself. If so, it's best to request expert assistance to prevent unwanted and costly mistakes.
You might also wonder if it’s a good idea to replace a damaged vapor barrier. Read our post on the pros and cons of vapor barriers so you can make an informed decision.
Can I Install Vapor Barrier Myself?
Vapor barrier installation is usually a DIY-friendly job. Although the setup procedure is quite easy, you still need to identify and follow certain details to ensure the job goes smoothly. For instance, you should calculate the square footage of the area that needs the vapor barrier. You can consult your property’s blueprints for the measurements if you find it challenging to measure the space.
Can I Put New Vapor Barrier Over Old?
You can install a new vapor barrier on top of the old one. That way, the new vapor barrier can help prevent the old material from accumulating dirt.
But take note that vapor barriers have inherent R-values. So installing extra vapor barriers without taking down the old material can increase insulation. This setup might be ideal for states with cold climates, such as Minnesota and Wyoming. But take time to check your options before adding insulation to your home if you live in hot or warm locations like Georgia, Florida, or Texas.
What Tape Do You Use For Vapor Barrier?
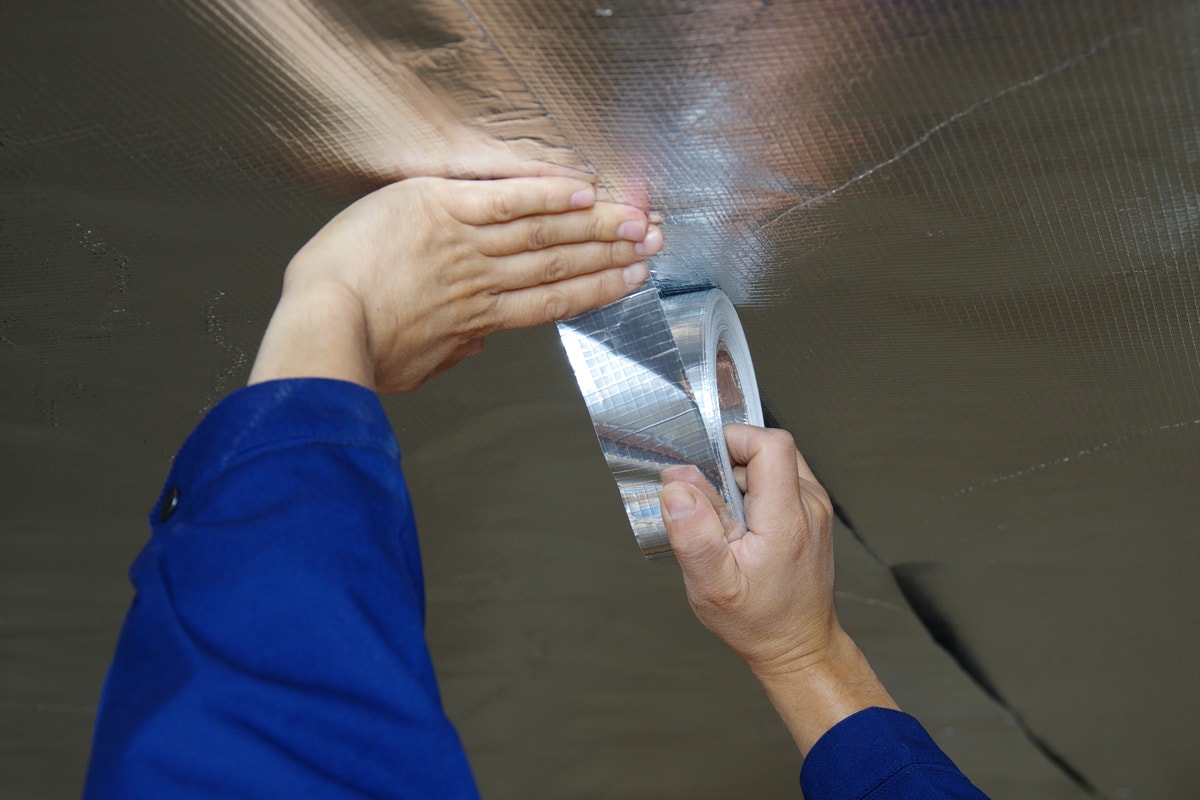
Acrylic or construction tape is usually the ideal option to help seal and secure vapor barriers. But keep in mind that these products come in different qualities that can positively or adversely affect the vapor barrier assembly.
So it’s important to think about certain factors before finalizing your purchasing decision. Some of the things to ponder before buying tape for vapor barrier are:
- Adhesion
- Ease of use
- Longevity
- Durability
- Price
Also, acrylic and construction tape have their unique pros and cons.
Acrylic Seaming Tape
Acrylic tape can be a good option for uneven surfaces. Its flexibility allows it to conform to the shape of the material, promoting seamless seals for different scenarios.
High-quality acrylic seaming tapes may also provide high resistance against UV exposure. However, its adhesion may diminish faster than the typical construction tape.
Check out this acrylic mounting tape on Amazon.
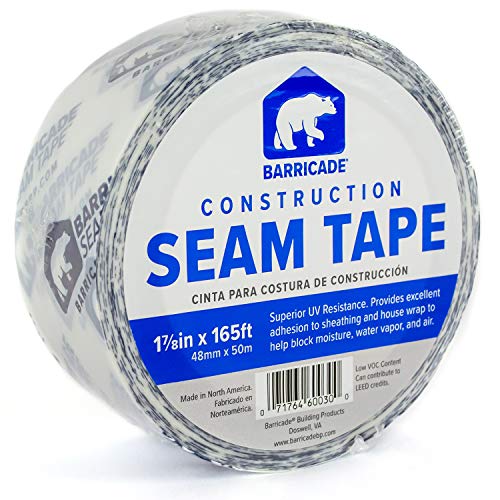
Construction Tape
Also called butyl or rubber construction tape, this option typically has a more aggressive adhesion than its acrylic counterpart. It's also often waterproof, making it ideal to pair with vapor barriers. Still, construction tape’s adhesion might degrade faster than intended with fast and frequent temperature changes.

Check out this rubber seam tape on Amazon.
Do Vapor Barriers Cause Mold?
Vapor barriers may still cause mold if the setup doesn’t allow proper ventilation. Follow building ventilation codes to reduce the possibility of mold growth in your home.
Do Vapor Barriers Need To Be Replaced?
Replace the vapor barriers after about 20 years. Keep in mind that quality vapor barriers can last longer than that period, especially with proper care. However, you may need to replace this vapor-blocking material before the 20-year mark if it is already significantly damaged due to issues like pests and frequent heavy rain.
Final Words
Repairing a vapor barrier behind drywall often requires you to create a hole. You should then patch the broken part of the barrier with new material and make sure that it's cut to size. Don't forget to replace the removed drywall area to seal the patch job.