
Has the compressor’s pulley in your car seized up from a bad bearing, preventing the engine from starting? Do you want to know how to replace the compressor’s bearings? You’ve come to the right place; we have researched this question and have your answer.
Here is a summary of the steps you need to follow to replace the bearing of your AC compressor:
- Park your car and let it cool.
- Disconnect the battery.
- Disconnect the serpentine belt.
- Remove the electrical connector from the compressor.
- Use tongue and groove pliers to prevent pulley movement.
- Remove the bolt that keeps the pressure plate in place.
- Pull the pressure plate out.
- Uninstall the snap ring.
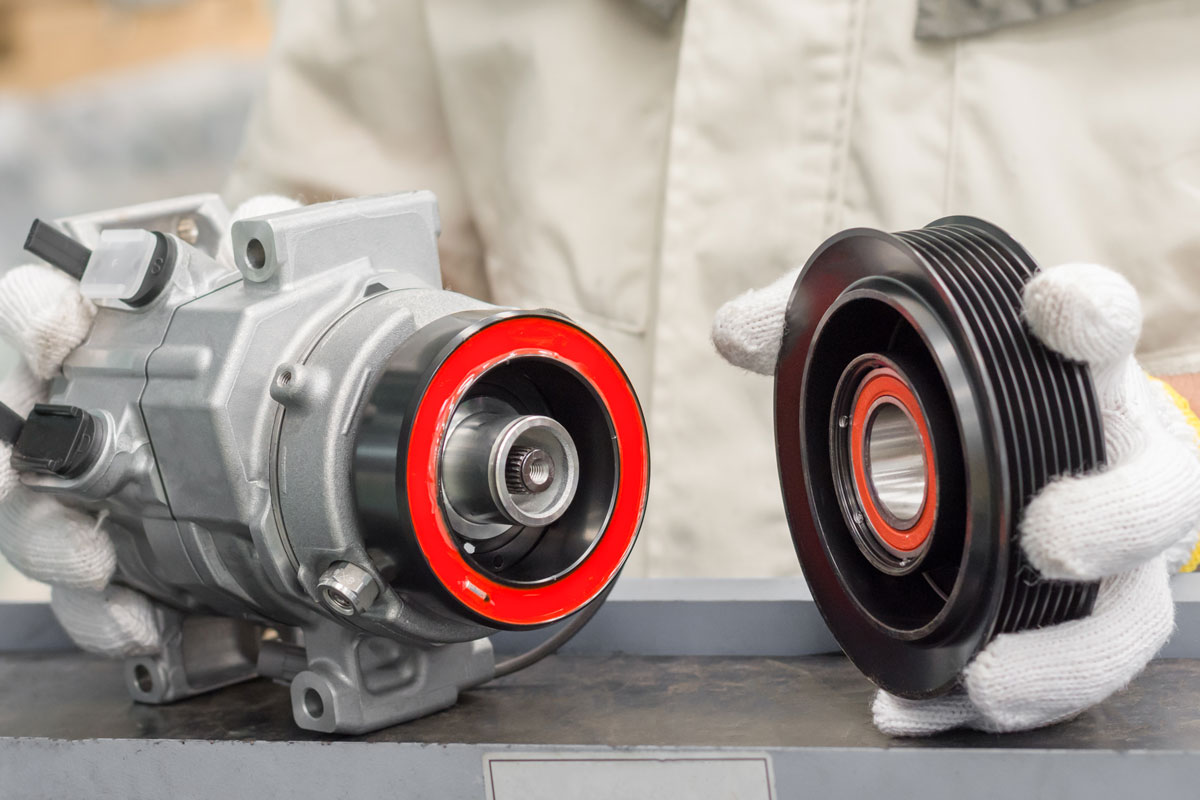
- Separate the pulley from the AC compressor.
- Push the tabs out to get the bearing.
- Separate the bearing from the pulley.
- Clean the pulley and the spacer inside the center of the pulley.
- Install the new bearing.
- Tighten the tabs.
- Reinstall the pulley into the AC compressor.
- Reinstall the snap ring.
- Reinstall the pressure plate.
Learn about the complete details of the bearing replacement in the succeeding sections.
Read on!
What is the purpose of bearings?
Bearings facilitate rotational motion.
The compressor of your car uses the mechanical movement of the engine to produce power that will compress the refrigerant of your AC.
The serpentine belt connects the compressor’s pulley to the crankshaft. The crankshaft, in turn, rotates because of the up-and-down movement of the pistons in your car.
These components rotate more efficiently, saving energy through the help of bearings.
Bearings commonly contain balls or rods, but you can also see bearings that have cones or needles. These are the rolling elements of a bearing. Manufacturers place the rolling elements between the inner and outer bearing rings.
Inner And Outer Ring
The inner or outer ring is connected to the rotating body. The inner ring can be stationary, while the outer ring is the part that rotates, or vice versa.
It is also possible that both the inner and outer rings will rotate, albeit in opposite directions or at different speeds.
The Rolling Element
The rolling element is the heart of a bearing. The circular shape of the rolling component reduces the contact area between the inner and outer rings. The contact area reduction significantly reduces the amount of friction between the two moving parts.
Friction is a force that is present in all moving bodies. It is the force that counteracts movement. Thus, the more friction in two moving bodies, the more force you need to make them move.
Inside your car, this means that, without bearings, your engine needs to consume more fuel to move the different parts of your vehicle—including the compressor.
Friction Reduction
Bearings reduce friction by reducing the total contact area. Instead of the entire surface area of the inner and outer ring rubbing against each other (producing a lot of friction), bearings reduce the contact area to only the tips of the rolling elements.
In addition to saving fuel, friction reduction also improves the service life of the moving parts since friction causes premature wear on moving parts. Reducing friction leads to an increased service life of these parts.
What happens when bearings fail?

The worst possible effect of bearing failure is equipment damage.
Most mechanical parts function as efficiently as they do because of a bearing’s help. Without the bearing, the mechanical part will deteriorate fast because of friction. Thus, the initial effect of failing bearings is damage to the areas in contact.
In compressor pulleys, bearing failure can cause the pulley to seize.
The compressor’s pulley is connected to the serpentine belt. The serpentine belt grips the pulleys tightly from the compressor pulley to the crankshaft to eliminate power loss. Once the compressor pulley seizes, the starter motor will not be able to generate enough force to rotate the flywheel and overcome the compressor’s pulley.
What causes bearings to fail?
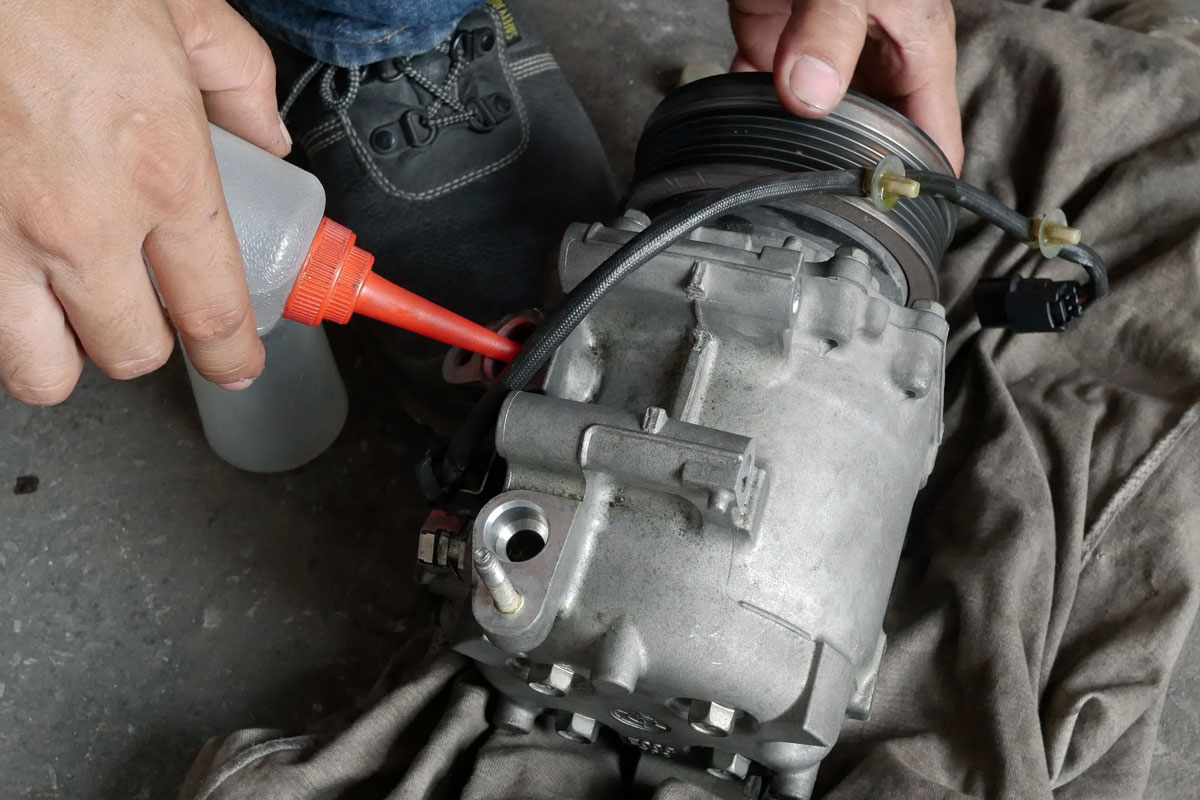
Lubrication failure is the most common cause of bearing failure in compressors. Bearings reduce friction to slow down wear and tear. Lubrication reduces friction on the bearings to slow down wear.
Lack of lubrication leads to another cause of bearing failure: overheating. Bearings have a plastic seal that will melt at high temperatures. With the seal, the compressor will retain lubrication.
Another common cause of bearing failure in compressors is normal wear and tear.
How to replace the AC compressor bearing
AC compressor bearings are made for specific compressors. Finding a bearing that will fit more than one compressor model is rare.
Before you start with the steps below, get the compressor part number and find the part numbers for that compressor model's bearing and snap ring. Get replacements for the bearing and the snap ring. Once you have both the bearing and the snap ring, start with the steps below.
Preparing Your Car
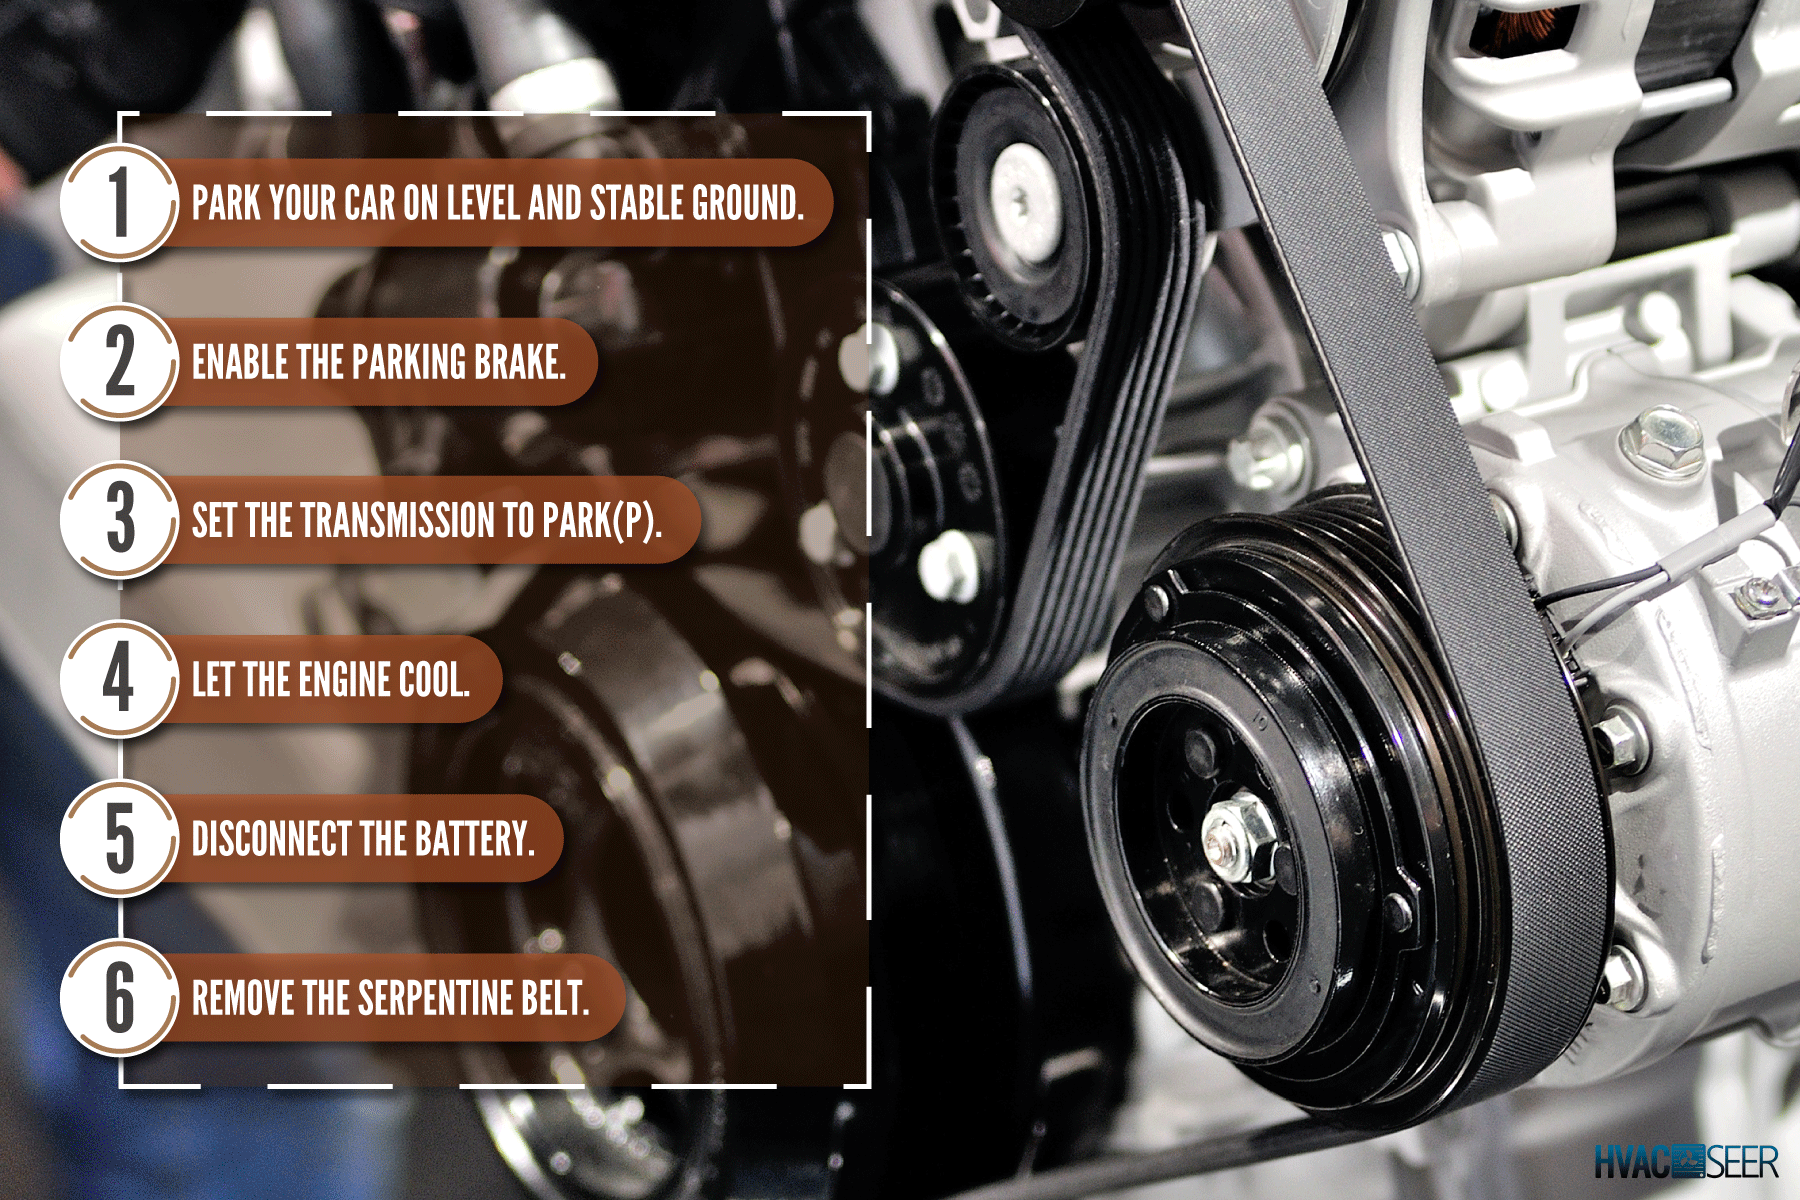
- Park your car on level and stable ground.
- Enable the parking brake.
- Set the transmission to Park(P).
- Let the engine cool.
- Disconnect the battery.
- Remove the serpentine belt.
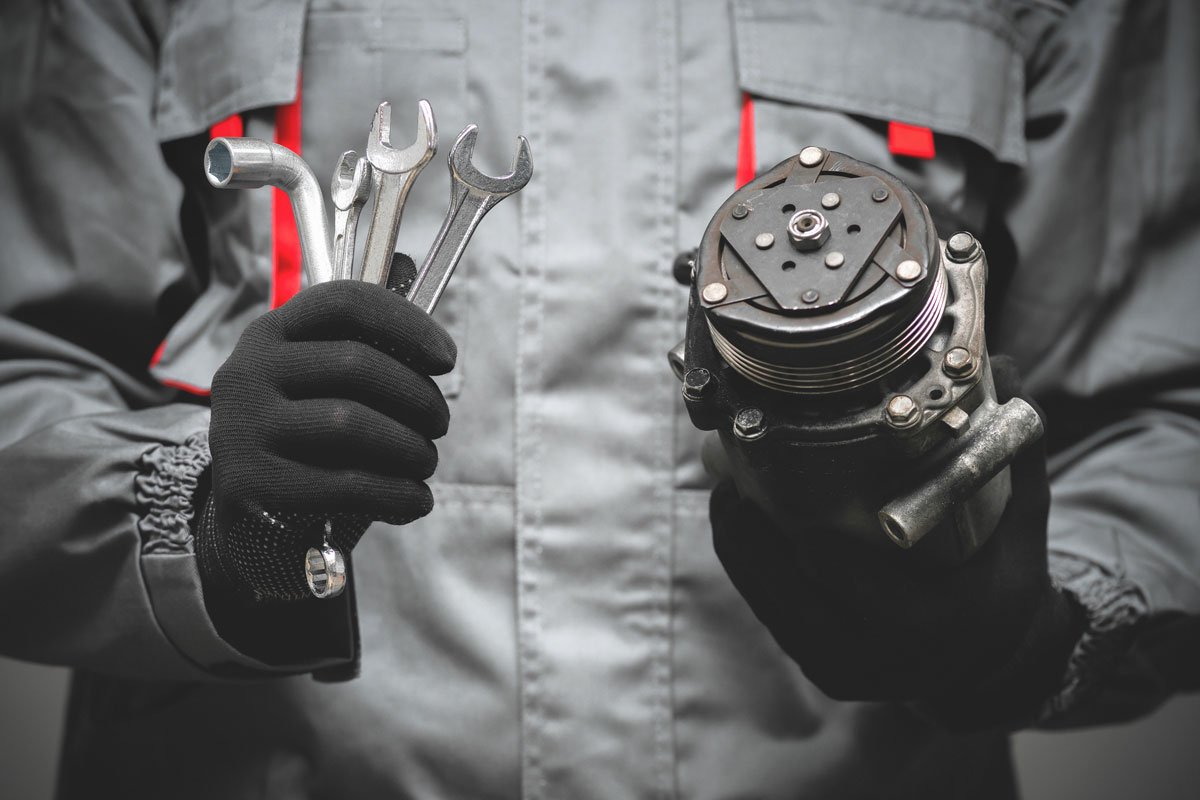
Locating Your Compressor
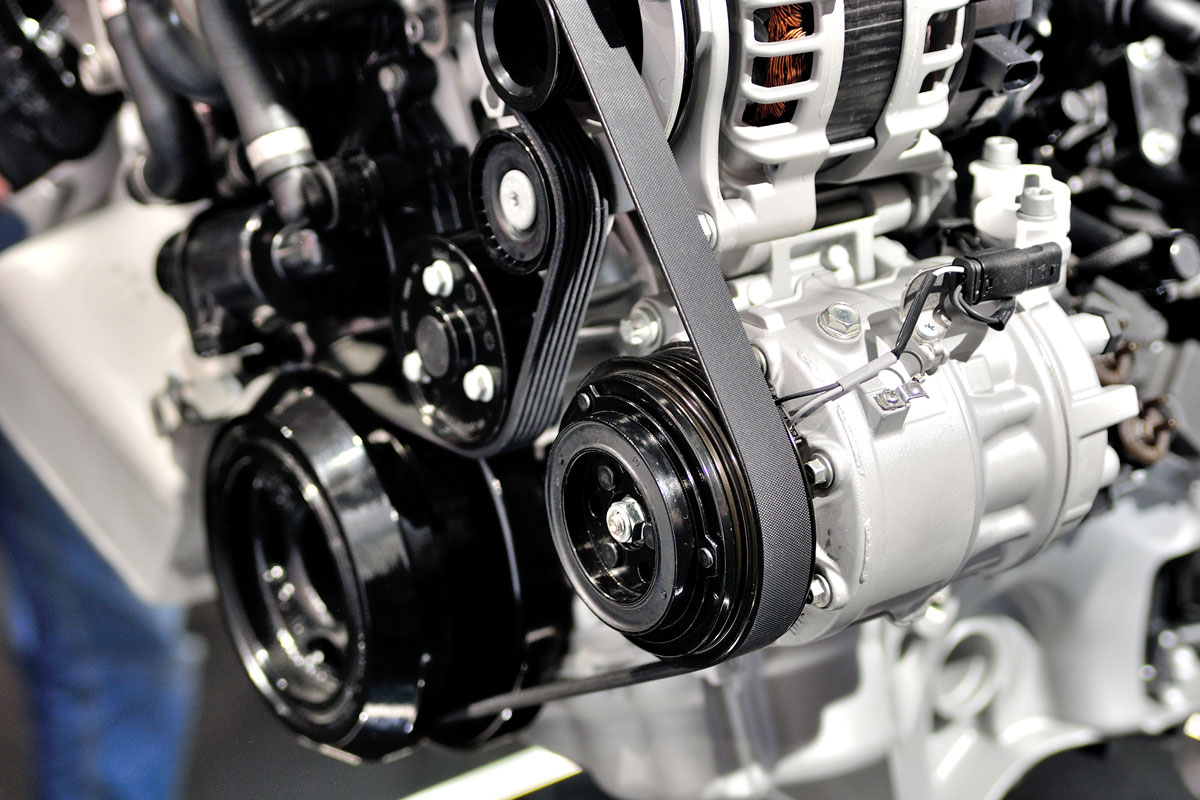
You can just locate the compressor before you proceed. The compressor is one of the components on the serpentine belt.
Look for the thin metal tubes that go to one of the devices on the serpentine belt. The alternator and the compressor sometimes look similar. What differentiates them are the refrigerant tubes that come out of the compressor.
Could you check the serpentine belt routing diagram to make it easy to locate your compressor? Most car manufacturers place a copy of this diagram on a sticker inside the engine bay.
If the serpentine belt routing diagram is no longer legible or if it needs to be included, get a copy from the internet.
Compressors under the engine bay require you to lift your car on jack stands. You might also need to remove one of the wheels to access the compressor.
Compressors close to the top can be under several hoses. You'll need to remove these hoses to get clear access to the compressor.
If you need to remove the hose from the radiator, drain the coolant fluid before working on the compressor. The coolant can damage the electrical components.
Refer to this video for a visual guide:
Removing The Pressure Plate
- Check if you have enough space to remove the pulley without removing the compressor. Removing the compressor means that you will need to discharge the AC lines. You must release the AC system if you need more space to get to the bolt that keeps the pressure plate in place. Remove the tubes on the compressor, then remove the compressor from the engine bay.
- Use tongue and groove pliers to restrict the movement of the pulley. You can use other tools to prevent the pulley from moving.
- Uninstall the bolt at the center of the pulley. You can pick a tool that will give you the best access to the bolt.
- Slowly pull the pressure plate off the compressor. There are washers that you should keep as you remove the pressure plate.
- Clean the pressure plate and set it aside.
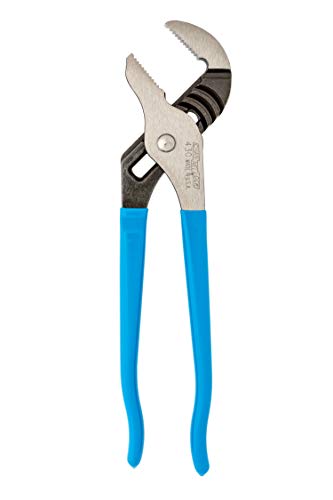
Channellock Tongue & Groove Pliers is available on Amazon through this link.
Separating The Pulley From The Compressor
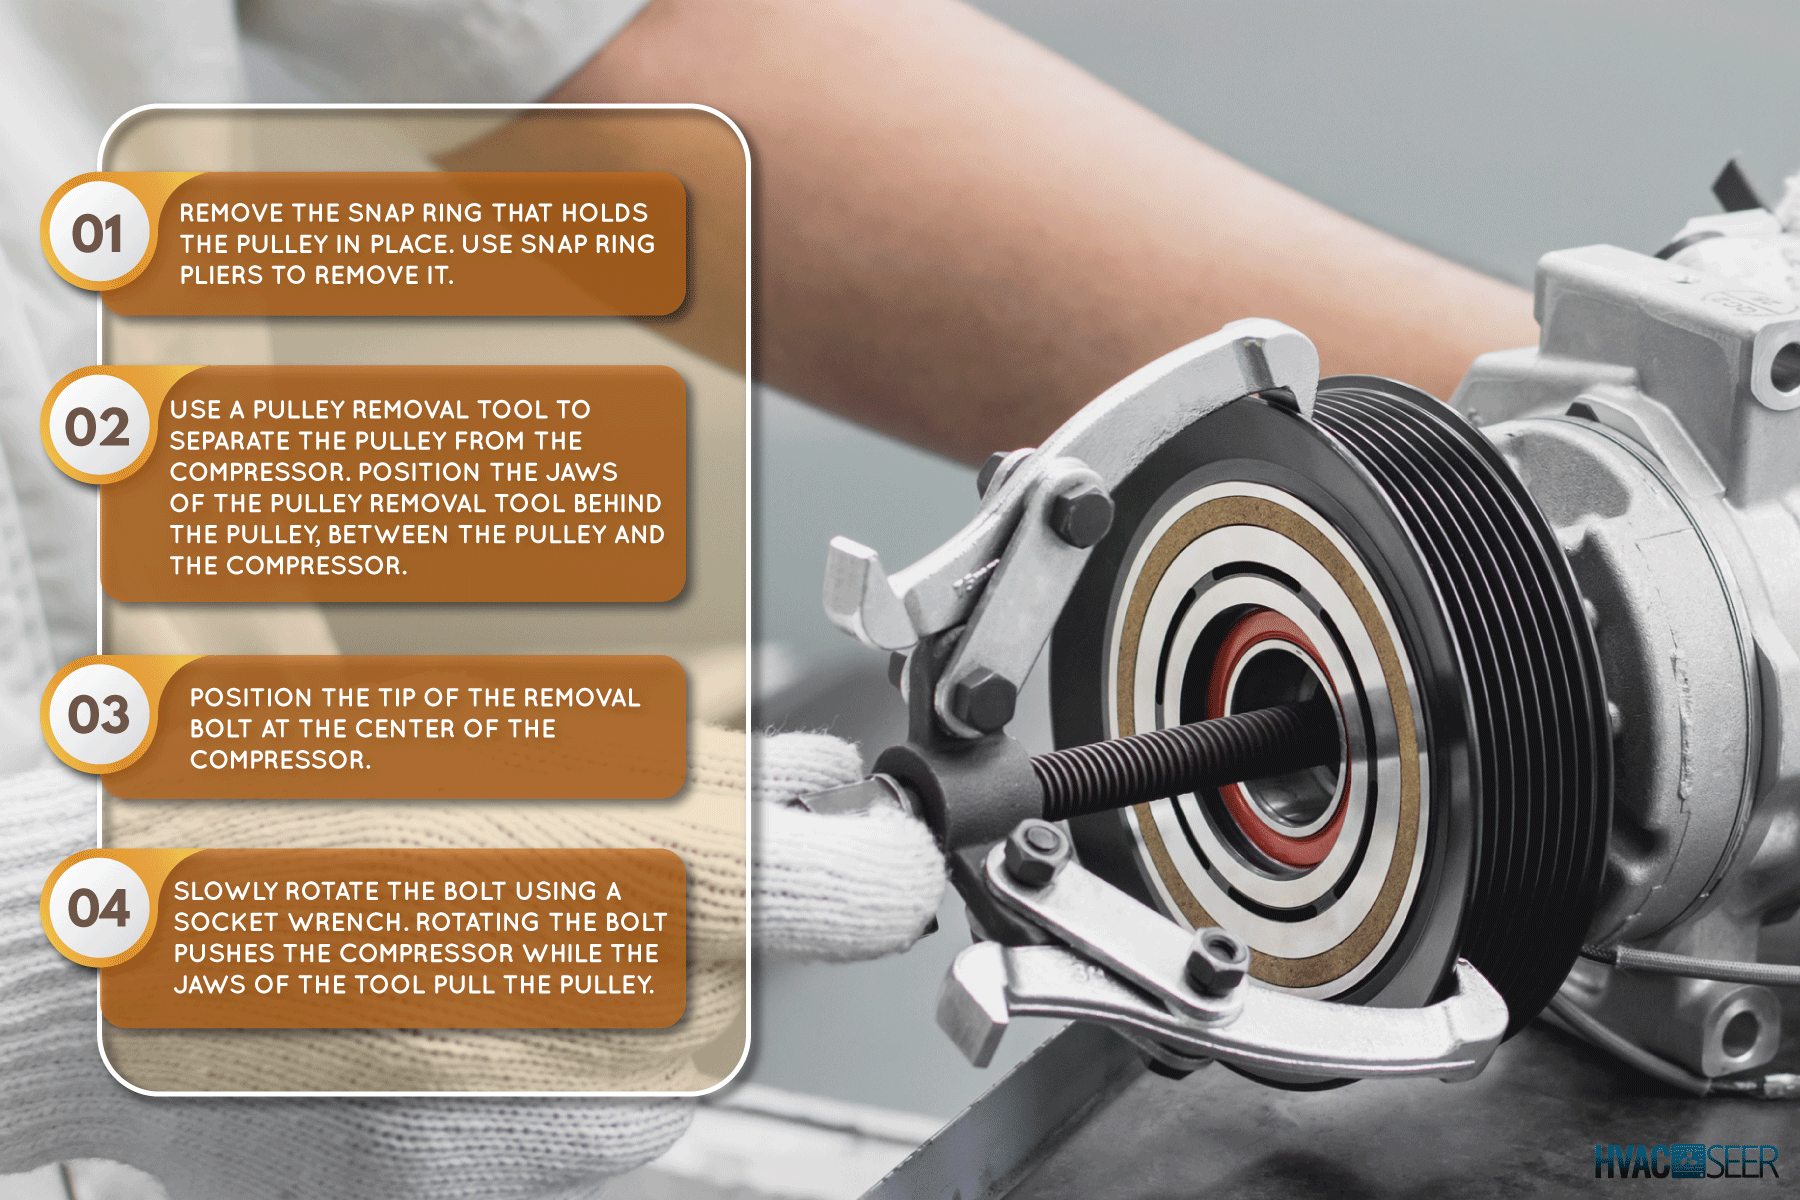
- Remove the snap ring that holds the pulley in place. Use snap ring pliers to remove it.
- Use a pulley removal tool to separate the pulley from the compressor. Position the jaws of the pulley removal tool behind the pulley, between the pulley and the compressor.
- Position the tip of the removal bolt at the center of the compressor.
- Slowly rotate the bolt using a socket wrench. Rotating the bolt pushes the compressor while the tool's jaws pull the pulley.
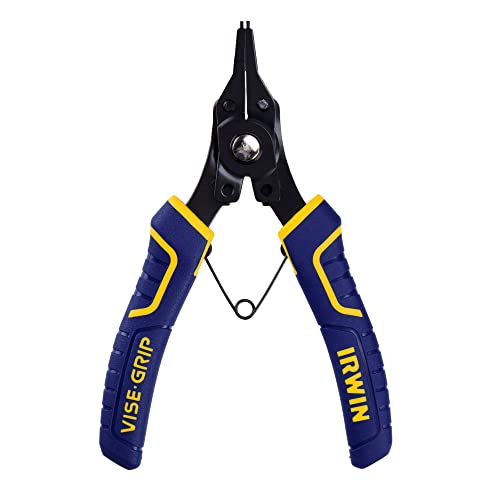
IRWIN VISE-GRIP Convertible Snap Ring Pliers are available on Amazon through this link.
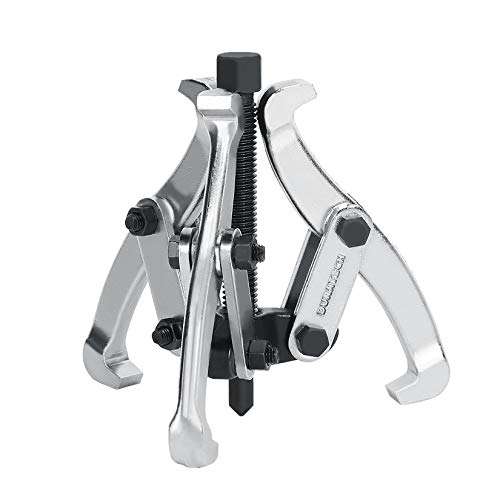
DURATECH Pulley Removal Tool is available on Amazon through this link.

DEWALT Socket Set is available on Amazon through this link.
Removing The Worn Bearing
- Locate the small tabs that hold the bearing in place. Use a small screwdriver and a hammer to push the tabs out of the way.
- The bearing will slide out through the side with tabs. Push the bearing out with a socket. Ensure that the socket will not hit the plastic seal of the bearing. The plastic seal prevents lubricant contamination and leaks.
- Clean the inside of the pulley.
Installing The New Bearing
- Install the new bearing through the same hole. Put the old bearing on top of the new bearing and tap the old bearing with a hammer if you’re having a hard time pushing the bearing into place.
- Push the locking tabs back into place.
Putting The Compressor Back Together
- Reinstall the pulley back into the compressor. You can place a block of wood over the pulley and give it a few taps with a hammer if you’re having difficulty pushing it back into the compressor.
- Install the new snap ring. The beveled side faces outward.
- Insert the washers back into the compressor.
- Reinstall the pressure plate and the bolt that keeps it in place.
Conclusion
Most compressors are the same across different car models. Sometimes, the only difference is the location of the compressor in your car.
If you found this article informative, you might find the articles below equally helpful:
Can I Bypass the AC Compressor With a Shorter Belt?
Can You Replace Just The Clutch On An AC Compressor? Should You?