It's such a convenience to have a Hunter fan. But how could you reverse it? Is reversing the Hunter fan different from its normal rotation? Sit back and relax! We've researched the answers for you.
There are two ways you can reverse a Hunter fan. You just have to choose what's easier for you. These are two possible options:
- Reach the fan and manually turn the switch to the opposite direction. You can find the switch on the body of the fan near the light.
- Set up the remote and press the reverse button.
In this article, you'll learn how to reverse a Hunter fan step-by-step. You'll realize the importance of reverse mode and when to use it. Also, we'll discuss some related matters about Hunter fans. There's more to learn ahead! Let's continue reading.
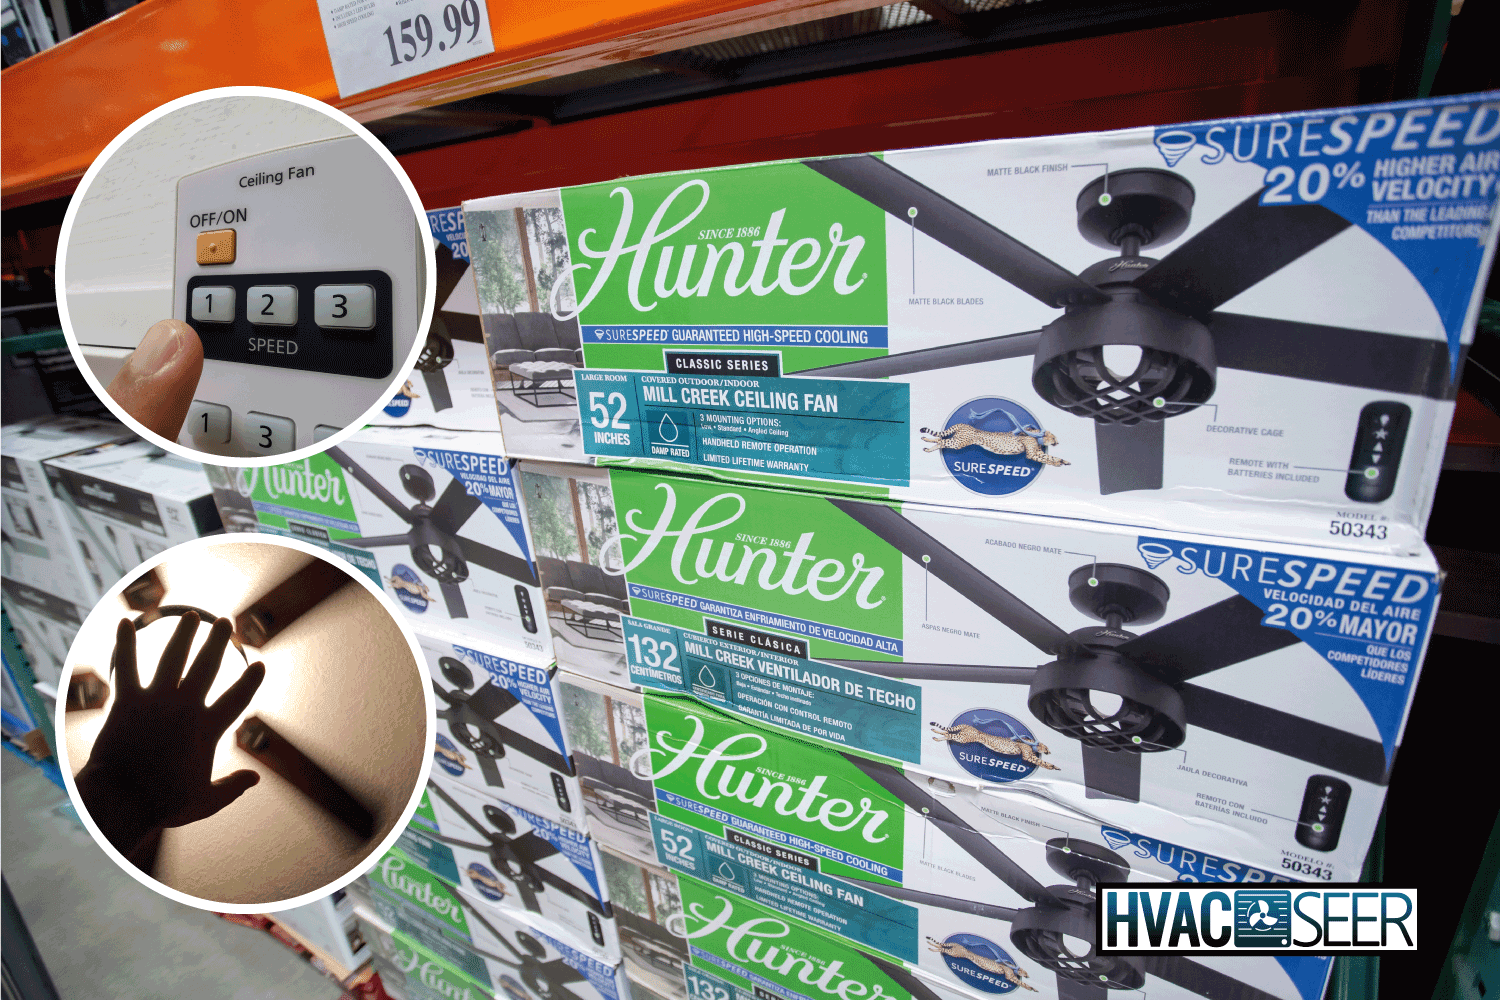
How to Reverse a Hunter Fan
Reversing your Hunter fan should be easy. We'll go into more depth on both options so that you'll be able to do so at a moment's notice whenever you need to!
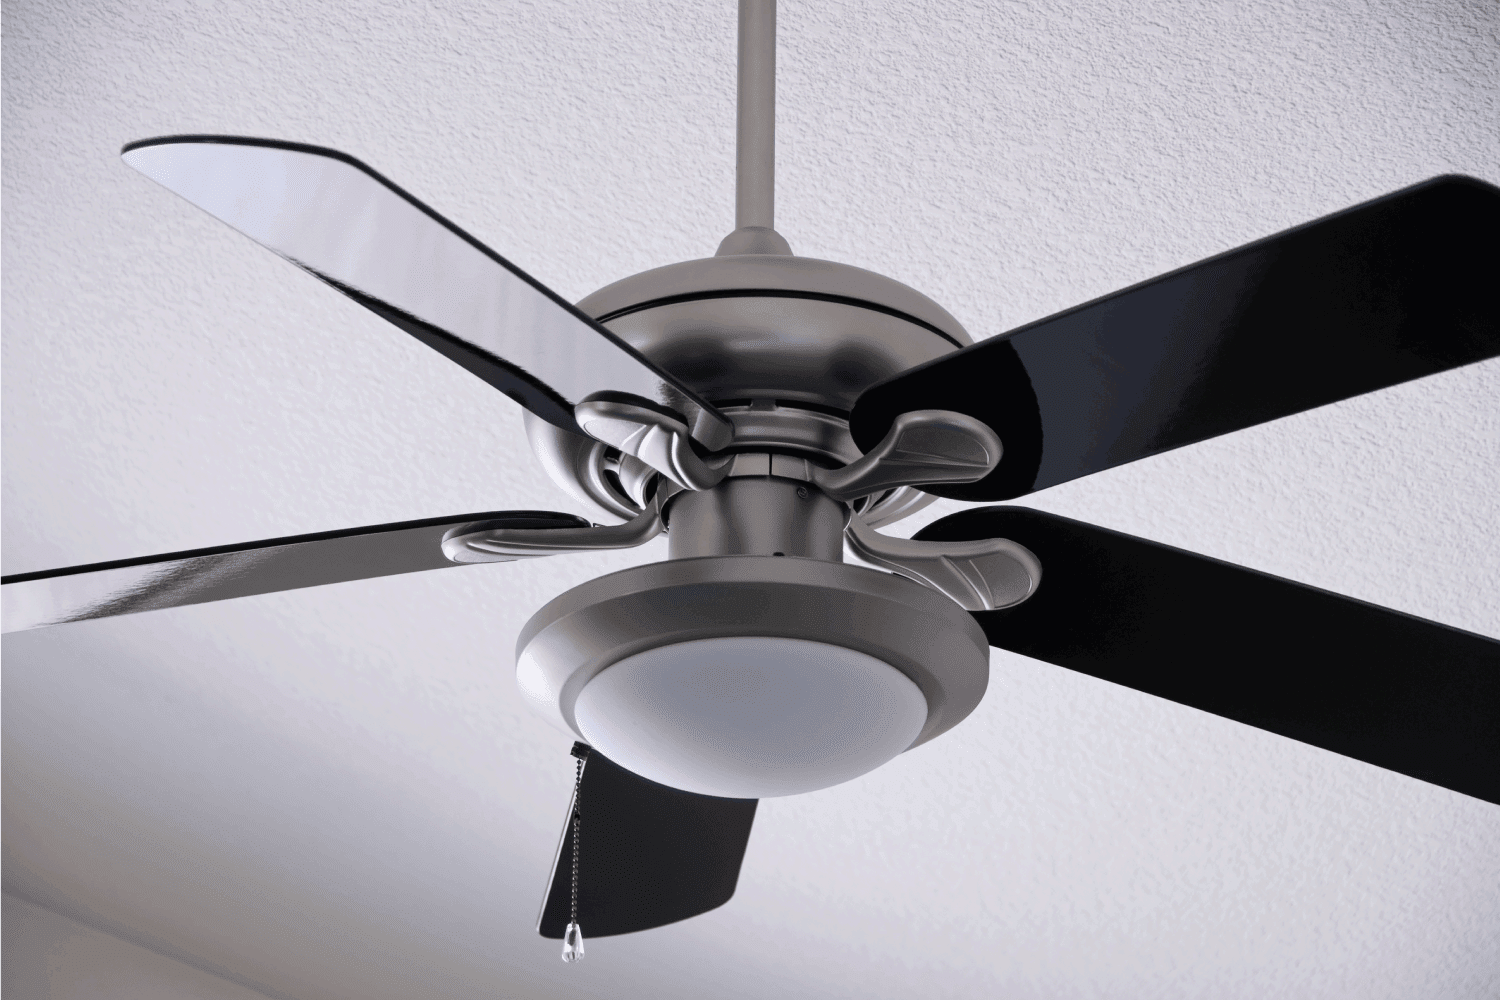
1. Turn the Switch Manually
The first option is to turn off the fan and find the switch on the body near the light. Slide the switch to the opposite direction, and that's it! You can now test the fan by turning it on again, and see if the reverse is successful.
You need a chair or a ladder to reach the ceiling fan. Just make sure that you are safe from standing up.
2. Use the Remote
On the other hand, you can set up the remote and use it to reverse the fan from a distance. There are different models of the remote that you can use depending on compatibility. It's important to be familiar with the model number.
Follow these steps to pair the remote with '5' Series Model of a Hunter Fan:
- Turn off the fan, then wait for 5–10 seconds before turning it on again.
- Press and hold both the FAN and the max speed buttons at the same time.
- Before you release the hold, wait for a few seconds until the fan starts to spin slowly and the light blinks.
- Test the fan by pressing different speeds on the buttons.
- Now the setup is complete, you can now press and hold the FAN button to reverse the blades.
Watch the video below to learn how to reverse your Hunter fan:
https://m.youtube.com/watch?start=25&end=58&v=lXTgREWseN8&feature=youtu.be
The Hunter fan also has a smart technology in which you can control the fan's features with a few taps. Simply ask a technician from Hunter to assist you in setting up a smart remote.
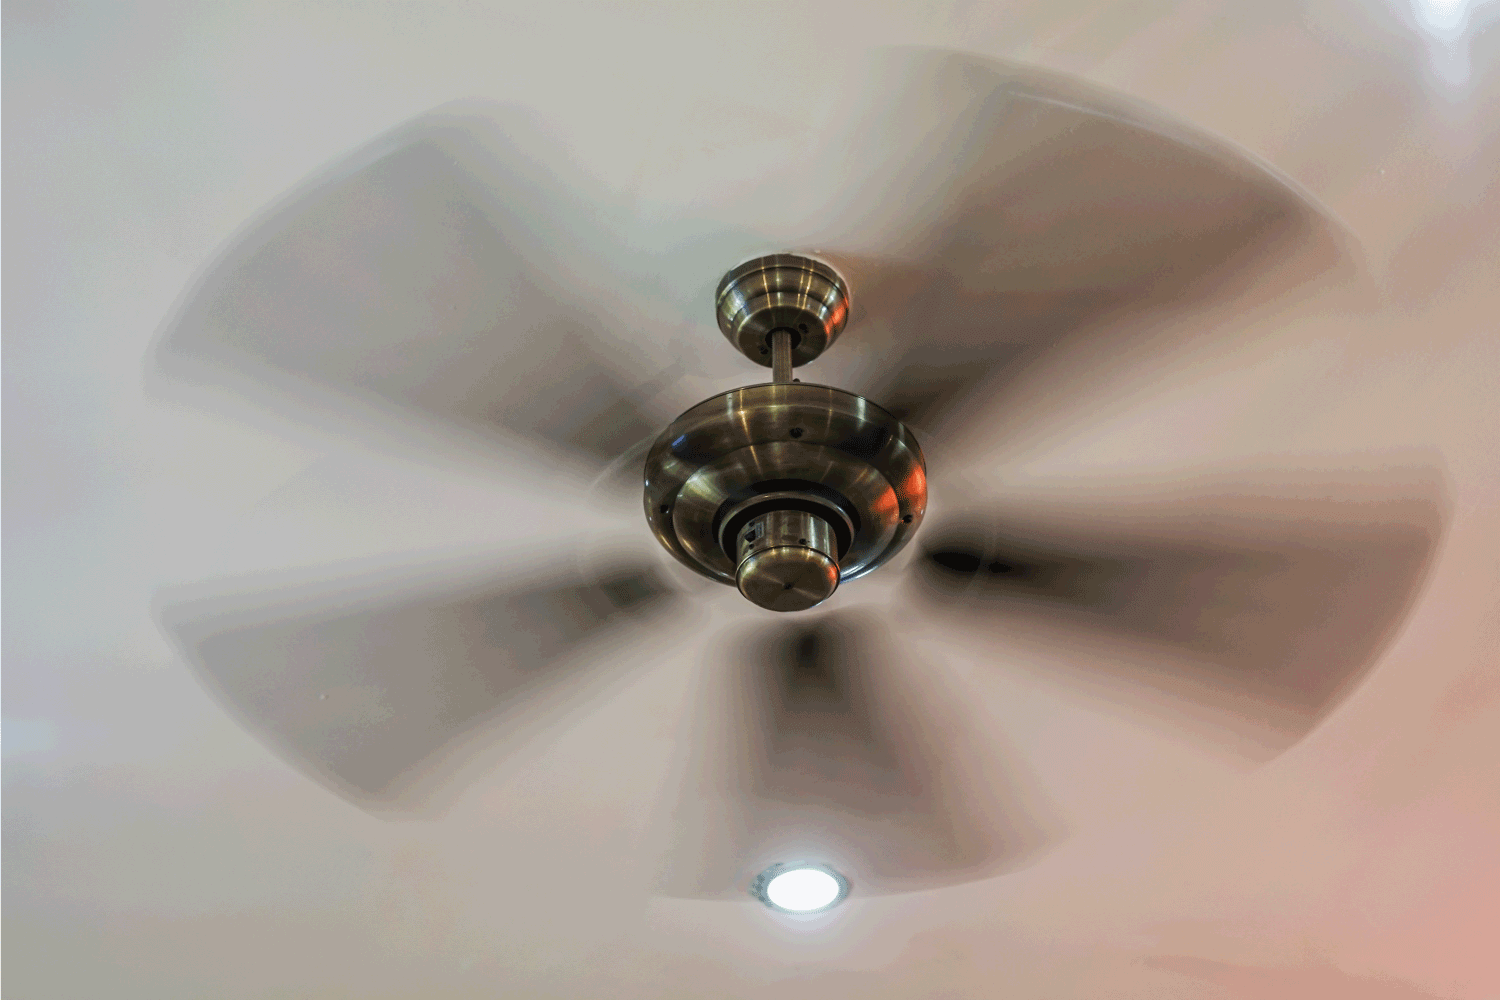
When to Reverse Hunter Fan?
It's important to understand when to reverse your ceiling fan. Of course, they serve different reasons to redirect the airflow in the opposite direction. Familiarize yourself below with the differences between the clockwise and counterclockwise rotations of a Hunter fan.
Clockwise for Winter
Clockwise is a term for an object rotating from right to left. When the ceiling fan blade rotates clockwise, the warm air rises to the ceiling. The fan then distributes the hot air throughout the room, resulting in a warmer air temperature. This clockwise rotation is advisable during winter.
If you're wondering why hot air rises, it's simply because its weight is actually lighter than cold air. The hot air then evaporates up into the air, and that's why setting your ceiling fan clockwise will lift and spread the warm air.
Counterclockwise for Summer
On the other hand, counterclockwise refers to an object rotating from left to right. Such rotation is recommended for ceiling fans during summer. The fan blade will push the air downward, spreading a cool temperature through the floor and across the room.
Also, it's easier for the fan to push down the cool air. It's because of the moisture that makes the air cooler and denser.
You don't want to misuse the fan rotations. A clockwise rotation during the summer will dry up the room when too much heat has spread. On the other hand, counterclockwise rotation during the winter will drop the temperature and increase humidity.
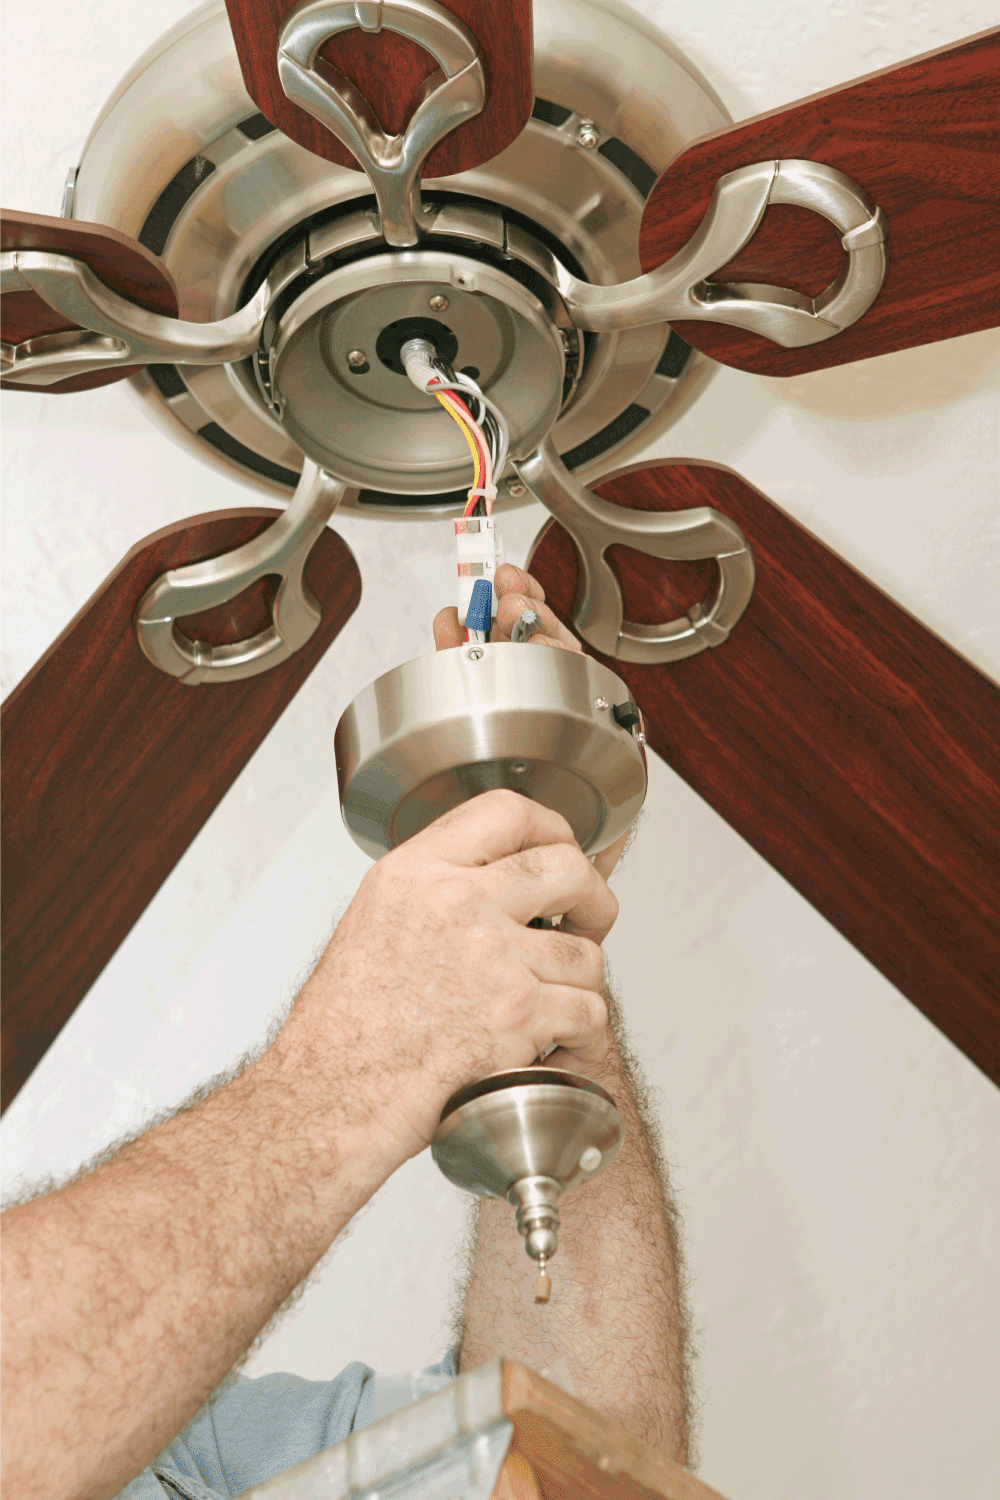
Common Problems and Solutions With a Hunter Fan
There are times that you'll encounter common issues with your Hunter fan, especially if the fan has been quite used for years. You need to know how to deal with such issues. Below you'll find the most common of these problems and possible solutions.
Wobbling Blade
A wobbling blade can happen when the fan blade has an imbalance, making it rotate in a repetitive vertical motion. This is quite annoying, as you cannot have proper air circulation in your room, not to mention the noise it creates.
Simply prepare the tools you need to fix a wobbling fan:
- Ladder
- Screwdriver
- Tape measure
- Balancing clip
- Soft cloth
See these balancing clips set on Amazon.
Now, you're ready to follow the steps.
- Turn off the fan, then use a ladder to reach it.
- Measure at least 30 inches from the blade's tip to the nearest object or wall. This is to ensure safety during the fan rotation.
- Check if there are any parts that are dented or out of shape. You may need to replace them by telling the manufacturer what part has been damaged.
- Tighten the screws from the mount bracket down to the blades.
- Put a balancing clip on the dented blades. You may use multiple clips until all the blades are balanced.
- Wipe the fan's body and blades with a soft cloth to eliminate the dust.
The Fan Stopped Working
If the fan stopped working, this is possibly due to an exhausted motor or incorrect wiring. You may need the help of a technician to fix this problem.
However, you can check the fan yourself by unscrewing the fan bracket and inspecting if the wires are properly connected. Try moving the blades with your hands to see if they rotate freely. You may also check if the circuit breaker is working.
Overheating
The ceiling fan may overheat if you don't put it on rest for at least 2-4 hours per day. The fan motor can consume a lot of energy and end up spinning the fan continuously.
You can schedule the use of your fan, like turning it off when the temperature is comfortable and safe enough for the room. It is advisable to leave the fan unplugged when you're away from home for a few days. The fan can still conduct electricity even if it's off. Proper maintenance of the ceiling fan will prolong its lifespan.
Do All Hunter Fans Come With Light?
Not all Hunter ceiling fans include a light. But Hunter offers a variety of light kits you can attach to your ceiling fan. You just need to find out what could be suitable for your fan model.
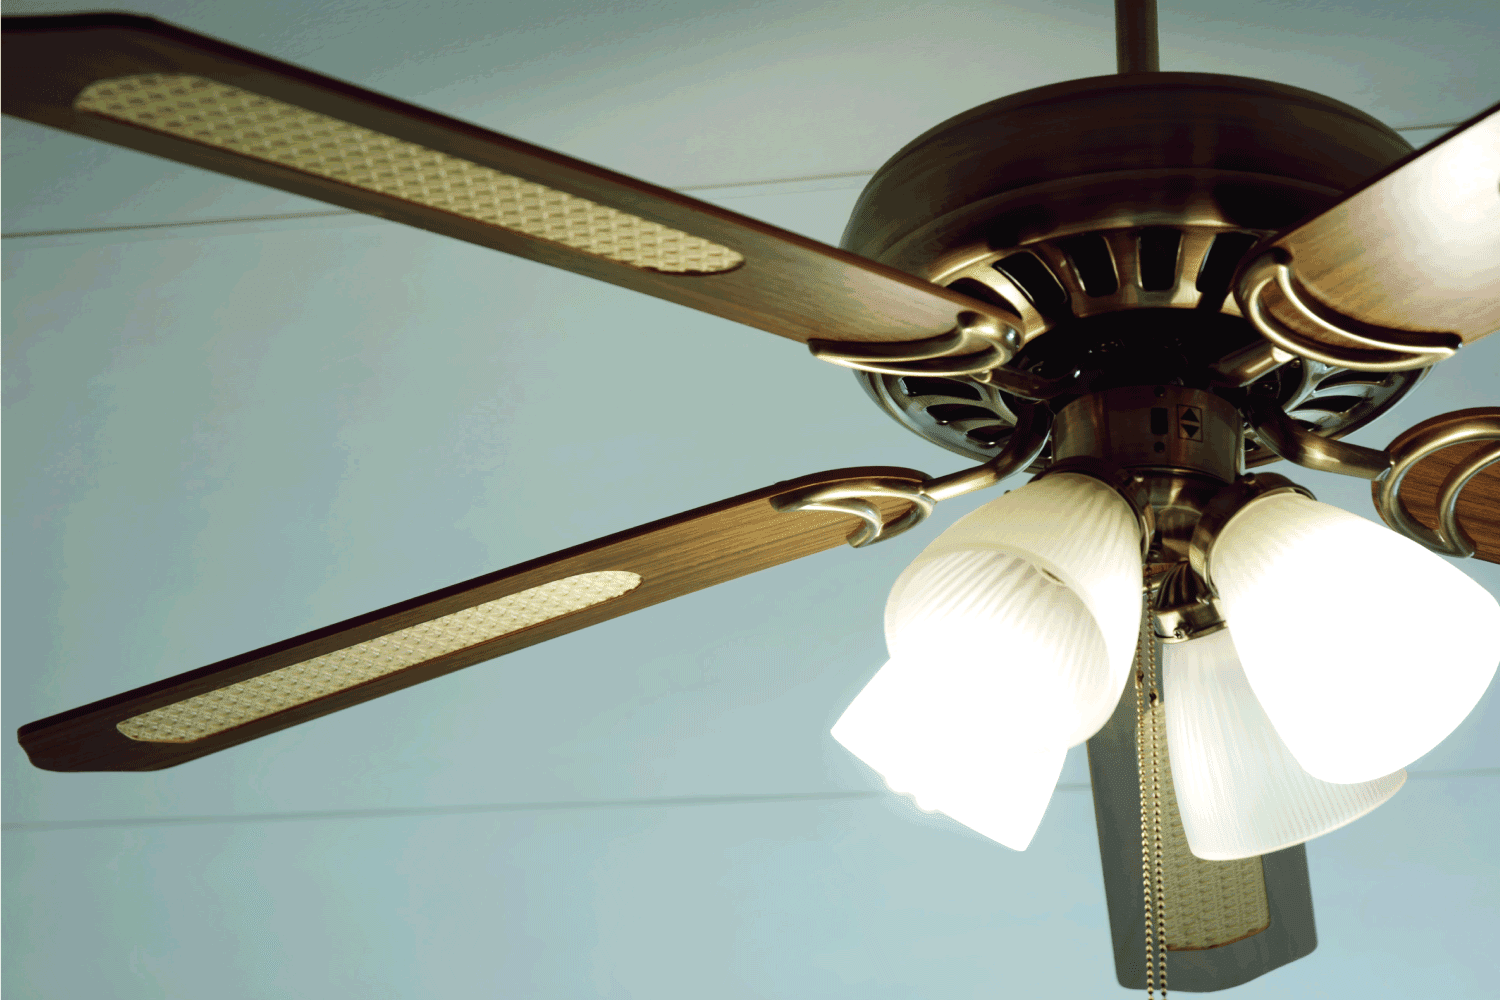
How to Install a Three-Light Kit on a Hunter Fan
A ceiling fan and a light often make a good combination. The installation of the light kit may differ in compatibility and size. However, see below the steps for installing a three-light kit on your Hunter fan.
- Turn the power off at the circuit breaker.
- Detach the chain pendant, and uncover the fan plate to reveal the wires.
- Attach the body of the light kit to the wires, then push the wires inside. Make sure the bulbs and shades are not attached yet.
- Close the cover with a screwdriver.
- Unfasten the lock on the side of each light port, then lock the shades in place.
- Twist and insert the light bulbs tightly enough to prevent them from falling.
- Attach the light and fan chain pendants.
- Turn on the circuit breaker and test both the lights and the fan.
Watch this short video below about installing a light kit on a Hunter fan:
Conclusion
In this article, we learned how to reverse a Hunter fan and when you should do it. We've seen two different options, both manually sliding the switch and using a remote.
You also learned why the direction of fan rotation is significant during summer and winter. We've discussed some common problems with a Hunter fan and how to deal with them.
Lastly, we mentioned that not all Hunter fans come with a light, but you can add a light kit to the fan itself. We even saw how to install a three-light kit for your Hunter fan.
What a great time to learn with us again! We invite you to read more with us here:

