
All of us want to have a proper ventilation system in our homes. And running HVAC ducts in 2x4 or 2x6 walls can ensure proper ventilation. We know you want to learn how to install one. That is why we thoroughly researched from the internet to provide you with answers.
To run an HVAC duct in 2x4 or 2x6 walls, you must follow the guides below:
- Outline the design for the duct in the 2x4 or 2x6 wall
- Mark the design on the wall
- Prepare and drill out holes in your wall
- Install the b-vent (double-wall) flue
- Set the indoor equipment
- Put the plenum
- Install the return ducts that you can position on either side
- Seal all the areas that need covering
Installing HVAC ducts in walls can be too challenging for a do-it-yourself project. But we still want to give you comprehensive information about this matter. So, we encourage you to keep reading to learn how this process works.
Steps On Running An HVAC Duct In 2x4 Or 2x6 Walls

We provide you with this step-by-step installation of HVAC ducts in 2x4 or 2x6 walls, but we recommend you hire a professional if possible. You can do DIY, but only if you have proper knowledge and training about this matter. Indeed, hiring a professional is costly, but rest assured that the result will be undoubtedly excellent.
1. Outline The Design For The Duct In The 2x4 Or 2x6 Wall
Before anything else, you must plan and outline the duct structure for your 2x4 or 2x6 walls. If you don't know how to outline, you can ask for someone with experience to help you map out the design. You must remember and make sure that the outline is appropriate for the duct dimensions.
2. Mark The Design On The Wall
Now that you have the design, you must move through every room and mark out the return locations in the wall and the supply register locations on the floor.
In addition, the supplies should be about eight inches from the walls, allowing clearance for curtains or doors. It would help to cut the holes approximately one-fourth inches in diameter to allow space for future registers.
3. Prepare And Drill Out Holes In Your Wall
It would be best to cut the returns straight down through the wall cavities and overcut the front edge for about three-fourth inches. Doing this may help the airflow.
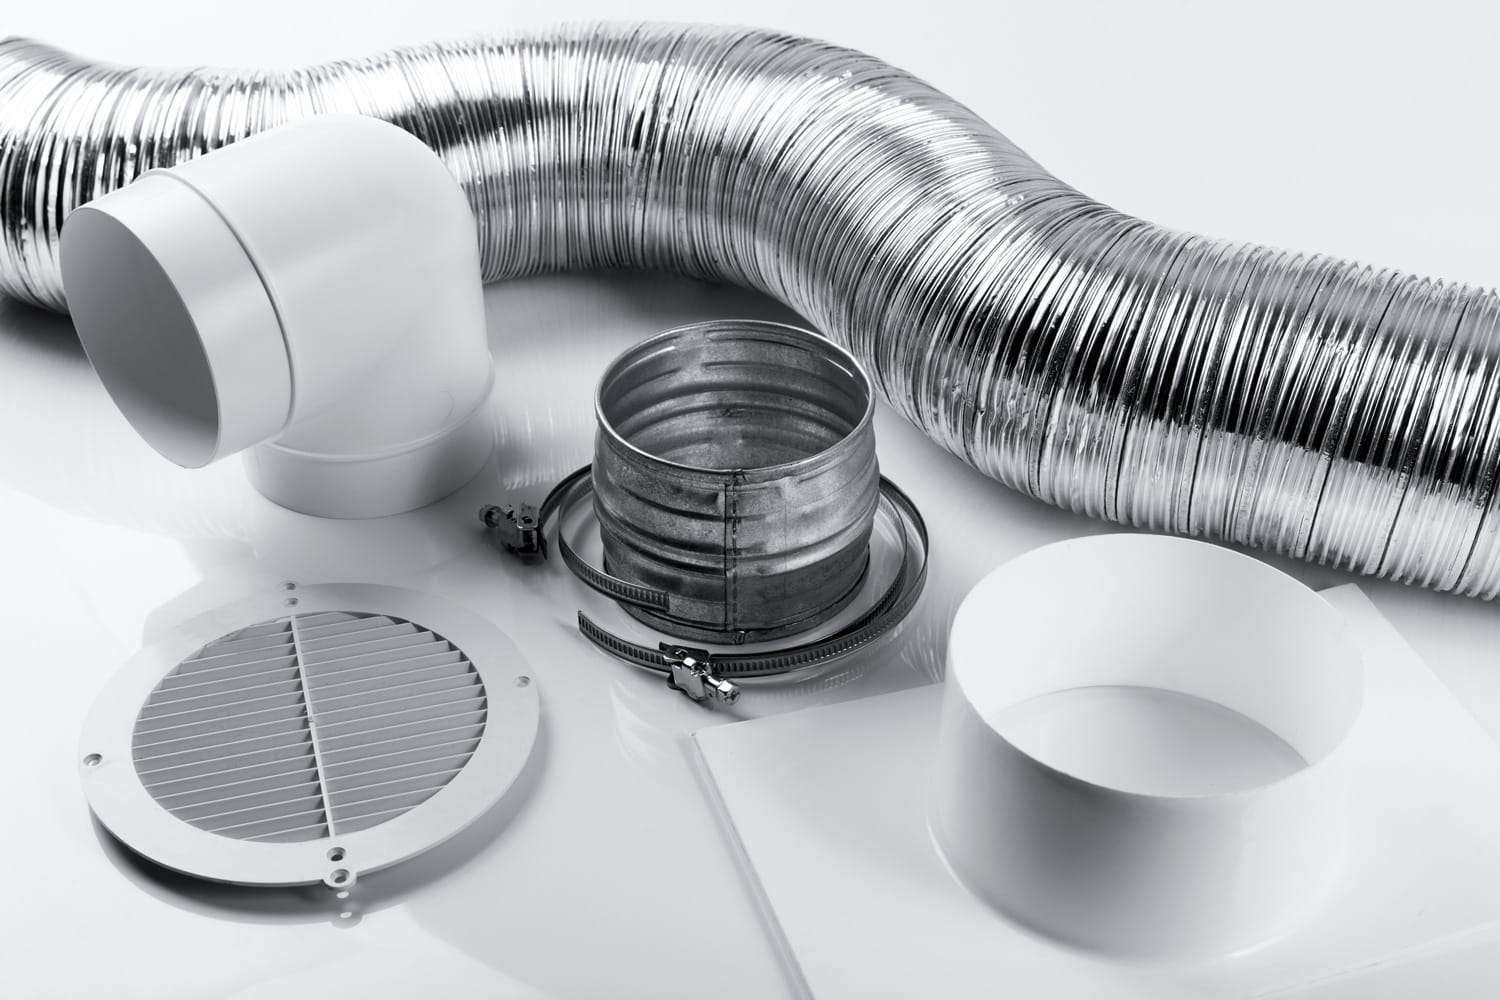
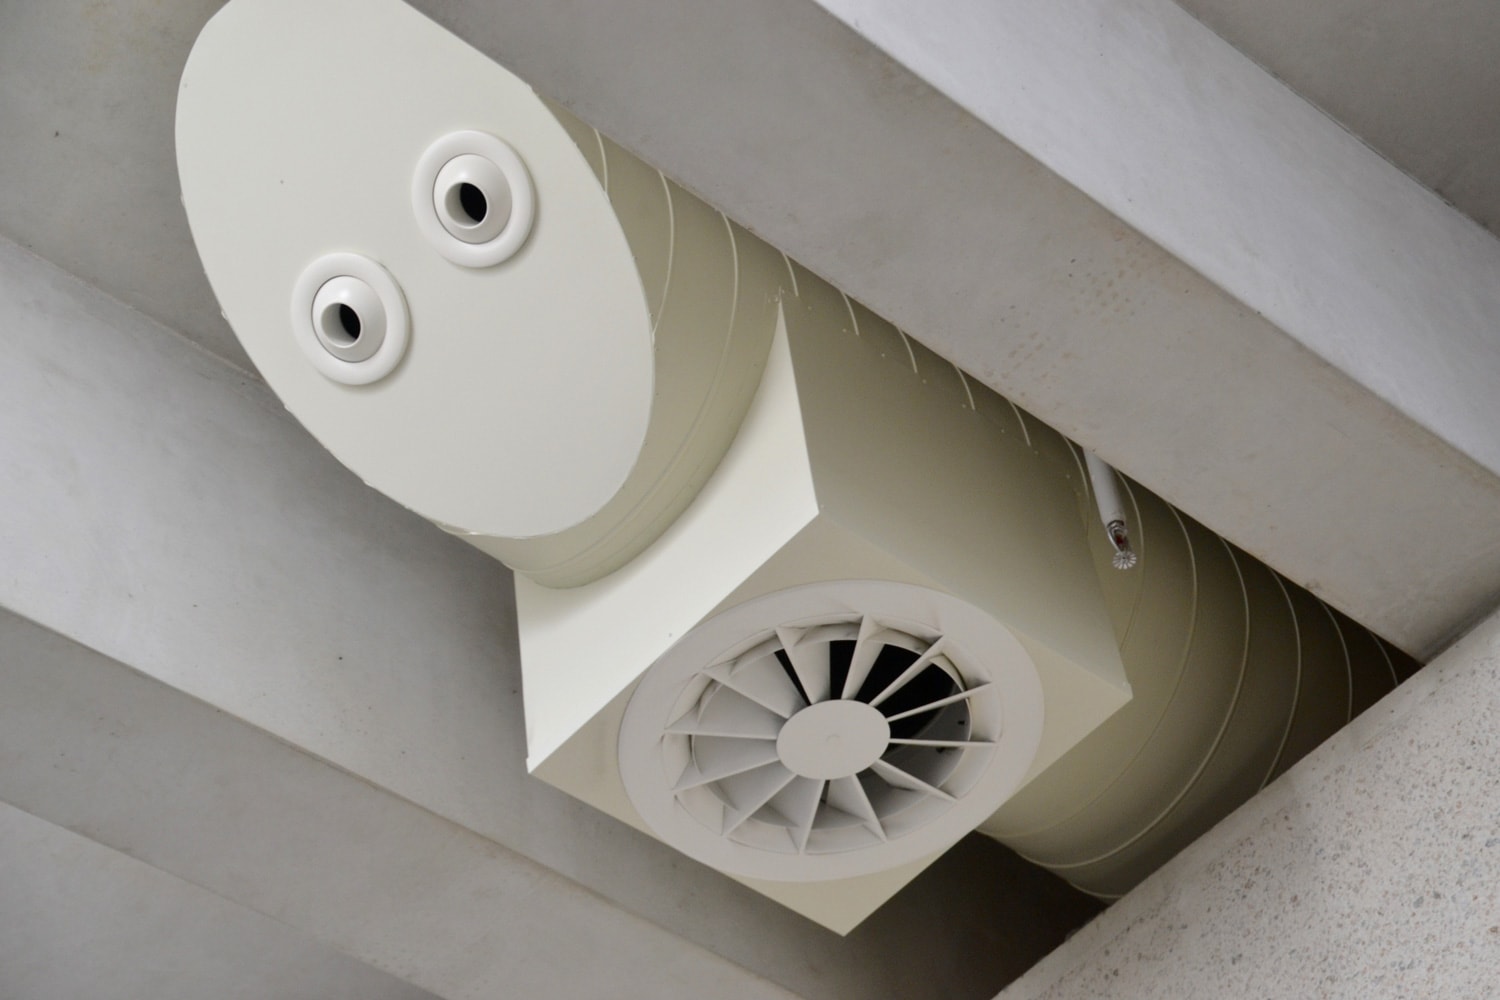
Compared to the opening down through the wall cavity, the grille should be larger. If the wall is three and a half inches deep, make your grille six inches to eight inches tall. It will aid in keeping the sound of air moving through the grille at a minimum. Be extra careful not to cut into the floor joists below.

Check this 14"w x 20"h grille on Amazon.
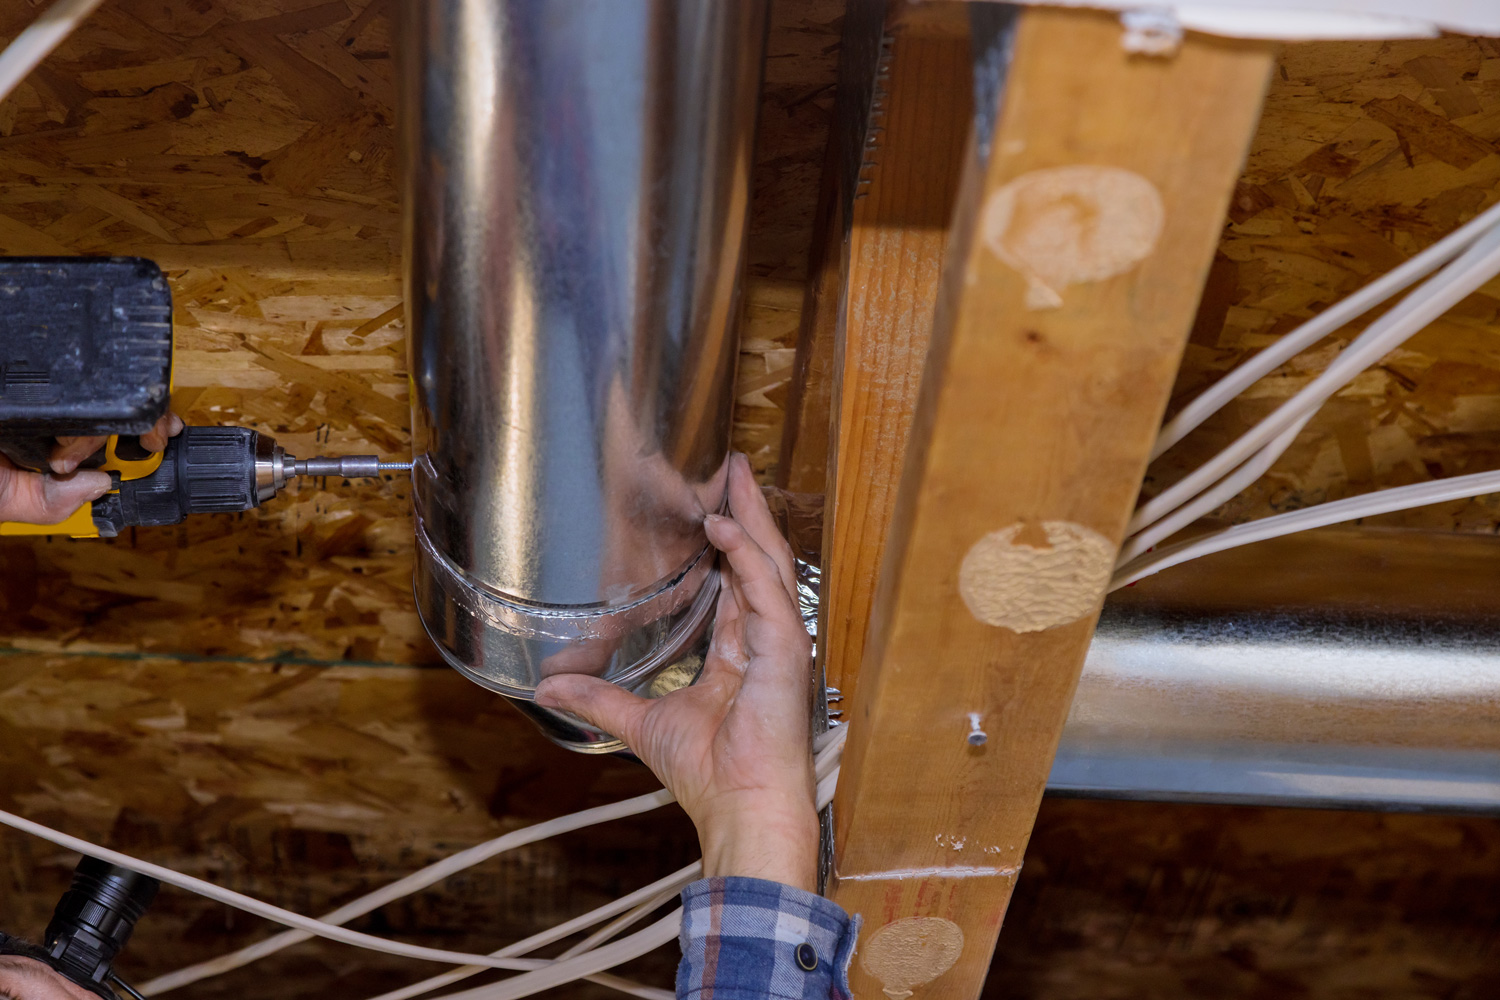
4. Install The B-vent (Double-wall) Flue
Before you cover the wall, it would help put the b-vent flue first. Doing so may avoid the difficulty of installing it. Double-wall flue pipe requires a minimum of one-inch clearance to combustibles. It means that all penetrations through the floor and roof must be overcut to adapt to this requirement.
Moreover, use a sheet metal firestop to suspend the double-wall flue, provide proper clearance and close the overcut holes. Typically, flat sheet metal with a round hole complementing the flue diameter works well. And that's it. The rough-in is complete.
5. Set The Indoor Equipment
For example, your home has a mechanical room in the basement and is centrally located, you must set the furnace/air handling unit (AHU) properly in place permitting space for the installation of return airdrop on one side of the unit.
You will also need to set up the evaporator coil on top of the AHU if your system has central air conditioning. A cased coil is the best course for a DIY project to make. Also, a cased coil is easier and more accessible for future servicing.
An uncased coil, on the other hand, needs to be constructed up into the supply plenum making sure that all air shifts up through the coil. And you should provide the refrigeration lines with tightly sealed penetrations. An uncased coil's serviceability (cleaning) is challenging at best.
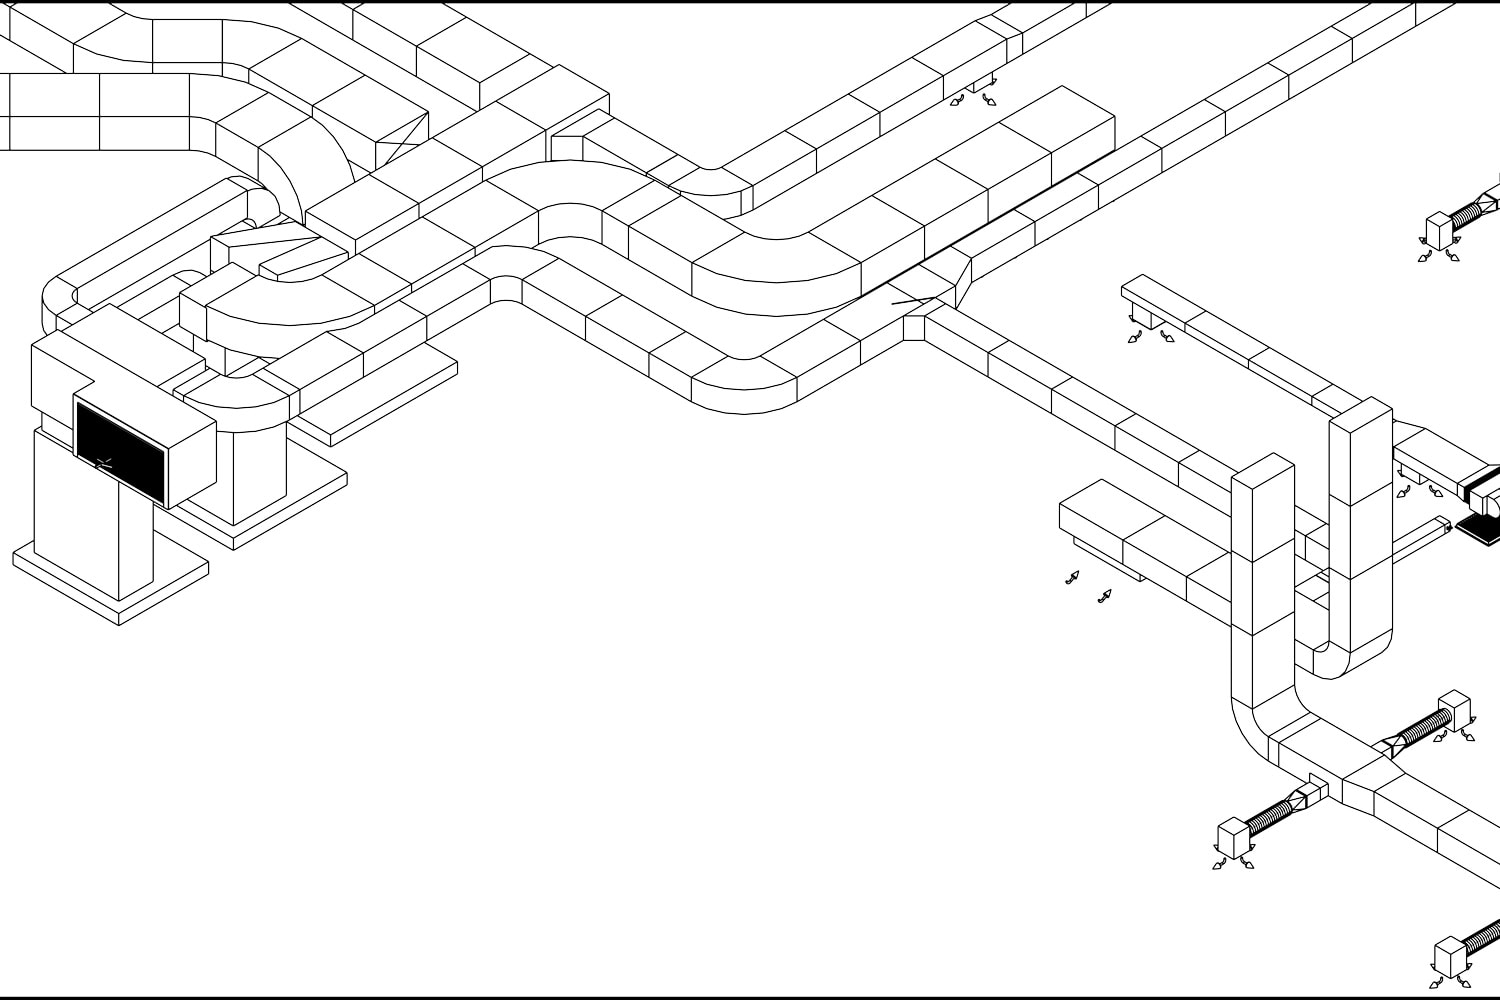
6. Put The Plenum
A plenum is a complex part of the duct that supplies the refined air to the main areas of your home. It is your choice to install it either with the evaporator coil or on the air handler. Moreover, you can modify the plenum by cutting it up about an inch below the ceiling.
Once you finish cutting the plenum, attach it with the front and end of the ducts. Then position the supplies for the air duct. It is always better to arrange them first on the floor before trying to attach them to the wall.
Fit all supplies in the S-cleats at the beginning and end of the joint. After that, connect them through drives. And you can design the point where you need a subordinate duct to connect the top of the main box. Do the same procedure for each side until you have attached all the supplies in the HVAC unit.
7. Install The Return Ducts That You Can Position On Either Side
In this step, you will need to place the return ducts that you can attach on either side. Also, it would be best to put the return airdrop that situates vertically next to the air handler. The primary purpose of the return airdrop is to attach them with the air handler and fan.
8. Seal All The Areas That Need Covering
The last step would be the process of sealing all the open areas. It is the most significant step since it doesn't just give the structure a perfect finish but also ensures its overall security from the accumulation of dust and debris.
However, before you start the sealing process, you might want to recheck your work to confirm that there is no wrong or faulty installation. We highly advise doing this step so that you can avoid the difficulty of opening the seal if in case there is something off on the structure.
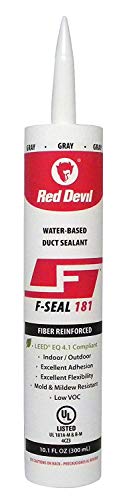
Check this water-based duct sealant on Amazon.
Duct Maintenance
If you want your duct system to last long and continuously offer proper ventilation, we recommend regular cleaning and maintenance. Doing so will also help the system avoid undue wear.
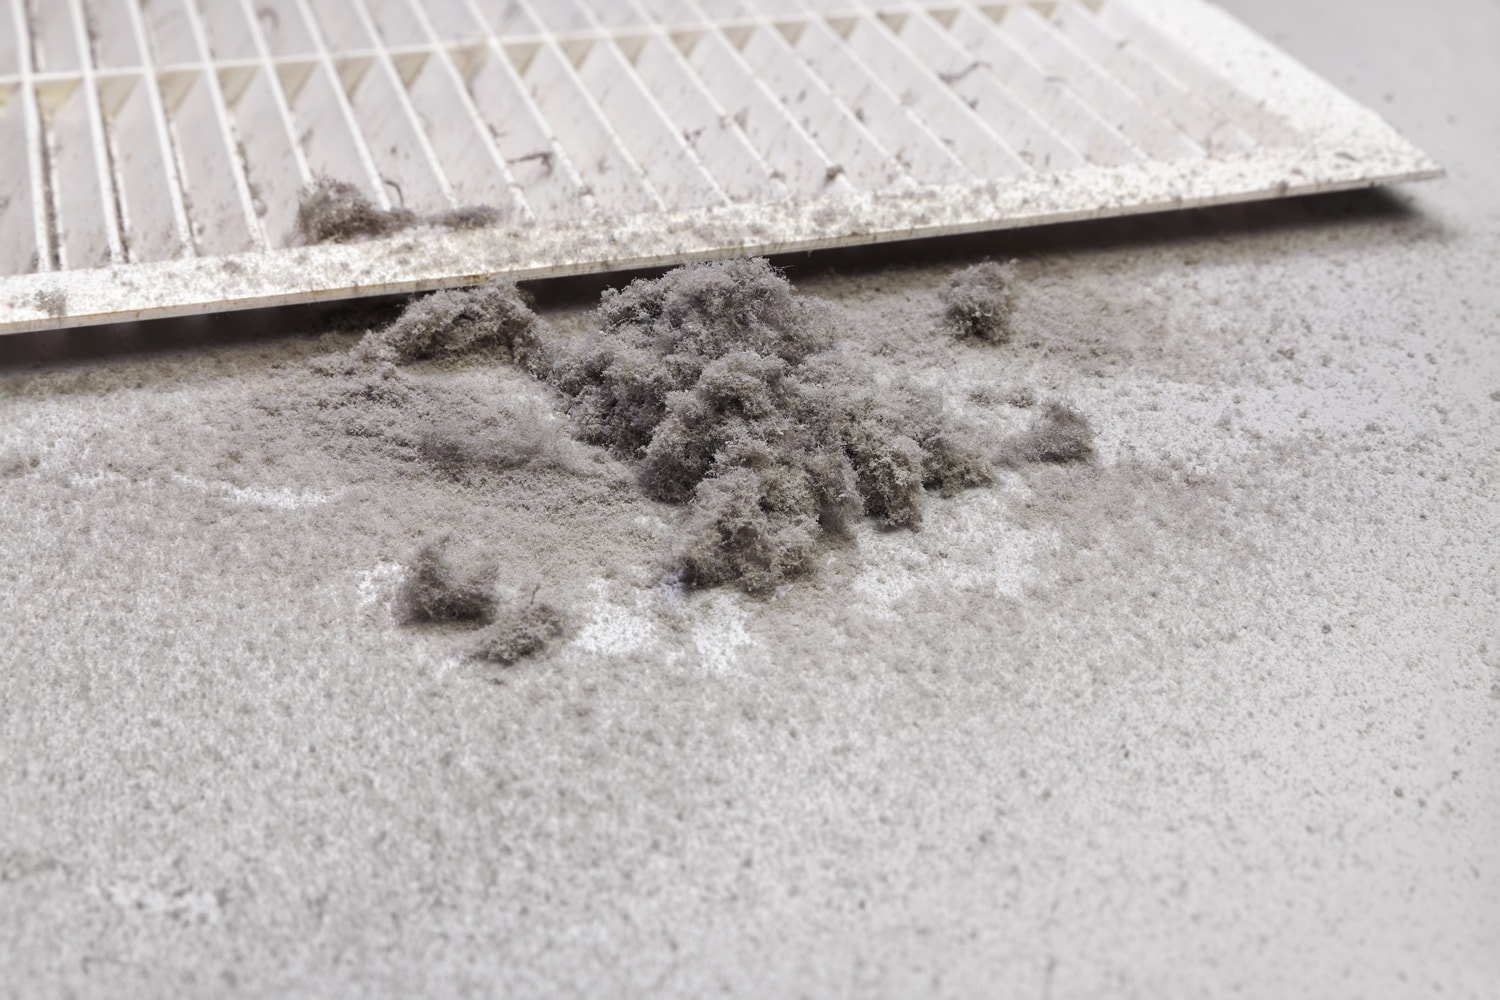
Over time, some of the seals and joints can become loose, vibrations from the HVAC system can also force the ducts out of their position, and dust or debris accumulation can damage the entire system.
So, if you want to make the most out of your duct system and attain efficiency, we encourage you to perform the maintenance steps below. However, before we start, keep in mind that some of these steps will ultimately require a professional for proper execution.
Always Check And Seal The Leaks In The Ducts
If there are existing duct leaks, a home loses about 10 to 30 percent of its well-conditioned air. That means energy efficiency is not achieved because all of the energy consumed has been used for nothing.
Read more: "How To Seal Around HVAC Lines."
Ensure That The Vents And Return Vents Are Free From Obstructions
Placing furniture or anything in front of your vents will disrupt airflow and dissuade the air from circulating in the entire room. And if it is a substantial blockage, it can have consequences in the entire ductwork arrangement, either a fan motor burnout or altering the pressure in the system.
Insulate The Ductwork
If you want to help the air that passes through the ducts maintain its temperature until it reaches all areas, insulation is highly recommended.
Read: "How To Insulate Rectangular Ductwork."
Hire A NADCA-Certified Air Duct Cleaning Professional
You must hire an air duct cleaning professional if you want to clean the entire duct system. And we recommend you hire a NADCA-certified professional for the best service assurance.
Read more about: "How To Tell If Air Ducts Need Cleaning—10 Signs To Look For."
Put A UV Light In The Ductwork
To help sterilize the air and eliminate bacteria or mold, we suggest installing a UV light. In addition, it can help stop mold and fungi build-ups inside the ducts, where humidity is usually hard to control. But the most significant factor is that it can improve the air quality indoors.
Test The Ducts
It would be best to hire an HVAC professional for this one since they can take air pressure readings in the ducts during its operation, examine how much air it loses, and ensure that the system is free from damage or any issues. Plus, they can suggest some guidance on how to improve your ductwork arrangement.
Don't Close The Vents In Rooms
If you think of closing the vents in every room to cut down HVAC costs, please, don't! Doing such a thing doesn't mean you are saving energy bills, but it simply indicates that more air from the outside is carried in to be treated or conditioned via the return vents.
In addition, because the vents are completely blocked, the exact problems with the decrease of pressure might happen again, like the furniture obstructing the vents.
If you want to control the cooling and heating in every room in your home, you can ask your HVAC professional about having a zoning system.
Wrapping Things Up
Running HVAC ducts in your 2x4 or 2x6 walls is not that easy. Yes, you can execute a do-it-yourself installation, but make sure that before starting, you must at least learn some knowledge and have proper skills in its installation.
So, if you want that perfect HVAC ducts installation, don't think twice and call an HVAC professional immediately. Improve your indoor air quality and save money and energy efficiently!