
Sealing a crawl space can help prevent issues for your home, such as moisture buildup and pest infestations. Now you’re wondering, how can you seal your crawl space? We researched the process for your convenience, and here’s what we found.
The general steps to seal a crawl space with a vapor barrier are:
- Cut a piece of the vapor barrier to the size and shape of the perimeter beam.
- Lay and stick the cut cover to the perimeter beam using foundation tape.
- Apply construction adhesive to the beam for additional adhesion if needed.
- Install the wire staples on the barrier to further secure it to the beam.
- Repeat the previous steps for the crawl space’s piers and joist bays.
- Roll the rest of the vapor barrier on the space’s floor.
- Secure the vapor barrier on the floor with foundation tape, attaching it to the perimeter.
Take note that preparing properly is vital to your safety as you seal your home’s crawl space. Keep reading as we talk about these safety procedures. We’ll also discuss the steps to seal a crawl space in greater detail.
How Do You Seal A Crawl Space?
Before you begin this project, it’s a good idea to start your preparations in a location with a relatively high ceiling. Otherwise, preparing in the tight crawlspace can make it tough for you to maneuver the materials. Also, the low ceiling may make it challenging for you to sit while getting the things needed ready, increasing the risks of back pain.
Plus, avoid attempting to seal your home’s crawl space if you’re not in a fairly good physical condition. You should be reasonably fit to squeeze and move around the tight space without straining your body significantly.
Remember, you still have the option to let professionals handle this job. Let the experts complete this project for you, particularly if you’re not physically fit or have some degree of claustrophobia.
After pondering upon those things and you’d still like to continue this operation as a DIY project, you may continue by following these steps:
What You’ll Need
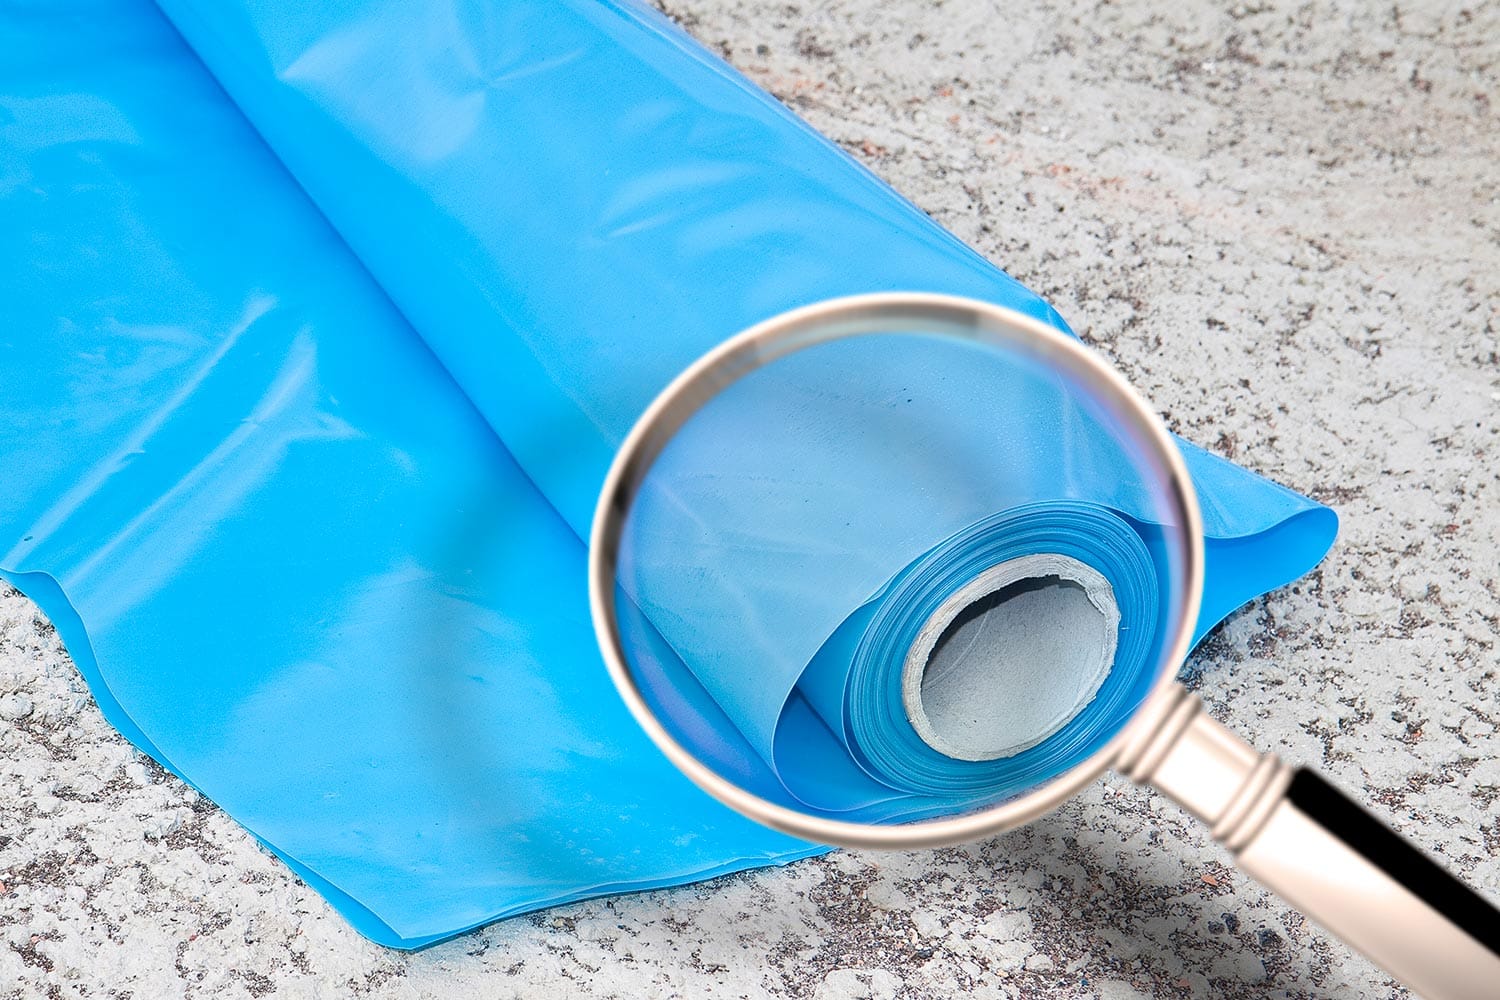
- Vapor barrier
- Tape measure
- Scrub brush
- Dust brush
- Scissors
- Utility knife
- Power drill
- Rubber mallet
- Foundation tape
- Wire staples
- Construction adhesive (optional)
Check out this construction adhesive on Amazon.
Step-by-Step Guide
- Cut a portion of the vapor barrier using the scissors and/or the utility knife to the size and shape of the perimeter beam.
- Remove loose dirt from the beam using the scrub and dust brushes.
- Lay the cut material on the beam. The vapor barrier should have a 12-inch overlap that covers a portion of the crawl space’s ground.
- Stick the vapor barrier to the beam using the foundation tape.
- If the foundation tape’s adhesive isn’t strong enough, apply a bead of construction adhesive to the beam for additional support.
- Drill holes on the vapor barrier and install the wire staples to the holes by pounding them with the rubber mallet.
- Use the dust brush to sweep the dust and debris generated from the previous step.
- Repeat steps 1 to 7 to the piers and joist bays located in the crawl space.
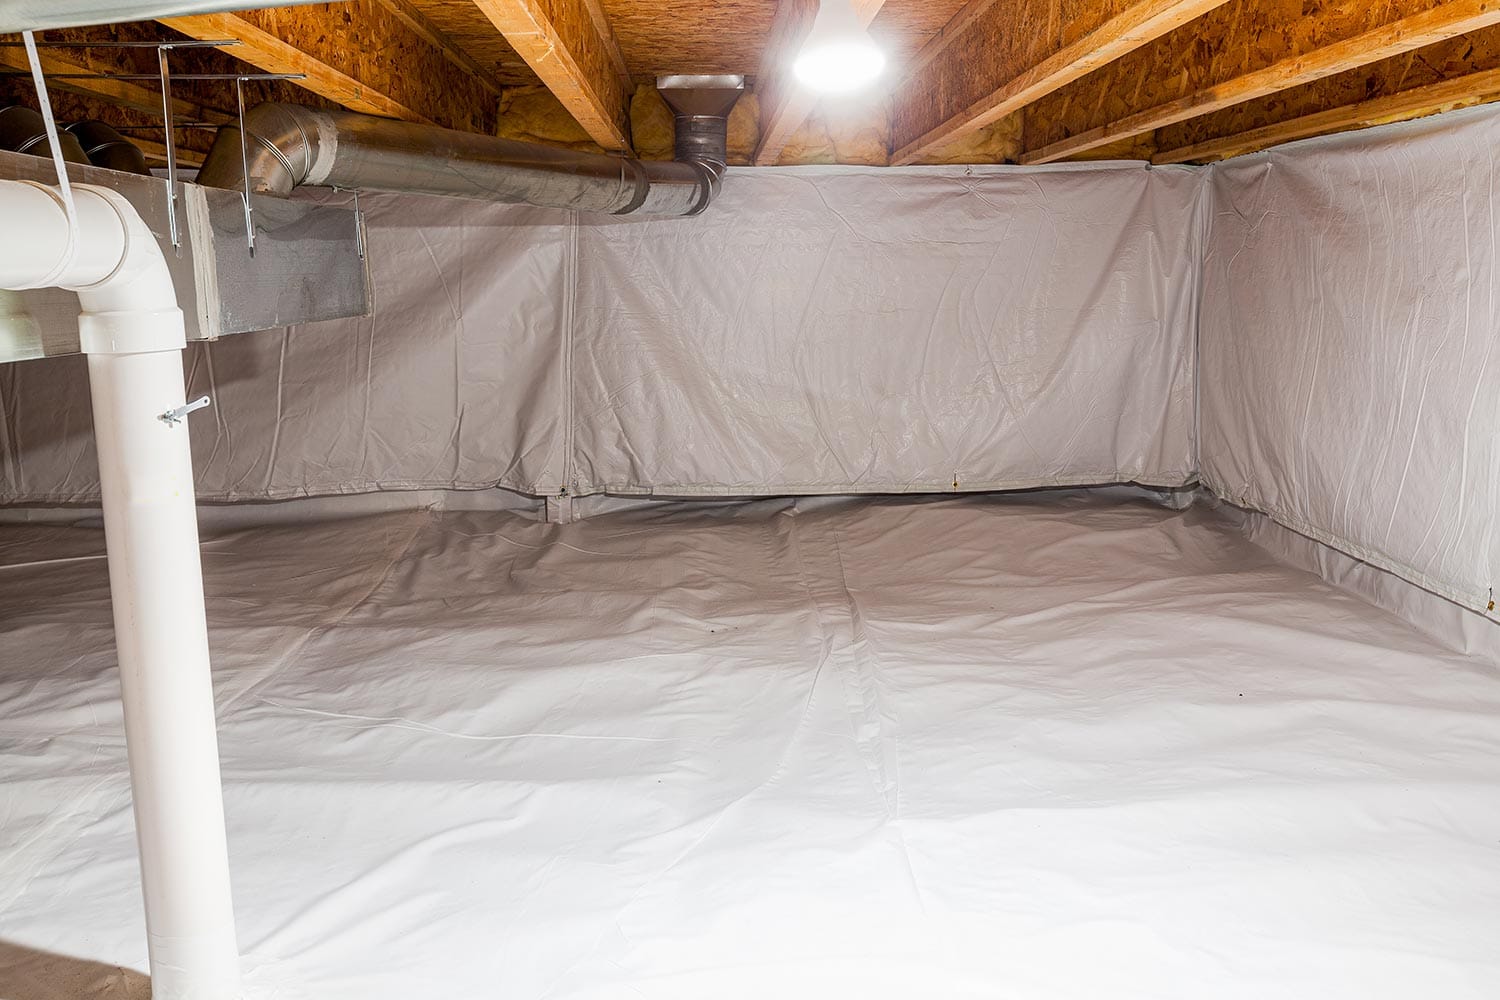
- Roll the rest of the vapor barrier on the crawl space’s floor.
- Secure the vapor barrier on the floor to the perimeter with the foundation tape.
Keep in mind that you should fix any issues with your crawl space before sealing it. Repair leaks, remove mold growth, and ensure that wires in the area have proper sealing. Leaving these problems exposed while you work in the crawl space might increase the risks of accidents and injuries.
Watch the video below to learn additional details for this project:
You might also want to add insulation to your crawl space. If so, read our post on how to insulate a crawl space with foam boards to help you complete this operation.
What Are The Pros And Cons Of Sealing A Crawl Space?
Homeowners should prepare for the advantages and shortcomings of sealing their crawl spaces to make the most out of this project. Some of the pros and cons of sealing your home’s crawl space are:
Pros Of Sealing A Crawl Space
Reduce Or Stop Moisture Issues
Sealing the crawl space with a vapor barrier can help reduce and perhaps even eliminate moisture-related problems in that location. It functions by preventing collected water from diffusing and seeping through building materials like joists and perimeter beams.
Reduce Energy Costs
The Environmental Protection Agency (EPA) estimates homes can save an average of 15% from their monthly energy expenses upon sealing their crawl spaces. Covering those spaces helps prevent air loss, reducing the need to increase cooling and heating usage.
Prevents Pests
Silverfish, firebrats, springtails, and mosquitoes are a few of the many pests that can live and breed in crawl spaces. These critters often thrive off of moisture-rich locations, which can become apparent if crawl spaces don’t have proper coverage.
Cons Of Sealing A Crawl Space
Additional Maintenance
Keep in mind that crawl spaces need frequent care and maintenance to ensure the barrier works as intended. That also means that you need to allocate time and money to prevent problems from surfacing from the seal.
Watch this video to learn how to inspect and maintain your crawl space’s encapsulation:
Upgrade HVAC System
Installing a cover to the crawl space may also restrict airflow for some residential building designs. If so, upgrading the property’s HVAC system might be a necessary part of the remodeling project. It can also mean an additional cost of $4,000 to $8,000, depending on the square footage affected by the renovation.
How Long Does It Take To Seal A Crawl Space?
The time it takes to complete a crawl space sealing project often depends on the square footage of that location. Still, the estimated time of completion for the typical encapsulation operation for a crawl space should last about 24 to 48 hours.
How Long Does Crawl Space Encapsulation Last?
Crawl space seals typically last between 15 and 20 years. However, high humidity levels and other serious events happening within the property may cause crawl space encapsulations to last less than their expected lifespans. On the other hand, routine maintenance and minimal to no incidents to crawl spaces may extend their seals’ serviceable lives.
How Much Is It To Seal A Crawl Space?
Professional crawl space encapsulation services generally cost around $1,500 to $15,000. But expect to pay around $5,500 as the average price to install a moisture barrier in that area.
Also, take note of the following factors that may affect the costs of sealing a crawl space:
- Repairs needed to complete before the installation
- Permits to acquire for the renovation project
- Professional building inspection services
- Dehumidifier purchase and installation
How Do You Waterproof A Crawl Space?

Aside from installing a vapor barrier and encapsulating a crawl space, applying waterproof paint to the area can help further reduce the risks of moisture-related problems for the property. Follow these steps to proceed with this project:
What You’ll Need
- Waterproof paint
- Dust brush
- Vacuum cleaner
- Paint thinner
- Surface primer
Step-by-Step Guide
- Clean the crawl space floor and walls with a dust brush and vacuum cleaner.
- Fill the paint sprayer with your preferred primer and spray the product onto the different surfaces in the space.
- Clean the paint sprayer by applying a reasonable amount of thinner to its parts.
- Let the paint sprayer dry.
- Put your preferred waterproof paint in the sprayer’s reservoir.
- Spray the crawl space's surfaces with waterproof paint.
Check out this acrylic waterproof paint on Amazon.
Keep in mind that proper usage of the paint spray ensures the application of waterproof paint won’t give you problems. Some of the things to note while you’re painting your crawl space’s floor and walls are:
- Don’t use over 34 PSI, which would otherwise promote moisture buildup and mold growth.
- Spray from about 10 to 12 inches from the surface.
- Don’t hold the paint sprayer horizontally.
- Use as many thin coats as needed, and don’t try to apply thick coats.
Final Words
Sealing a crawl space is a relatively DIY-friendly operation. But proper preparation is still necessary to ensure the result of the project has minimal to no error. If you find yourself having trouble with this task, you can consult the help of professional installers.
If you liked this post, here are other related reads you can check out:
Faced Or Unfaced Insulation In Crawl Space: Which To Choose?
Great! All crawl areas should be thoroughly sealed and separated from both air and ground moisture. Crawl space encapsulation is tough to undertake on your own, but with the correct equipment and supplies, anyone can do it.